

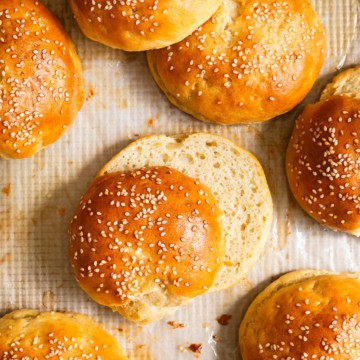
Soft and fluffy homemade gluten-free hamburger buns that come together in less than an hour! Now you'll never have to miss out on burger night with this hamburger bun recipe. Made with an enriched yeasted dough, you'll never want store-bought buns again!
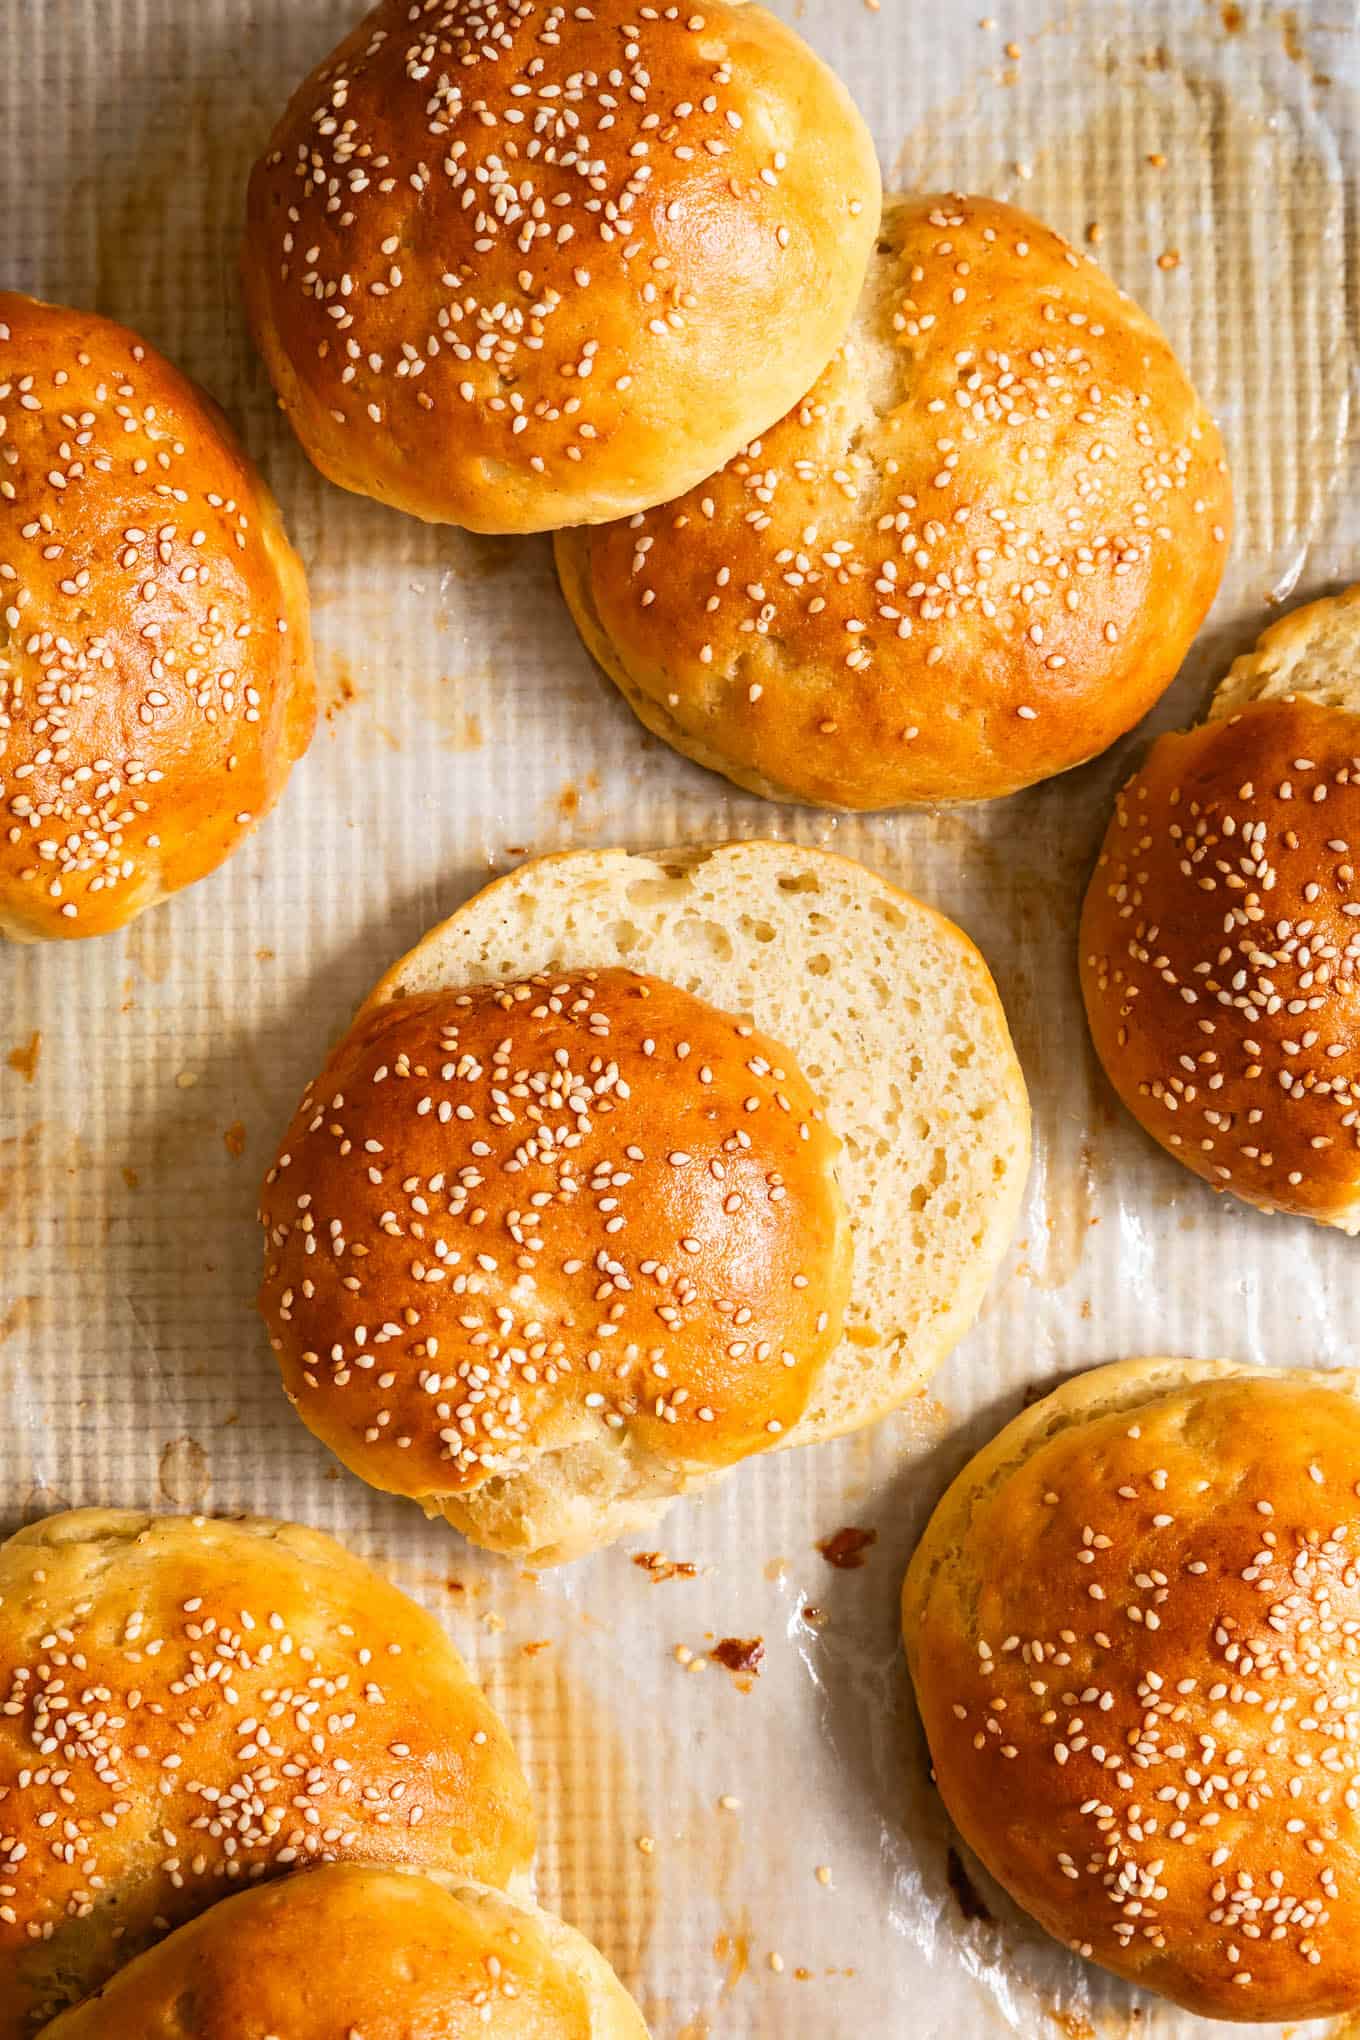
Store-bought gluten-free hamburger buns leave much to be desired, often dense and dry. And until now, I'd always opt for a lettuce wrap over a bun. Now, though, I can have homemade gluten-free burger buns that are soft and fluffy with a buttery golden-brown crust ready in an hour. And so can you.
This recipe is a long time coming. Over the last 2½ years, I've tested and tweaked over 30 batches of buns to get it exactly right, testing variations and substitutions along the way. Now I can confidently say that this is the best recipe for homemade gluten-free hamburger buns.
Best gluten-free hamburger buns
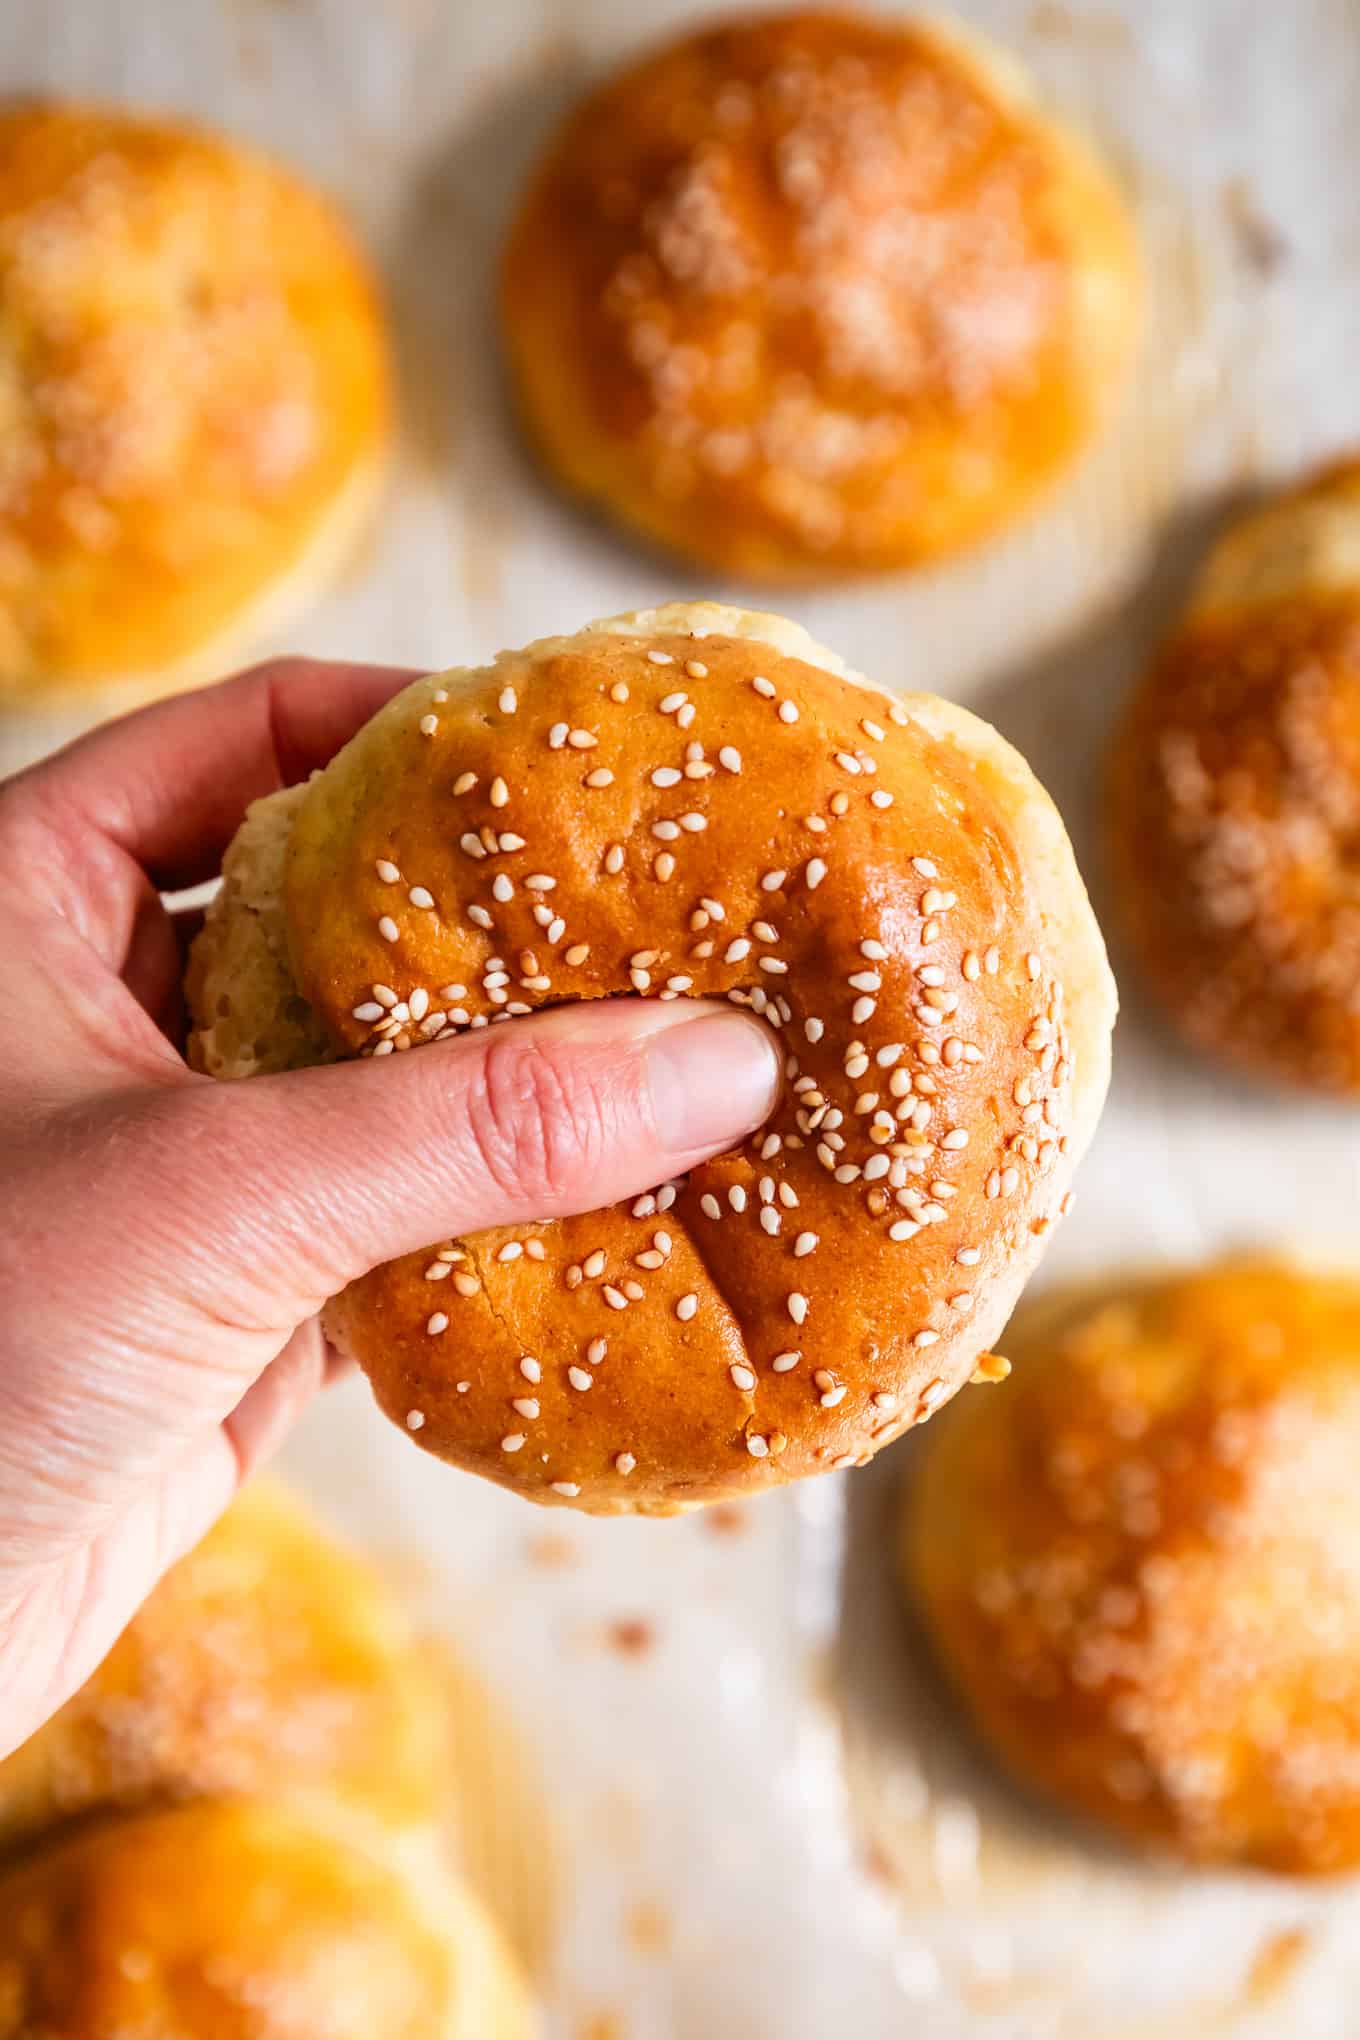
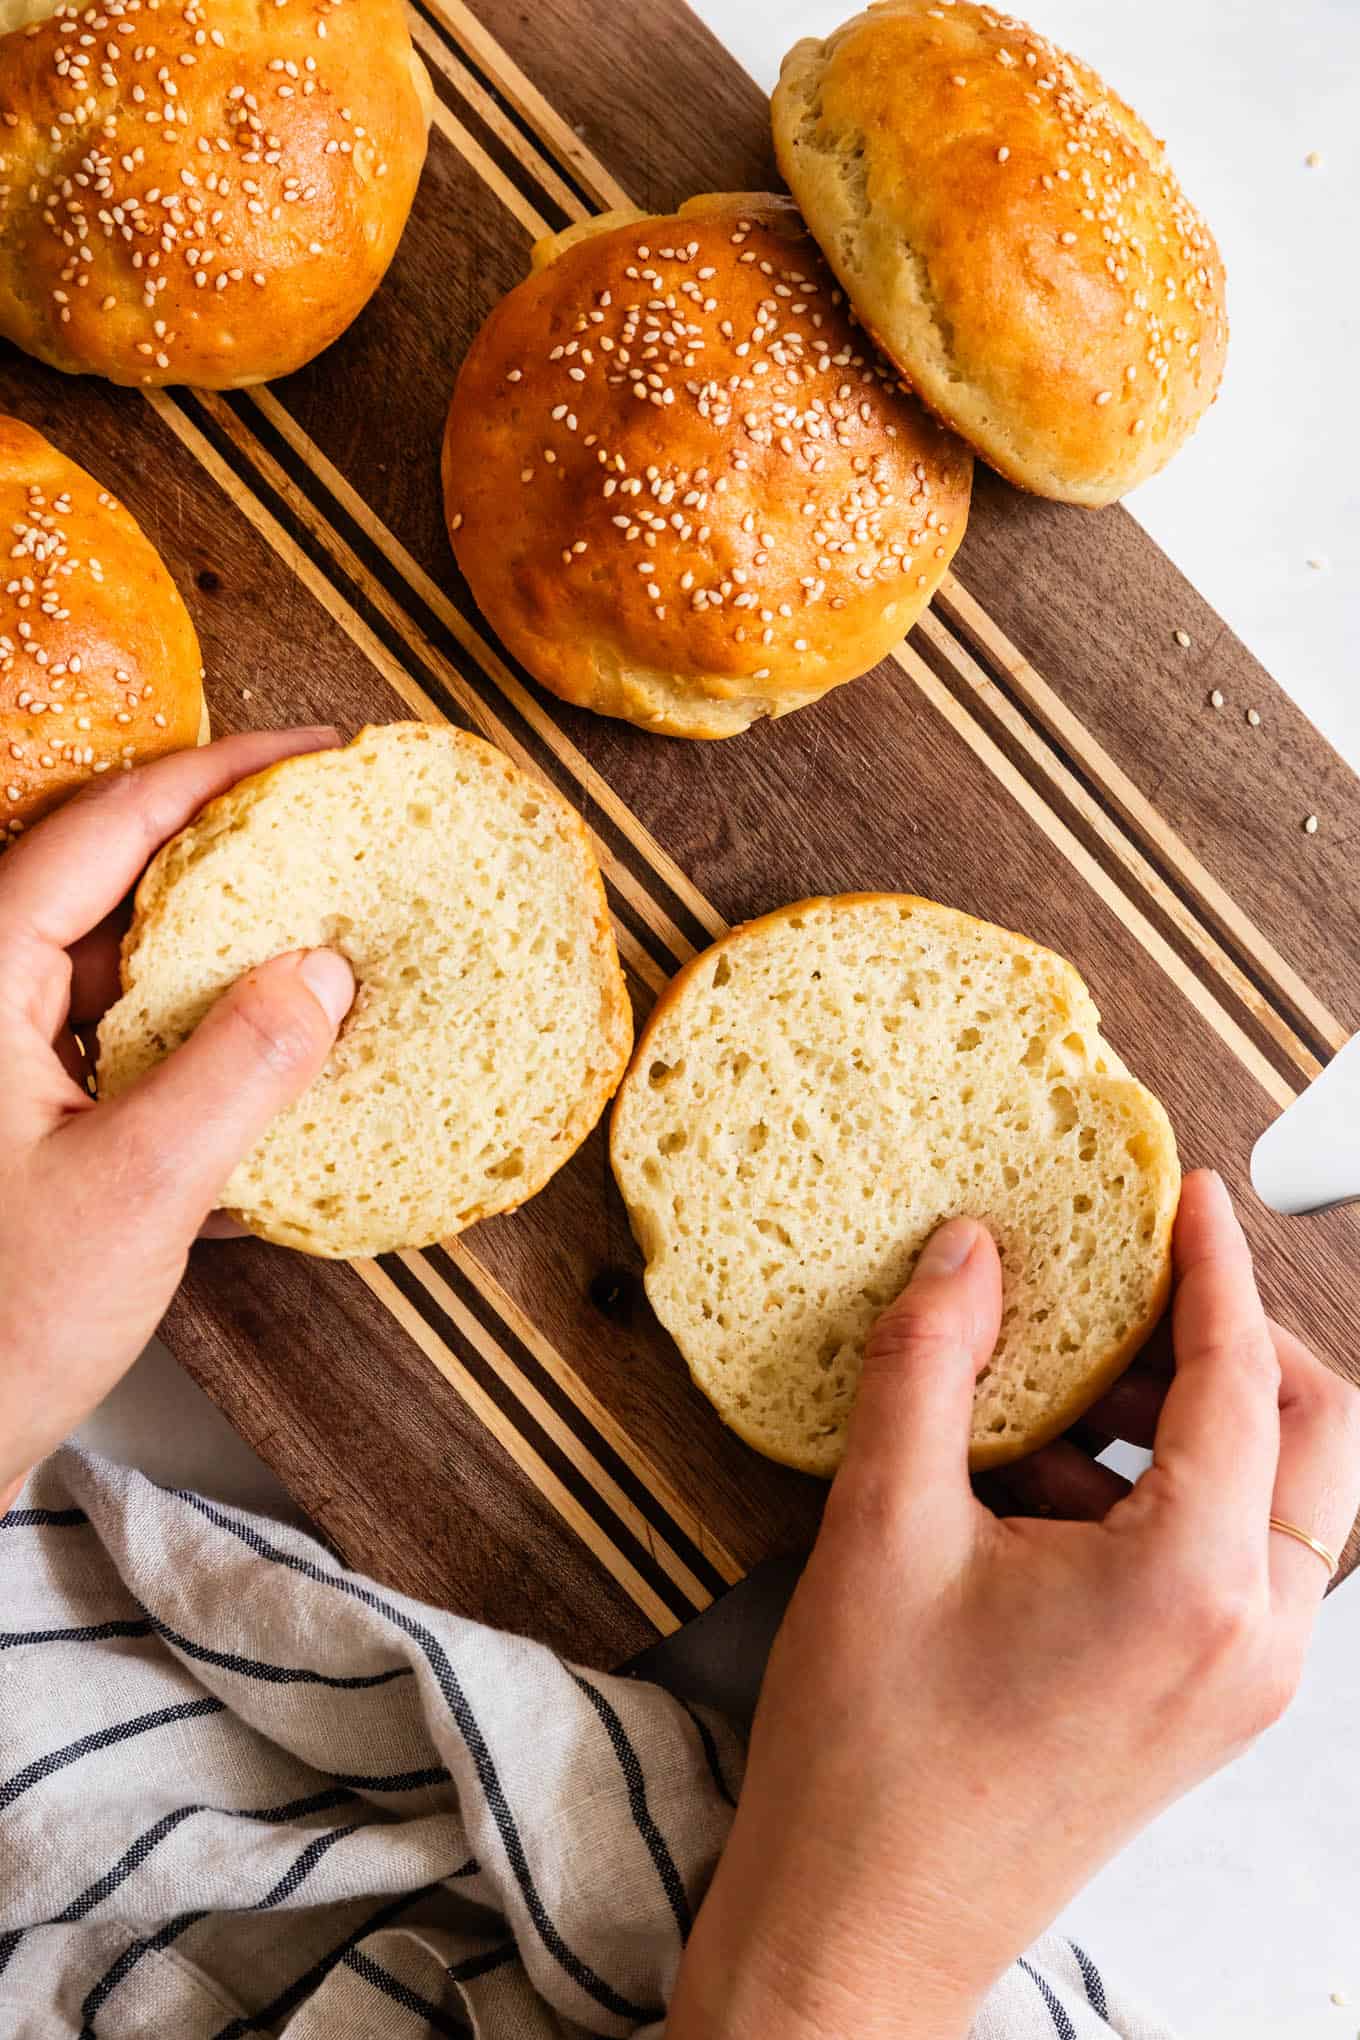
With a single rise, these hamburger buns are ready in just 1 hour, with only about 15 minutes of hands-on time. The result is a brioche-like bun that's rich and flavorful, yet fluffy and tender. A thin golden brown crust gives way to a soft and chewy crumb.
My recipe notes about why I chose the ingredients I did
- Active dry yeast, sugar, and warm milk: The sugar and warm milk (105-110°F) activate the yeast, which is the leavener that allows the dough to rise, creating those fluffy air pockets. Rather than using water, these hamburger buns call for whole milk. The proteins in milk (caseins) can mimic gluten and help provide structure to the dough. From my experience testing gluten-free bread doughs with water versus milk, the milk aids in trapping the air, creating a better crumb texture of the baked dough.
- Brown Rice Flour: Brown rice flour is a great neutral whole grain flour for bread because it bakes up neither gummy nor gritty and it soaks up the moisture nicely.
- Sorghum Flour or Gluten-Free Oat Flour: I've tested the recipe using either sorghum flour or gluten-free oat flour, and they're virtually indistinguishable! Both add more flavor. Sorghum flour is a wholesome and whole grain that has slightly sweet notes that add flavor depth. Oat flour is a whole grain that adds, warm, slightly nutty, wholesome notes.
- Tapioca Flour and Potato Starch: For starches, use a combination of tapioca flour and potato starch. Tapioca starch, one of my go-to flours for gluten-free baking, is a fluffy starch that adds chewiness to baked goods. Just like when baking sourdough, I found that combining the tapioca flour with potato starch produced a more flavorful hamburger bun with a better texture. If you can't find or don't have potato starch, you can sub in additional tapioca flour by weight.
- Sweet Rice Flour: Made from sticky rice, sweet rice flour is distinctively different than white rice or brown rice flour, and despite its name, it's not sweet. Sometimes called "Mochiko," sweet rice flour is the same flour used to make mochi, and as such, its stickiness helps to bind dough together. In these hamburger buns, sweet rice flour adds chewiness like a classic brioche bun.
- Xanthan gum: These hamburger buns use xanthan gum as the binder to hold the dough together, adding chewiness that mimics gluten.
- Cream of Tartar: Cream of tartar is an acid and acts as a natural leavening agent, helping add more loft to the buns.
- Eggs & Egg Whites: The combination of whole eggs and egg whites is essential to creating a crumb that's moist, yet bakes up tender and soft.
- Butter: Butter adds moisture and flavor to the dough. For a dairy-free version, sub in plant butter!
- Apple Cider Vinegar: Adding apple cider vinegar to the dough will help to strengthen it and slightly increase the acidity. This allows the yeast to grow easier, causing your buns to rise a bit better.
Yes, for these gluten-free hamburger buns, you must use xanthan gum.
While you only need a little bit, without the xanthan gum, the dough is loose and wet, and doesn't come together as a dough.
I tested versions (at least 5 different ways) with psyllium seed husks in place of the xanthan gum, but found the buns spread flat and had a much denser texture.
If you cannot use xanthan gum, you could make my gluten-free bagels or even gluten-free focaccia - both of these benefit from the texture of psyllium seed husks and do not call for xanthan gum.
Recipe
Soft & Fluffy Gluten-Free Hamburger Buns
Ingredients
- 1 cup (240 g) whole milk, warmed to 105-115°F (or sub in 240g plant milk or 225g water)
- 1 tablespoons + 2 teaspoons active dry yeast
- ¼ cup granulated sugar, divided
- 140 g (¾ cup + 2 tablespoons) Bob's Red Mill brown rice flour
- 119 g (1 cup + 1 tablespoon) Bob's Red Mill tapioca flour, plus more for rolling
- 80 g (½ cup + 2 tablespoons) Bob's Red Mill sorghum flour or Bob's Red Mill Gluten-Free Oat Flour
- 78 g (½ cup) Bob's Red Mill potato starch
- 60 g (¼ cup + 2 tablespoons) sweet rice flour, also called mochiko; do not substitute white or brown rice flour
- 1½ teaspoons xanthan gum
- 1½ teaspoons kosher salt
- ½ teaspoon baking powder
- ¼ teaspoon cream of tartar
- 2 large eggs, room temperature
- 2 large egg whites, room temperature
- 6 tablespoons (84 g) unsalted butter, melted (or sub plant butter)
- 1 tablespoon apple cider vinegar
- Cooking spray
- 1 large egg, room temperature
- 1 tablespoon water
- 2 tablespoons raw sesame seeds
- 2 tablespoons unsalted butter, melted (or sub plant butter)
INSTRUCTIONS
- Preheat oven to proof setting, if available, and line two light colored baking sheets with parchment paper.
- Activate the yeast. In a medium bowl, mix together the warm milk (105°-115°F), 1 tablespoon of the sugar, and yeast. Let sit for 5-10 minutes while the yeast activates and foams. Note: If your yeast hasn't foamed up after 10 minutes, your yeast may have gone bad and you should try again with different yeast.
- Mix dry ingredients. In the bowl of a stand mixer fitted with the paddle attachment, mix together all of the dry ingredients: remaining 3 tablespoons sugar, brown rice flour, tapioca flour, potato starch, sorghum flour, sweet rice flour, xanthan gum, salt, baking powder, and cream of tartar.
- Make the dough. Once the yeast has foamed, add the yeast to the stand mixer followed by eggs, egg whites, melted butter, and apple cider vinegar. Mix on low-speed, increasing to medium-high for 4 minutes, scraping down the sides as needed. The dough will be very soft and sticky - much too sticky to handle without floured hands.*
- Shape the buns. Set a bowl of tapioca starch near your workstation and dust your work surface with tapioca starch. I recommend weighing your dough to make each bun the same size. To do so, place a small plate dusted with tapioca starch on top of your kitchen scale. Use a ⅓ cup measuring cup measure to scoop 105 - 115g of dough onto the tapioca-dusted plate. Dust the outside of the dough with additional tapioca flour, then, with tapioca-covered hands, pick up the bun and shape it. Gently flatten the dough, then fold and pinch each edge into the center. Flip the bun over so this pinch is on the bottom and use cupped hands to round the dough into a smooth ball (either rotating it against the floured table or against your other hand), adding more tapioca starch to your hands as needed. Place, seam-side down, on the parchment-lined baking sheet and repeat. Note: any seams or creases on top or on the sides of the bun may lead to a crack in the oven. If this happens, don't fear! This more rustic look won't affect the texture or flavor of the bun at all. You may find you need to wash and re-flour your hands after a couple of buns if the dough is sticking to them.
- Rise. Spray buns lightly with cooking oil, then cover loosely with plastic wrap. Place in a warm place to proof for 30 minutes (I use the proof setting on my oven). The buns should puff up significantly. Note: if making the dough in advance, proof only for 10 minutes, then transfer to the fridge for up to 24 hours. Pull them out of the fridge to proof 25 minutes before baking. When the buns are nearly proofed, preheat the oven to 375*F.
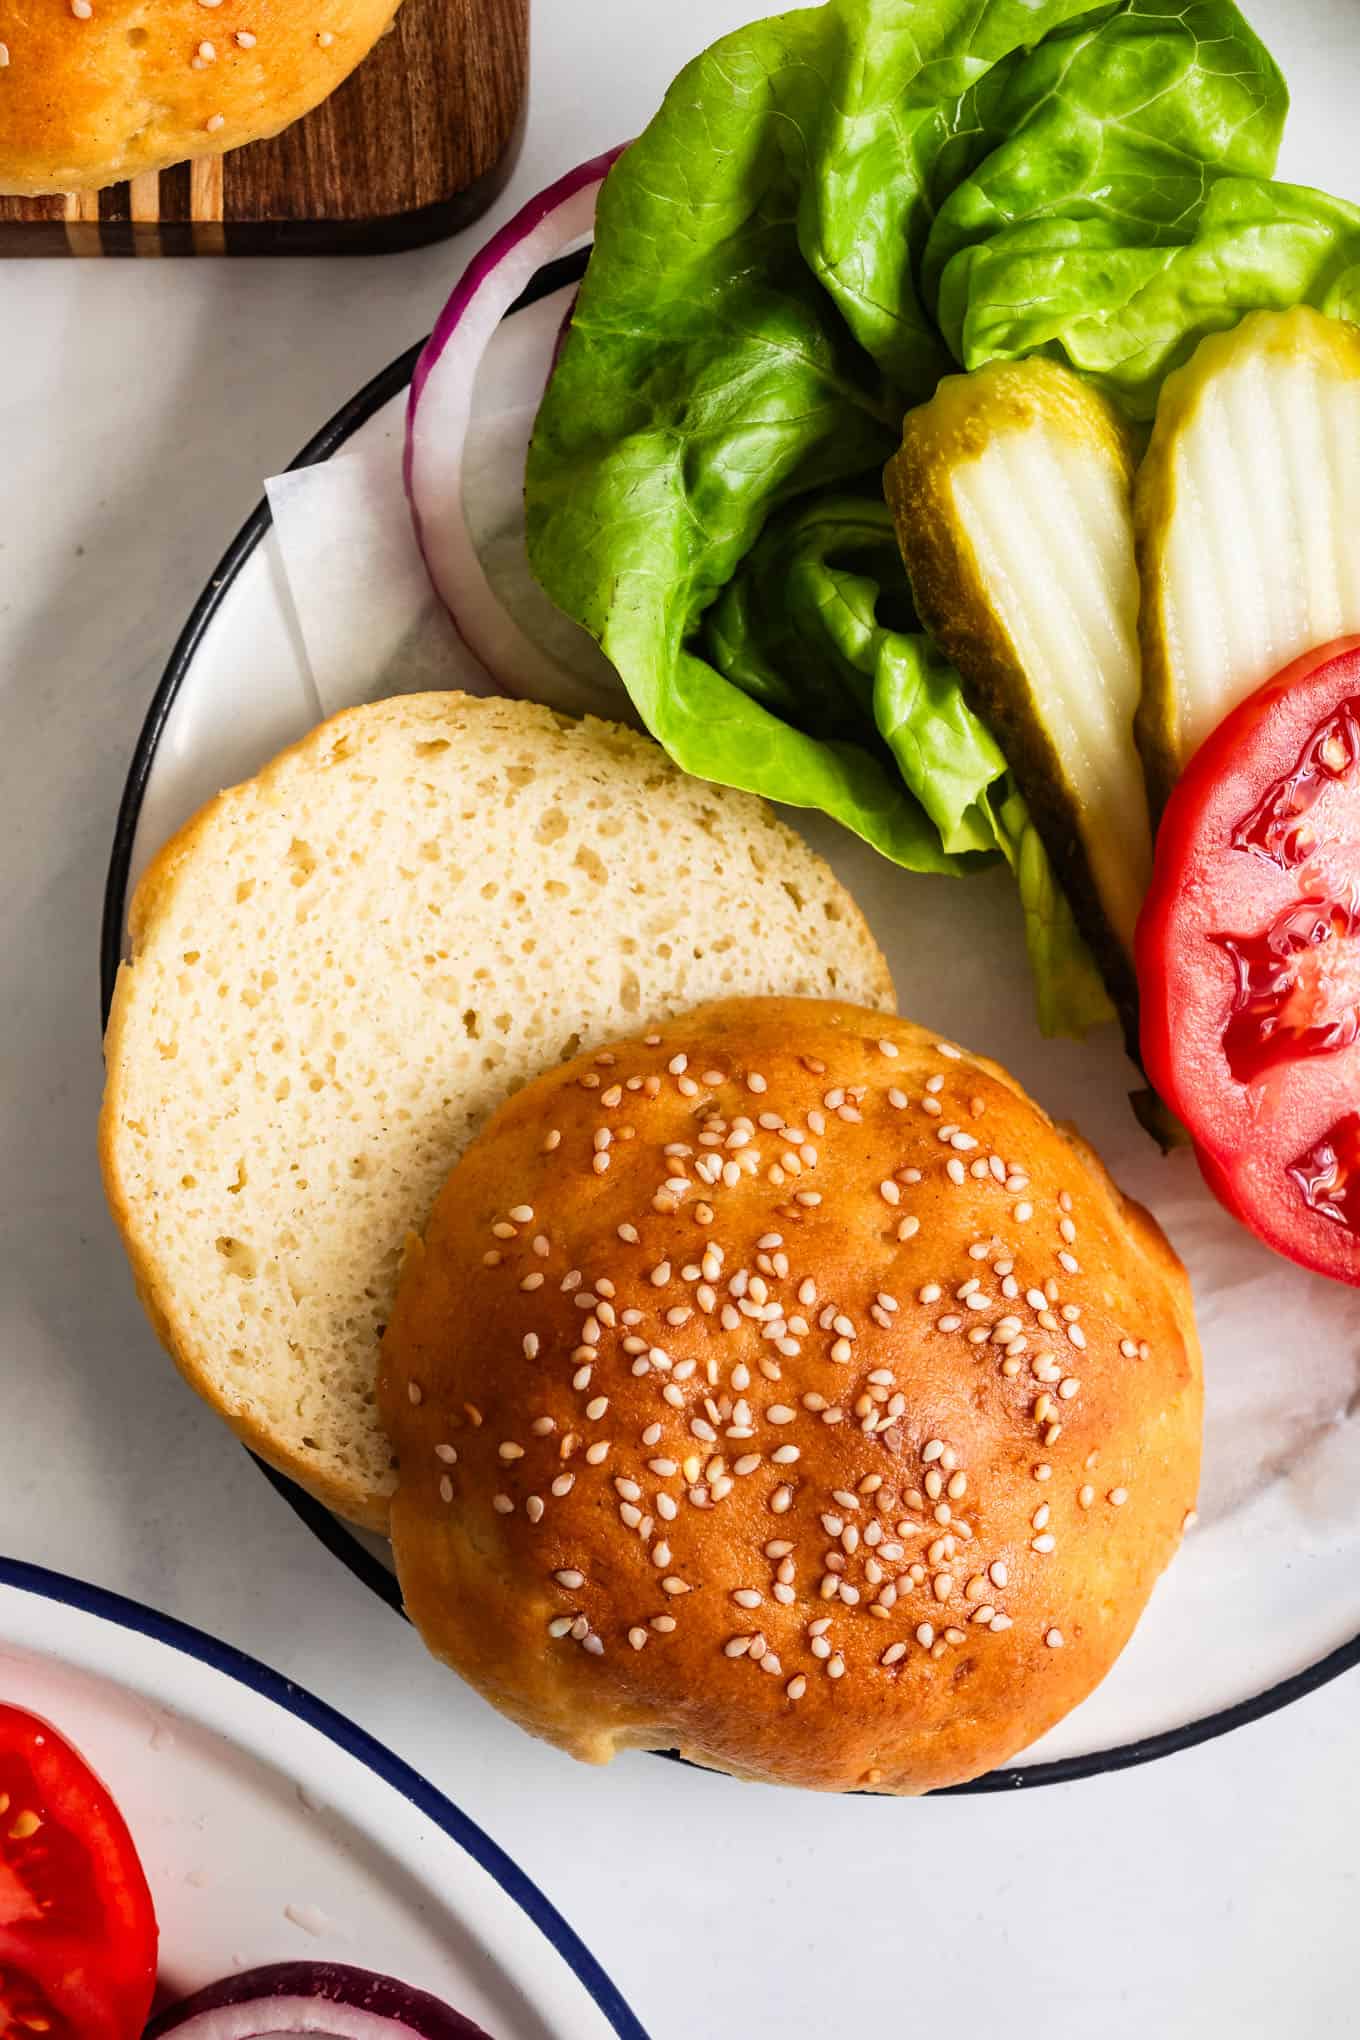
- Brush with egg wash. Whisk together 1 large egg and a tablespoon of water. Gently brush each bun with the egg wash on the entire surface, then sprinkle generously with raw sesame seeds.
- Bake. Bake for 16-18 minutes, until the buns are deeply golden brown, rotating the pan after about 12 minutes to encourage even browning.
- Brush with butter. Right when the buns come out of the oven, brush them with melted butter.
- Let cool and slice. Let cool until just cool to the touch on the outside, about 15 minutes, then slice and serve (Note: if you try to slice the buns too soon out of the oven, the crumb won't set and the inside will seem gummy. Letting them cool for 15 minutes is essential). These buns are best served lightly warm, but you may store buns for later use. As the buns cool, they'll become denser, but lightly warming or toasting the buns will bring back their soft squishy texture! See additional storage tips below.

Tatiana -
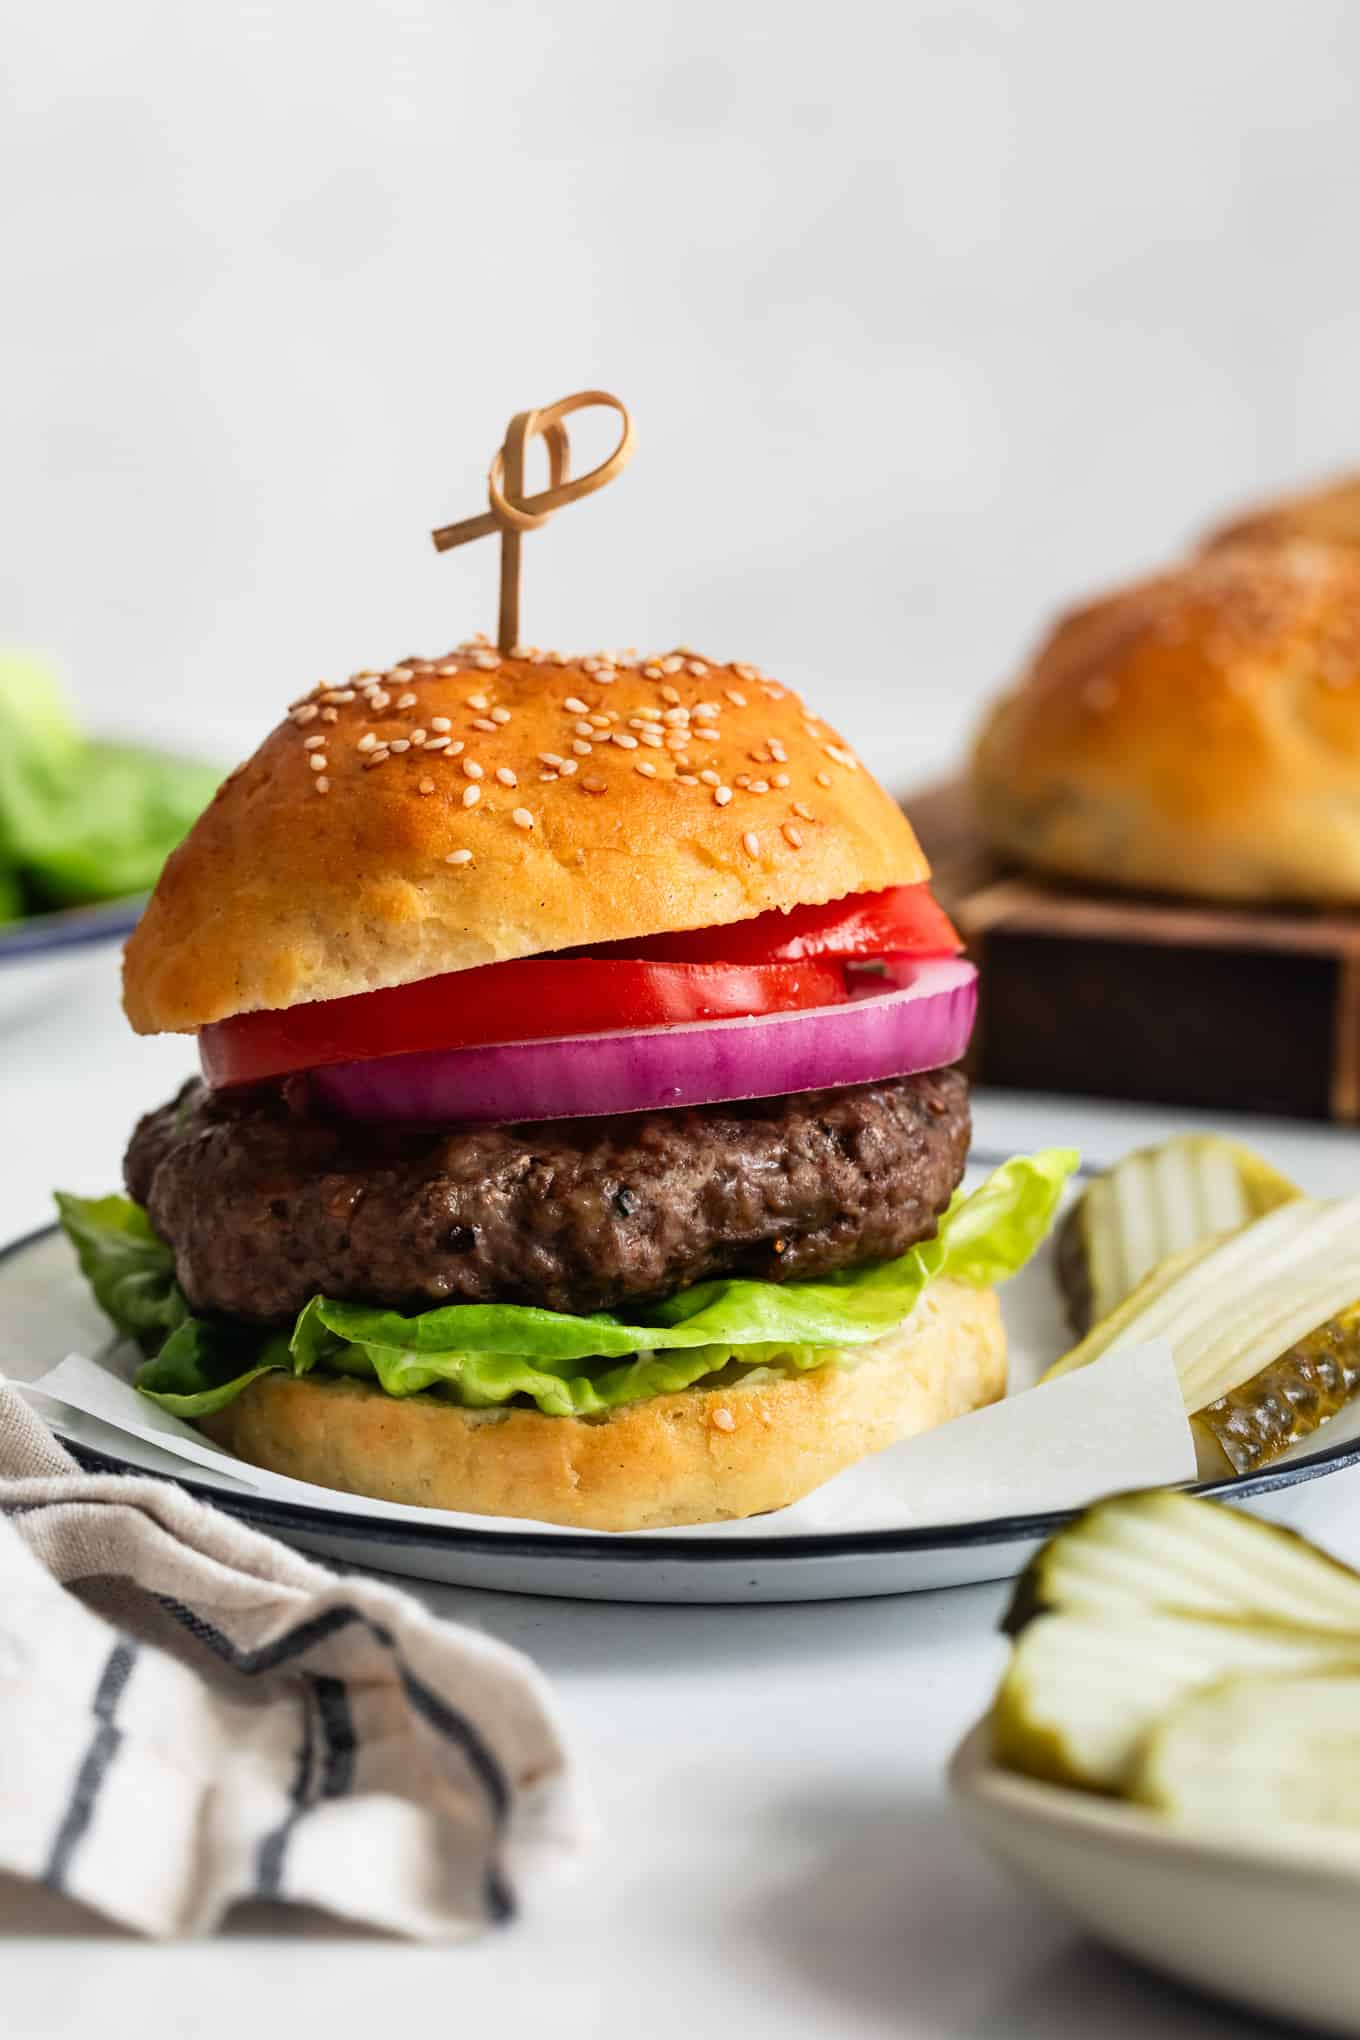
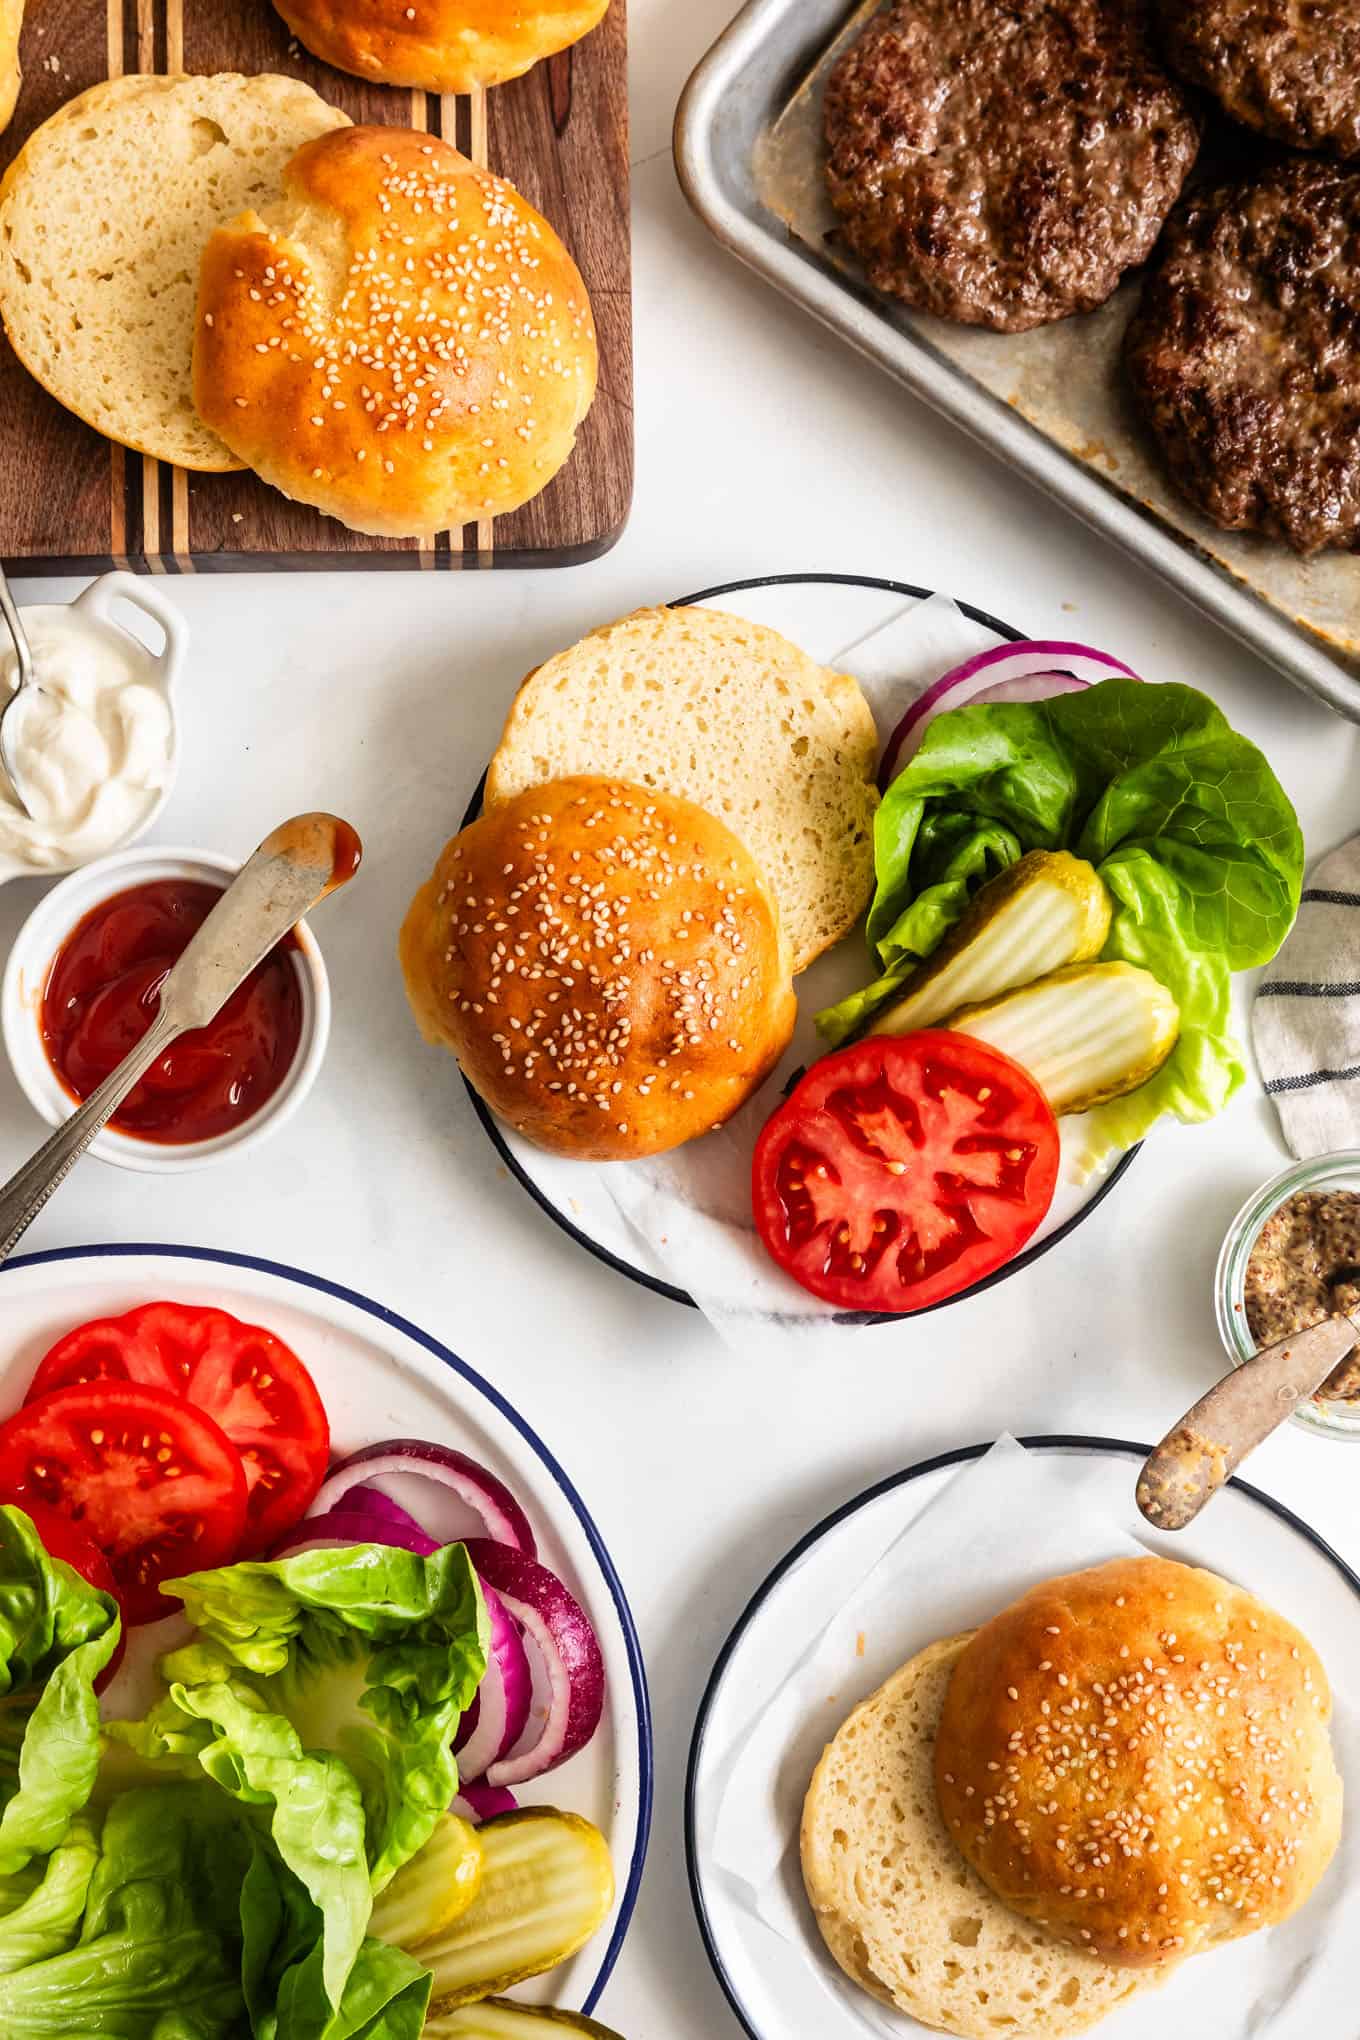
In the pictures I do not see any condiments on the burgers. The issue we have with most buns is that they will not hold up to a juicy, condiment-filled burger. I would like to know how these will fare,before making them.
Sarah Menanix -
While you can't see in the photo, there is mayo/ketchup on the assembled burger that IMO the buns hold up great! I spread a thin layer of mayo on the buns, but out of habit, I then spread the rest of the condiments onto the patty.
Kristy -
This recipe sounds amazing; however, I avoid xanthum gum. I saw your comments from 2024 that you tried various ways w/ psyllium husk but they didn't work. I am wondering if you've been able to find a substitute for xanthum gum, as I'd love to try these!!
Sarah Menanix -
Sadly, I haven't yet made a xanthan substitute :(
Elena -
Hi, I am going to make these. They sound delicious.. How big are the buns? If small can I make them about 4 inches? What plant butter did you use? Thanks!
Sarah Menanix -
They're about 4 inches so you're good! I like Miyoko's or Country Crock stick-style plant butter. Sorry for the delay - my comments all went to spam :(
Colleen -
Could you give some info about calorie count, sugar grams, etc
thank you
Sarah Menanix -
I recommend putting the ingredients you'll use into a nutrition calculator such as this one!
Christianne -
I have never hated a recipe as much as I hate this one. Trying to shape the dough blobs into acceptable bun shapes felt like hell on Earth (yes, you warned us alright!). It was only because my husband had been looking forward to finally having another burger WITH a decent gluten free bun, that I persevered. The fact that those eight abominations called hamburger buns came out as amazing as they did, made me hate this recipe even more because I know this will be my new go-to and make-ahead recipe. The buns smell amazing when freshly baked, the melted butter at the end really finishes them off. They feel heavier than wheat buns, but the crumb is good and the bread is pillowy soft. It was a true delight to have these for dinner. Luckily, there's more than enough leftover for next time, so I won't have to ensure having to shape those things for a while.
Amber -
Can this be made with bobs 1-1 gf baking flour instead of all the separate bob’s red mill ingredients?
Sarah Menanix -
While I usually offer flour substitutions, I found that gluten-free hamburger buns *drastically* changed with substitutions to the flours used. When I tested subbing in Bob's Red Mill 1-to-1 gluten-free baking flour for all of the flours by weight, and found the result quite a bit denser rather than fluffy, so I would not recommend it.
That being said, you can use sorghum flour and oat flour interchangeably in this recipe without any compromises to texture or flavor.
Additionally, if you can't find or don't have potato starch, you can sub in additional tapioca flour by weight, but the results may not be quite as flavorful or fluffy.
Otherwise, I recommend using the exact flours and weights listed in the recipe for the fluffiest gluten-free hamburger buns.
Meg -
I can’t find the oat flour.. would bobs red mill’s 1 to 1 work? Or what can I use in place of that?
Sarah Menanix -
I've tested the recipe using either sorghum flour or gluten-free oat flour, and they're virtually indistinguishable! Alternatively, you can grind your own oat flour by pulsing gf rolled oats in a food processor or high-powered blender until fine and then sifting out any large pieces. I wouldn't recommend 1 to 1 as it is a mix of flours and gf breads can be finicky!
Debbie Feely -
Sounds awesome Sarah! I’m intolerant to brown rice and eggs. I’ve read white rice will sub for the brown… but probably no hope for eggs, right? I also can’t do flax or legumes.
Sarah Menanix -
I wish I had an answer for you! Sadly I've not had good luck making egg-free gf bread. In my experience they're a lot less tender than these buns.
Debbie Feely -
Same. Everything I’ve seen indicates brown rice and eggs is the way to go. These look amazing. I’m sure many will be happy to try them.
Cody -
What about trying psyllium husk?
Sarah Menanix -
I tested versions (at least 5 different ways) with psyllium seed husks in place of the xanthan gum, but found the buns spread flat and had a much denser texture.