These gluten-free lemon rolls are packed with zesty lemon flavor. They're tender and fluffy with a generous slather of lemon cream cheese icing on top! With only one rise, you can easily make them the night before and pop them in the oven when you wake for a warm brunch treat.

After devouring one of these gluten-free lemon rolls for an afterschool treat, Ira (5) spontaneously said, "I think mom is the parent who can do a lot of things…(long dramatic pause)...but she definitely cannot lift weights." Ouch.
I mean, he's also not wrong. The only weights I voluntarily lift are 5lbs of gooey fluffy gluten-free lemon rolls in and out of the oven. And, look, I can do a lot of things. Like make fluffy gluten-free lemon rolls, for instance.
Bursting with zesty lemon flavor and wrapped in tender, gluten-free dough, these gluten-free lemon rolls are the perfect treat for Mother's Day or Easter Sunday.
These bright citrusy gluten-free lemon rolls are a springtime twist on my classic gluten-free cinnamon rolls. Whether you're making gluten-free pumpkin cinnamon rolls in the fall, or these lemony rolls, now you can have this beloved fluffy gooey brunch treat all year long.

Why I love these gluten-free lemon rolls
- With only 1 rise, they're super quick and easy to make
- Made with a soft and tender gluten-free brioche dough
- Gooey lemon vanilla sugary filling that seeps out and caramelizes into a sticky gooey base as it bakes
- Topped with a zesty lemon cream cheese icing
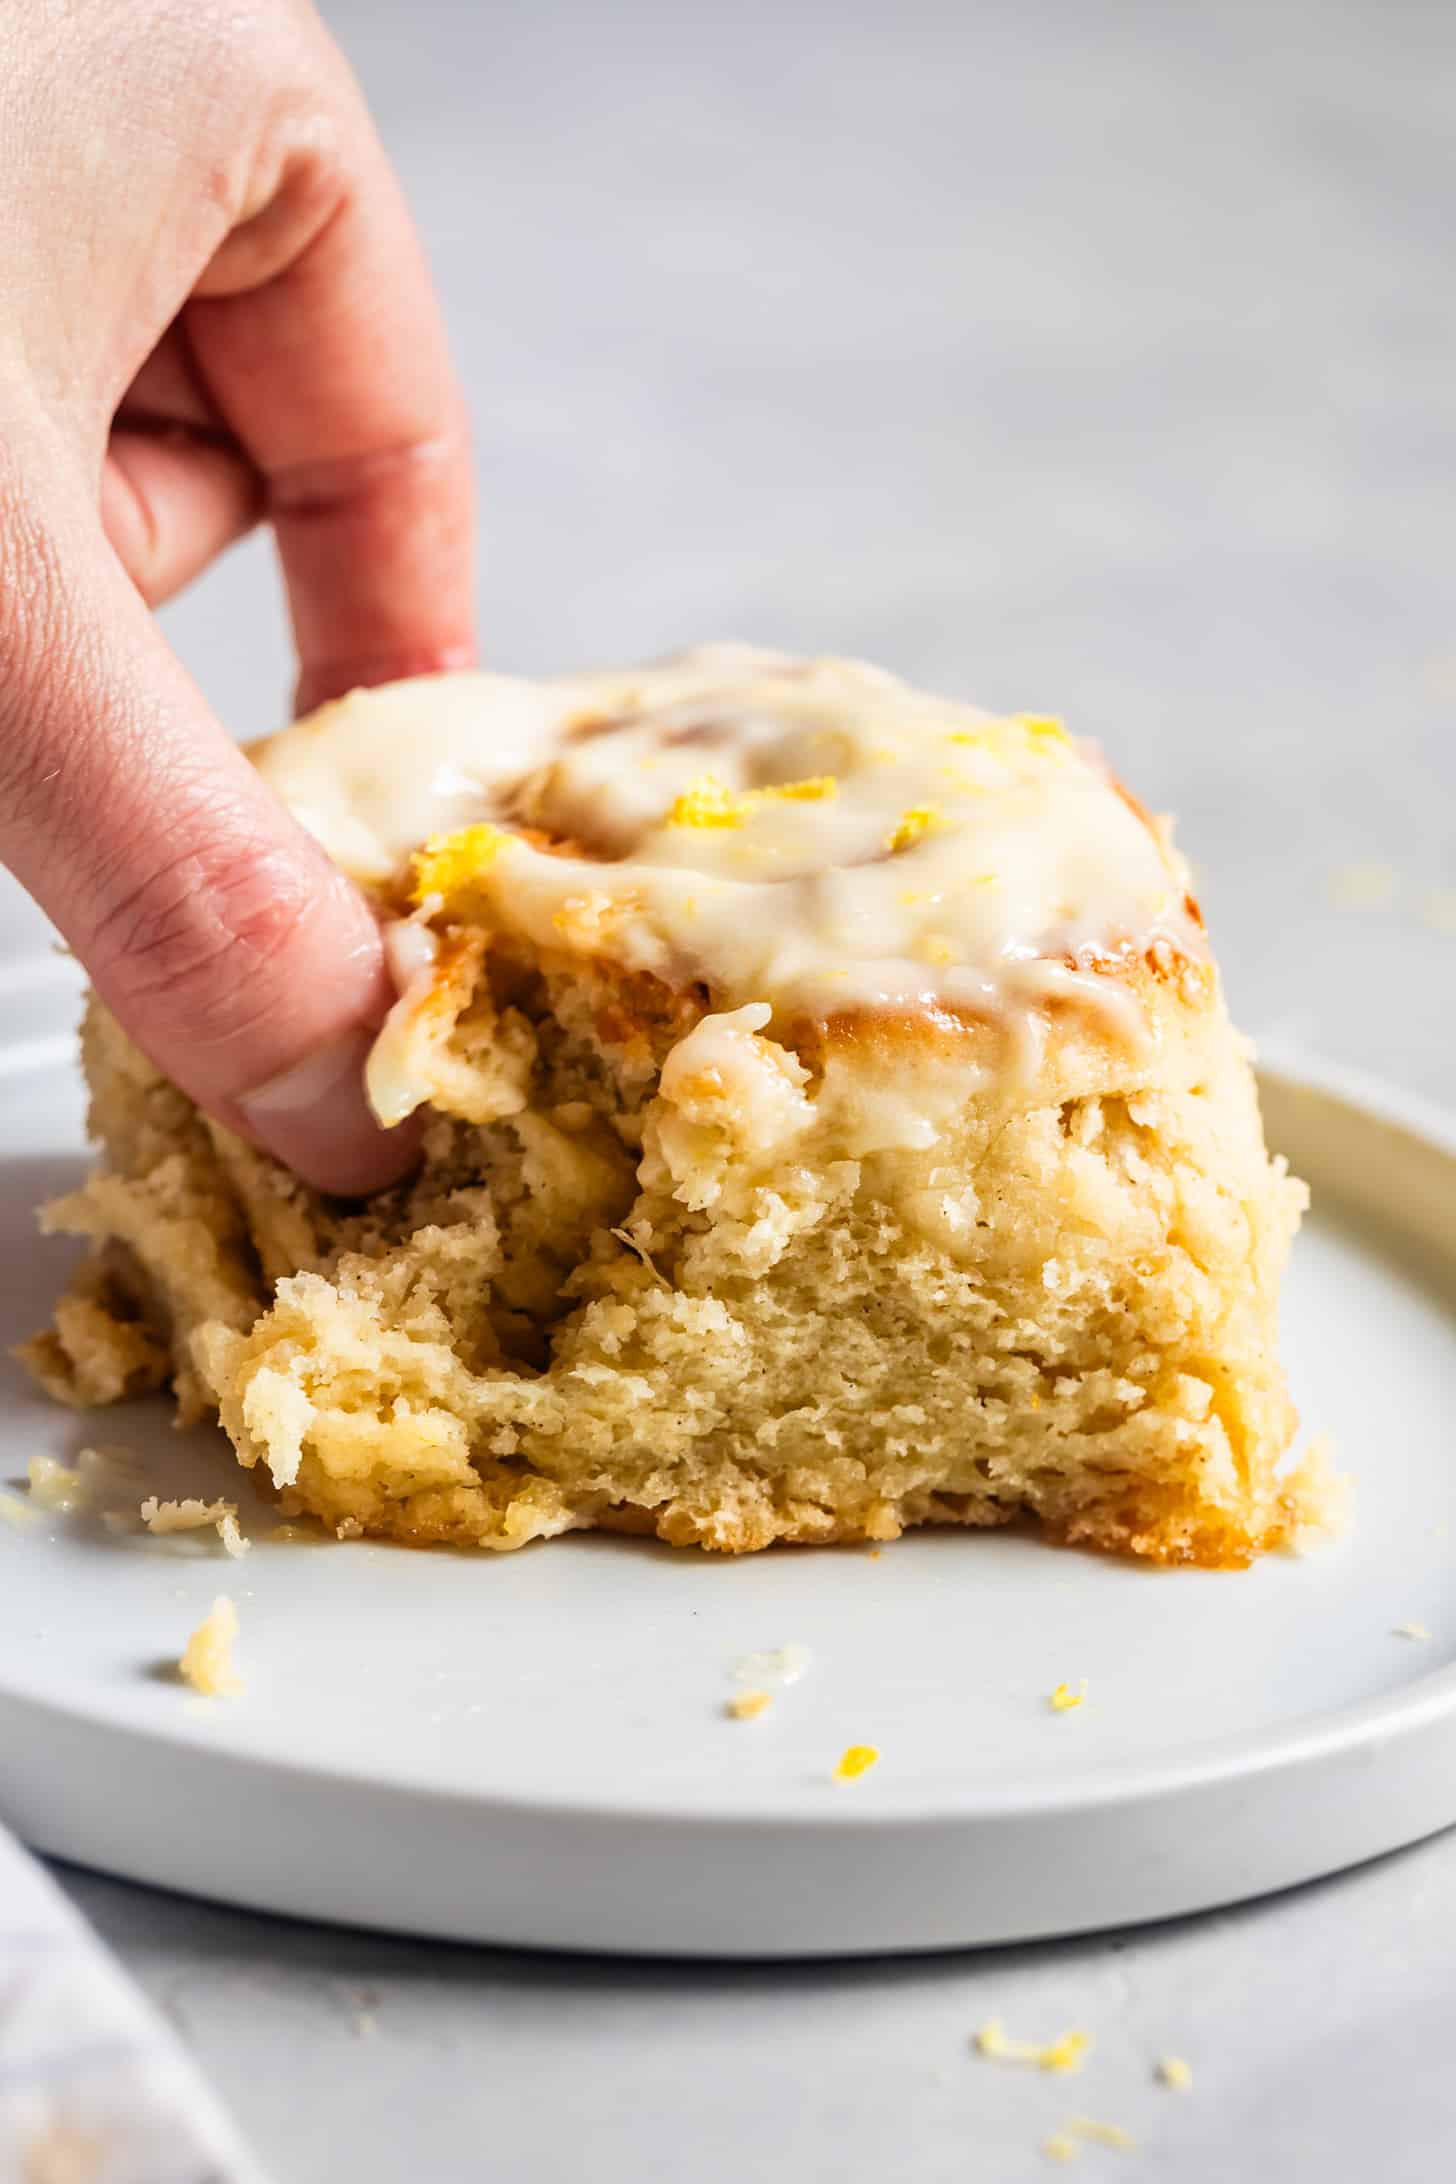
- The result is a tender and moist gluten-free lemon roll bursting with sweet lemon, slathered with gooey cream cheese icing.

Ingredients and substitutions for gluten-free lemon sweet rolls
Gluten-Free Dough
- Active dry yeast, sugar, and warm milk: The sugar and warm milk (105-110°F) activate the yeast, which is the leavener that allows the dough to rise, creating those fluffy air pockets.
- Brown Rice Flour: Brown rice flour is a great neutral whole grain flour for bread because it bakes up neither gummy nor gritty and it soaks up the moisture nicely.
- Sorghum Flour: Sorghum flour is a wholesome and whole grain that has slightly sweet notes that add flavor depth.
- Tapioca Flour and Potato Starch: For starches, use a combination of tapioca flour and potato starch. Tapioca starch, one of my go-to flours for gluten-free baking, is a fluffy starch that adds chewiness to baked goods. Just like when baking sourdough, I found that combining the tapioca flour with potato starch produced a more flavorful brioche dough with a better texture.
- Sweet Rice Flour: Made from sticky rice, sweet rice flour is distinctively different than white rice or brown rice flour, and despite its name, it's not sweet. Sometimes called "Mochiko," sweet rice flour is the same flour used to make mochi, and as such, its stickiness helps to bind dough together. In these gluten-free lemon rolls, sweet rice flour adds chewiness like a classic brioche dough.
- Xanthan gum: These lemon rolls use xanthan gum as the binder to hold the dough together, adding chewiness that mimics gluten.
- Salt: Salt is essential. Mix kosher salt into the dough.
- Baking Powder: To help them rise just a little more
- Cream of Tartar: Cream of tartar is an acid and acts as a natural leavening agent, helping add more loft to the rolls.
- Eggs & Egg Whites: The combination of whole eggs and egg whites is essential to creating a crumb that's moist, yet bakes up tender and soft.
- Unsalted butter: Butter adds moisture and flavor to the dough.
- Lemon juice: Adding lemon juice will add flavor while also increasing the acidity. This allows the yeast to grow easier, causing your rolls to rise a bit better.
Lemon Filling
- Unsalted butter
- Light brown sugar and granulated sugar: A combination of light and brown sugar creates a gooey filling that caramelizes as it bakes
- Lemon zest
- Lemon juice
- Pure vanilla extract
Lemon Cream Cheese Icing
- Cream cheese
- Unsalted butter
- Powdered sugar
- Lemon juice
- Lemon zest
- Pure vanilla extract
- Salt
Flour substitutions for gluten-free lemon rolls
- Brown Rice Flour: To substitute the brown rice flour, I recommend using either millet flour or white rice flour by weight.
- Sorghum Flour: To substitute the sorghum flour, I recommend gluten-free oat flour by weight.
- Tapioca Flour: I do not recommend substituting the tapioca flour in this recipe as it's essential to keeping the rolls light and chewy.
- Potato Starch: If you can't find or don't have potato starch, you can substitute in additional tapioca flour by weight, but your results will be a bit less tender and flavorful.
- Sweet Rice Flour: I do not recommend substituting the sweet rice flour in this recipe. While I haven't tested it, you could *try* subbing the sweet rice flour for additional tapioca flour, but your results will vary and I can't promise it will turn out as delicious!
Can I Use Gluten-Free All-Purpose Flour?
I don't recommend using all-purpose gluten-free flour for this recipe. Not all pre-made gluten-free flour blends are equal. While one brand might work for a recipe, using a different brand/blend will produce entirely different results in the same recipe. Or the same flour can be more or less successful across different recipes.
When I tested gf yeasted recipes with gluten-free all-purpose flour in the past, the results were much denser and less light and fluffy. Each of the flours in this blend here is specifically chosen to create the most fluffy and soft dough.



How to make gluten-free lemon rolls
- Prepare the filling by mixing all the ingredients.
- Activate the yeast by stirring it into warmed milk with some sugar.
- Mix dry ingredients.
- Mix in wet ingredients.
- Knead dough. With the dough hook, knead the dough on low for 1 minute. Let it rest for 1 minute. Knead again for 1 minute. Repeat.
- Roll out the dough into a rectangle using lots of tapioca starch.
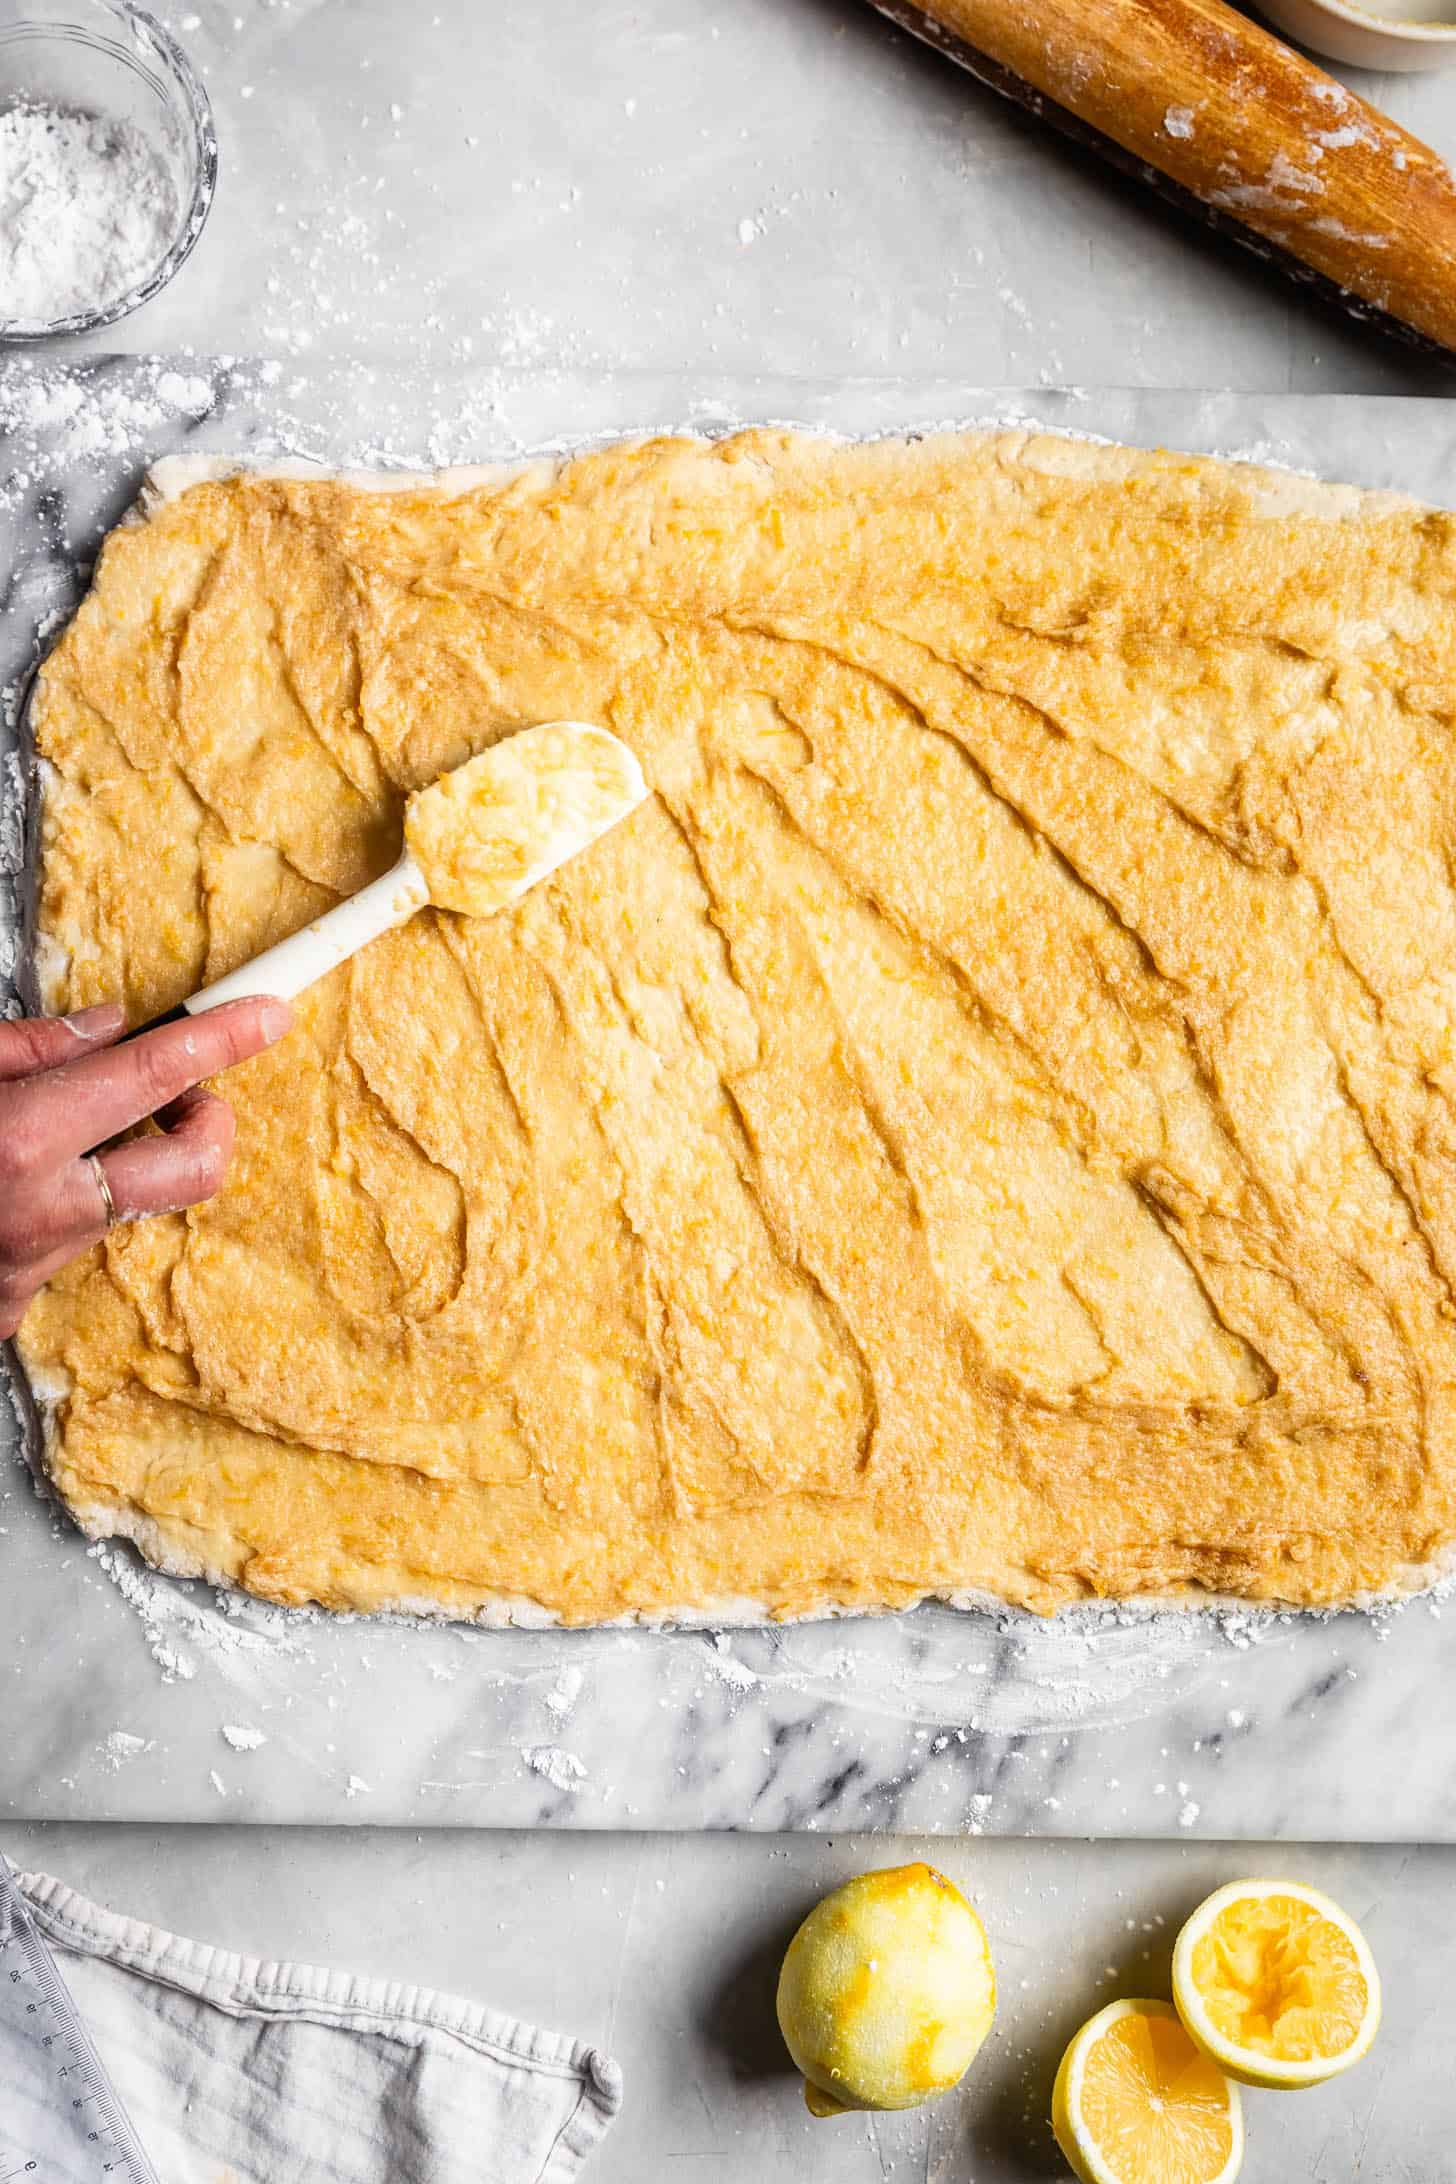
- Spread the filling over the dough.
- Roll into a tight spiral log starting with the long edge.
- Cut into lemon rolls with either uncoated dental floss or a serrated knife with very gentle back-and-forth movements and no downward pressure.
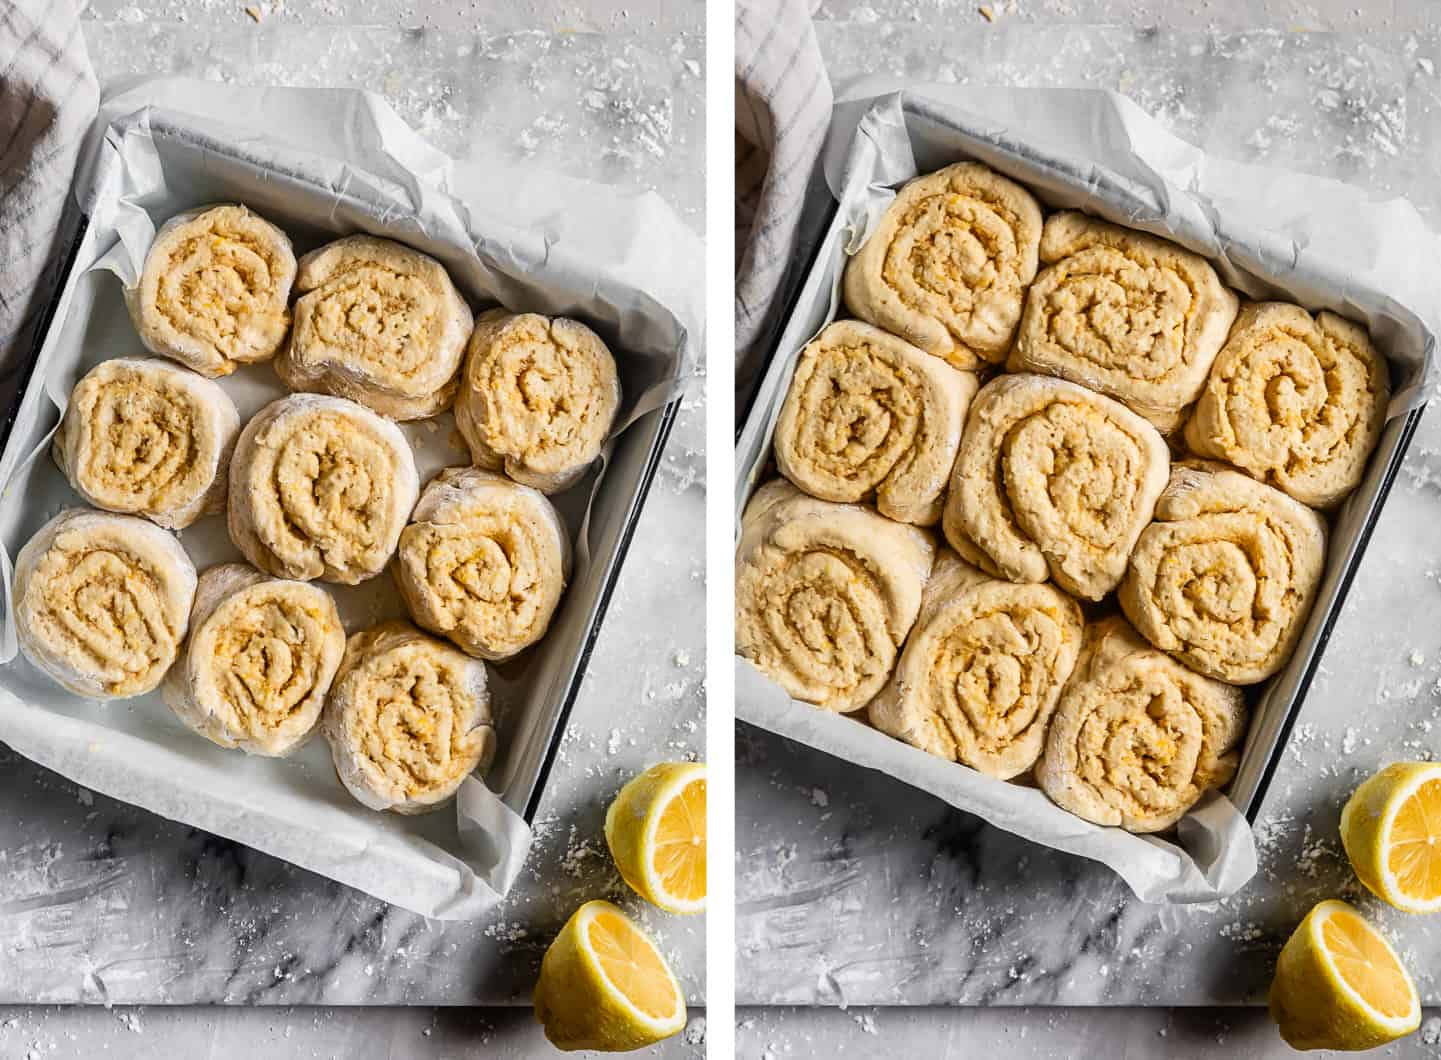
- Rise. With the rolls in a parchment-lined pan, cover, and let rise in a warm place for 1 hour until it has doubled in size.
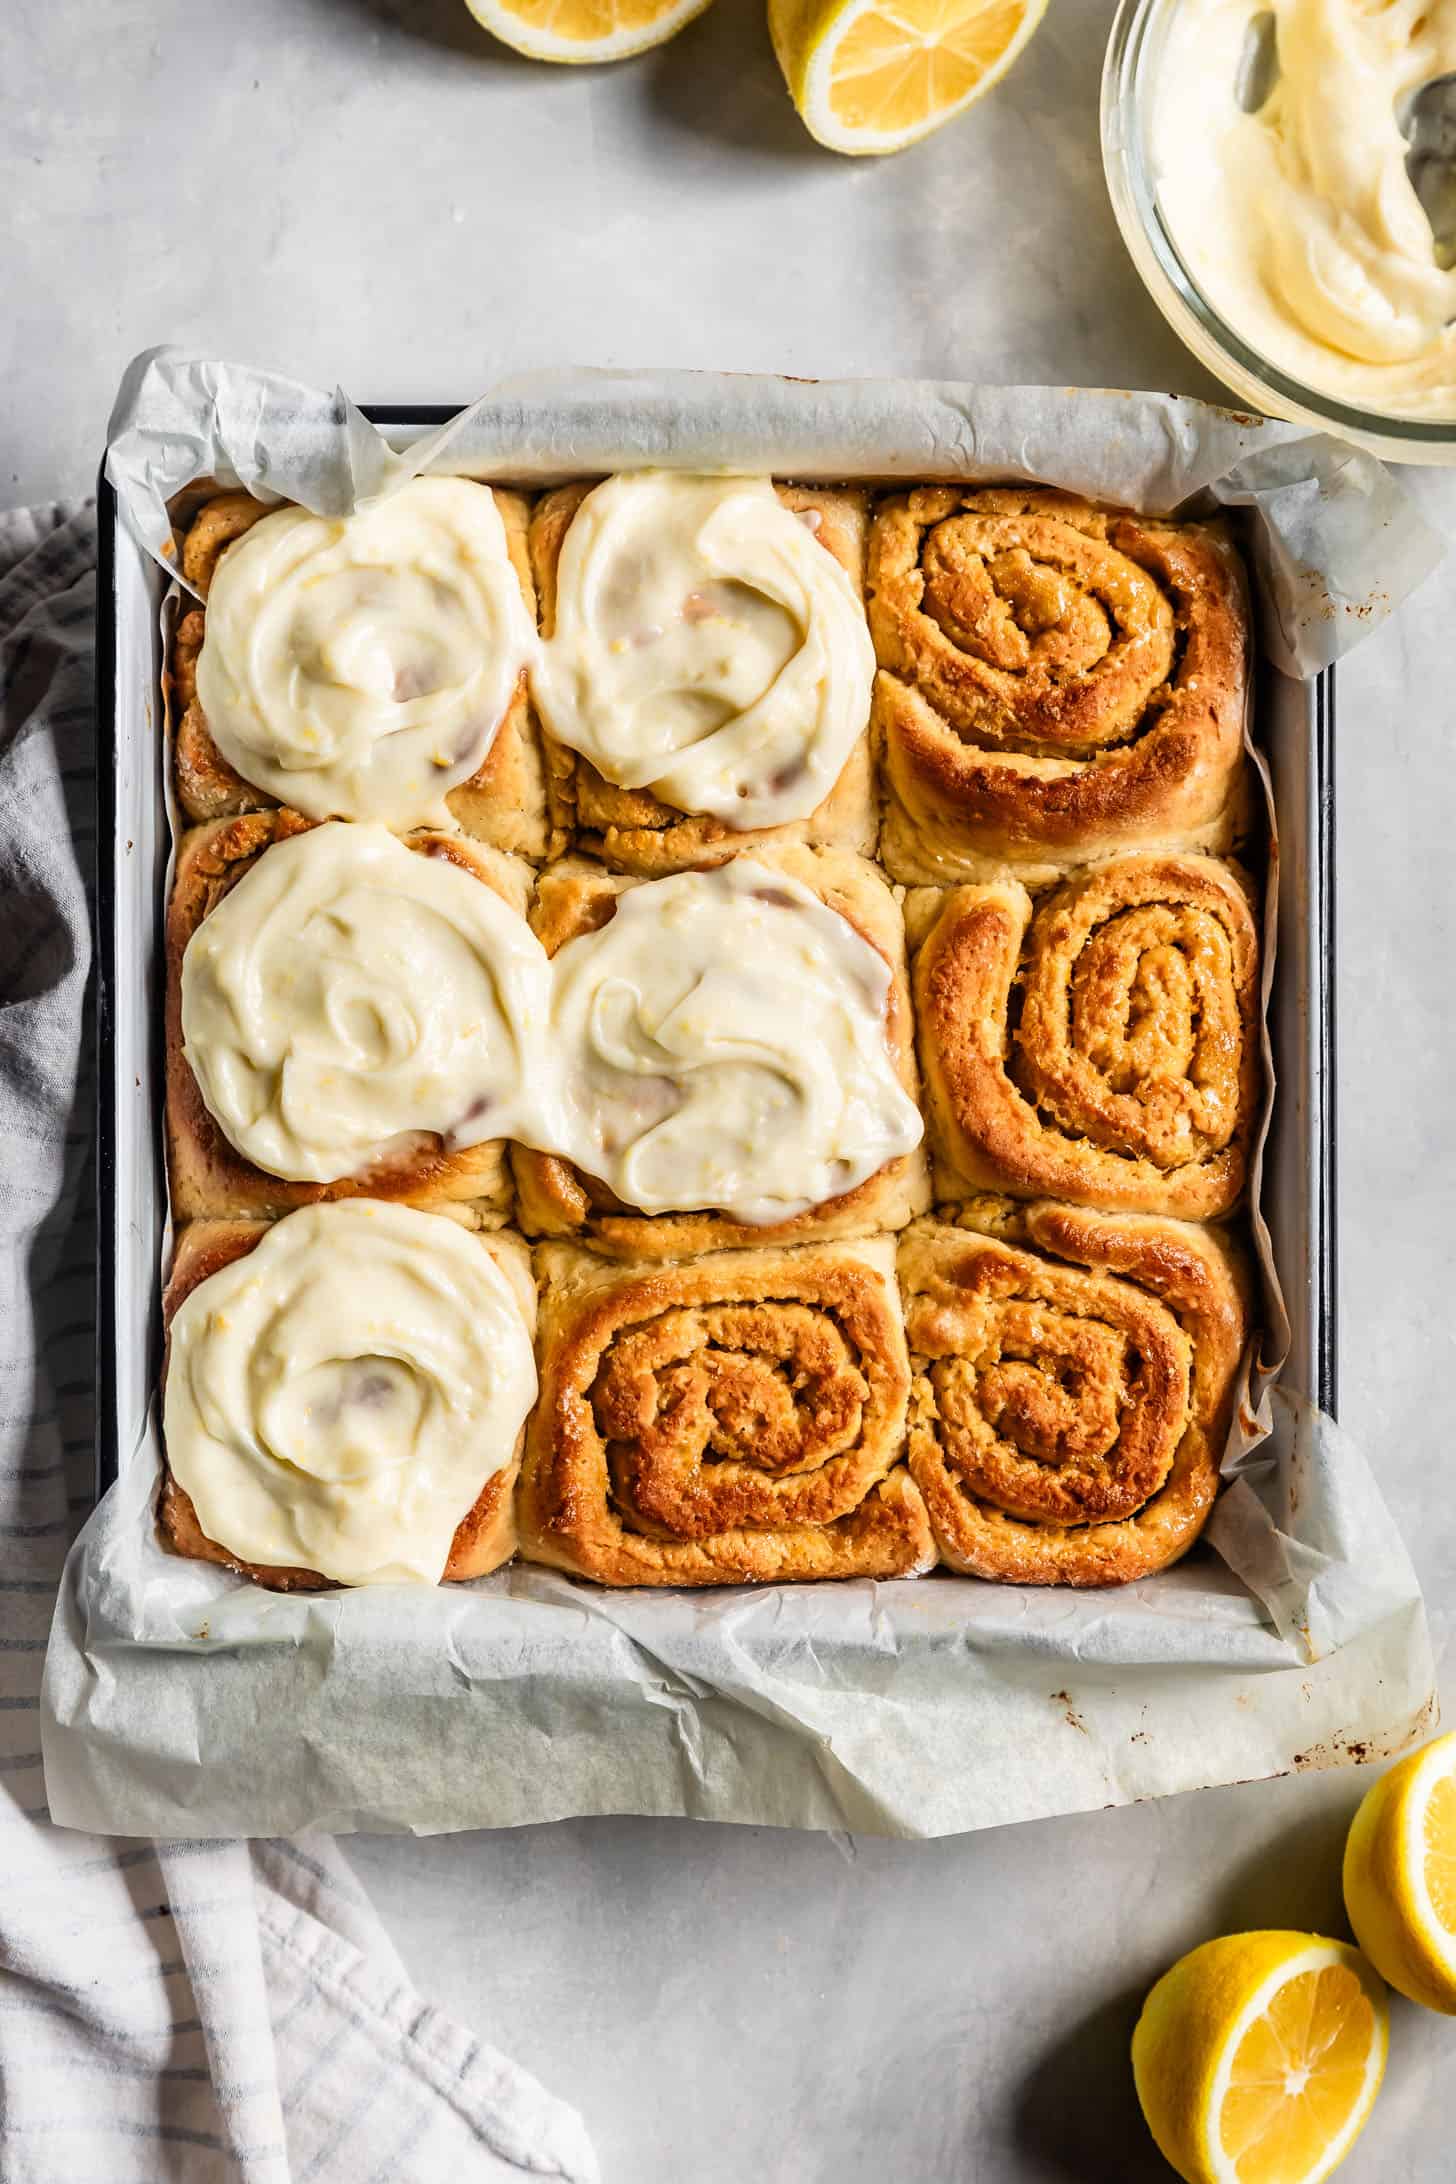
- Bake until golden brown, 30-35 minutes.
- Prepare icing. Mix the cream cheese and butter stand mixer until smooth. Mix in the remaining ingredients, adding more lemon juice as needed to thin the icing.
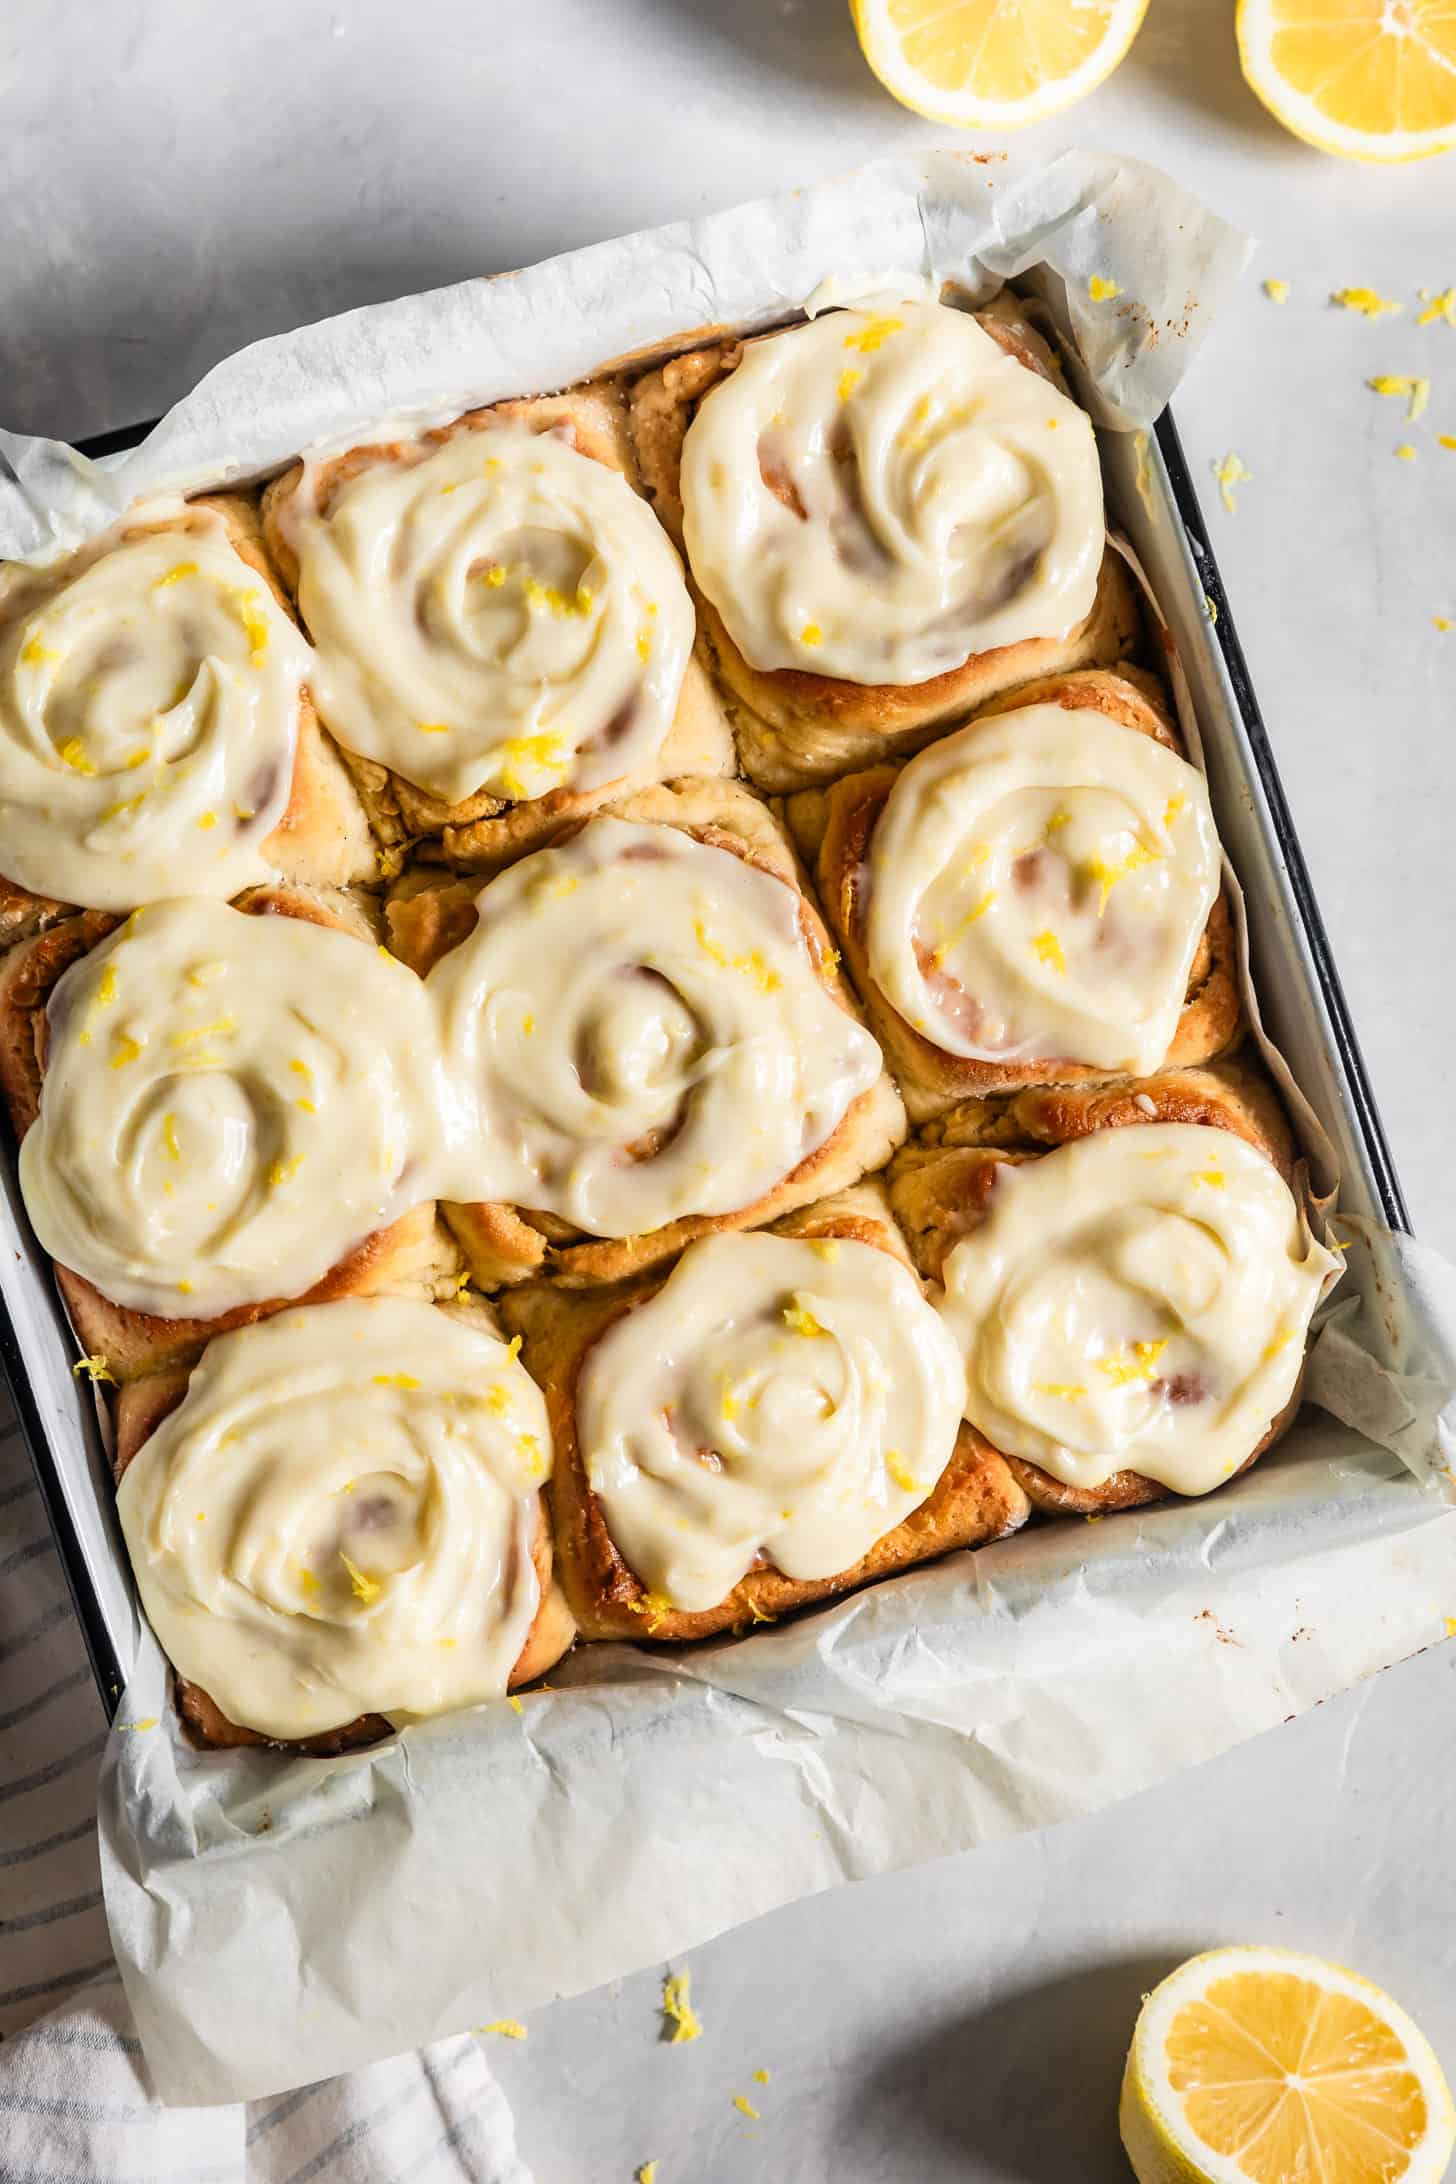
- Frost the warm rolls and serve immediately.
Gluten-Free Baking With Yeast: How to proof gluten-free dough
While conventional yeast dough typically needs a dual rise to develop a smaller gluten structure, gluten-free dough achieves optimal results with a single rise. If you rise gluten-free dough, then deflate it and allow it to rise again, the resulting baked good will likely be dense with minimal crumb or structure.
Unlike conventional bread dough, gluten-free dough requires specific adjustments to promote and retain more air bubbles.
SINGLE RISE
As I just mentioned, the initial adjustment involves allowing the dough to rise only once. Roll and cut the dough into lemon rolls right away then let them rise in the pan before baking.
MILK
The second adjustment is to use an enriched brioche-style dough, with milk as the liquid. Similar to how it works in my gluten-free soft pretzel recipe, the proteins in milk, called caseins, imitate gluten, imparting structure to the dough. In gluten-free dough, milk plays a role in capturing air, resulting in a softer and more pillowy crumb.

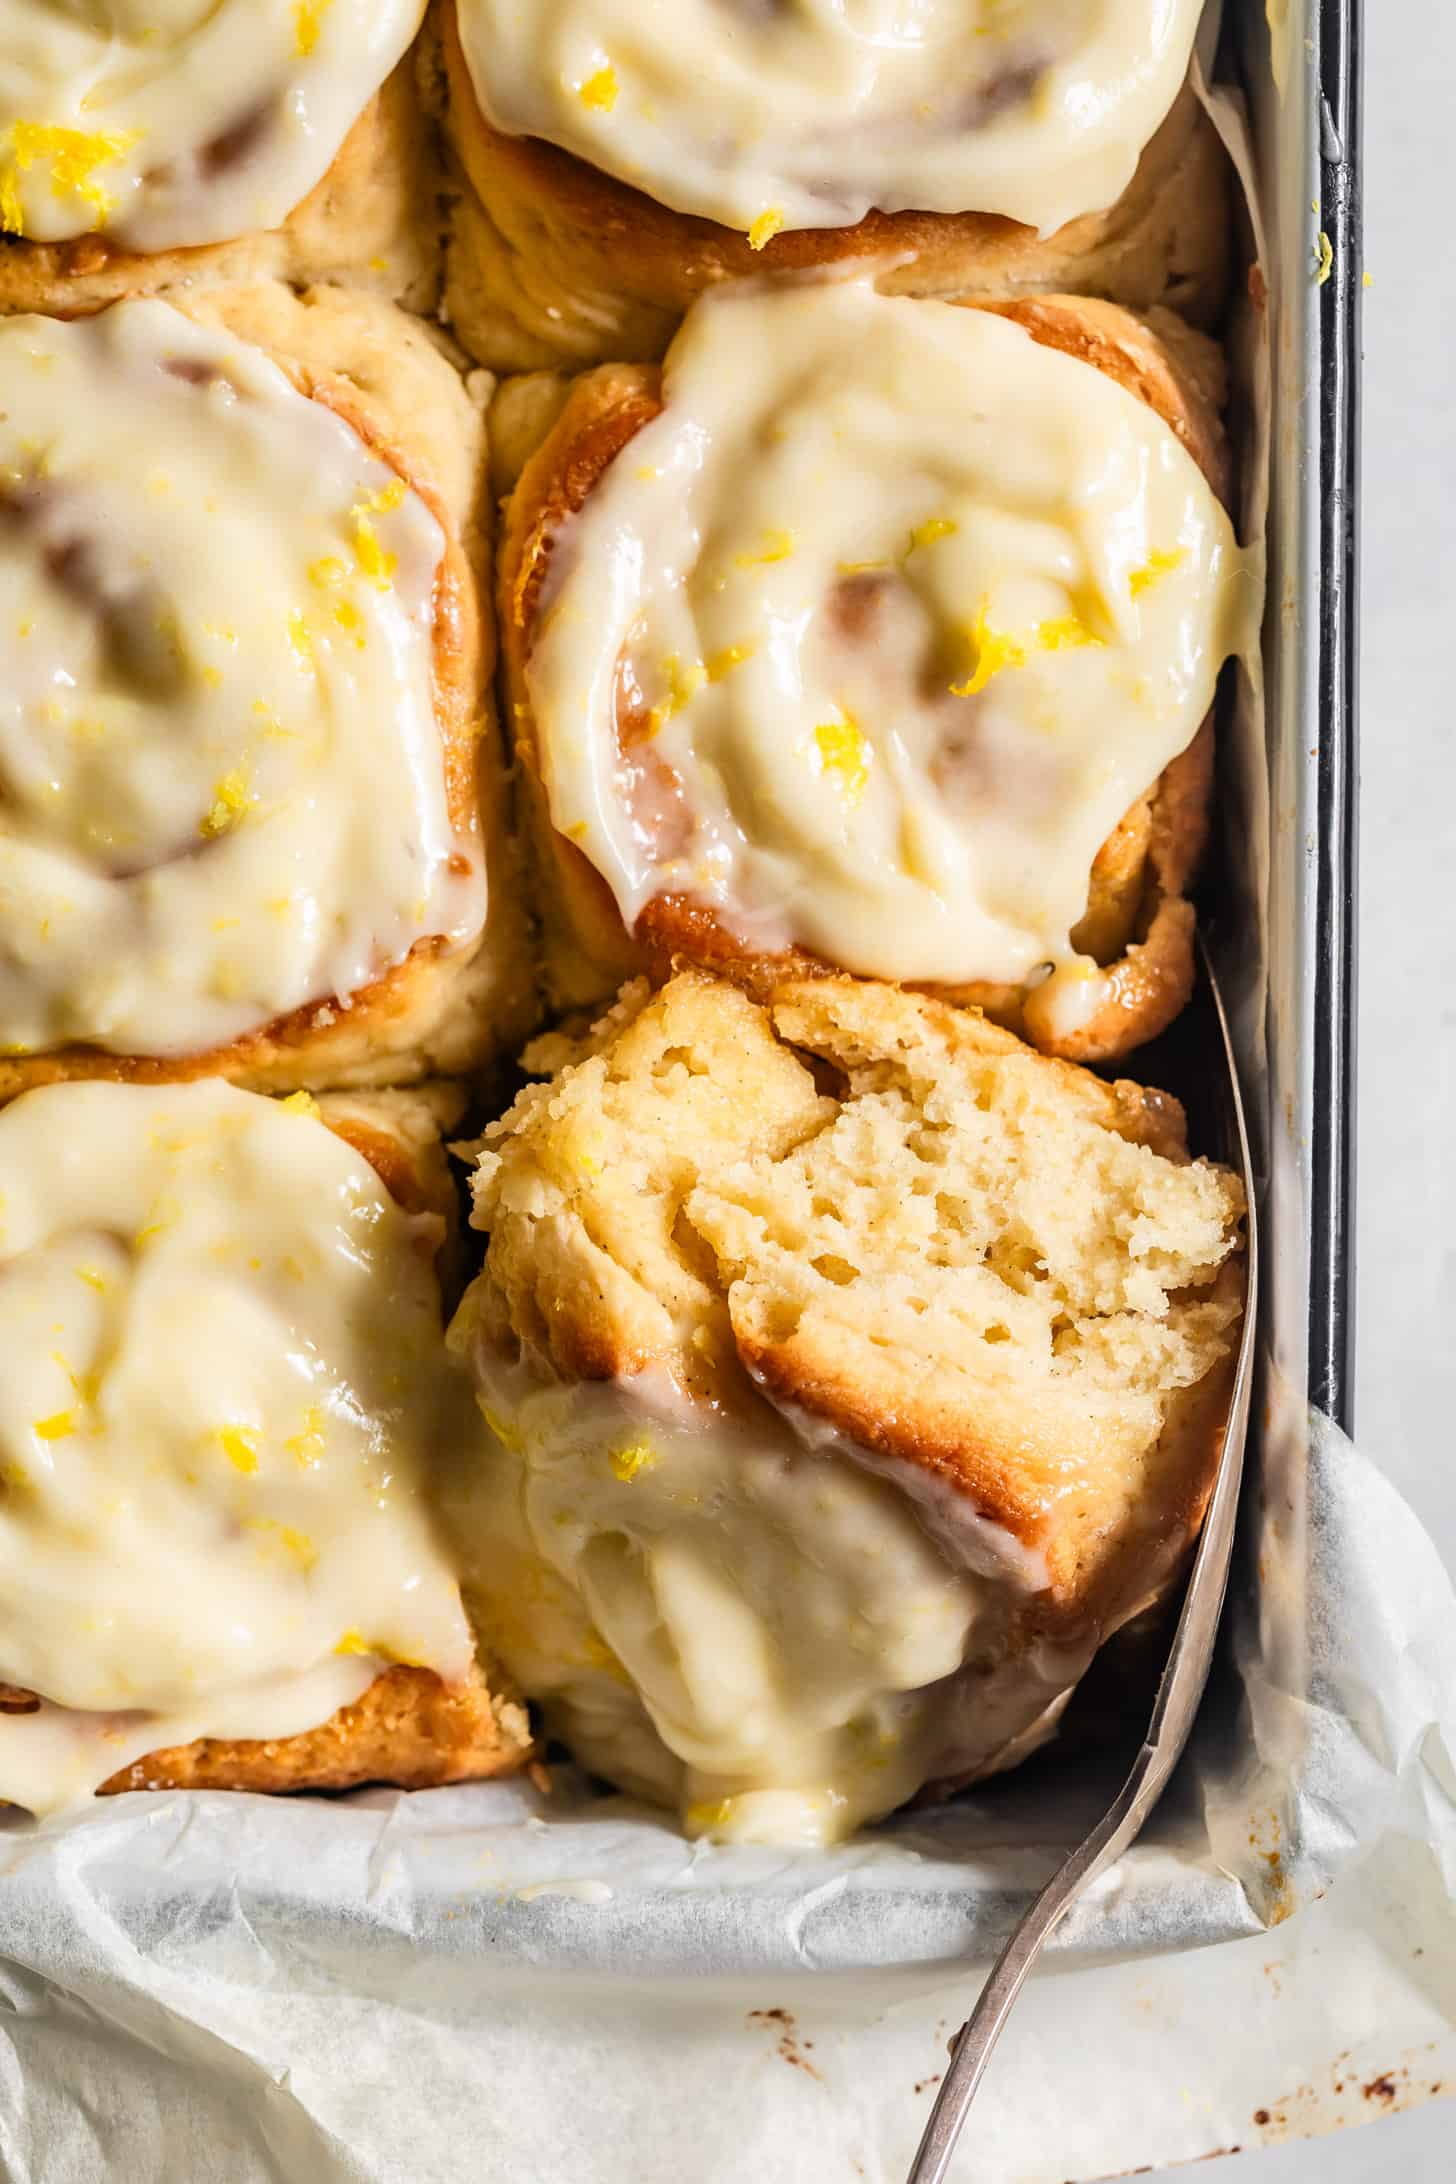
Make-Ahead Gluten-Free Lemon Rolls
To enjoy these gluten-free lemon rolls as a morning treat without the need to wake up at least an hour early to assemble, proof, and bake all in the morning, you can prepare them the night before!
Instead of letting them rise for the usual 1 hour, simply refrigerate the rolls overnight. The next morning, take them out of the fridge and let them sit on the counter for 30 minutes before baking as usual.
Indulge in warm pillowy gluten-free lemon rolls fresh from the oven!
How To Store Leftover Gluten-Free Lemon Buns
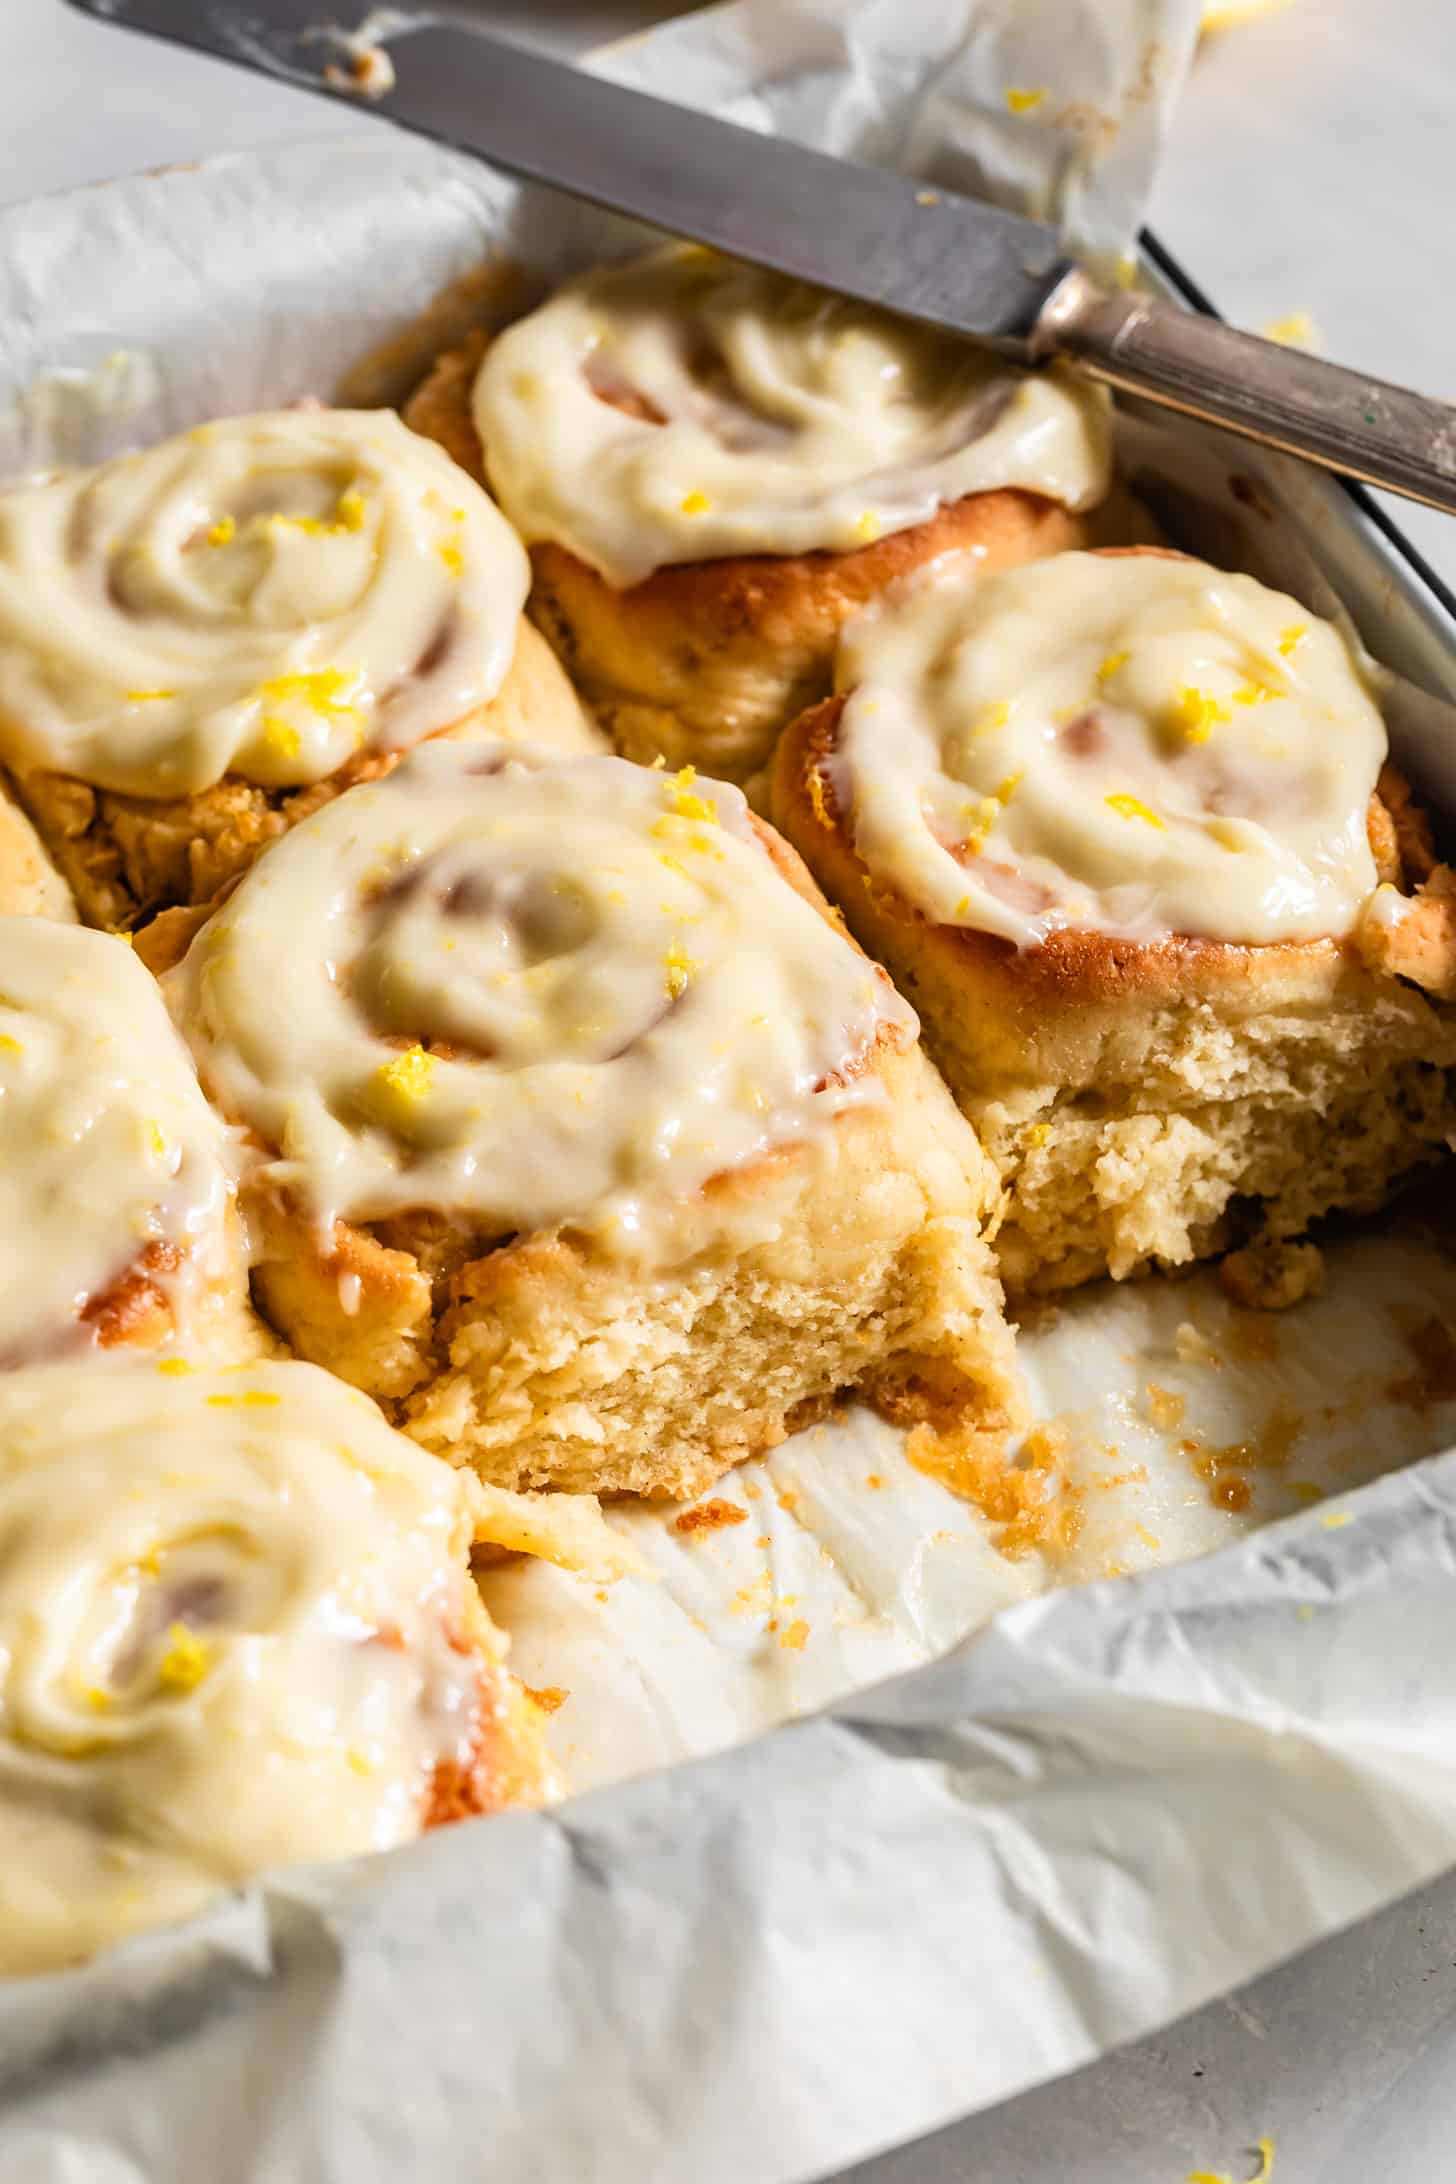
These gluten-free lemon rolls are best when eaten warm and fresh out of the oven. Store any leftovers in an airtight container in the fridge. To reheat, bake at 375°F for 5-10 minutes or microwave for 30-45 seconds.
Over time, the moisture from the filling can make the dough just a little more dense than fresh out of the oven. However, rest assured, reheated gluten-free lemon rolls still retain their delicious flavor, making them a delightful treat even after reheating!
Recipe

Gluten-Free Lemon Rolls
Ingredients
- 1 cup (240 g) warm whole milk, between 105-115°F
- 1½ tablespoons active dry yeast
- ¼ cup + 2 tablespoons (75 g) granulated sugar, divided
- ¾ cup + 2 tablespoons (140 g) Bob's Red Mill brown rice flour
- 1 cup (112 g) Bob’s Red Mill tapioca flour
- ½ cup + 2 tablespoons (80 g) Bob's Red Mill sorghum flour
- ½ cup (78 g) Bob's Red Mill potato starch
- ¼ cup + 2 tablespoons (60 g) sweet rice flour, also called "Mochiko" and distinctly different than white rice flour or brown rice flour
- 1½ teaspoons xanthan gum
- 1 teaspoon kosher salt
- ½ teaspoon baking powder
- ¼ teaspoon cream of tartar
- 2 large eggs, room temperature
- 1 egg white, room temperature
- 1 tablespoon freshly squeezed lemon juice
- 5 tablespoons unsalted butter, softened
- 6 tablespoons unsalted butter, softened
- ¼ cup + 2 tablespoons (75 g) granulated sugar
- ¼ cup (50 g) light brown sugar
- 1½ tablespoon lemon zest, from 1-2 lemons
- 1 tablespoon freshly squeezed lemon juice
- 1½ teaspoons pure vanilla extract
- 4 oz full-fat cream cheese (blocked), room temperature
- 2 tablespoons unsalted butter, room temperature
- ½ tablespoon lemon zest
- 1 cup powdered sugar, sifted
- Pinch kosher salt
- 1-2 tablespoons freshly squeezed lemon juice, as needed
- ½ teaspoon pure vanilla extract
INSTRUCTIONS
- Line a 9x9 baking pan with parchment paper. Prepare the filling mixture by mixing together the softened butter, sugars, lemon juice, lemon zest, and vanilla. Set aside
- Activate the yeast. Combine the warmed milk with 2 tablespoons of the sugar. Slowly sprinkle the yeast over the warm milk and use a spoon to mix completely. Let set aside for 10 minutes while the yeast activates and foams. If your yeast hasn't foamed up after 10 minutes, you may have bad yeast and you should try again with a fresh packet.
- In the bowl of a stand mixer fitted with the paddle attachment, whisk together the remaining ¼ cup sugar, brown rice flour, tapioca starch, sorghum flour, potato starch, sweet rice flour, xanthan gum, salt, baking powder, and cream of tartar.
- When the milk has foamed, add it to the stand mixer along with eggs, egg white, and lemon juice. Begin to mix, then add in the softened butter and mix the dough until completely incorporated, scraping down the sides as needed. Change to the dough hook and knead the dough on low for 1 minute. Let it rest for 1 minute. Knead again for 1 minute. Repeat. (This resting method keeps the dough from getting too warm and thus too sticky to work with). The dough will be very sticky (more so than gluten yeast dough), but if you pinch a tablespoon of dough off and set it on the surface, it should hold its shape. If it doesn't, add 2-4 more tablespoons of tapioca starch until it's a little less soft and holds its shape.
- Sprinkle your surface very well with tapioca starch. Using tapioca starch-covered hands or a spatula, scrape the dough out onto the surface and sprinkle it well with tapioca starch on top too. Use a rolling pin to roll your dough out to an 11x16 rectangle, dusting with more tapioca starch as needed.
- Spread the filling out over the dough with a silicone or offset spatula.
- Starting with the long edge, tightly roll up the dough into a spiral. Use a bench scraper to help roll it to make sure it doesn't stick to the surface. If you need to add more tapioca starch on the spiral as you roll, that's fine! It will just make your filling a little gooier, which, in my opinion, is good.
- Tap in the edges so they're flat or cut the edges off and use a ruler to divide your log into 9 equal pieces (about 1.75 inches long). Cut into spirals using one of two methods: 1. Use uncoated dental floss or 2. A serrated knife with very gentle back-and-forth movements and no downward pressure. Place your cut rolls face up in the prepared pan.
- Cover the pan with plastic wrap and let rise in a warm draft-free place for 1 hour until it has doubled in size and the lemons rolls are kissing each other. I let mine rise in the "proof" setting of my oven. If making ahead, you can also put them in the fridge to rise overnight instead of the 1 hour rise.
- If you chilled your lemon rolls overnight, remove them from the fridge the next morning and allow them to sit on the counter for 30 minutes.
- Preheat the oven to 350°F. Bake the rolls for 30-35 minutes, until they're golden brown and the bottom third of the rolls reads at least 195°F.
- While the rolls bake, prepare the icing. Mix the cream cheese and butter in the bowl of a stand mixer until smooth. Mix in the lemon zest. Slowly mix in the powdered sugar and salt and mix until combined. Add 1 tablespoon lemon juice and the vanilla extract. Add more lemon juice as needed until you get your desired consistency. I make mine halfway between thick frosting and drizzle-able icing.
- When the rolls come out of the oven, cover them in icing and serve warm! Lemon rolls are best served warm fresh out of the oven and will become a bit more dense the longer you wait. If you don't eat them right away, you can reheat in the oven at 375°F for 5-10 minutes or microwave for 30-45 seconds.






Chrissie -
These look delicious, I will just need to convert the recipe to vegan as I am allergic to milk and prefer not to use any animal-based ingredients. They may not be quite the same but the flavors will be delicious, I'm sure. Blessings and thank you for the 'jumping-off place'.