
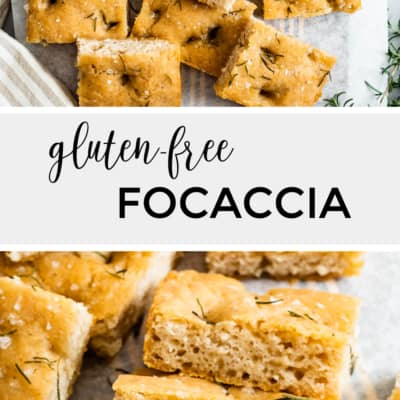
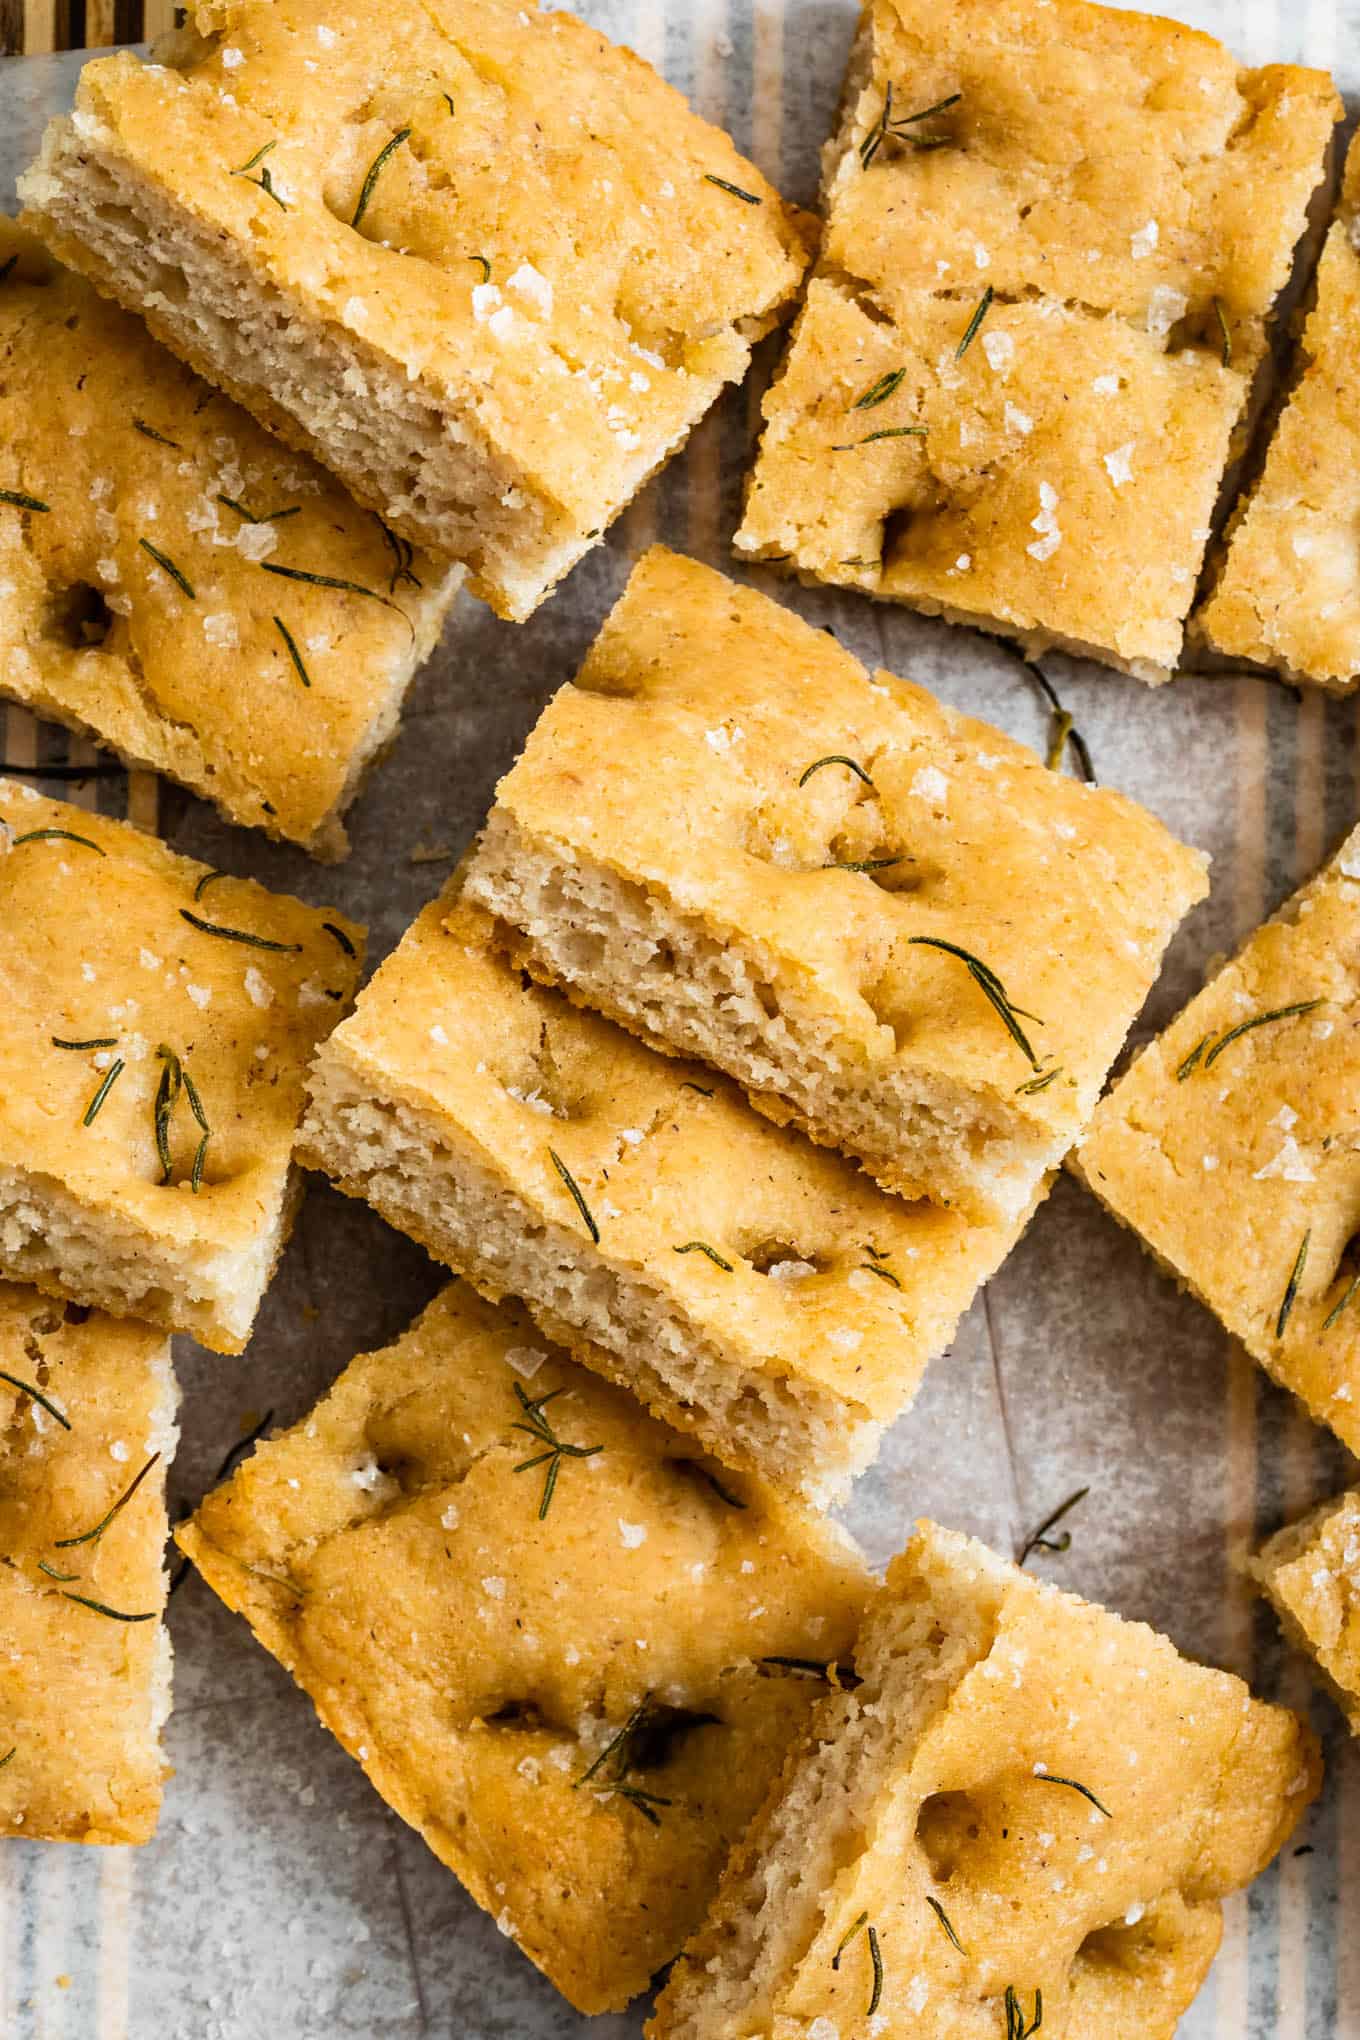
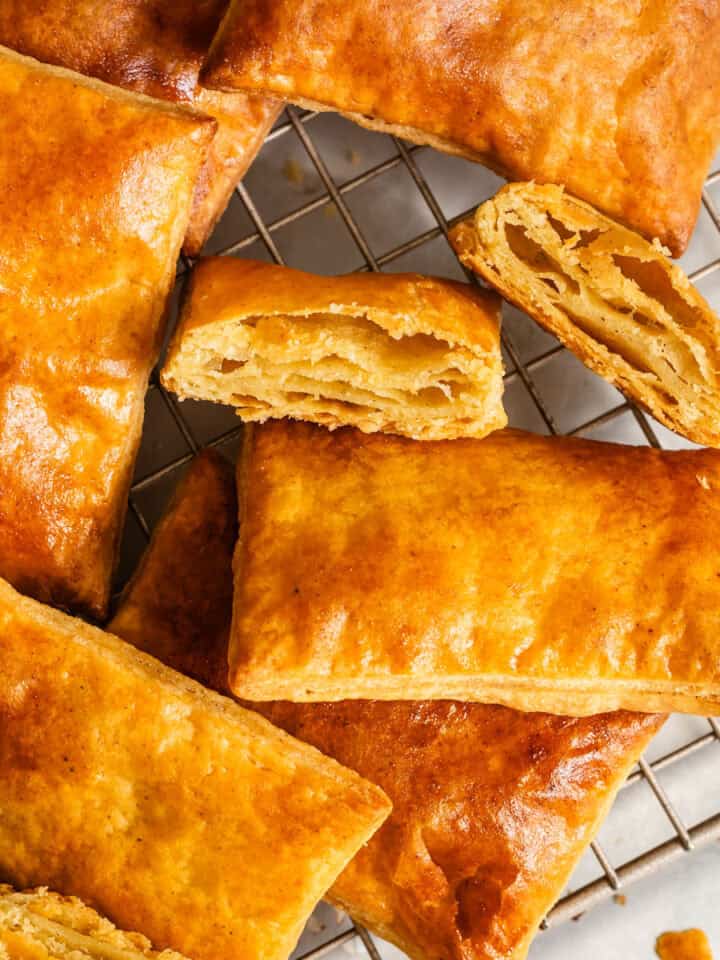
Perfectly pillowy gluten-free focaccia. Golden and crisp on the outside, tender and chewy on the inside, this bread is so easy to make! Keep this no-knead bread simple with just flaky salt or add your favorite herbs or toppings.
I started a baking quest for gluten-free focaccia bread almost a year ago. Now here we are with this golden beauty, over a dozen batches of focaccia later.
This recipe is easier to make than I ever expected! Just mix and let rise. Press into a pan and rise again, then bake. The olive oil infused bread bakes up so flavorful with a chewy, fluffy texture that makes you go back for another bite. And another. And another.
Why You'll Love this Gluten-Free Focaccia
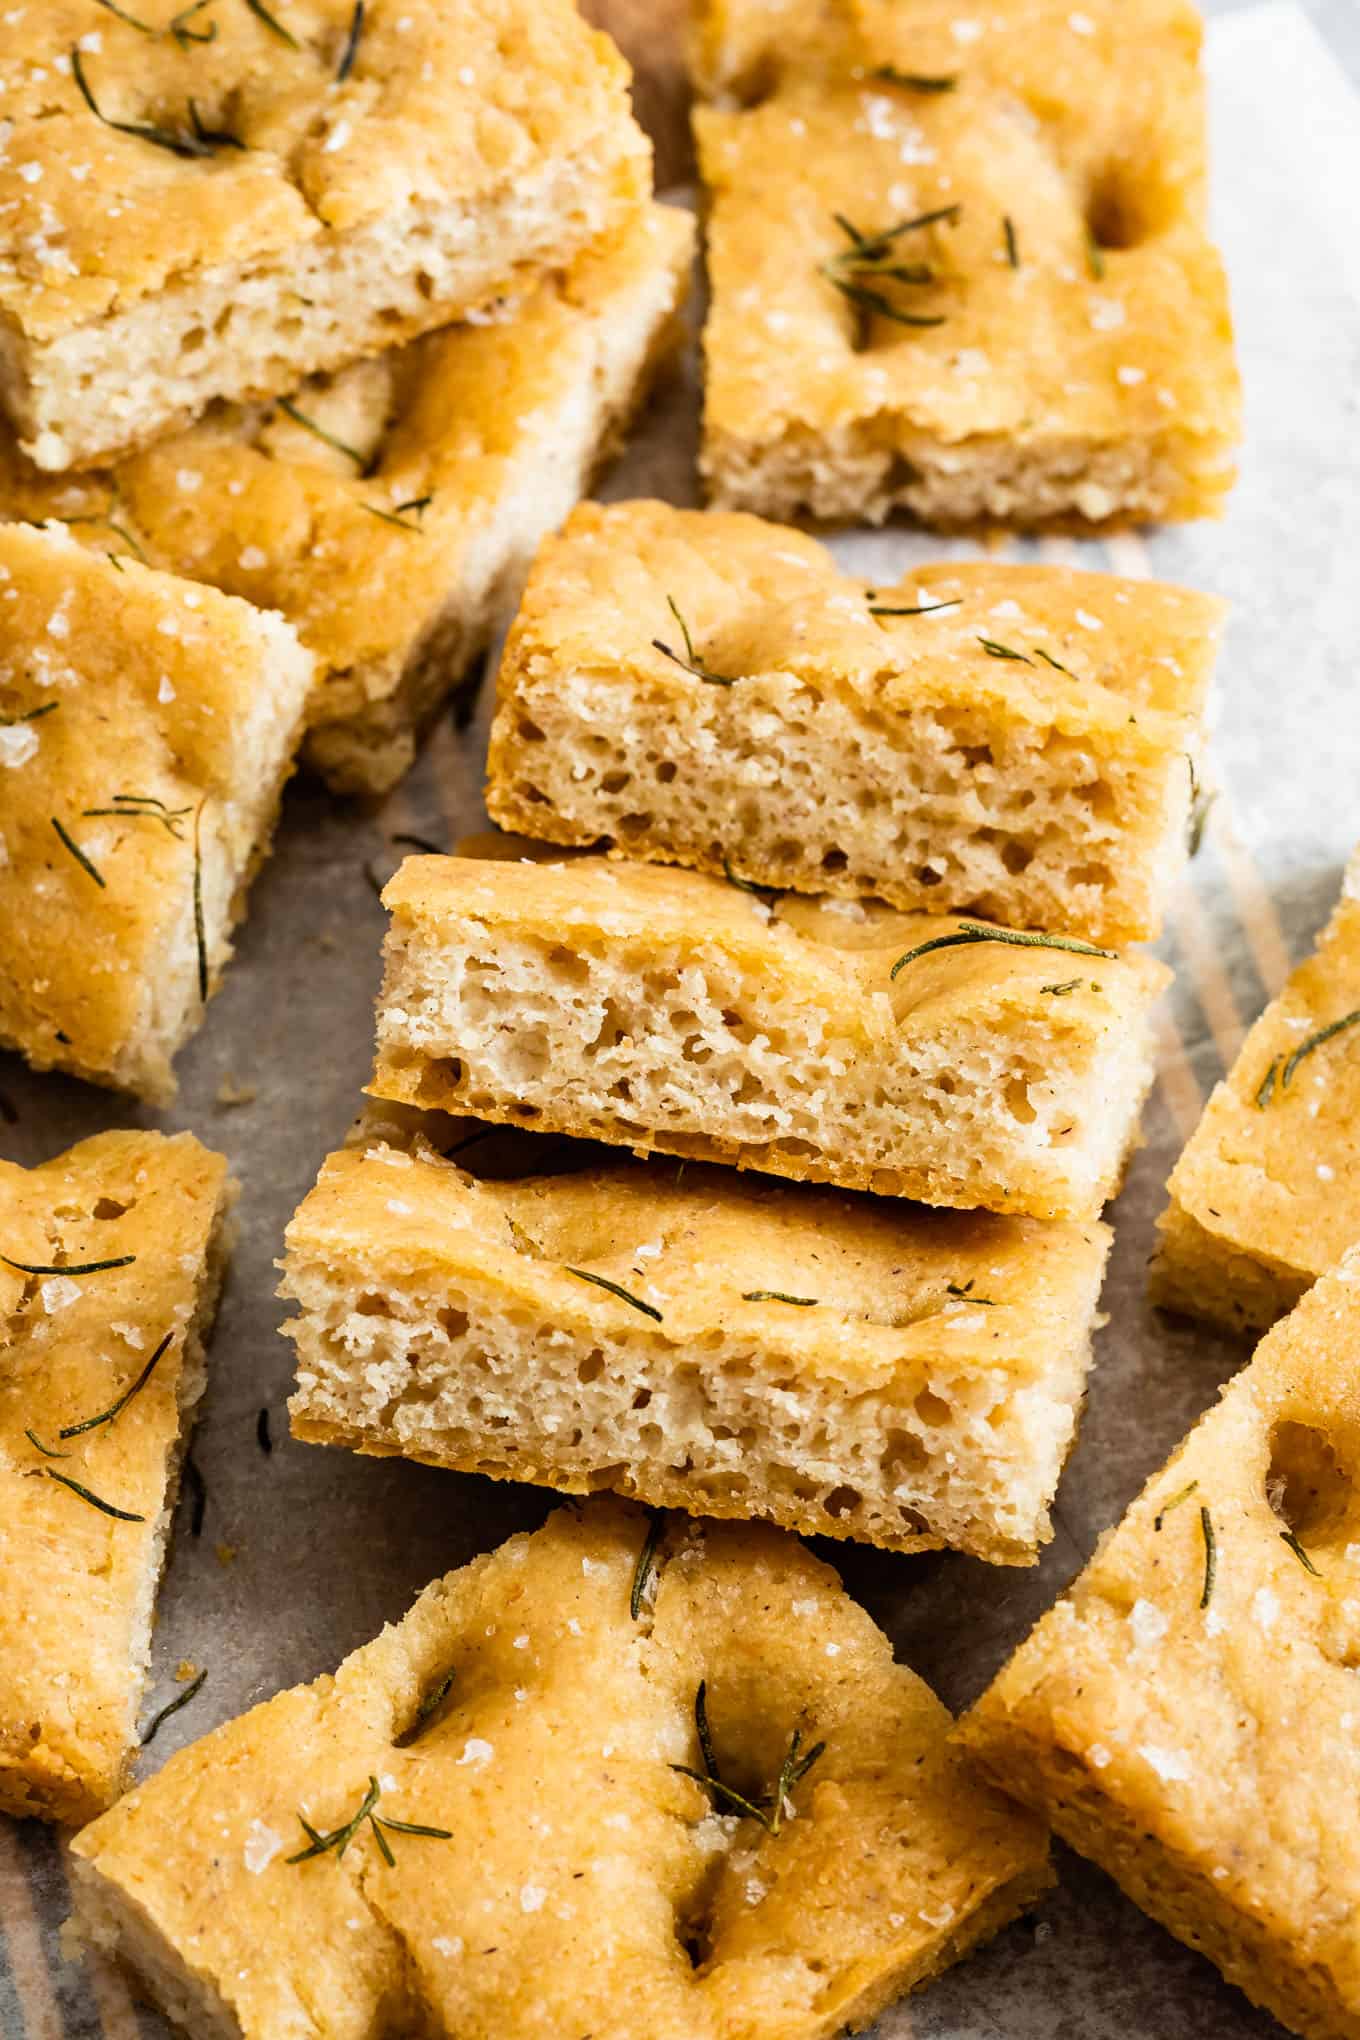
Gluten-free focaccia is no-fuss and so easy to make. The result is golden and crisp on the outside with a tender, fluffy, chewy, and slightly spongy inside that you cannot put down. Somehow it's all of those things in one simple dough. With pillowy air pockets, the dough is salty with rich flavor from extra virgin olive oil.
Focaccia is a back-pocket recipe everyone needs on hand - it's so versatile. You can customize the toppings, serve it alongside so many meals, or use leftovers for sandwiches.
If you're intimidated by making yeasted bread, start here with gluten-free focaccia and then move on to my soft gluten-free hamburger buns - both are easier than you'd think! I'll walk you through everything you need to know, I promise.
Main Ingredients for Gluten-Free focaccia
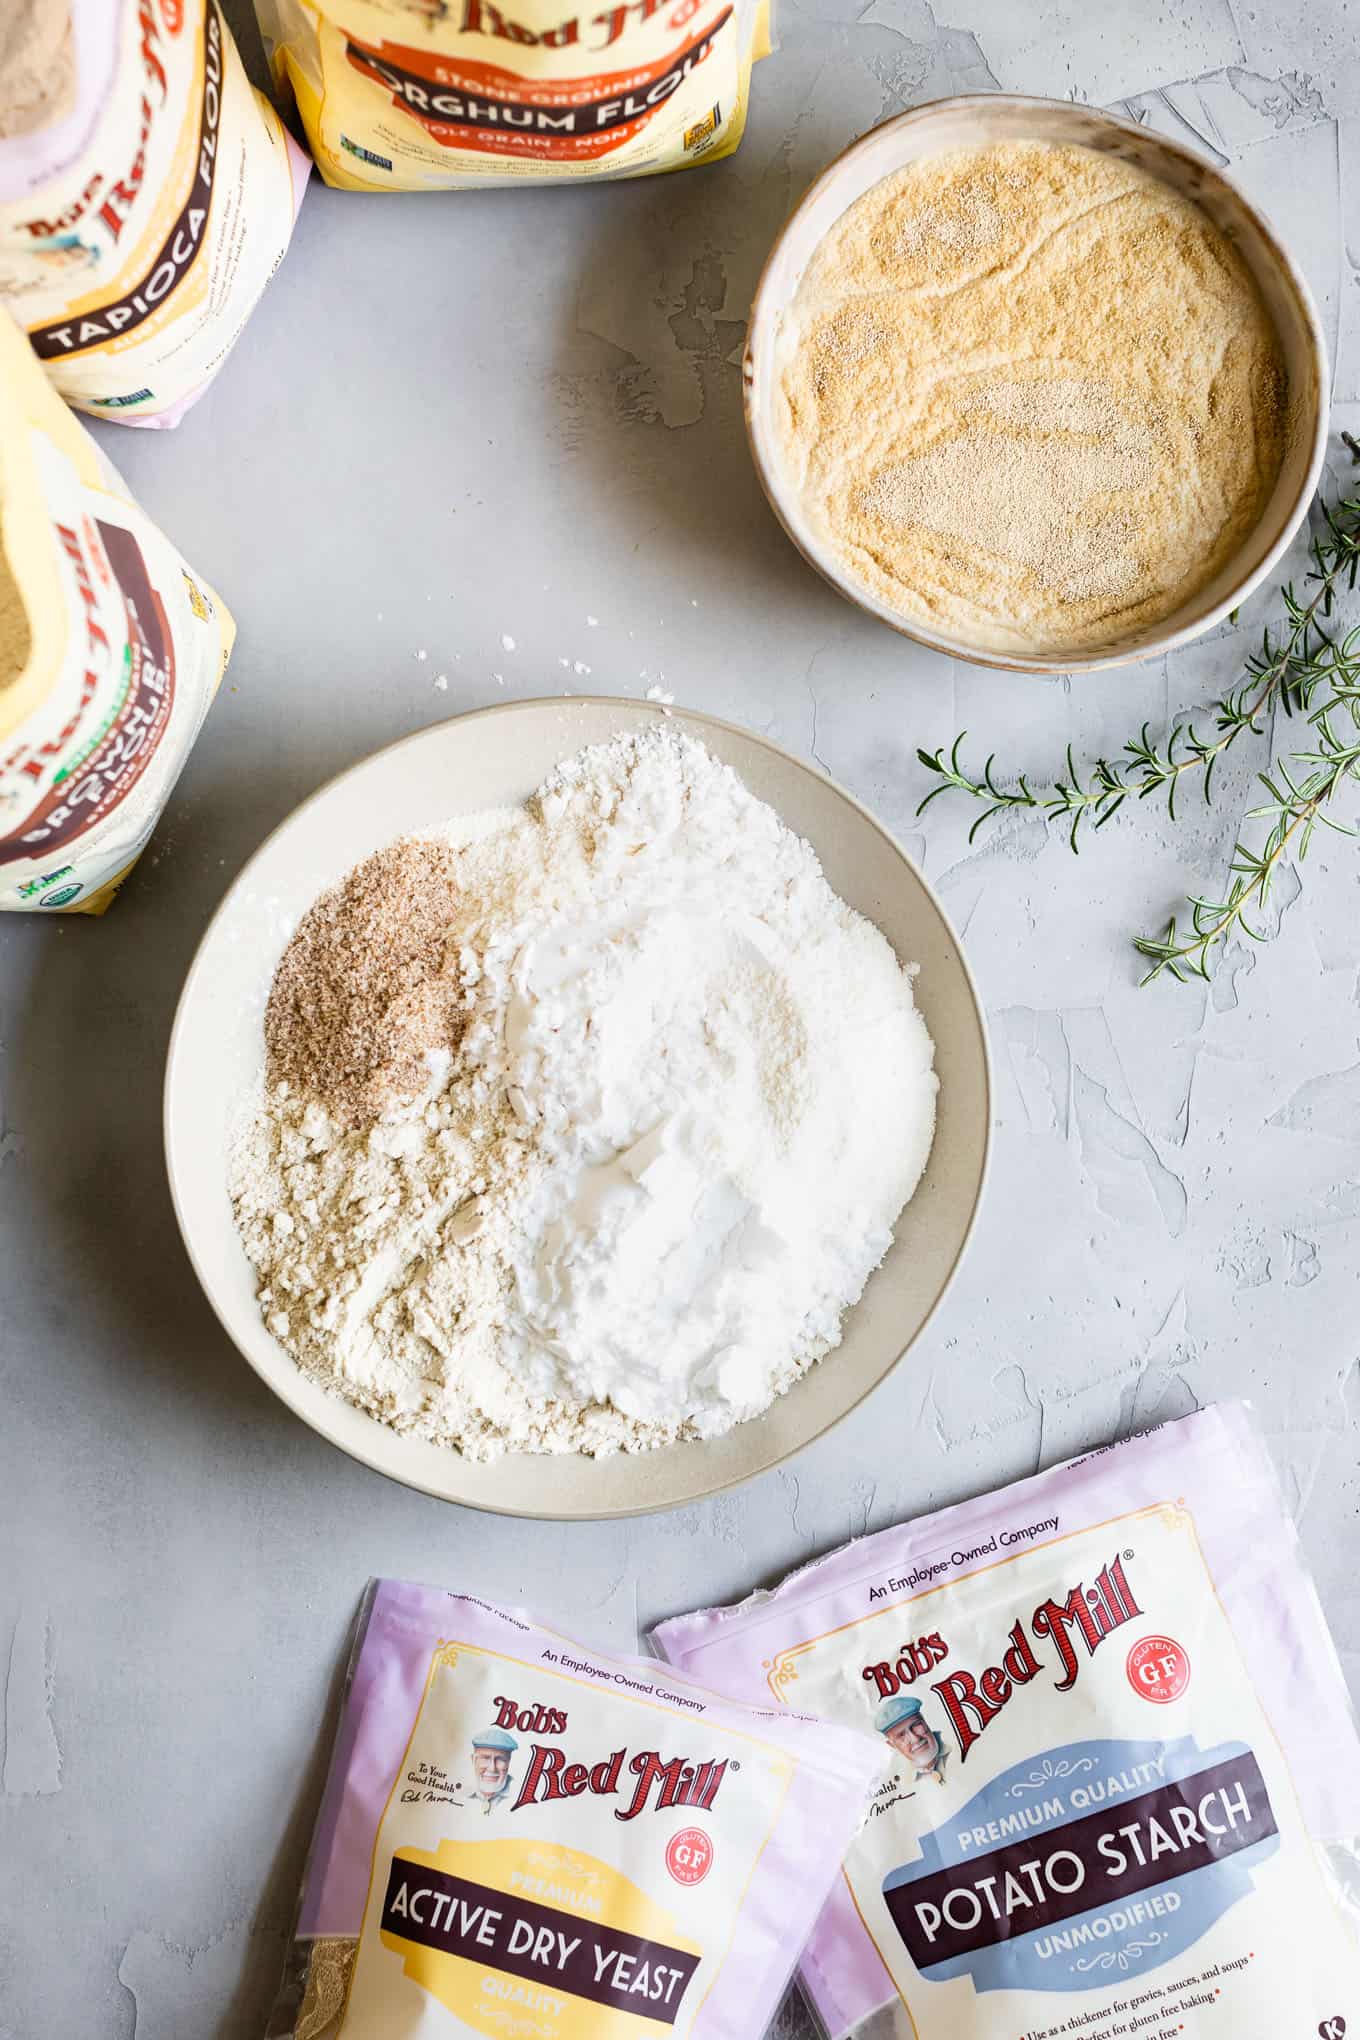
To make gluten-free focaccia I'm use flours and starches that work to mimic all-purpose flour with gluten. I based it off the flours used in my chewy gluten-free bagels: brown rice flour, sorghum flour, tapioca starch, and potato starch.
I recommend measuring each of the ingredients (including the water) by weight. Not only does a scale save time, but it ensures you're starting with exactly the right amounts making it so hard to mess up this simple recipe.
Here's what you need:
- Active dry yeast, honey or sugar, and warm water: The honey or sugar and warm water (105-110°F) activate the yeast, which is the leavener that allows the dough to rise, creating those fluffy air pockets.
- Brown Rice Flour: Brown rice flour is a great neutral whole grain flour for bread because it bakes up neither gummy nor gritty and it soaks up the moisture nicely.
- Sorghum Flour: Sorghum flour adds more flavor. Sorghum is wholesome and whole grain that has slightly sweet notes that add flavor depth.
- Tapioca Flour and Potato Starch: For starches, use a combination of tapioca flour and potato starch. Tapioca starch, one of my go-to flours for gluten-free baking, is a fluffy starch that adds chewiness to baked goods. Just like when baking sourdough, I found that combining the tapioca flour with potato starch produced more flavorful focaccia. If you can't find or don't have potato starch, you can sub in additional tapioca flour by weight.
- Psyllium Seed Husk Flakes: Similar to my gluten-free bagels, this dough uses psyllium seed husks as the binder to hold the dough together. The psyllium seed husks soak up moisture and, in doing so, bind the flours together, adding chewiness that mimics gluten. I tested versions with xanthan gum and with a combo of xanthan gum and psyllium seed husks and found the xanthan gum negatively affected that fluffy texture of focaccia.
- Salt: Salt is essential. Mix kosher salt into the dough and sprinkle some flaky salt on top before it bakes. This dough is heavily salted, which gives it that classic focaccia flavor, allowing it to be a delightful snack all on its own.
- Extra Virgin Olive Oil: Olive oil is key! Do not sub a different oil. Just like with the salt, olive oil gives the bread rich flavor, not to mention the crisp golden brown outside. Here you'll mix some into the dough and drizzle it over the dough before it goes into the oven.
Make-ahead overnight rise
To save time the day you want to bake your gluten-free focaccia, you can make the dough in advance and do an overnight rise in the fridge.
Prep the dough the day before, place it in the bowl with olive oil, cover with plastic wrap, and store it for 8-36 hours in the fridge.
The next day, pull the dough out of the fridge and let it sit at room temperature for 30 minutes before transferring it to the prepared pan to start its second rise. Rise for 1-2 hours in the pan and bake, as usual.
How to make gluten-free focaccia
- Activate the yeast. Place the honey or sugar in warm water (105-110°F) and sprinkle the yeast over the top. Let it sit for 5-10 minutes until it starts bubbling on top.
- Whisk dry ingredients. Either in a large mixing bowl or the bowl of a stand mixer if you have one.
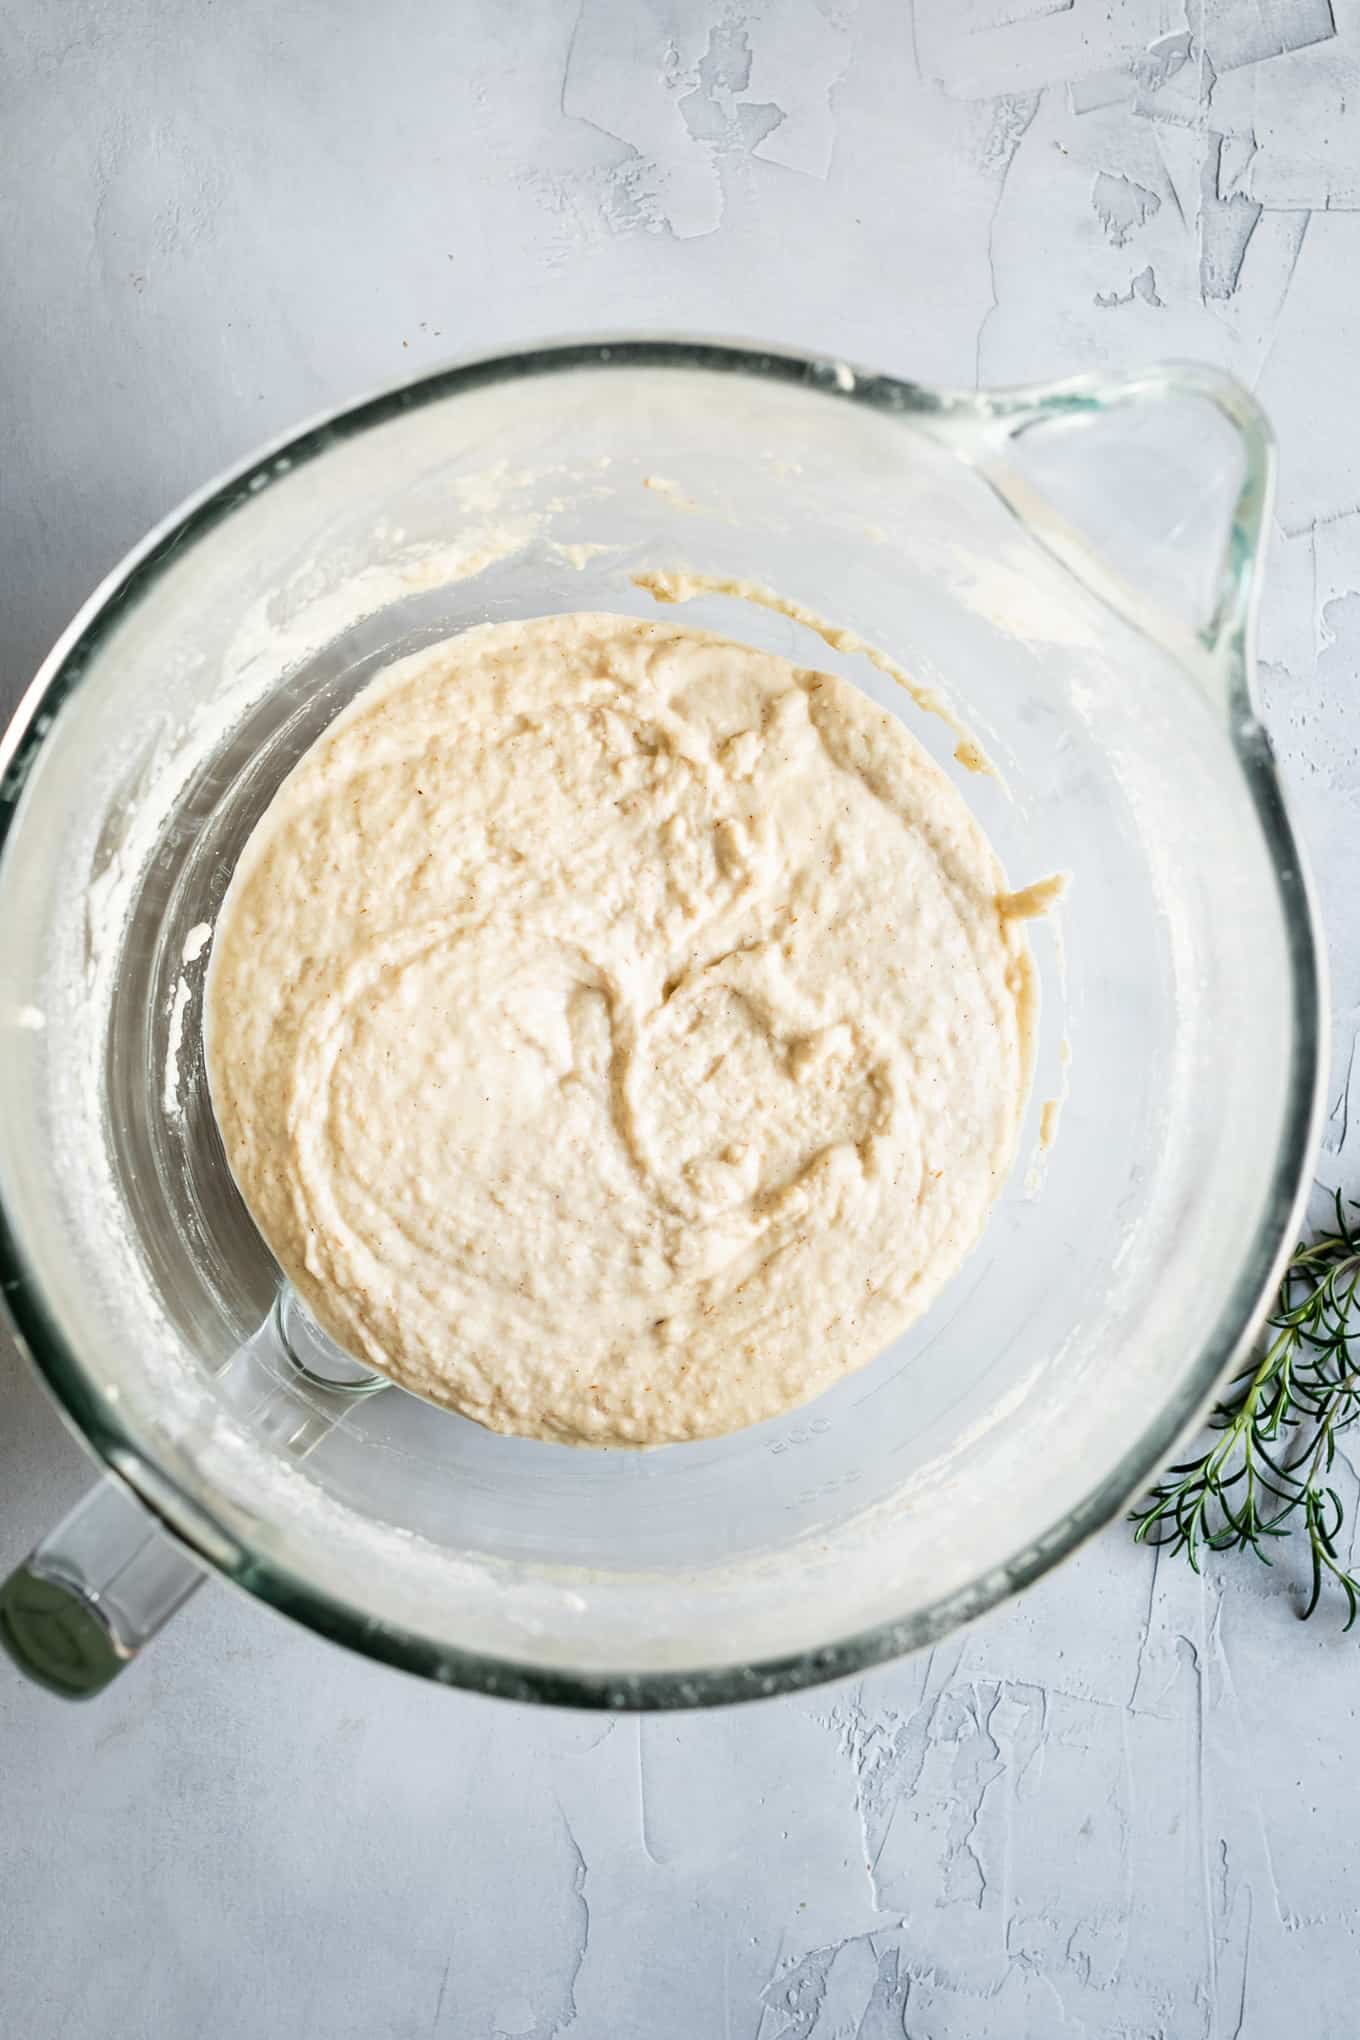
- Mix wet ingredients with dry ingredients. Add the activated yeast with water and 1 tablespoon of olive oil to the dry ingredients and mix well either with a silicone spatula or the paddle attachment of the stand mixer. The dough will be very wet, but will slightly thicken as the psyllium sits and soaks up the moisture.
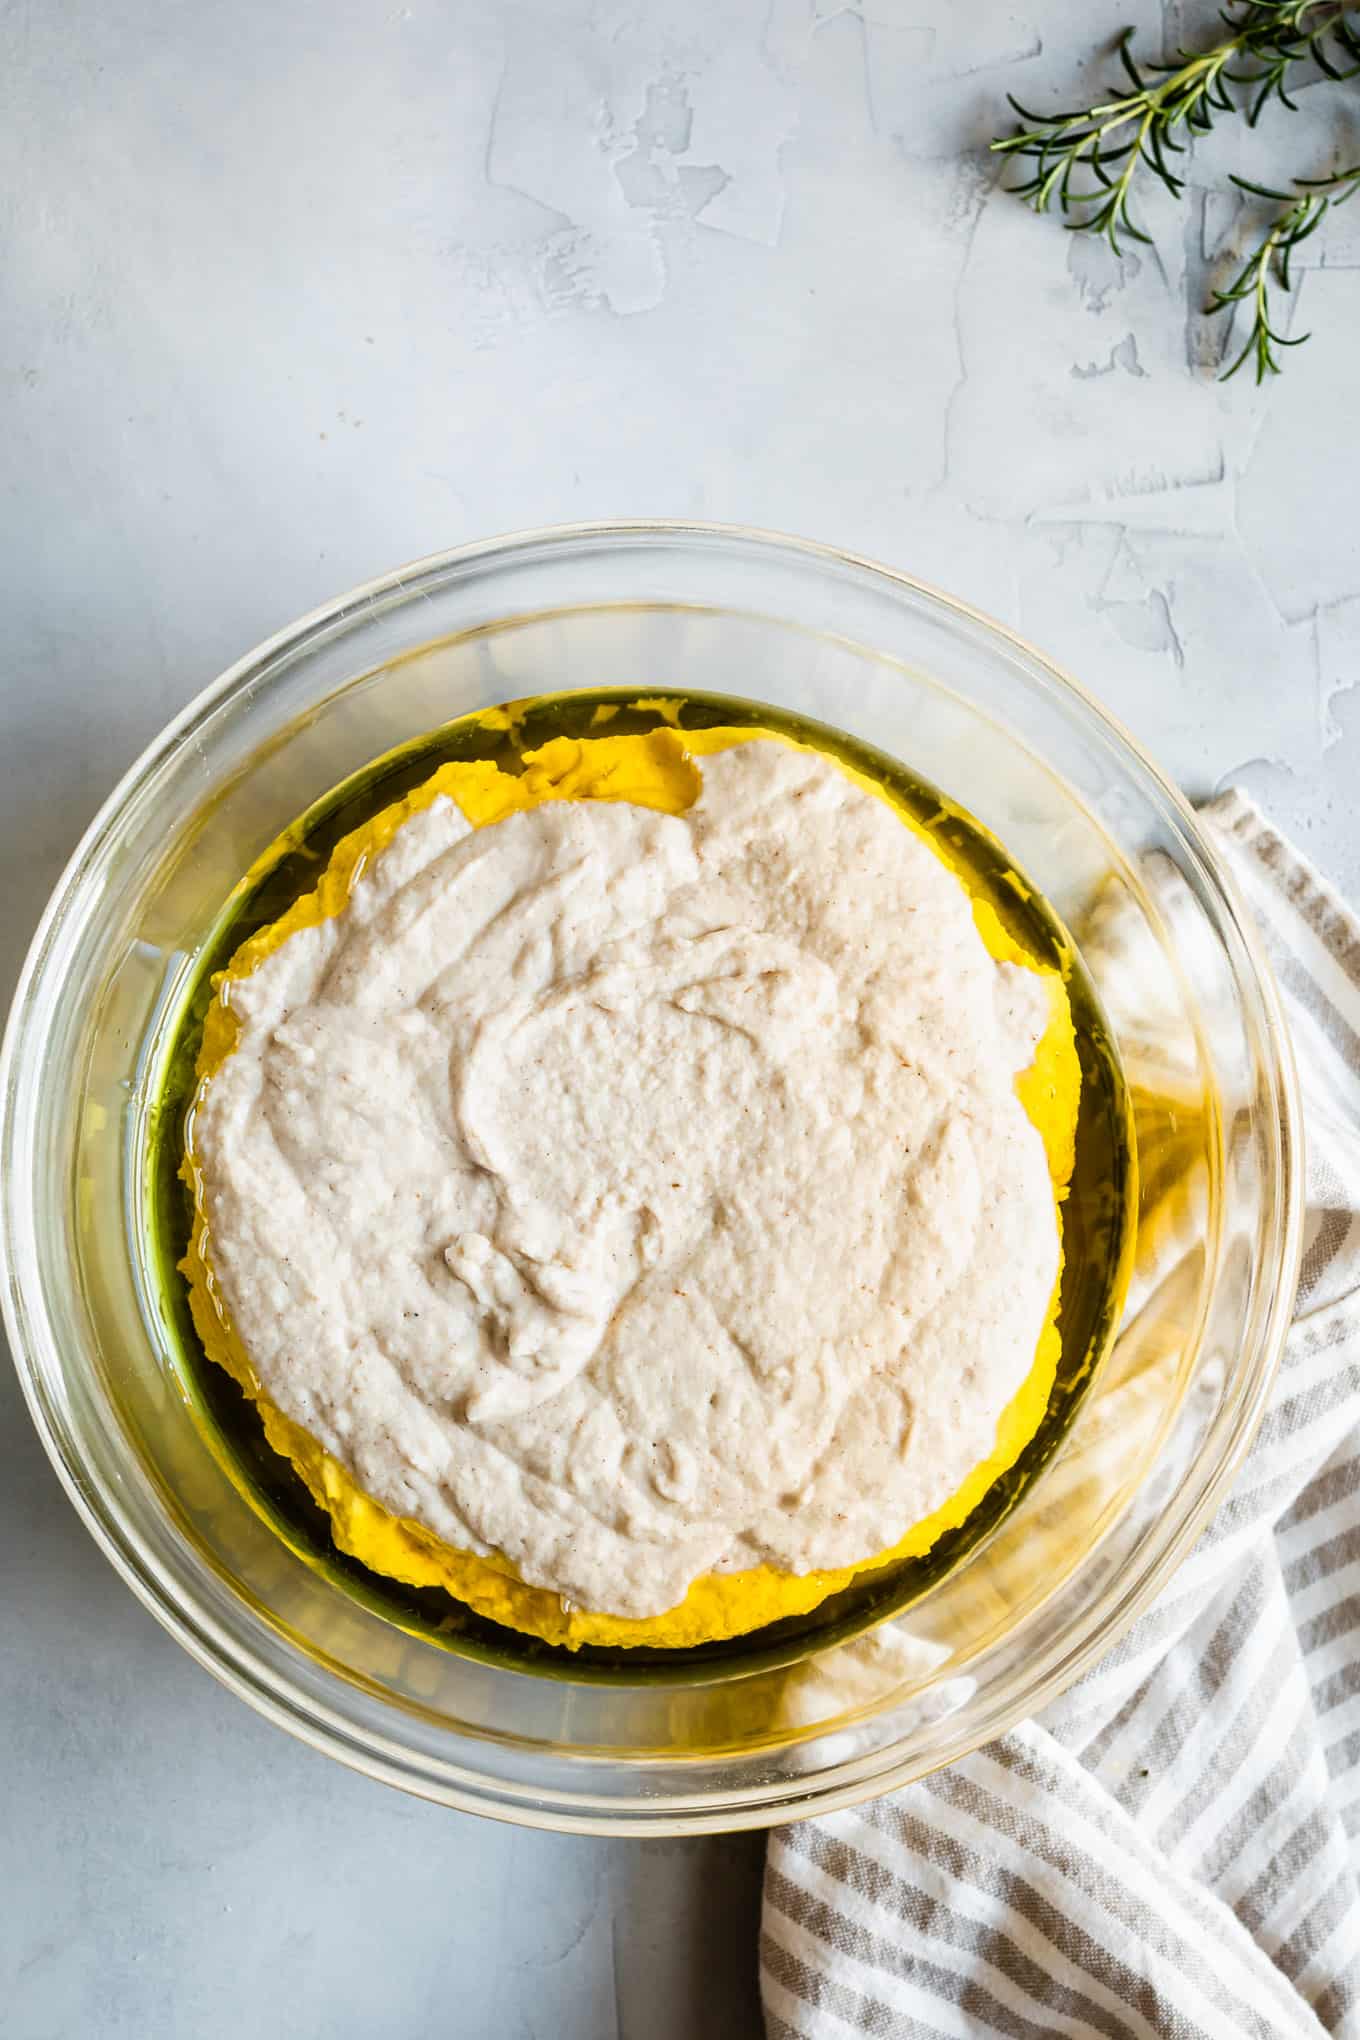
- Rise in a glass bowl with olive oil. Put ¼ cup olive oil in a glass bowl and dump the dough into the bowl. Cover and let rise in a warm place for 1.5-2 hours, until doubled in size.
- Second rise in greased baking pan. Transfer the dough and oil into a baking pan greased well with either olive oil or butter and smooth out the top. Cover and let rise in a warm place for 2 hours.
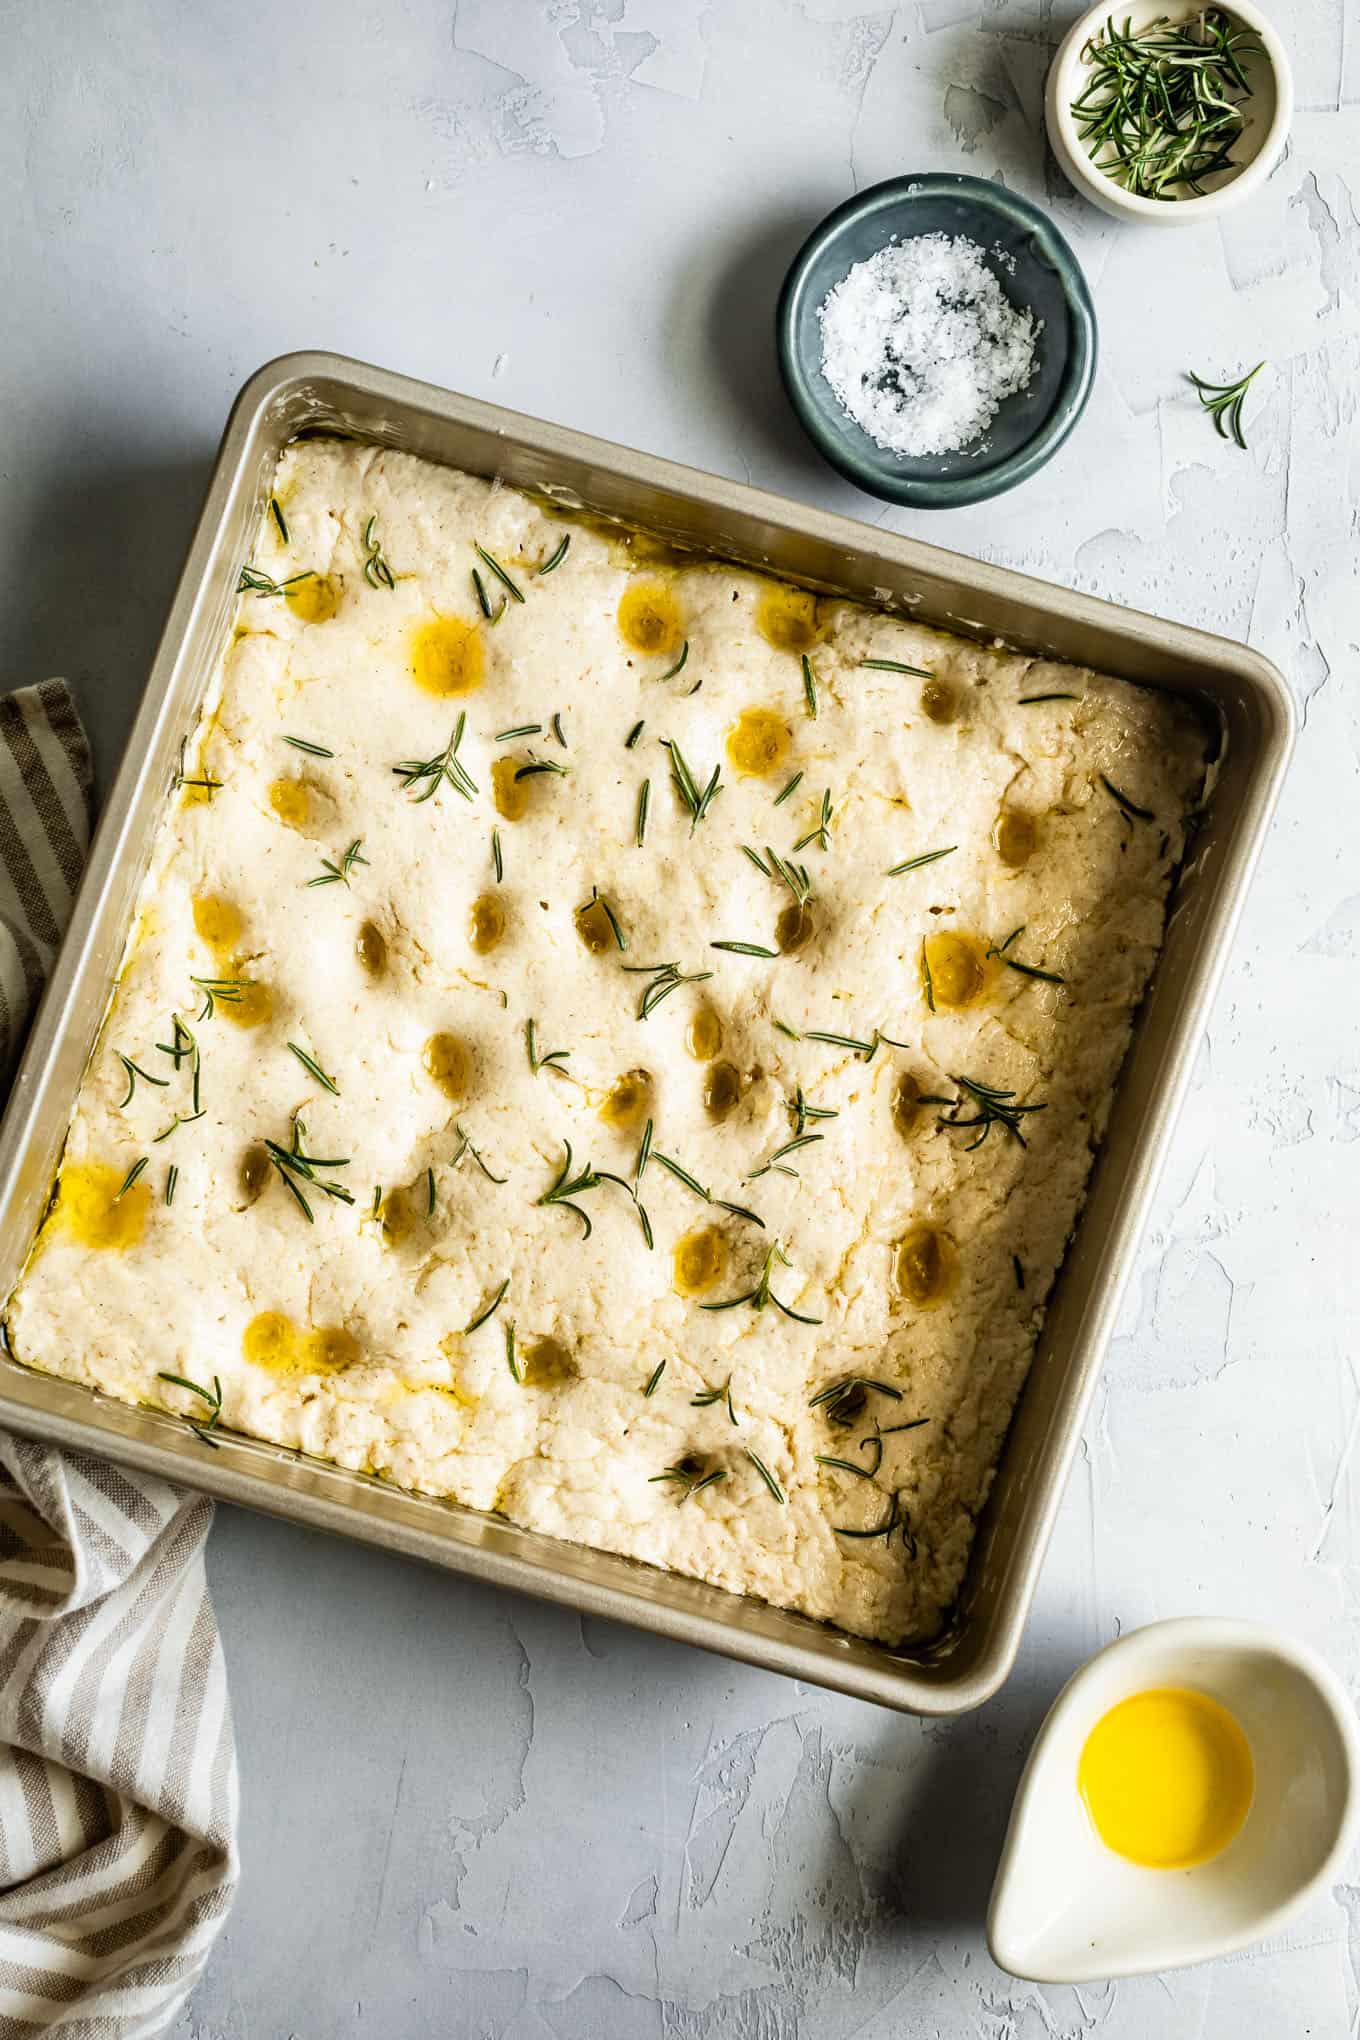
- Dimple dough and top with olive oil and salt. Use your fingertips to add dimples to the dough. Drizzle with olive oil and top with flaky salt (and rosemary or other toppings, if using!).
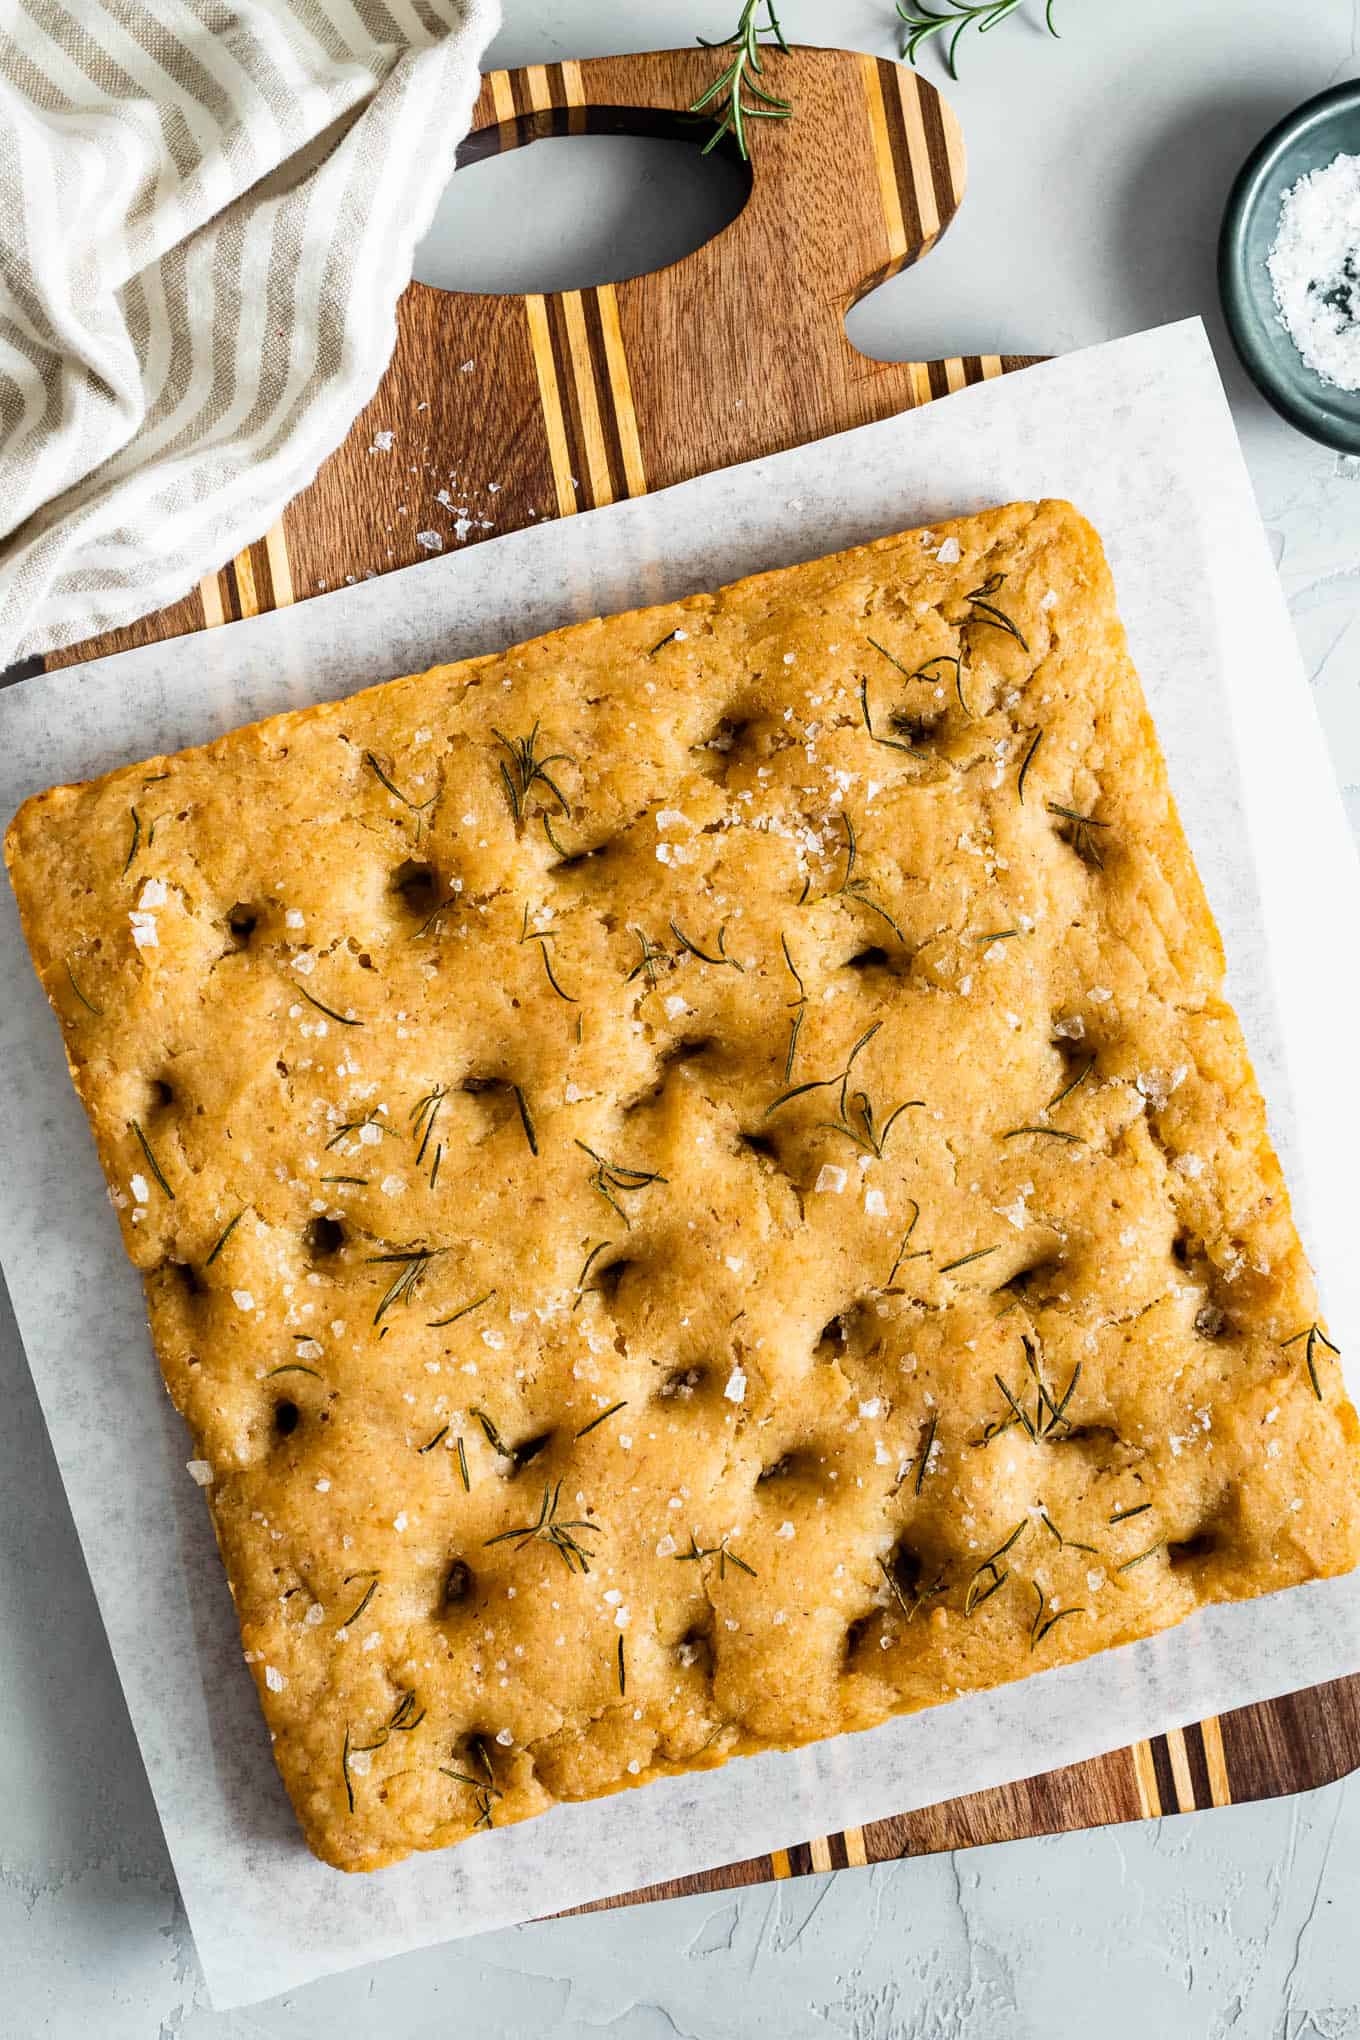
- Bake! Bake for 20 minutes at 425°F, then reduce heat to 350°F and bake for an additional 10-15 minutes, until the dough is nicely golden brown and springs back when gently poked in the center.
- Let cool for at least 20 minutes before slicing and serving. Letting it cool slightly will allow the fluffy air pockets to set and not become gummy.

Toppings for gluten-free focaccia
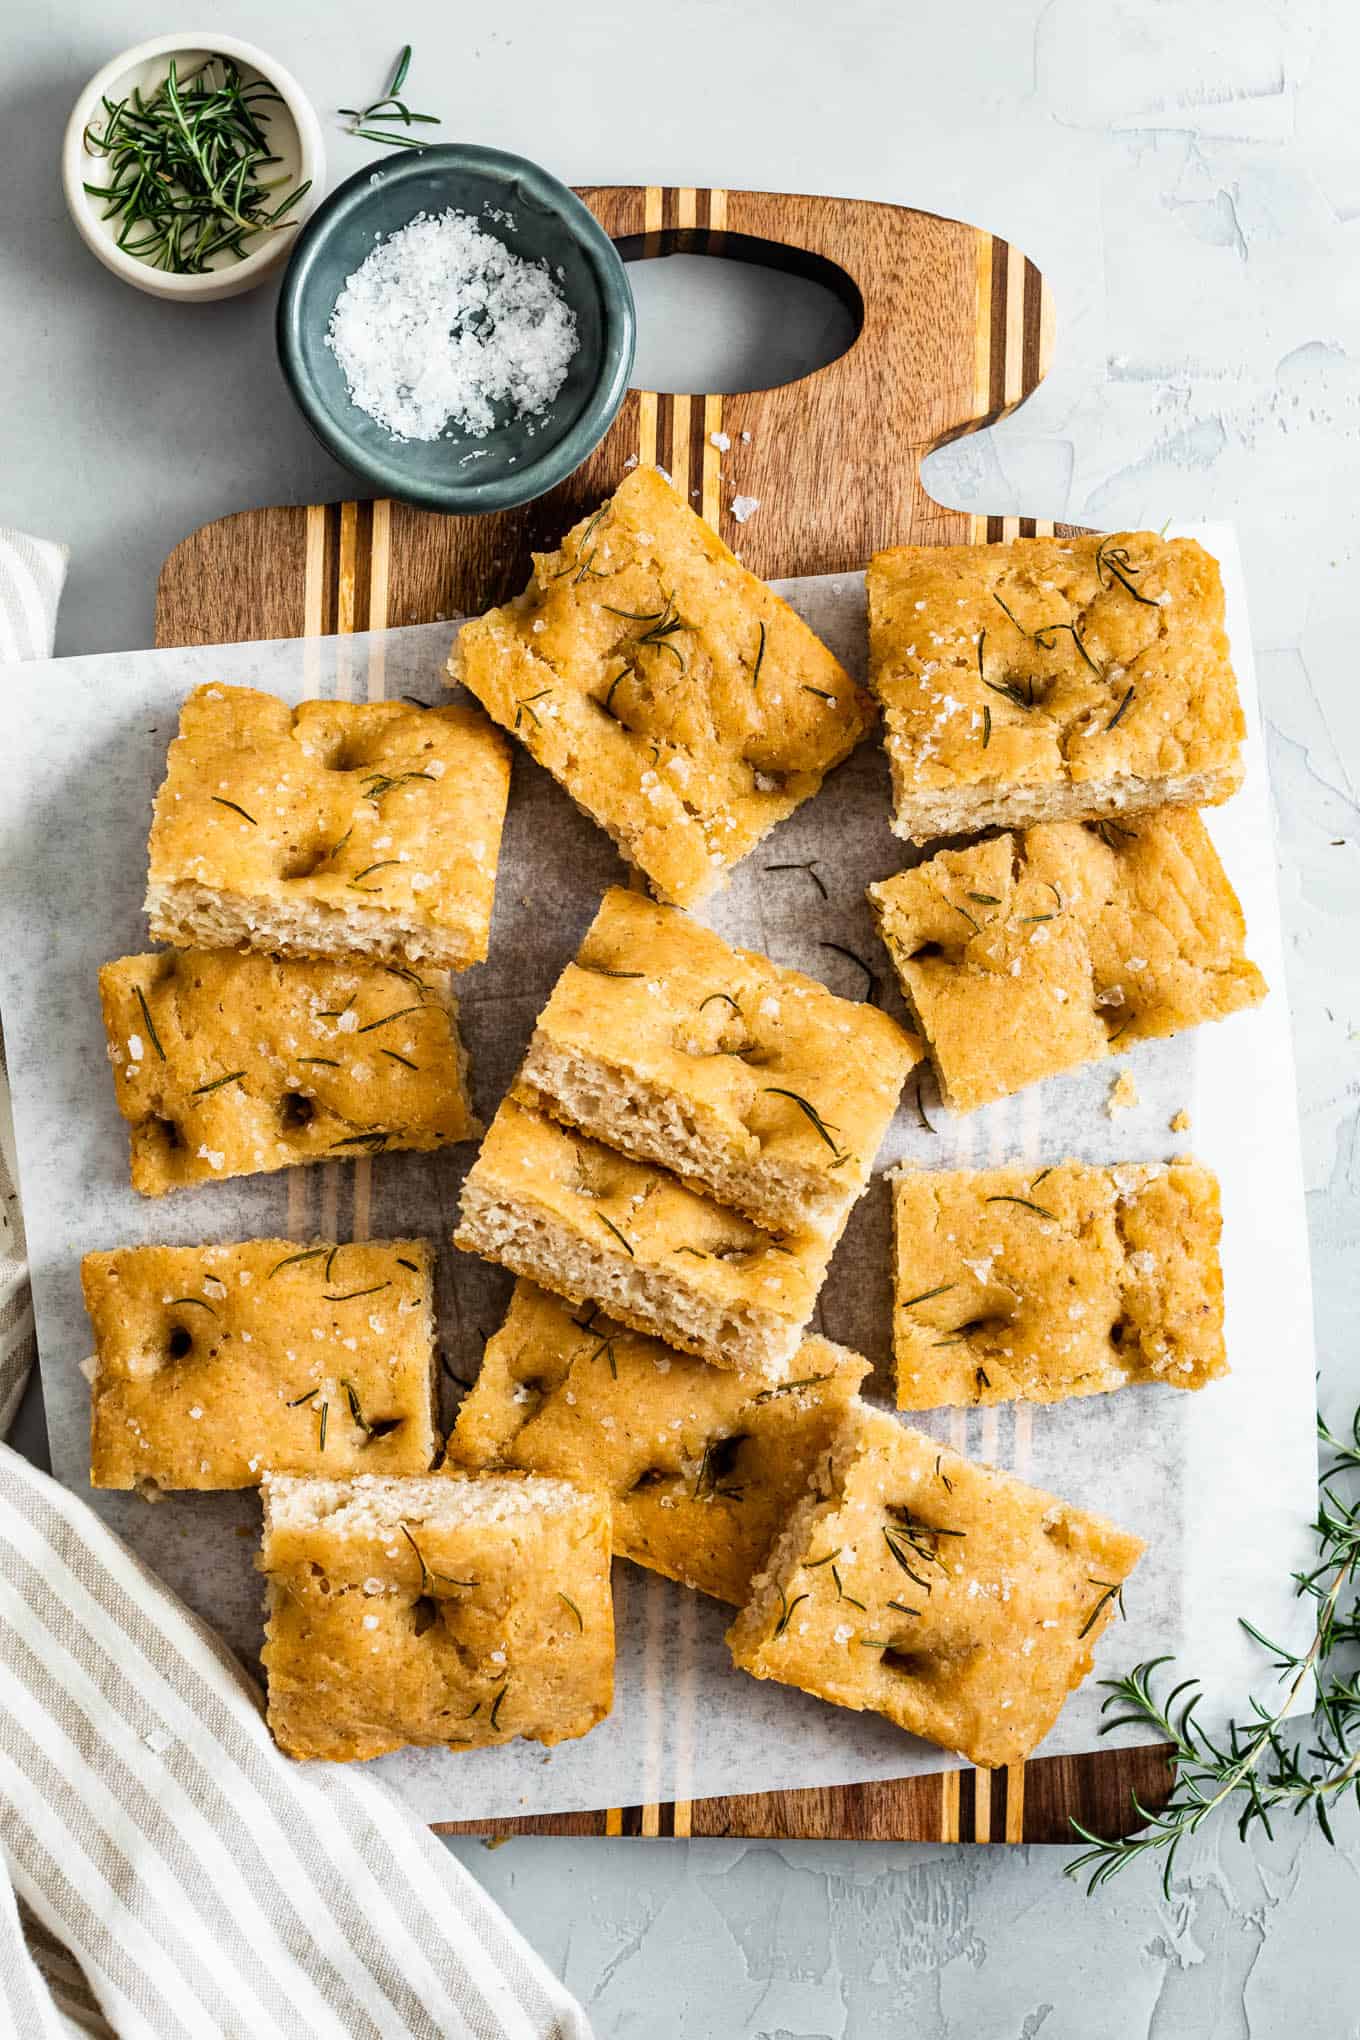
In its most simple form as a crisp golden bread dimpled and topped with flaky salt, this gluten-free focaccia is a dinner showstopper. You can customize it a number of ways:
- Fresh or Dried Herbs: Top with your favorite fresh or dried herbs (either before or after baking)!
- Garlic: Top with either minced garlic or whole cloves of garlic
- Cherry tomatoes: Whole cherry tomatoes add bursting pockets of flavor without leaching too much liquid into the dough
- Olives: Stud it with your favorite olives, such as kalamata or even black olives
- Onions or shallots: Add sliced onions or shallots - raw or caramelized
- Parmesan: Sprinkle it with fresh parmesan before putting it in the oven
How to store leftover gluten-free focaccia
Store leftover focaccia in an airtight container at room temperature for up to two days or in the freezer for up to 6 months.
After it sits for a day, the focaccia won't be as tender as when it's fresh, but pop it in the toaster to refresh that crispy outside and fluffy inside. From the freezer, defrost on the counter or in the microwave, and toast before serving.
Recipe
Easy, Pillowy Gluten-Free Focaccia
Ingredients
- 314 g (1⅓ cups) warm water, 105-110°F
- 1 tablespoon Bob's Red Mill active dry yeast
- 2 teaspoons honey or sugar
- 121 g (¾ cups) Bob's Red Mill brown rice flour
- 80 g (½ cup + 2 tablespoons) Bob's Red Mill sorghum flour
- 75 g (½ cup + 3 tablespoons) Bob's Red Mill tapioca flour
- 75 g (½ cup) Bob's Red Mill potato starch, different than potato flour - see note
- 1 teaspoon baking powder
- 5 g (1 tablespoon) psyllium seed husk flakes
- 2 teaspoons kosher salt
- ¼ cup + 3 tablespoons extra virgin olive oil, divided
- Optional: Butter for greasing the pan and 1 tablespoon fresh rosemary for topping
INSTRUCTIONS
- Activate the yeast. Warm the water on the stove or microwave between 105-115°F (if you go over, just let it cool until the temperature is in that range so you don't kill the yeast). Transfer to a wide medium bowl and mix in the honey or sugar. Slowly sprinkle the yeast over the warm water. Let sit for 5-10 minutes while the yeast activates and foams. If the yeast hasn't gotten foamy by 10 minutes, the yeast may not be fresh, so try again with a new package.
- Mix dry ingredients. Meanwhile, combine the brown rice flour, sorghum flour, tapioca starch, potato starch, psyllium seed husk, salt, and baking powder in the bowl of a stand mixer with the paddle attachment or a large mixing bowl.
- Add wet ingredients. When the yeast/water mixture is ready, add it to the flour along with 1 tablespoon of olive oil and mix on low to combine. Increase speed to high and mix for about a minute, until the dough is super smooth. (If using a mixing bowl, mix with a silicone spatula). The dough will be very wet and runny at first, but will thicken up slightly as the psyllium soaks up the water after a few minutes.
- Let rise in a glass bowl with olive oil. Put ¼ cup olive oil in a medium glass bowl and dump the dough into the bowl. Cover with plastic wrap and let rise in a warm place for 1.5-2 hours, until doubled in size. (I use the "proof" setting on my oven). If making in advance, you can skip this 2-hour rise, and put it straight into the fridge for 8-36 hours. When you're ready, remove it from the fridge and let come to room temperature for 30 minutes then move on to the next step.
- Smooth into greased baking pan and rise again. Grease an 8x8 baking pan with softened butter or olive oil. Transfer the dough with oil into the prepared baking pan, cover with plastic wrap, and let rise in a warm place for 2 hours. (I use the "proof" setting on my oven).
- Dimple the dough and top with olive oil and salt. Use your fingertips to add dimples to the dough. Drizzle with 2 tablespoons olive oil and top with flaky salt (and rosemary or other toppings, if using!).
- Bake. Bake for 20 minutes at 425°F, then reduce heat to 350°F and bake for an additional 10-15 minutes, until the dough is nicely golden brown and springs back when gently poked in the center.
- Let cool for at least 20 minutes before slicing and serving. Letting it cool slightly will allow the fluffy air pockets to set and not become gummy. Note: Focaccia is best when served within a few hours of making it. After it sits for longer, it won't be as tender as when it's fresh, but pop it in the toaster to refresh that crispy outside and fluffy inside.


Jeannie -
Delicious!! this is by far the best gf bread I've ever eaten! The first time I ever made a focaccia, and I've made many gf breads at this point....kudos to the author!! thank you!!
Megan H -
Wow! Yay! This is the best GF bread I have made so far! Chewy outside, pillowy inside: simply yummy. I followed all of the time instructions; the only things I changed were white rice flour for the brown rice flour, and arrowroot swapped for the potato starch. Thank you!
Maya -
This is by far the best, fast GF bread (and I've tired a lot)! I think the yeast and baking powder is brilliant.
I'm not really a recipe follower, here's what I did differently and it worked beautifully:
-60g brown rice flour (superfine) and 60g buckwheat flour
-I refused to use 2 bowls, sometimes to a fault, so I mixed the yeast and water in my bowl, whisked in the psyllium after that was ready, then added flour and mixed it all.
-I skipped the rise in the bowl and did about a 30 minute rise (in my cold kitchen) in the pan, it seemed plenty risen and I didn't want to over-proof. (And I have not seen a 4 hour rise in any other GF recipe so that seemed long.) I'm sure time in the fridge would be good and add nice flavor though!
-I used the pan I have, a glass 9 or 10" square, it was a good size although it looked like not enough dough at first.
-I got distracted and baked it for about 40 minutes on 350, till it was golden brown, which was good! My oven is not trustworthy though.
And the best part is you can eat it like 20 minutes after it comes out and it's not gummy-- GF bread from start to edible in like 90 minutes is a total game changer!!
Thanks for the recipe!
Sheri -
This looks amazing! Yum! It would perfect for serving with a bowl of homemade tomato soup!!
Janette -
Let's just say I messed up this recipe in more than one way (added too much tapioca flour, water psyllium husk and subbed rice flour for sorghum). Despite baking without enough caffeine in my system and rushing it still turned out great!! My bread did not have air pockets, but that's probably because I accidentally made too many modifications. 😅 I look forward to making this again without as many unintentional modifications.