
These crispy savory cheese mochi waffles have a chewy inside that's impossible to resist. Serve them for breakfast, lunch, or dinner, or make a huge batch for the freezer for a quick school lunchbox option.
There are approximately three things my kids will actually eat in their lunchbox and these cheese mochi waffles top the list (followed by banana bread and straight-up slices of lunch meat).
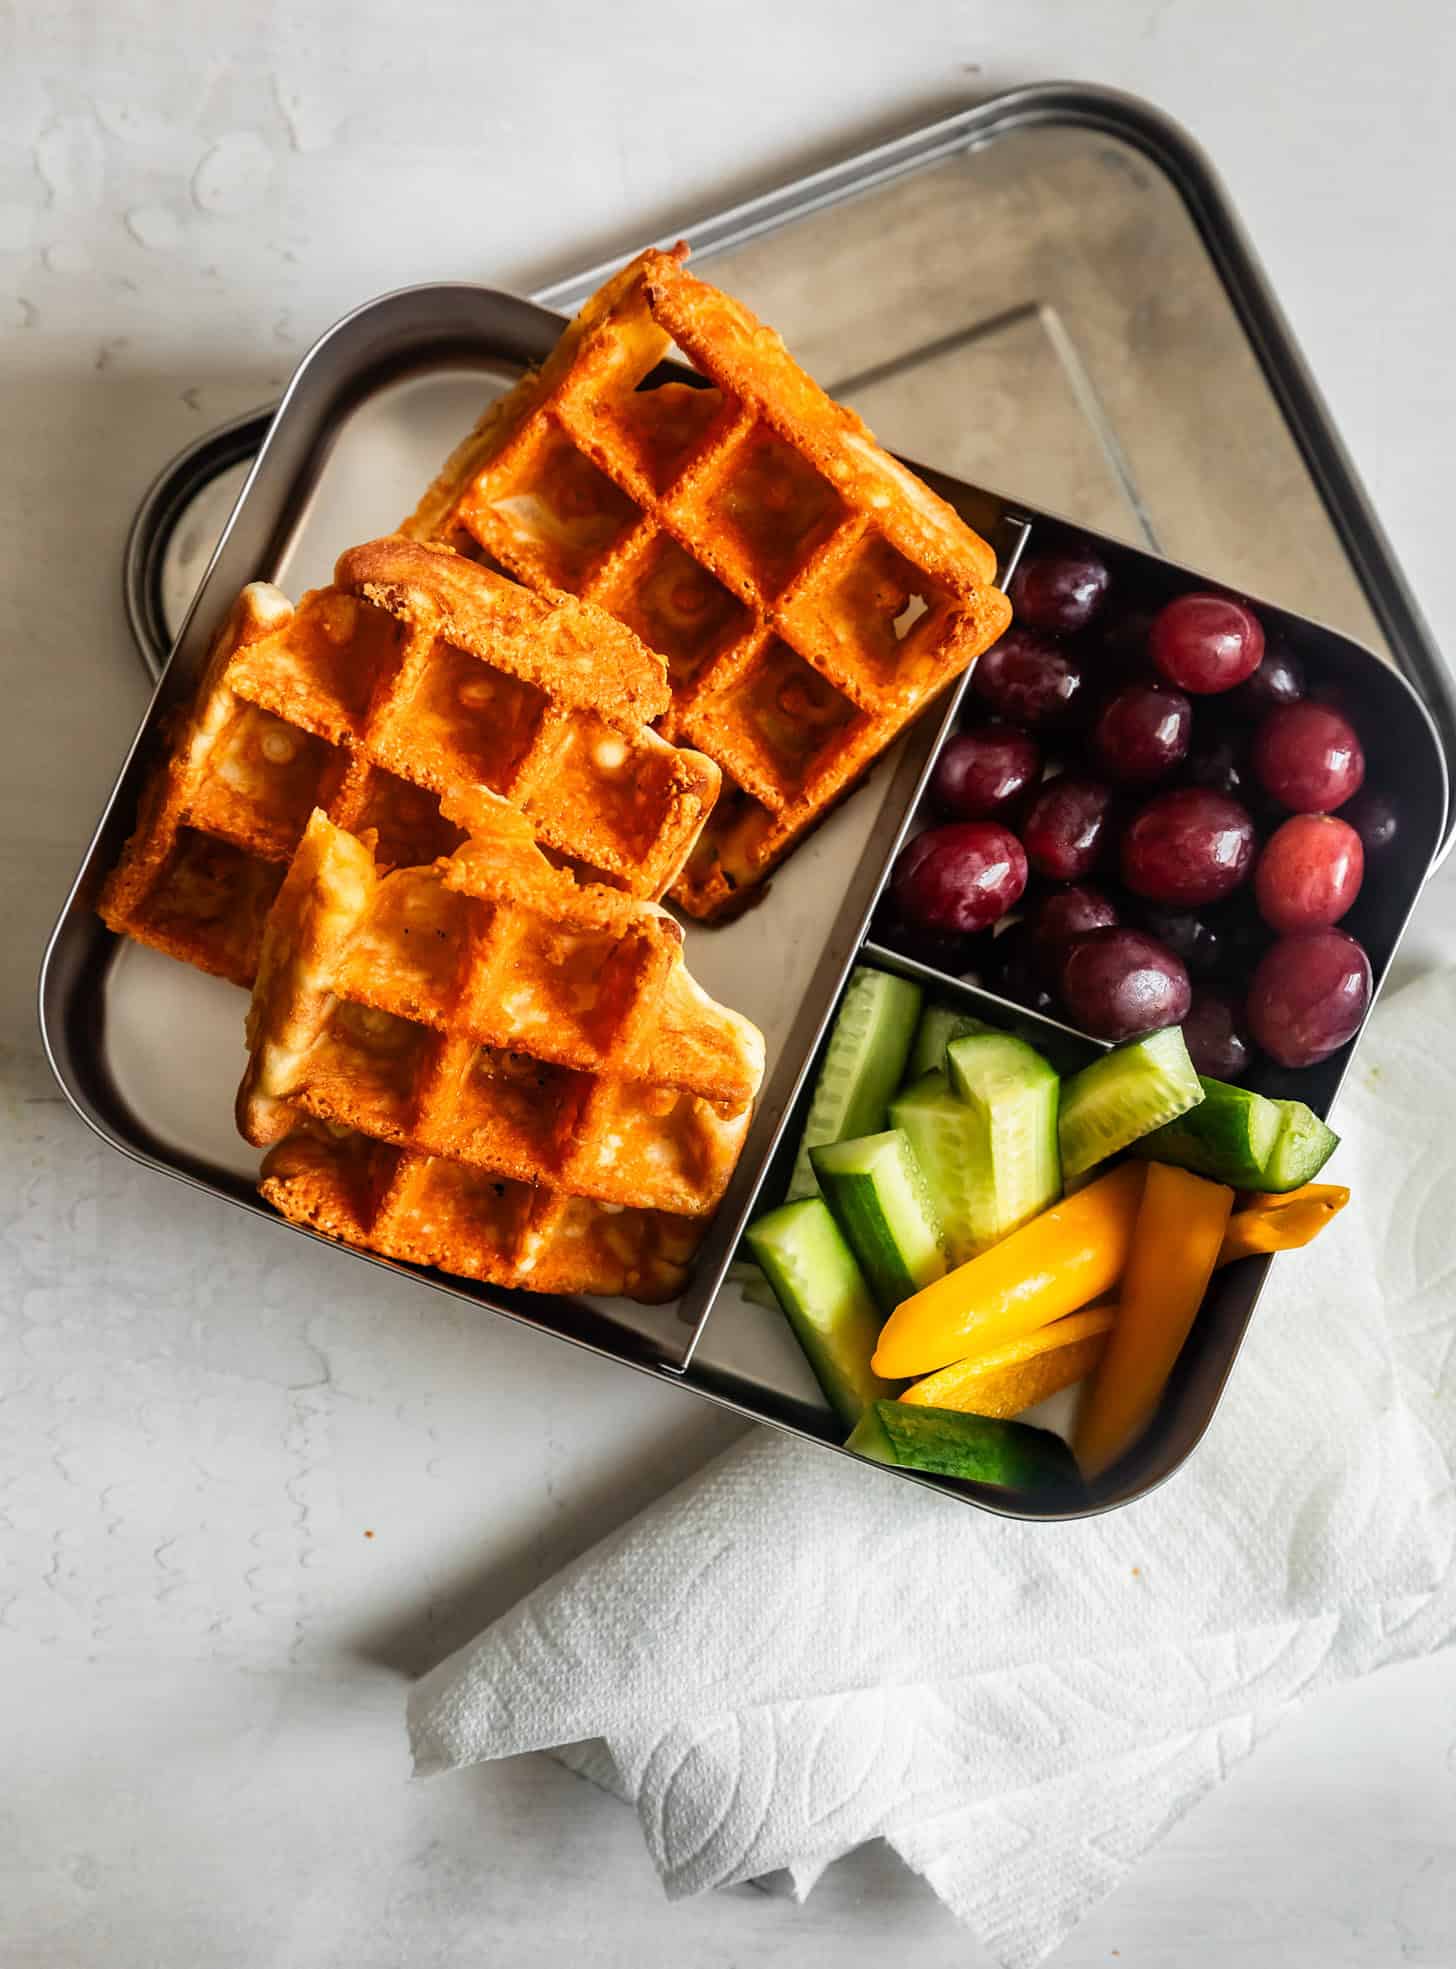
Packing school lunches is my least favorite chore. To make it a little smoother, we make big batches of these gluten-free cheesy mochi waffles and store them in the freezer. In the morning, we pop a waffle in the toaster before packing it in the lunchbox.
While we've been making mochi waffles for years, the genius idea of encrusting a mochi waffle with CRISPY CHEESE(!!) came from my good friend Emily of The Pig and Quill years ago. When she first told me about making them, I practically ran to the kitchen to create a gluten-free version of her invention. Now we make them so often that they've become the default waffle in our house.
Over the years, I've fine-tuned the recipe to what I think is the perfect cheesy mochi waffle, and this final version is so simple with just sweet rice flour!
Can't get enough of that chewy mochi texture? Try these naturally gluten-free mochi donuts or matcha mochi cake!
Why you'll love this recipe
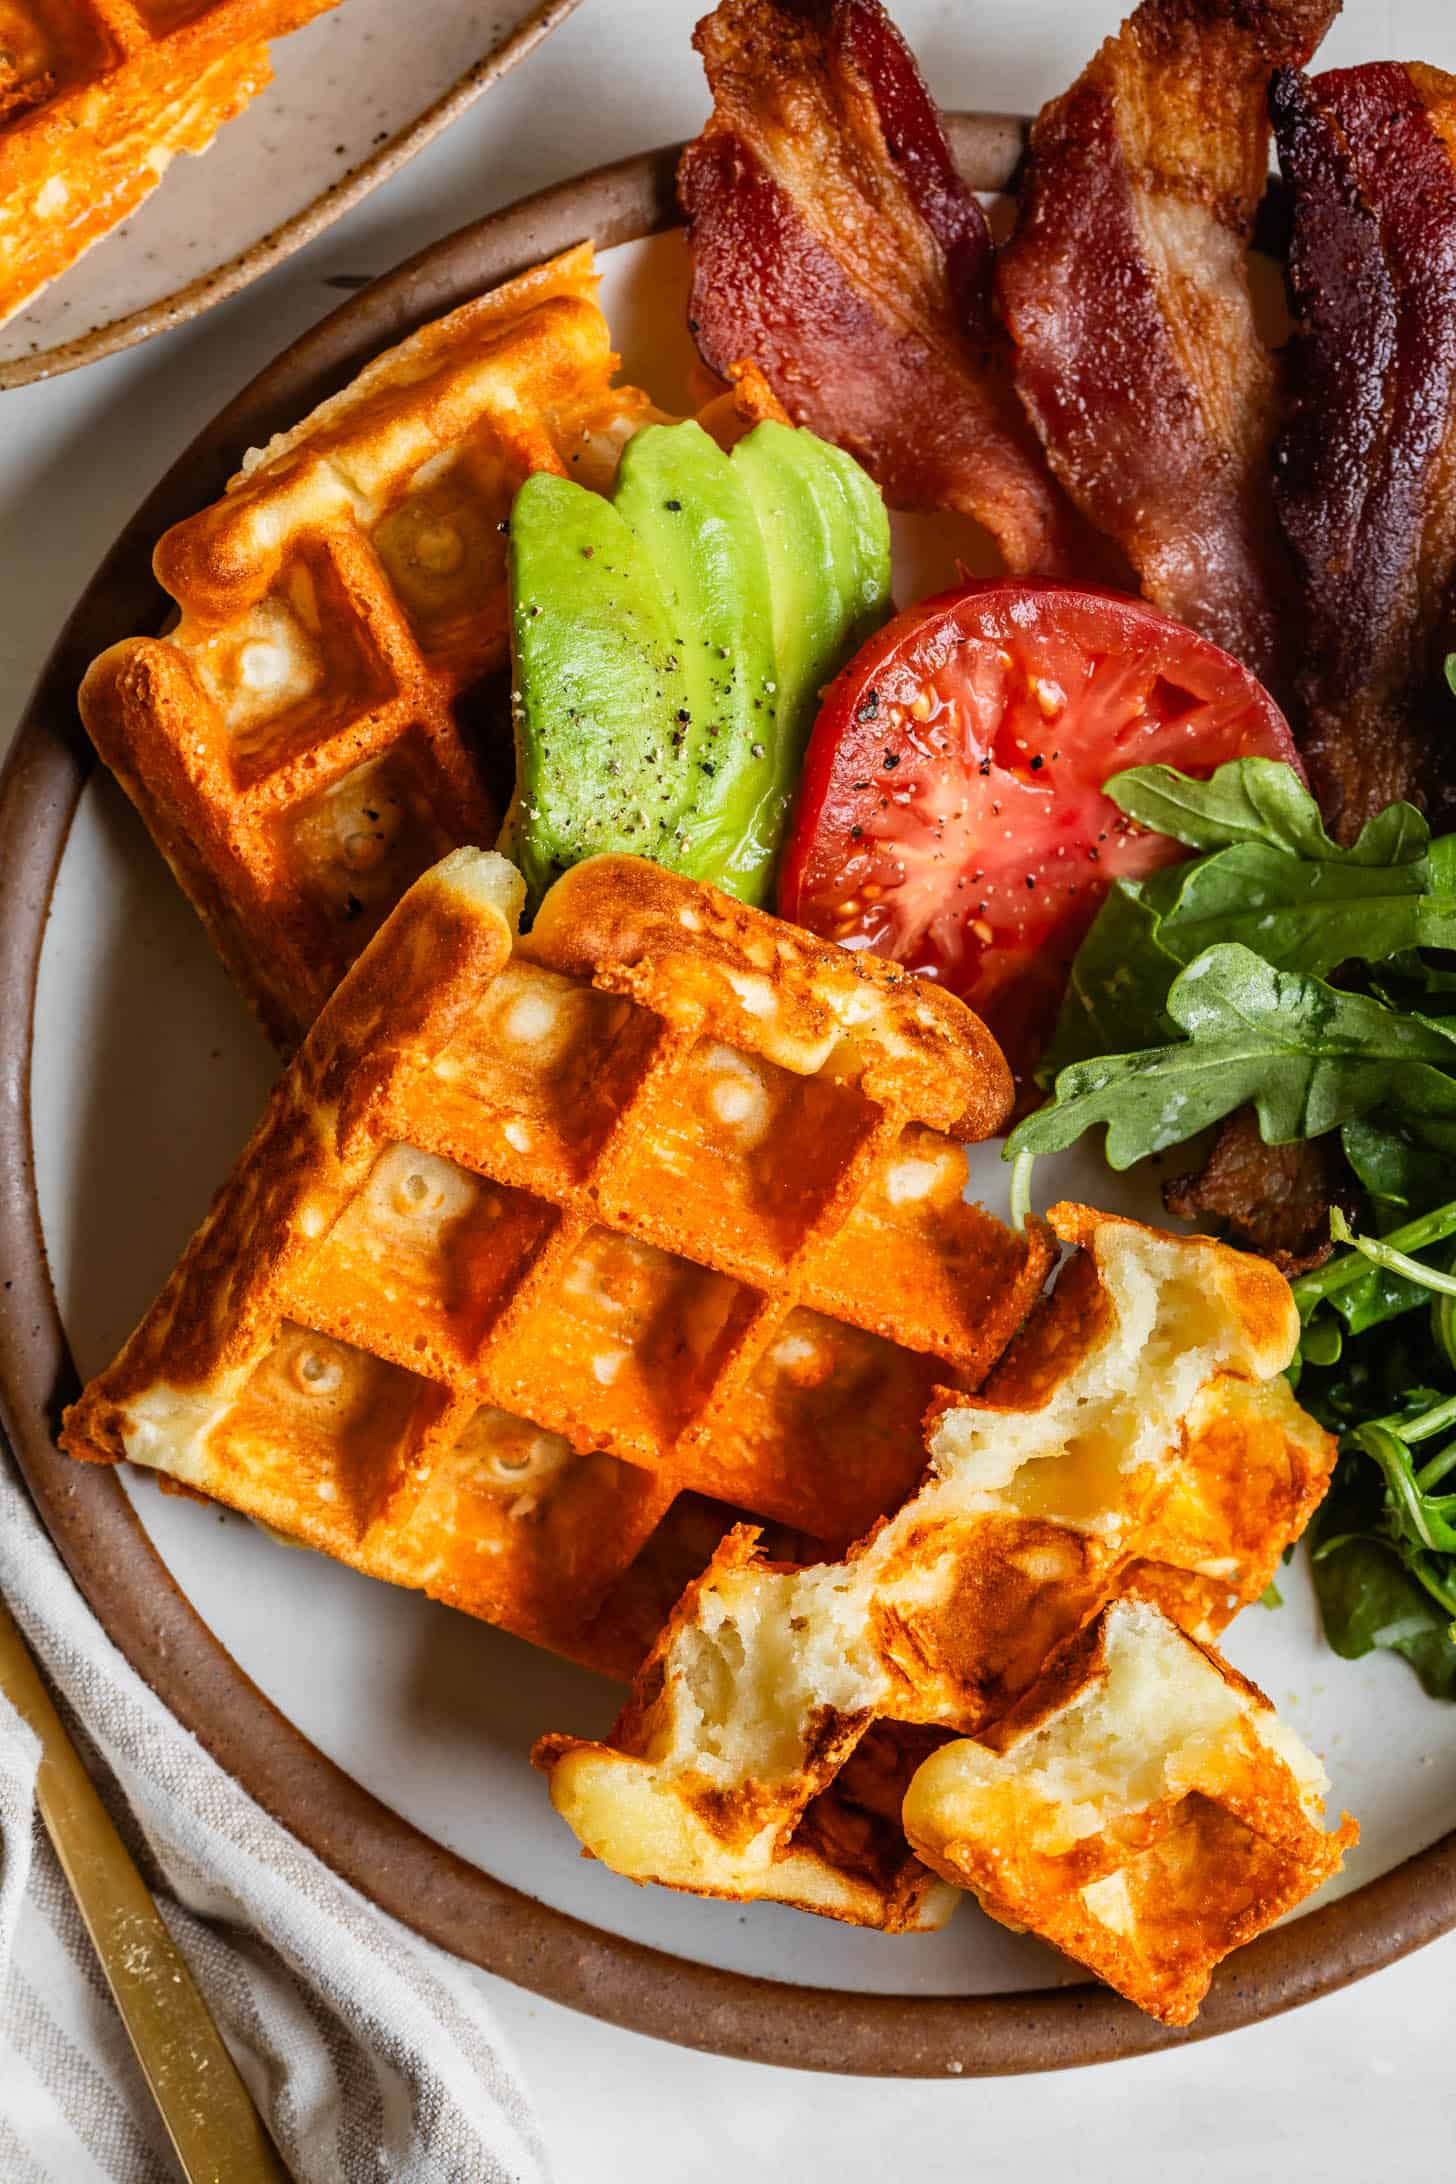
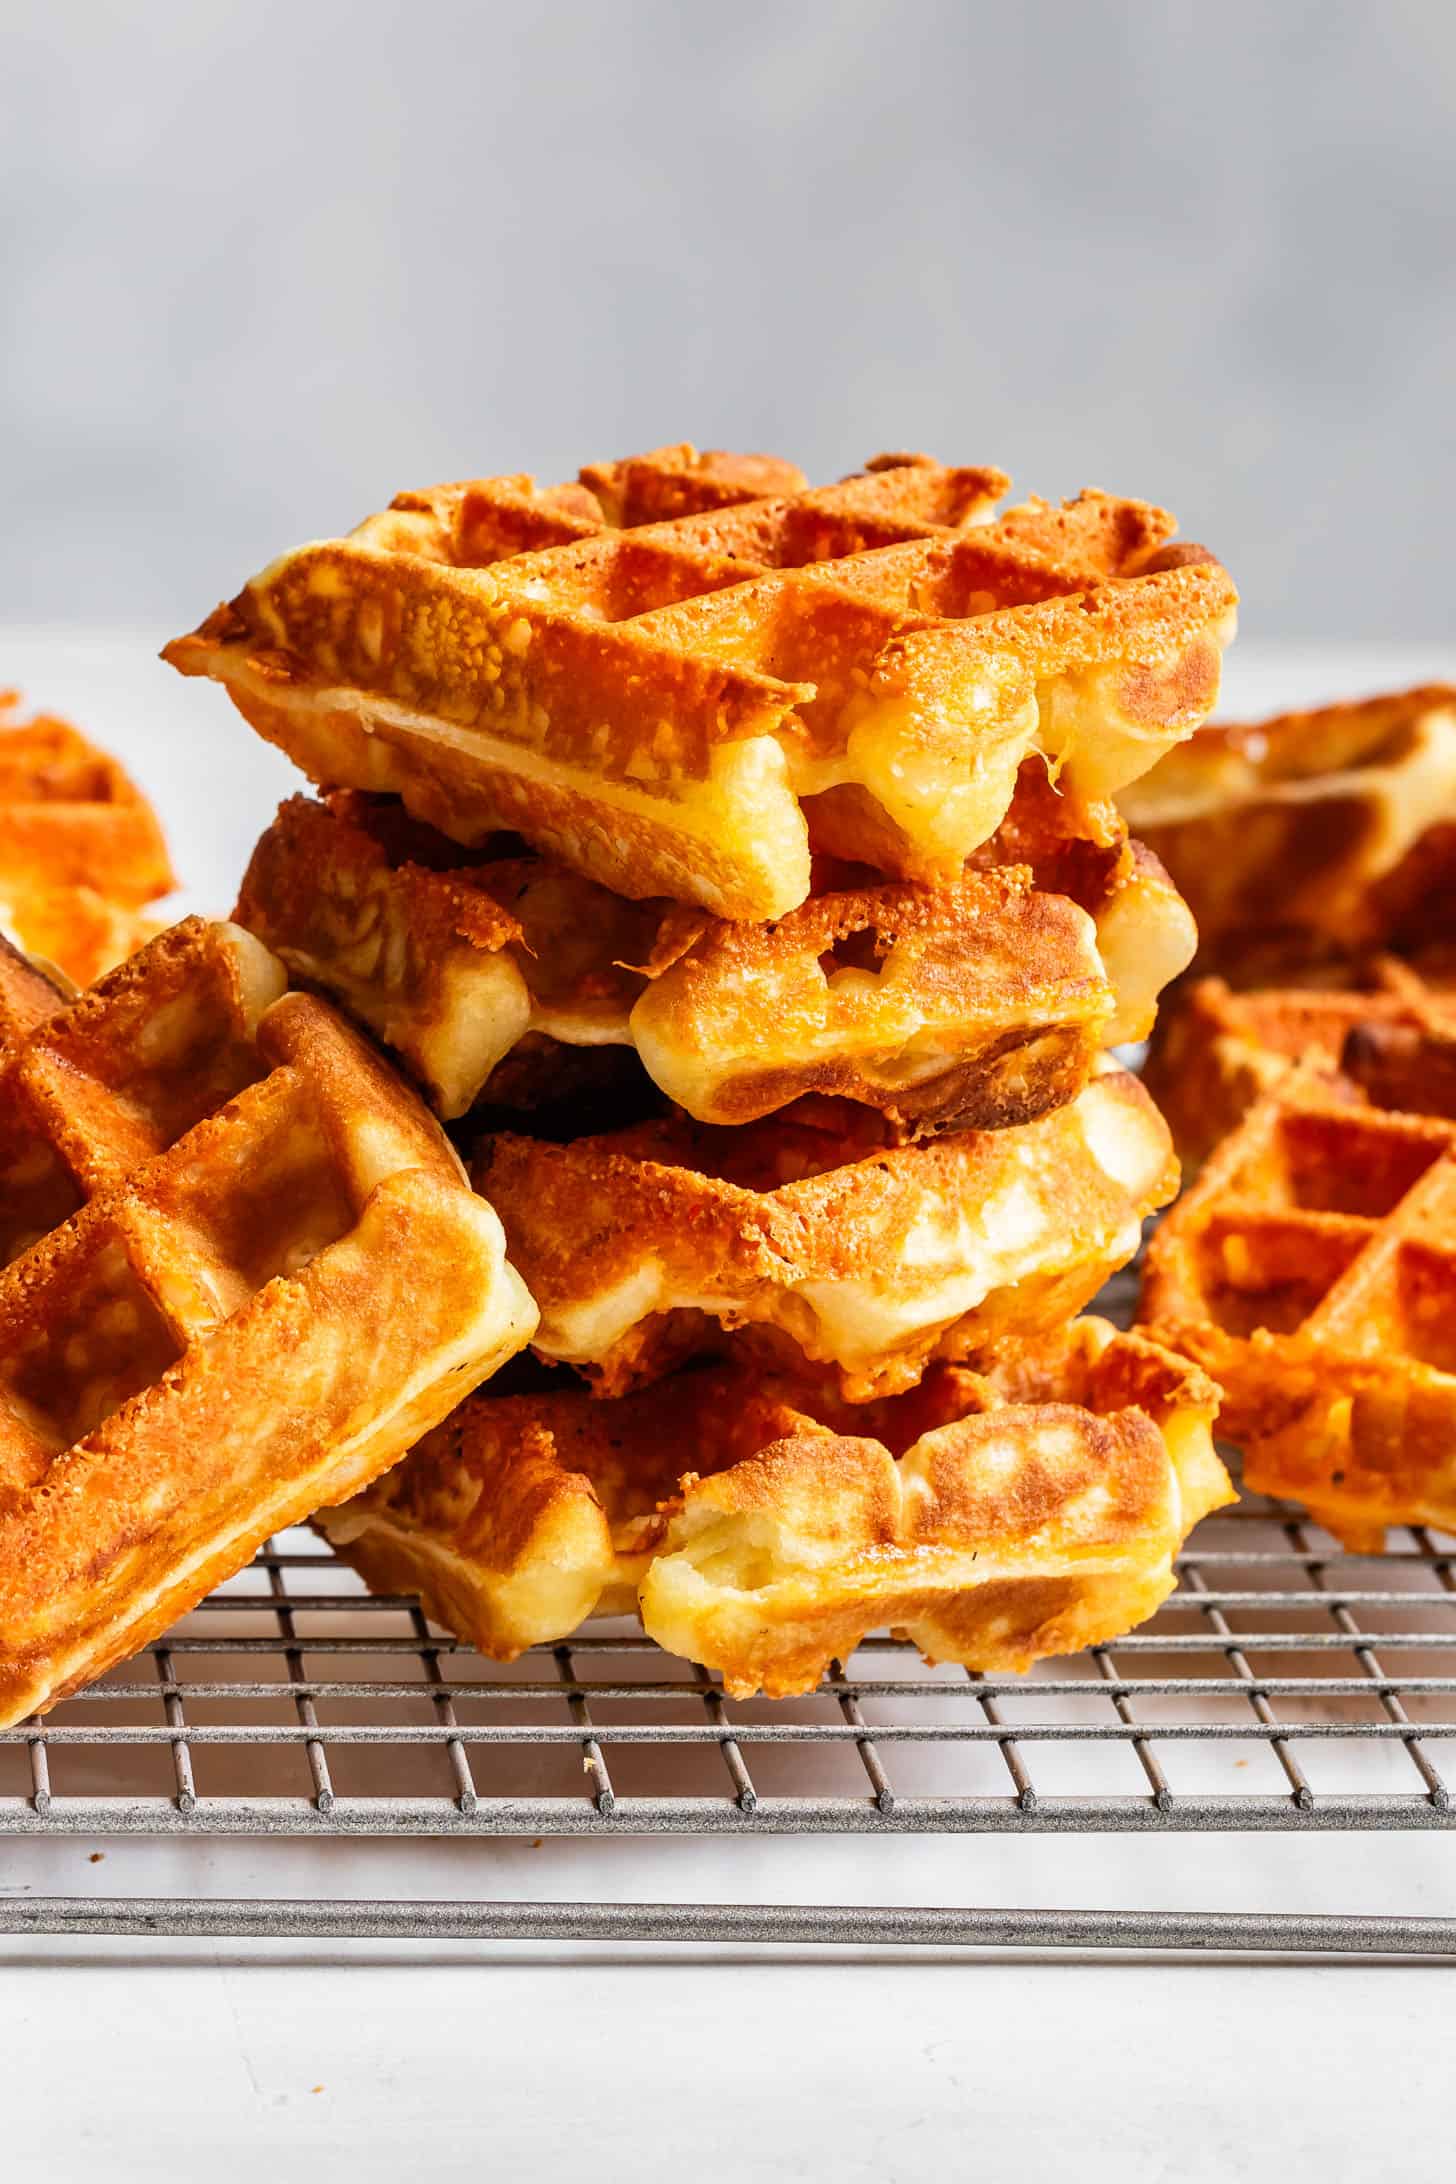
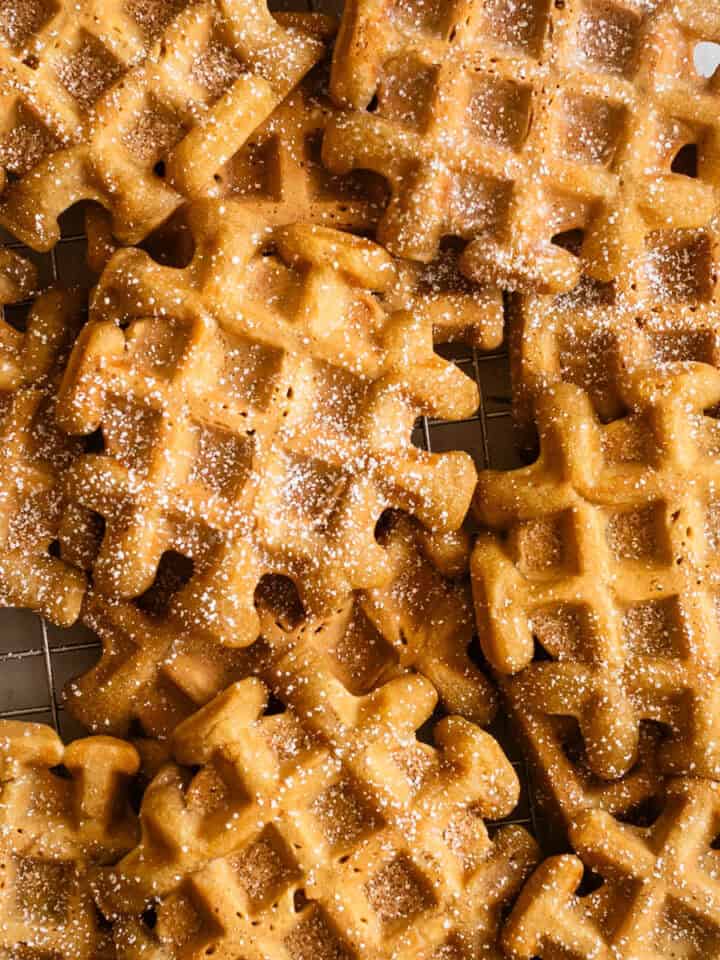
- Incredibly chewy center - with a texture you can't put down
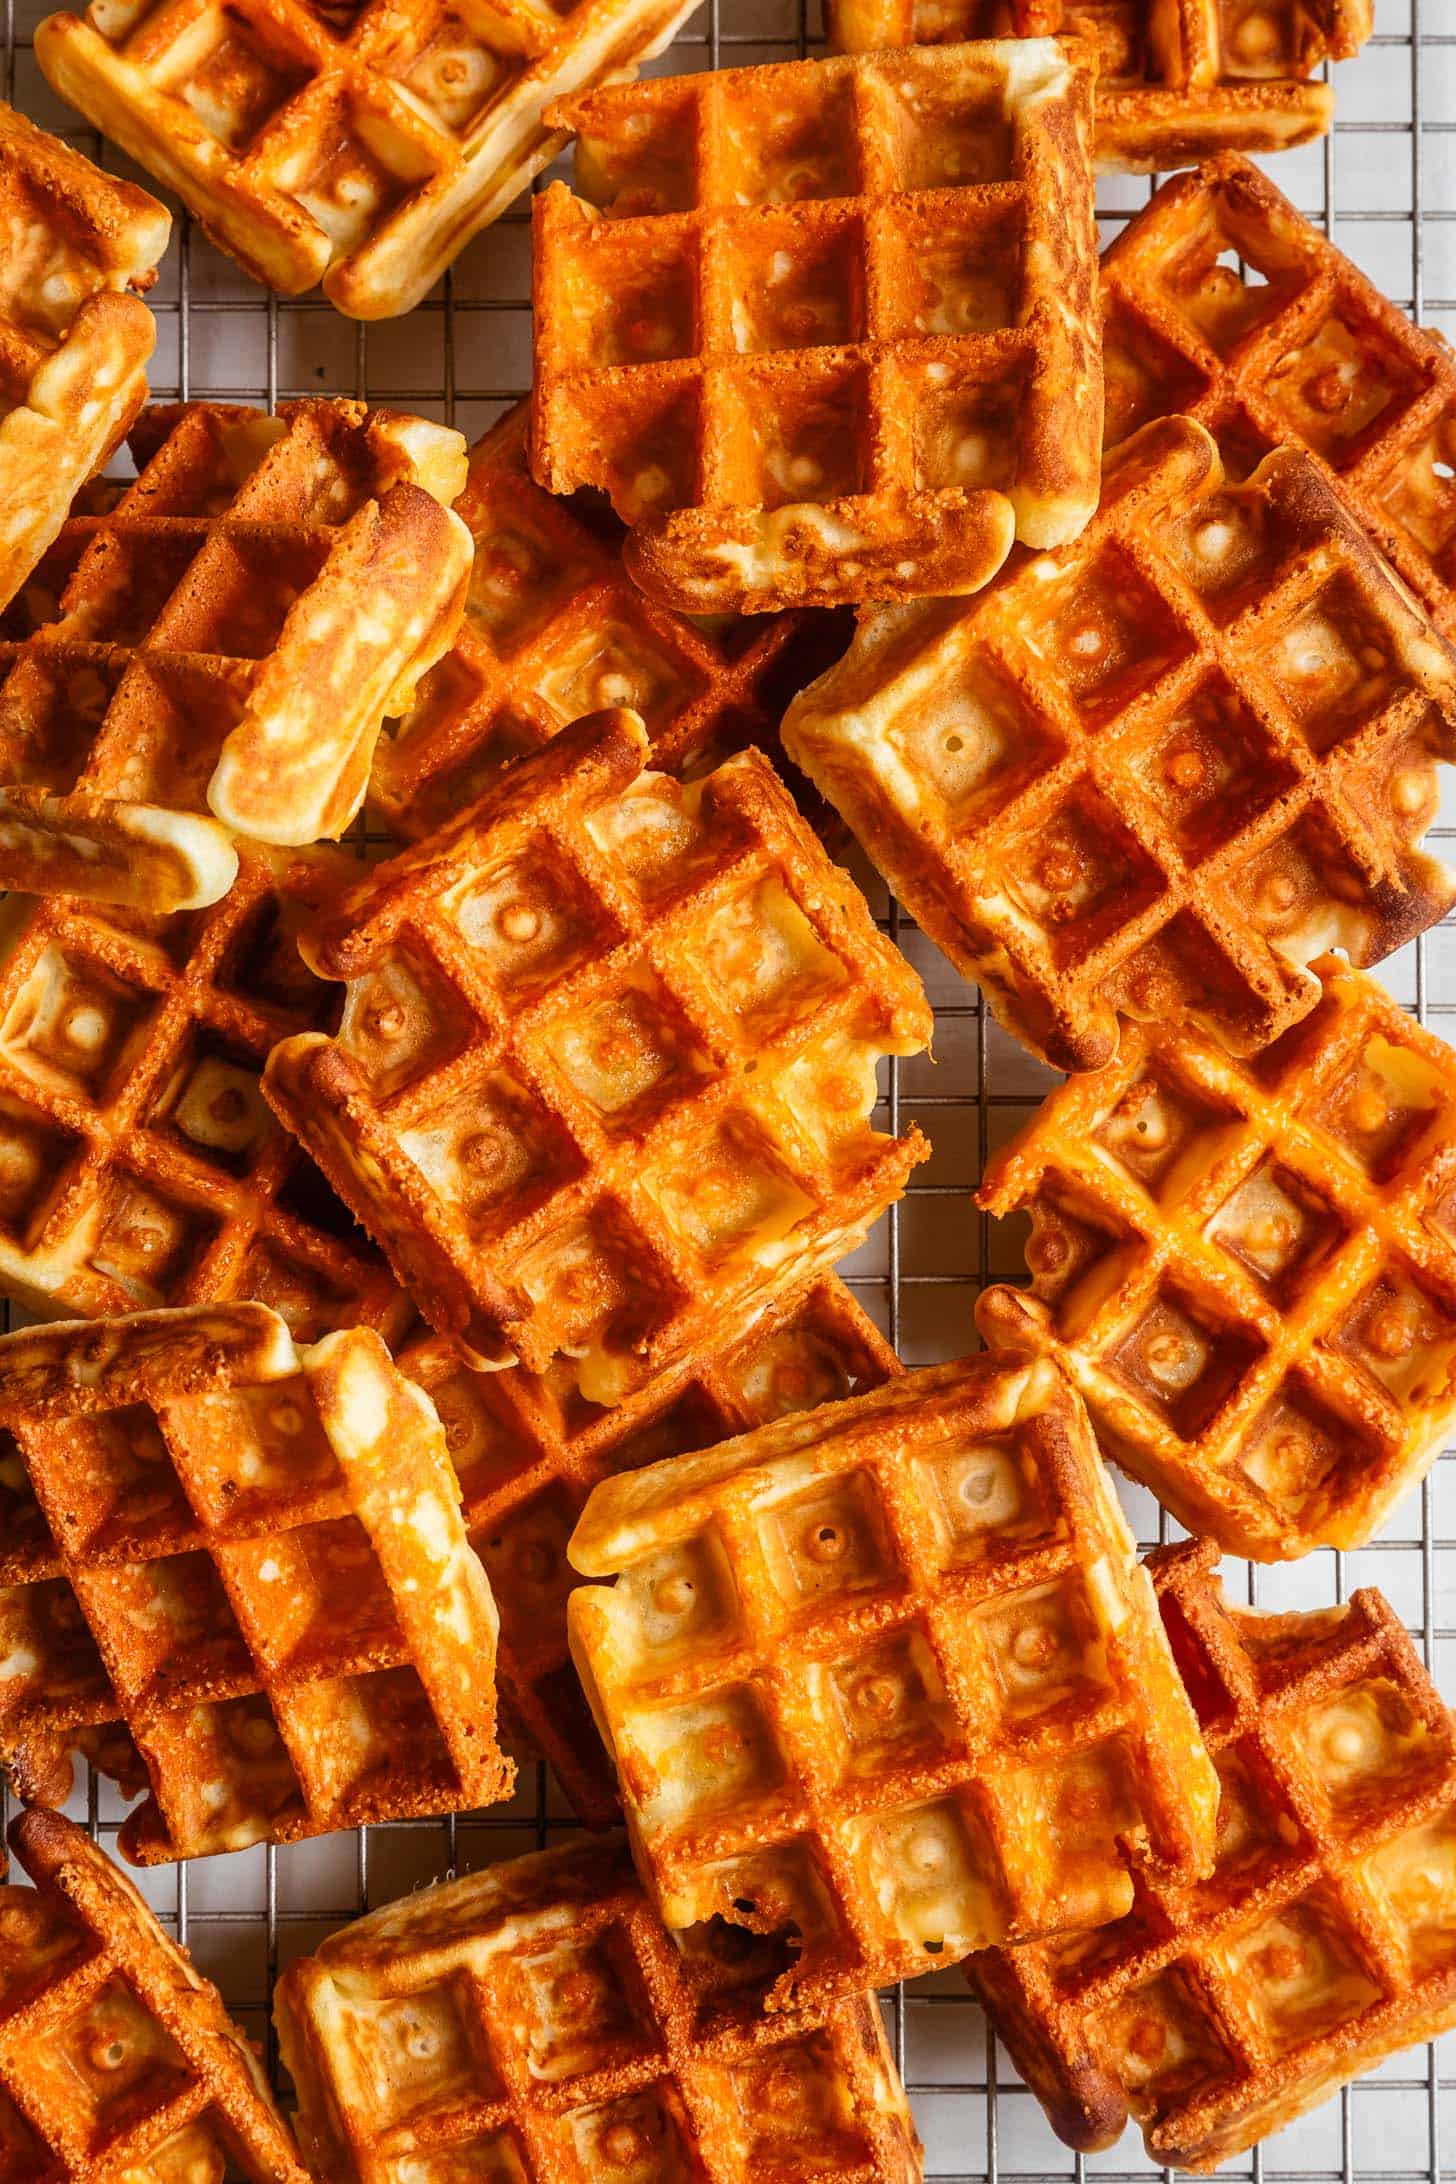
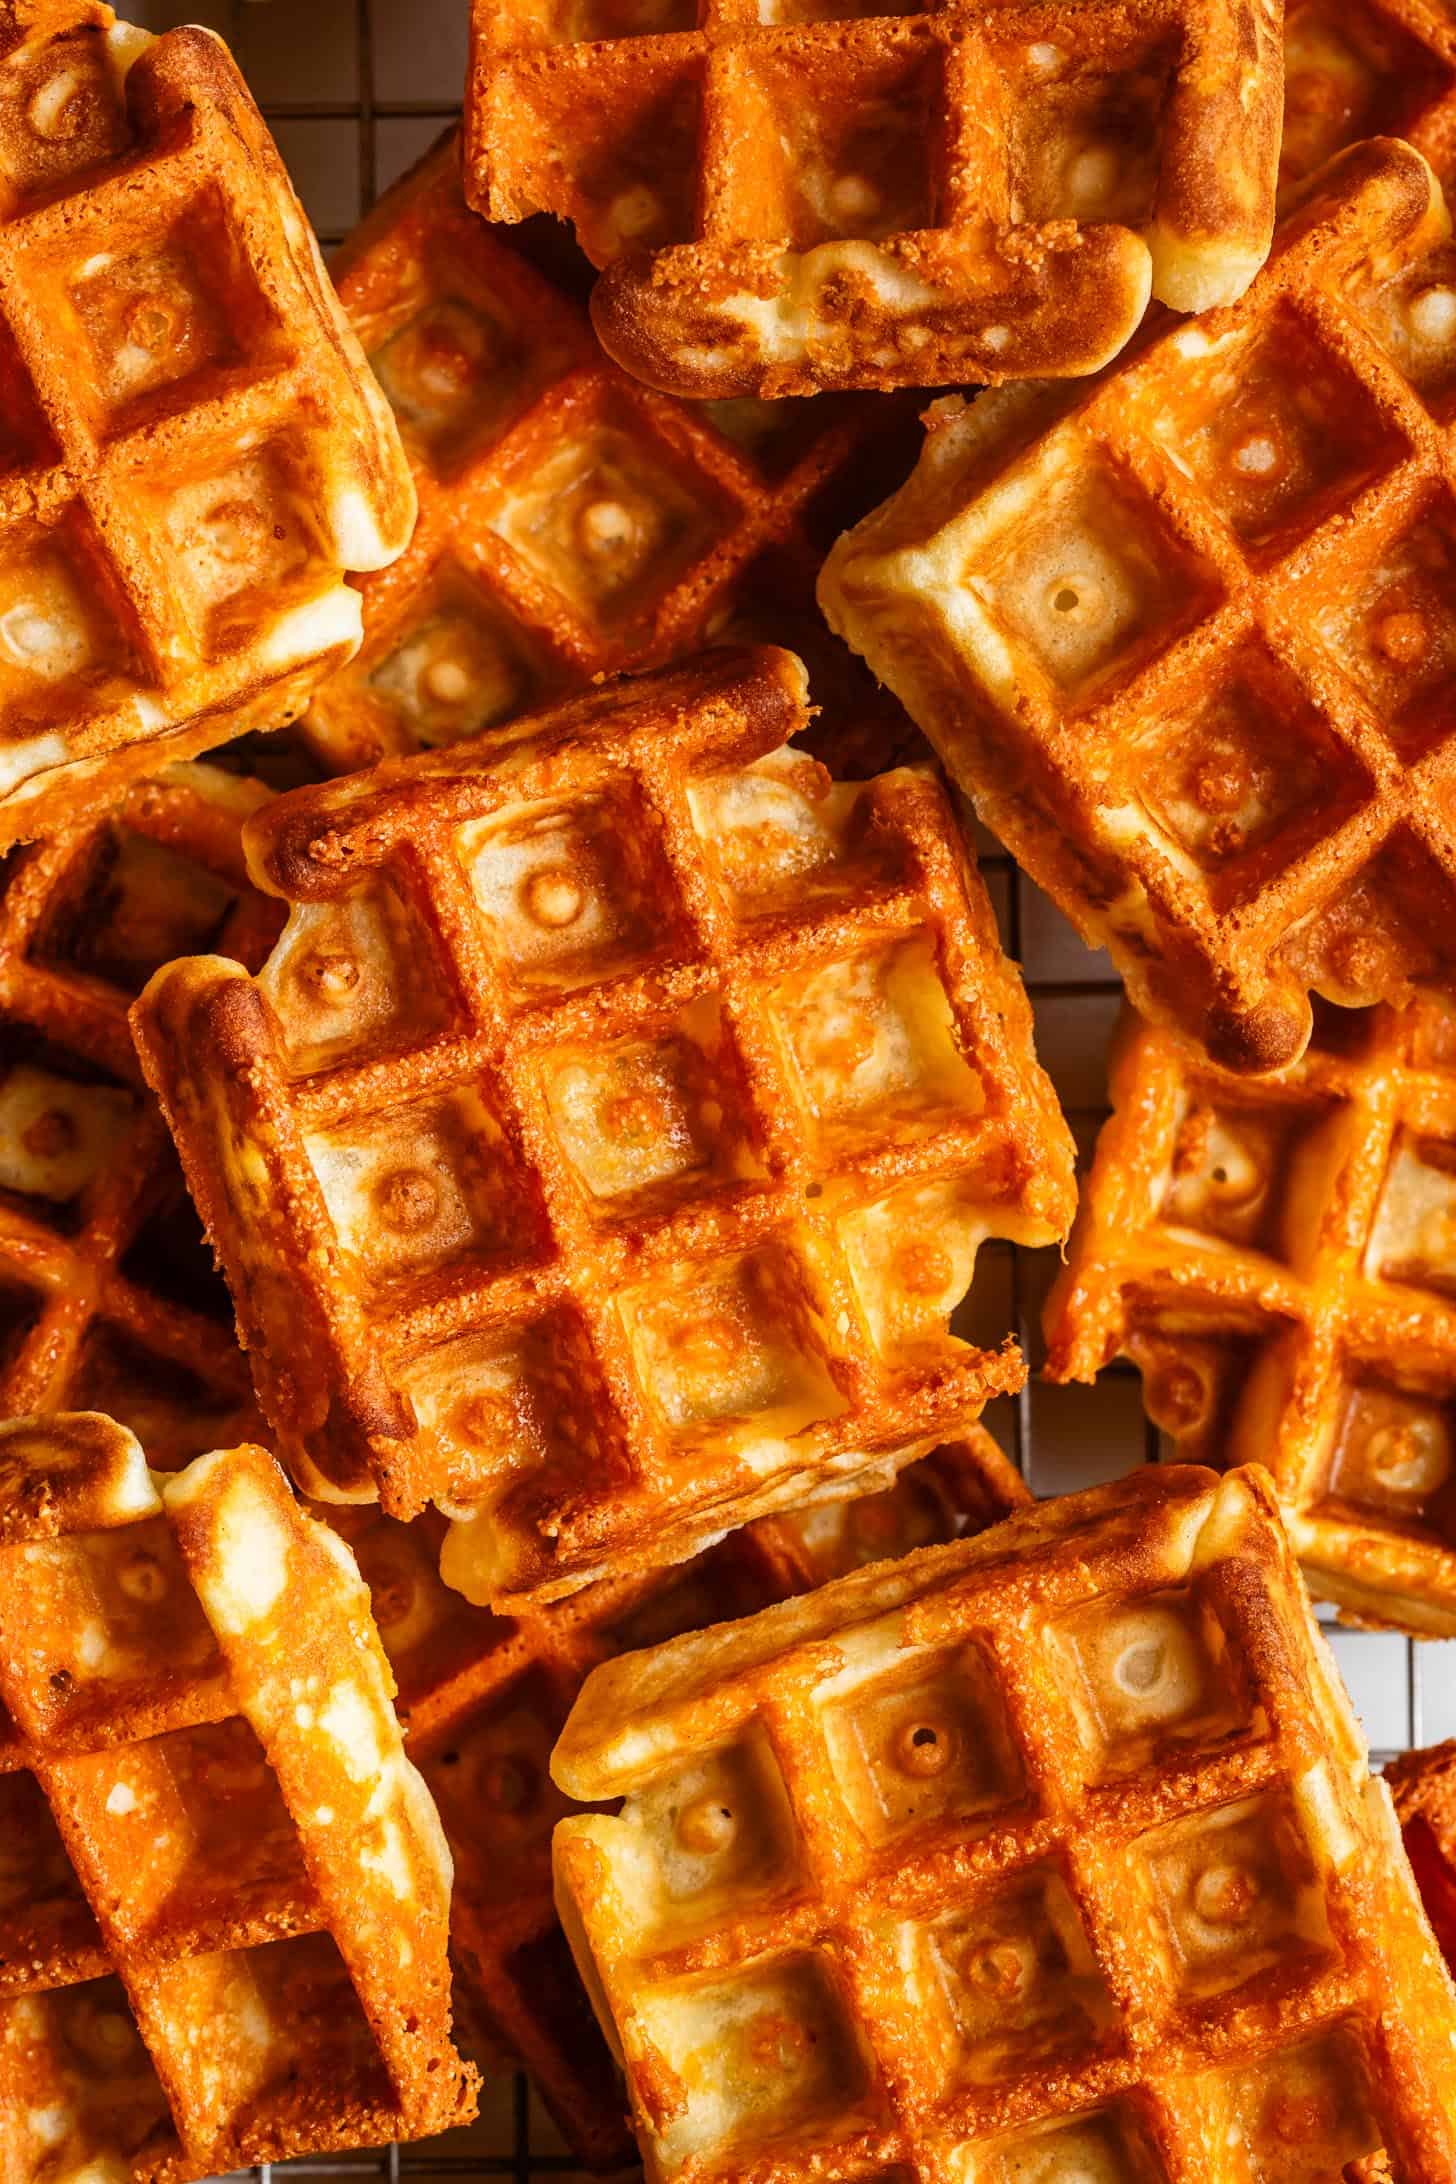
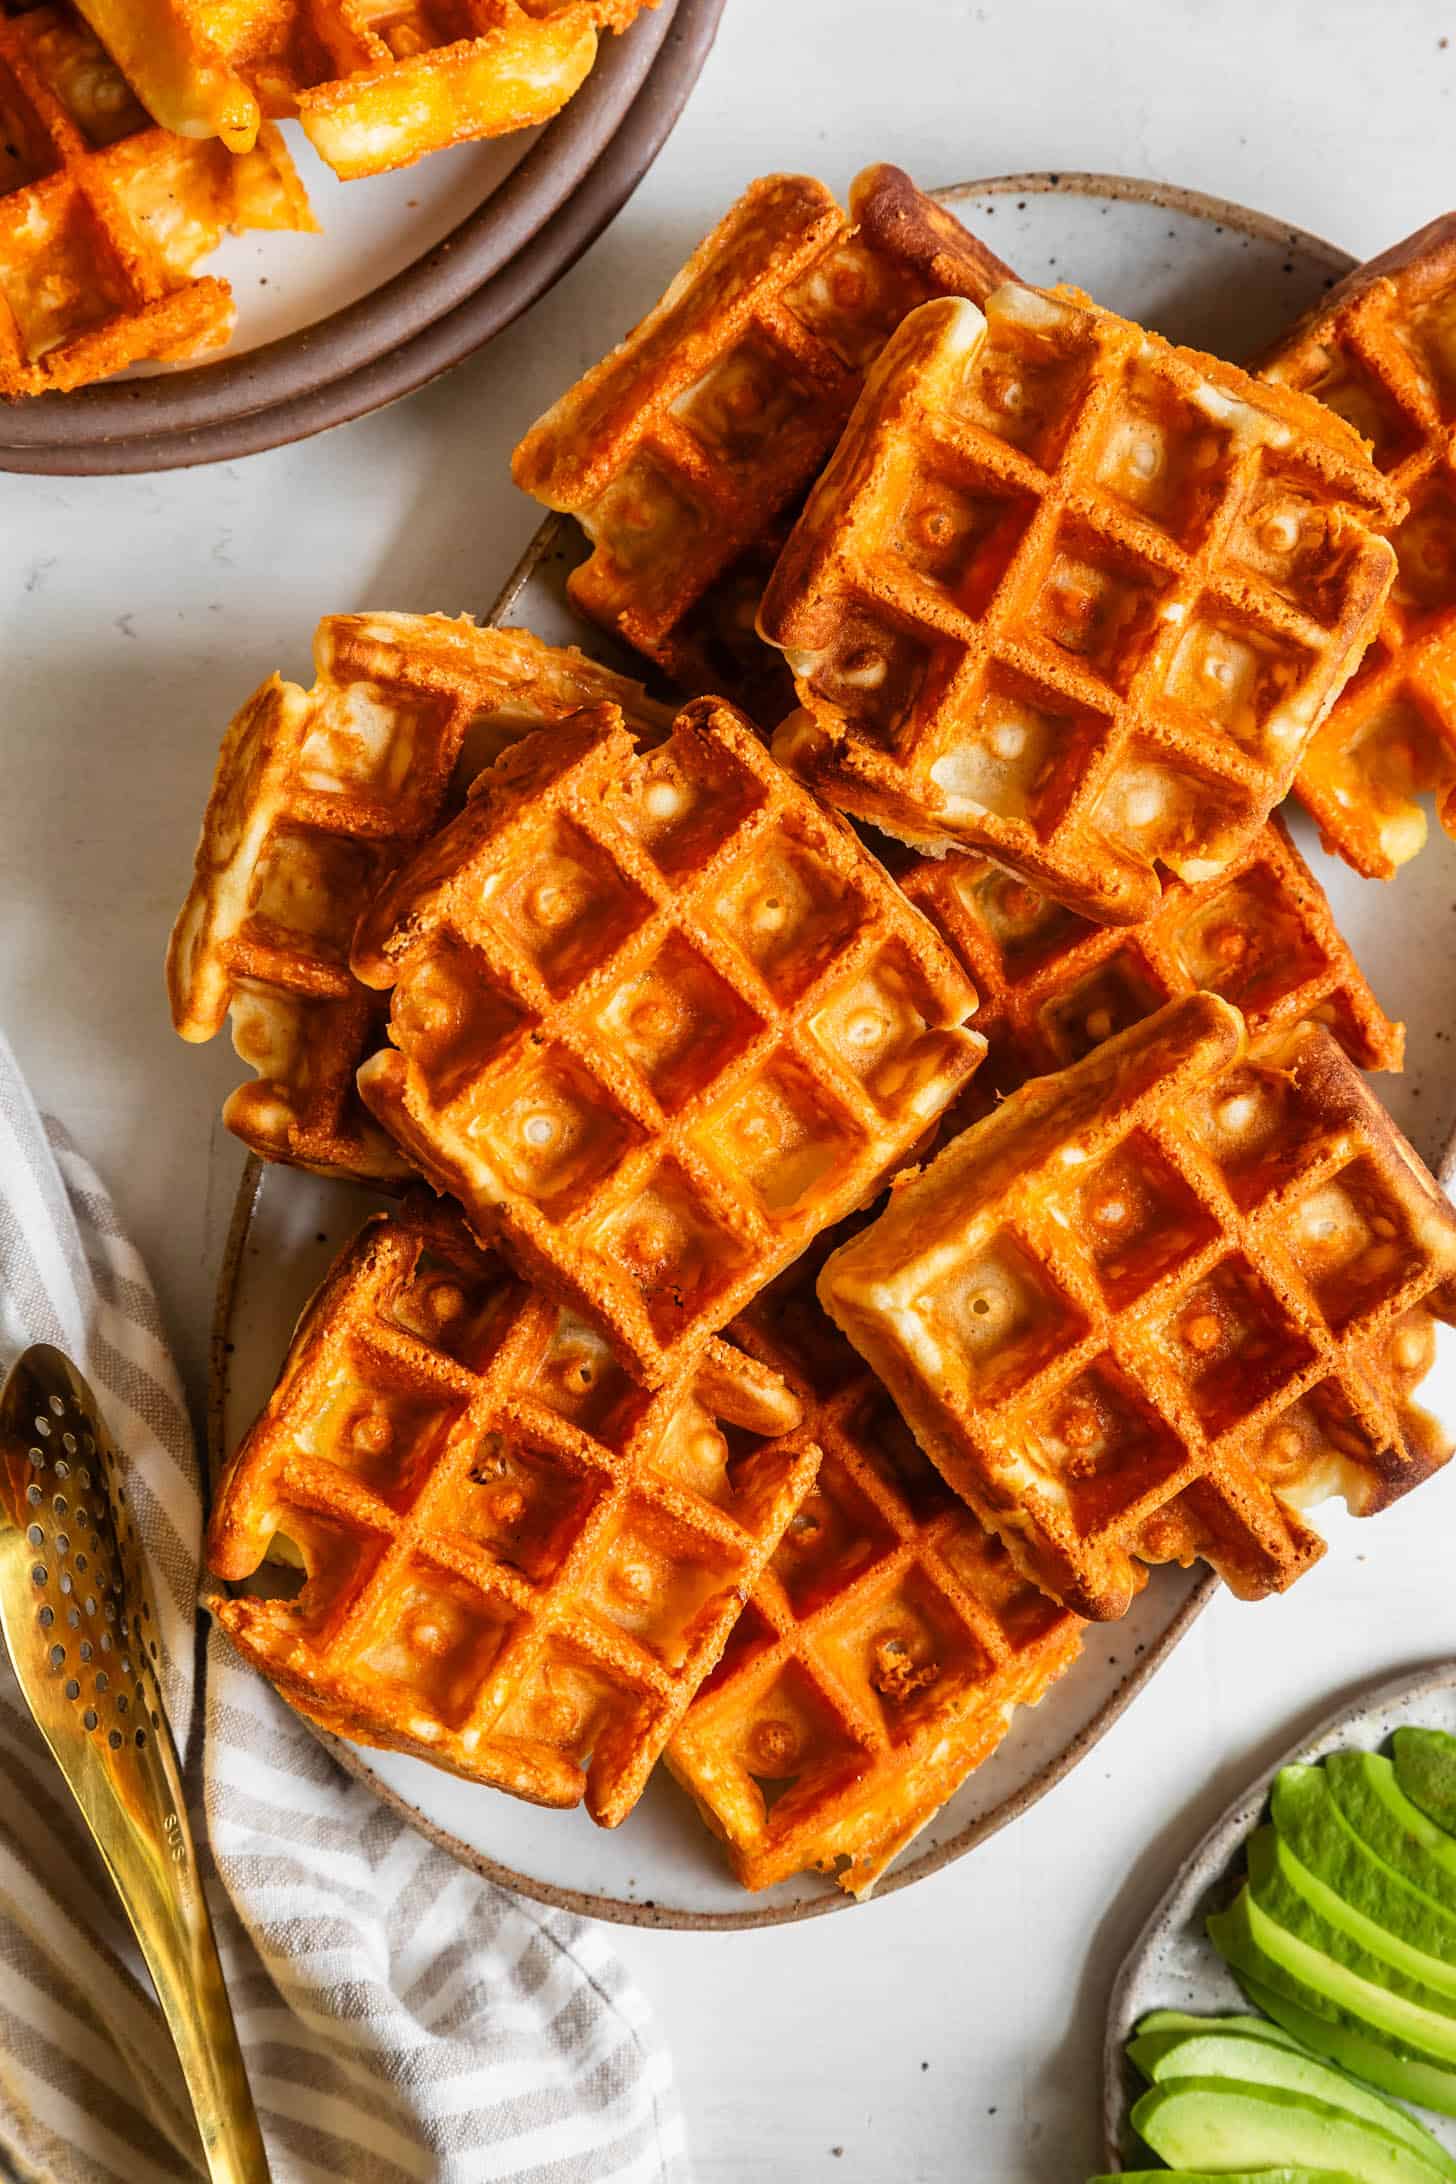
- Crisp cheesy shell that tastes like the fried bits of cheese hanging off a pizza crust.
- Naturally gluten-free!
- Can be made ahead in big batches and frozen for quick lunches! Just pop in the air fryer or toaster to reheat.
Ingredients for Cheese Gluten-Free Mochi Waffles
Most everything you need for this recipe you probably already have, save for two key ingredients: mochiko sweet rice flour and high-quality medium cheddar cheese.
Here's everything you'll need to make this recipe:
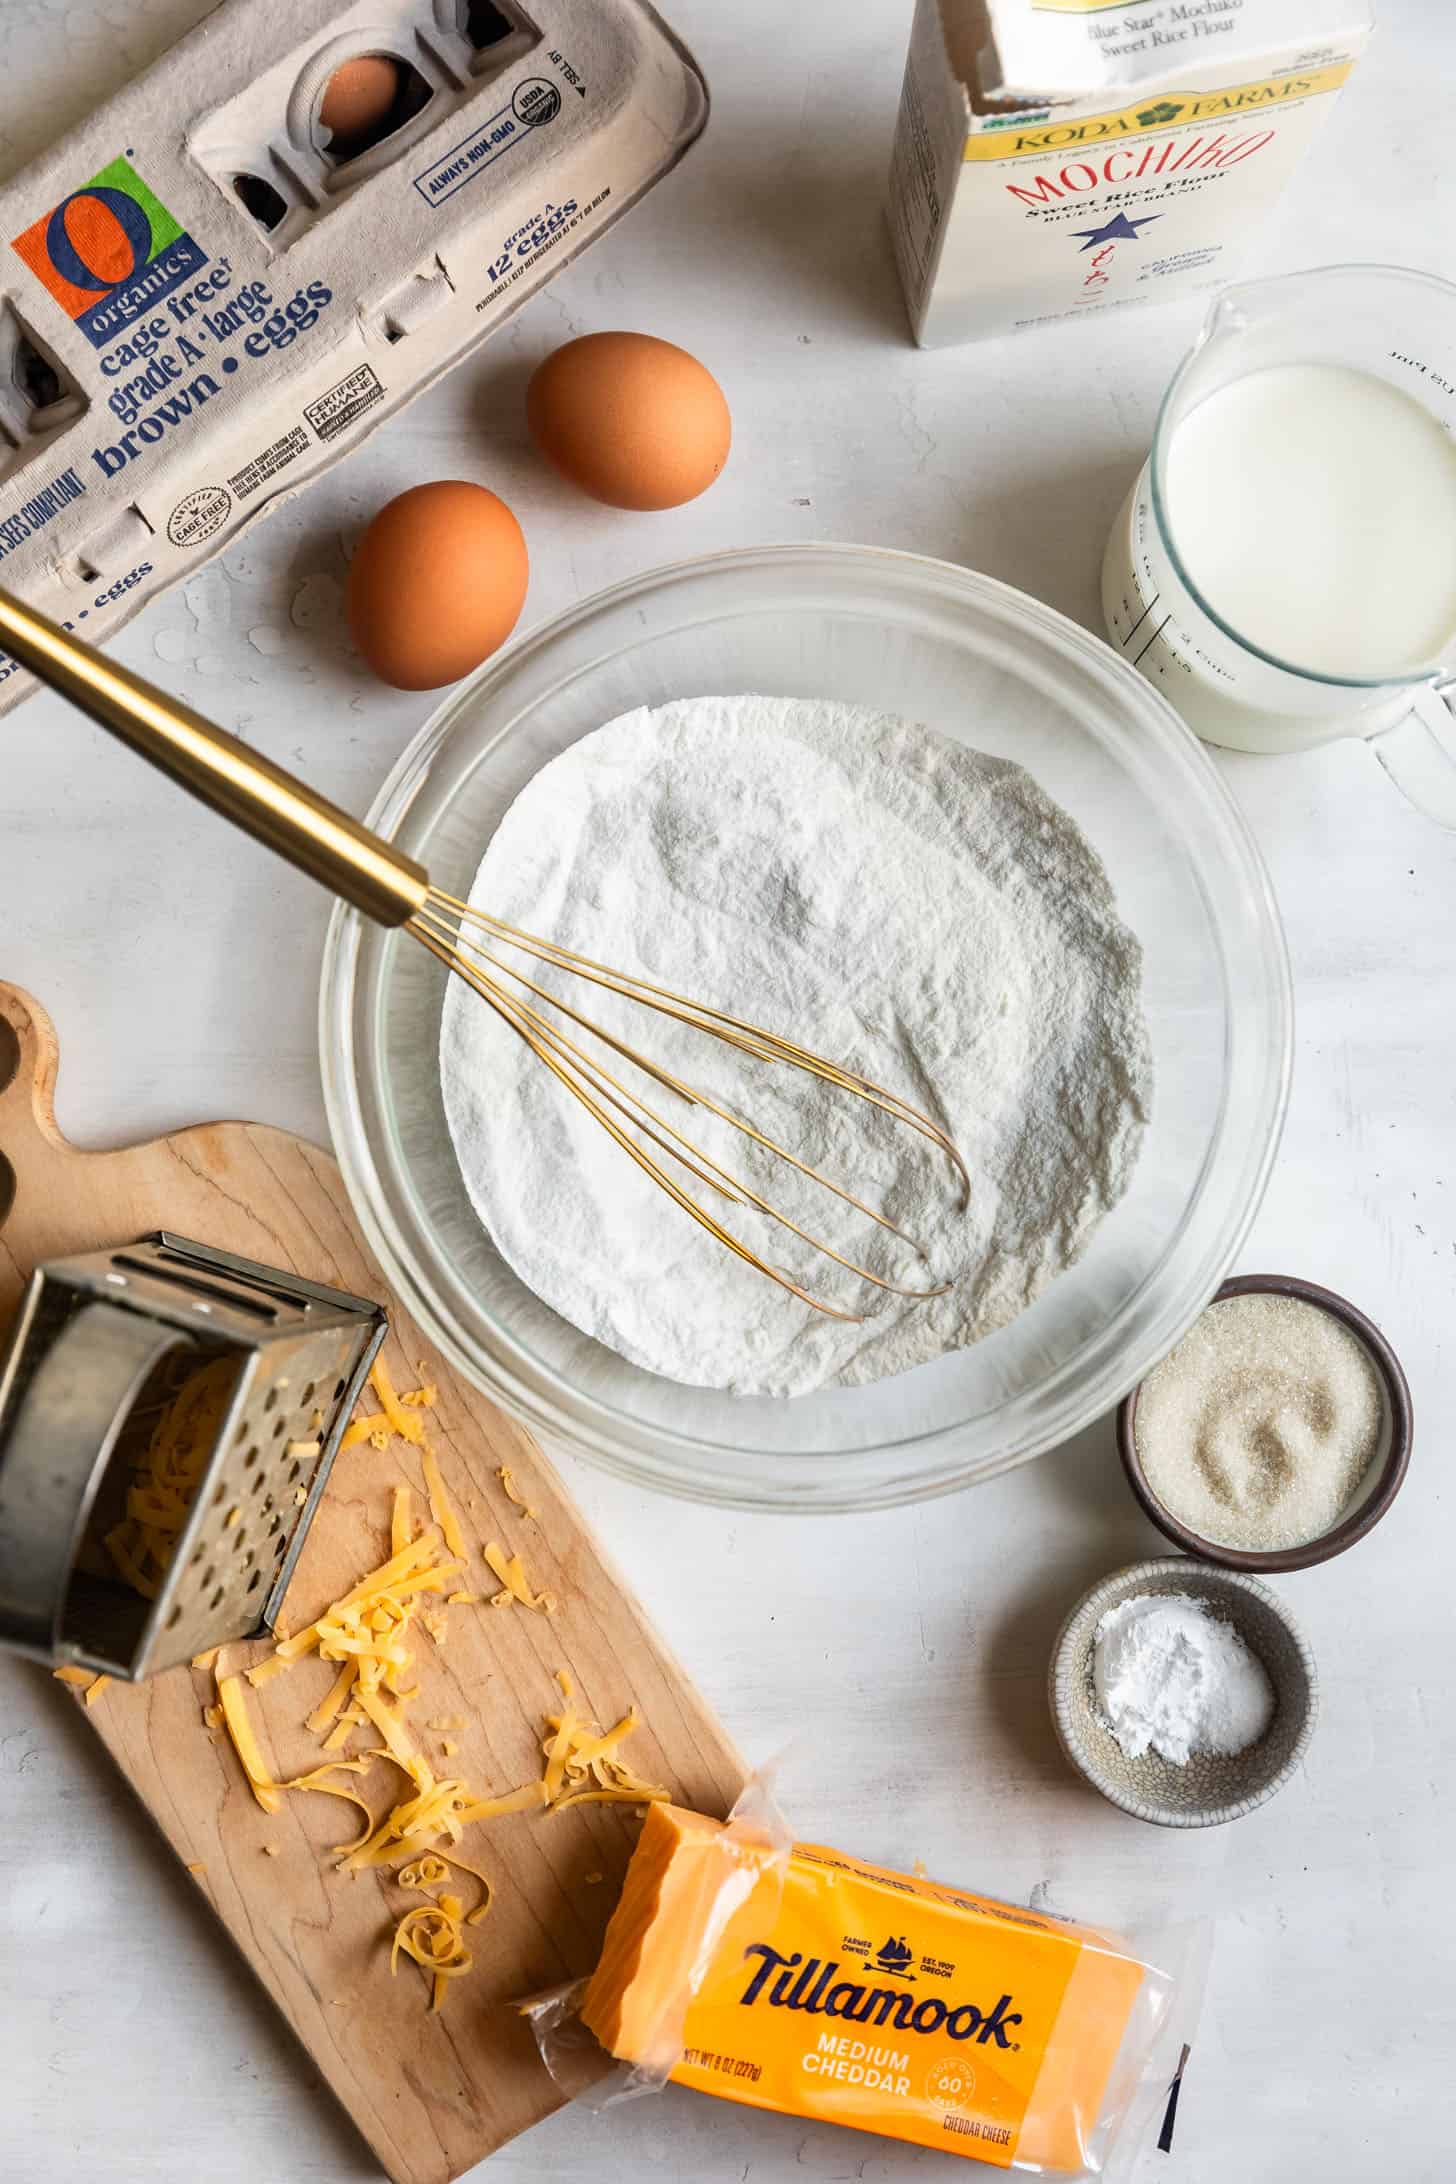
Here are the main ingredients you'll need to make these waffles (plus some baking staples!):
- Mochiko sweet rice flour: also called glutinous rice flour, sweet rice flour is used to make chewy mochi. It is distinctively different than white rice flour or brown rice flour that will cook up crisp and brittle. I exclusively use Koda Farms Mochiko. If using any other brand, you may find you need to add more flour or more milk to get the right consistency.
- Granulated Sugar: adds flavor to the chewy center that contrasts the salty cheesy shell.
- Milk: whole or 2% work best, but non-dairy milk works as well.
- Egg: Large egg, room temperature
- Medium Cheddar Cheese: I prefer Tillamook medium cheddar cheese for these waffles. Be sure to use mild or medium cheddar, as sharp cheddar cheese will tends to stick to the waffle iron.
Visit the recipe card for exact quantities!
How to Make Cheesy Mochi Waffles
These waffles are incredibly easy to make, with just one bowl. You simply add shredded cheese directly to the waffle iron, top it with mochi waffle batter, then top it with more cheese, and cook until crispy and golden brown.
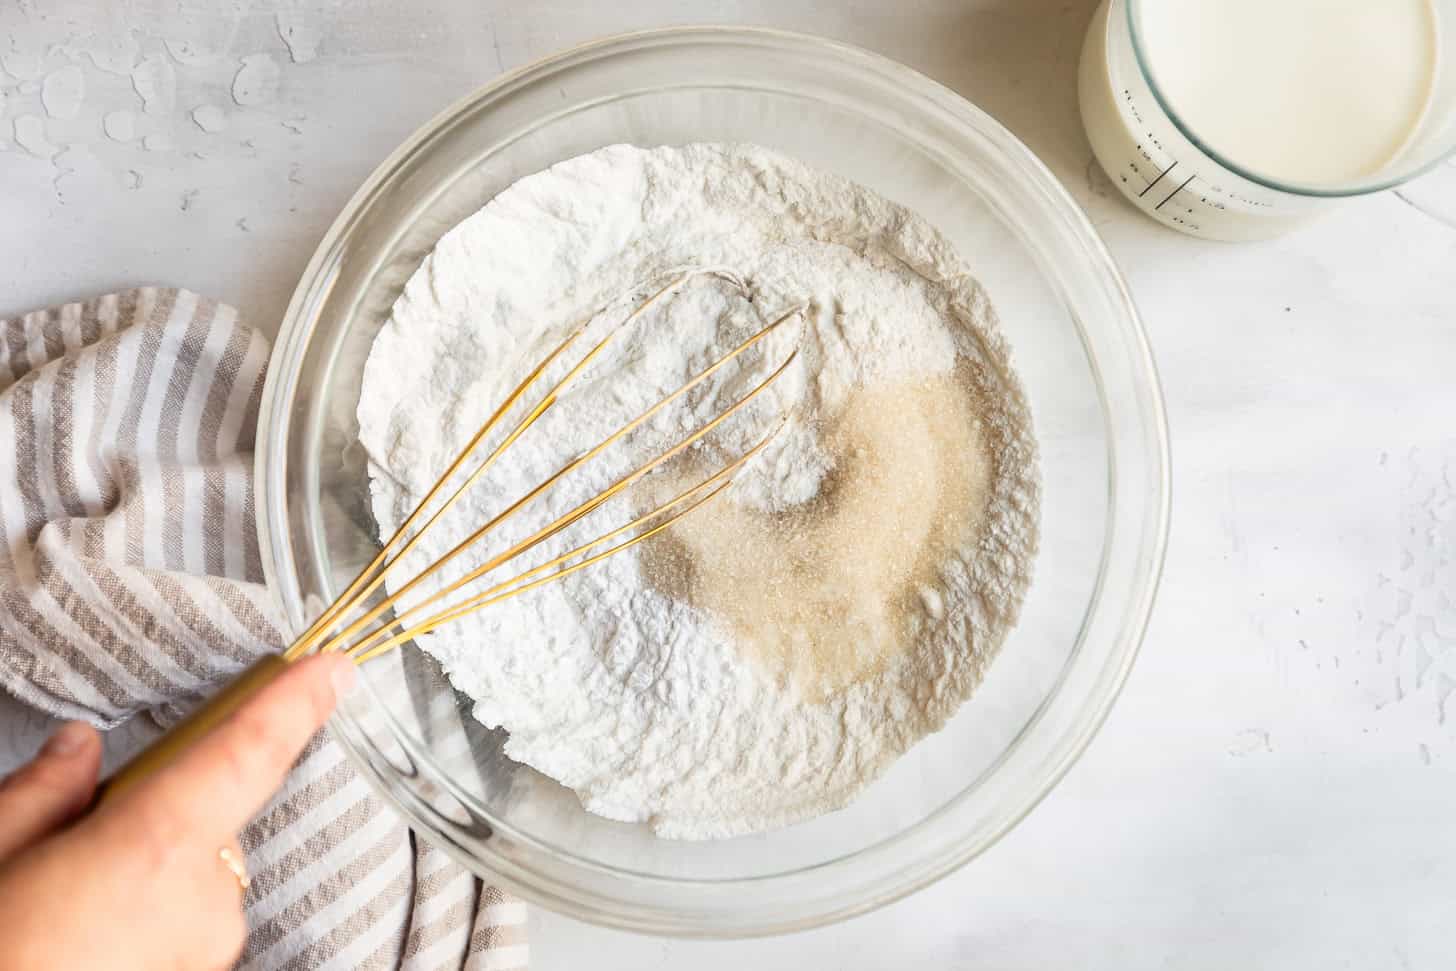
Whisk together the dry ingredients.
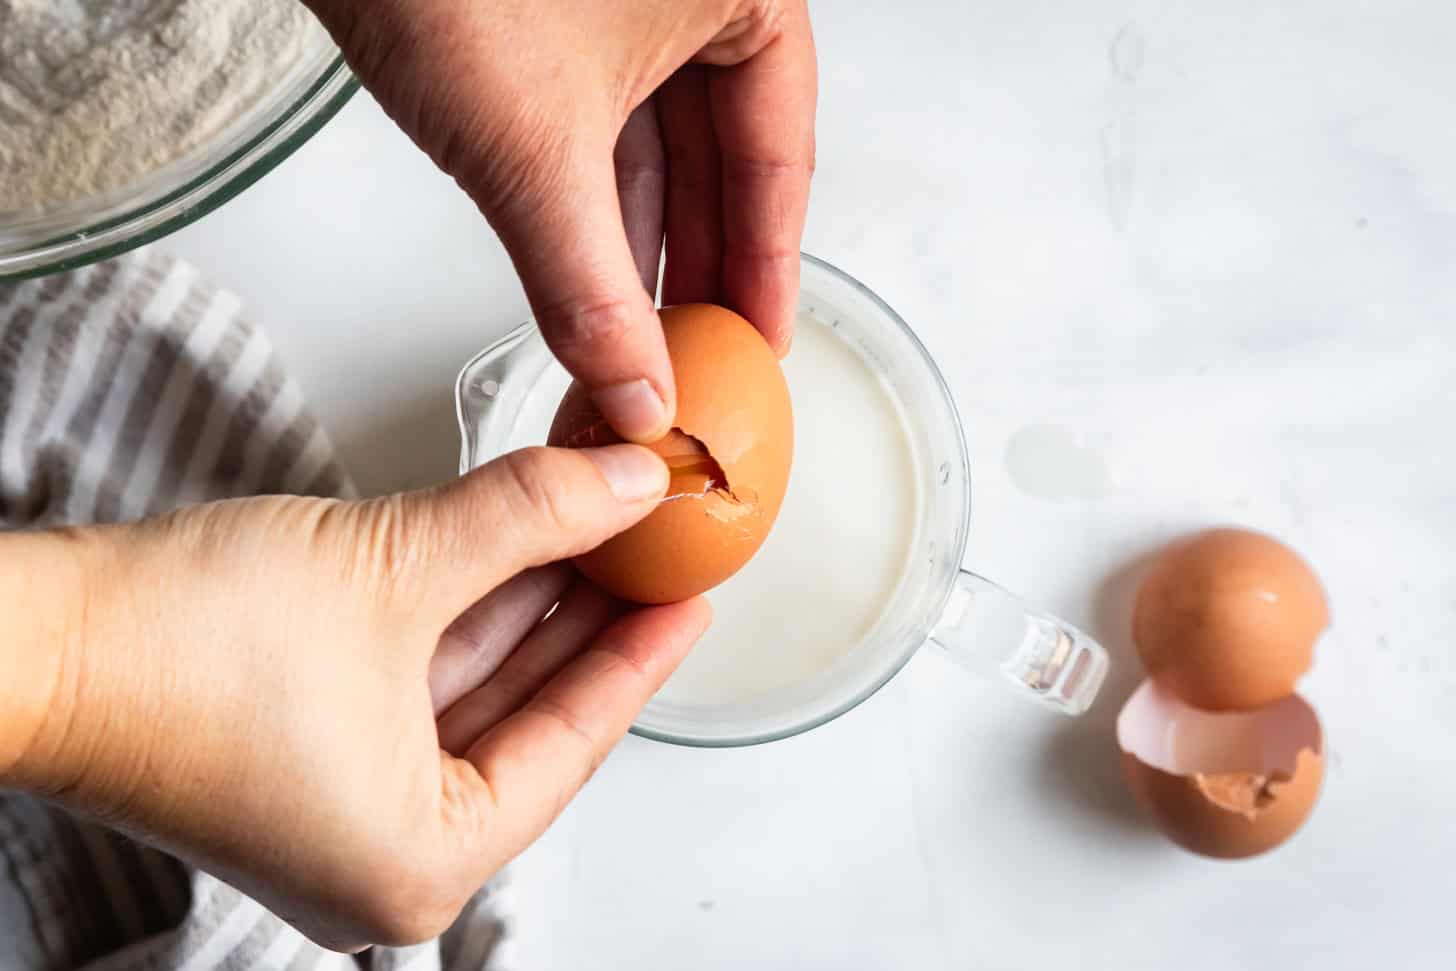
Crack the egg into the milk...
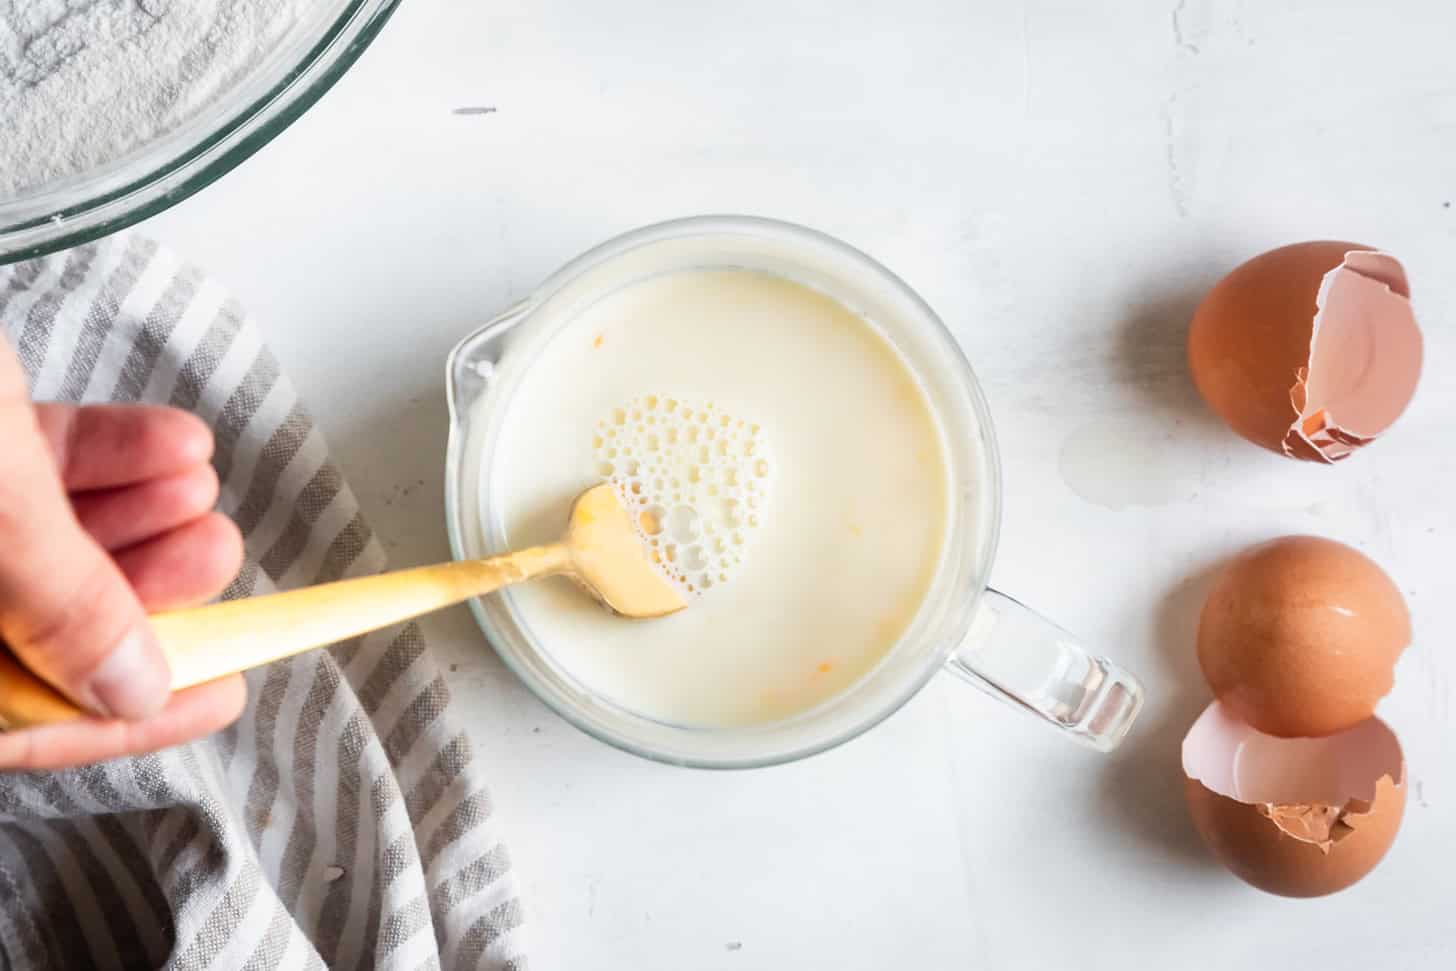
...and whisk until smooth.
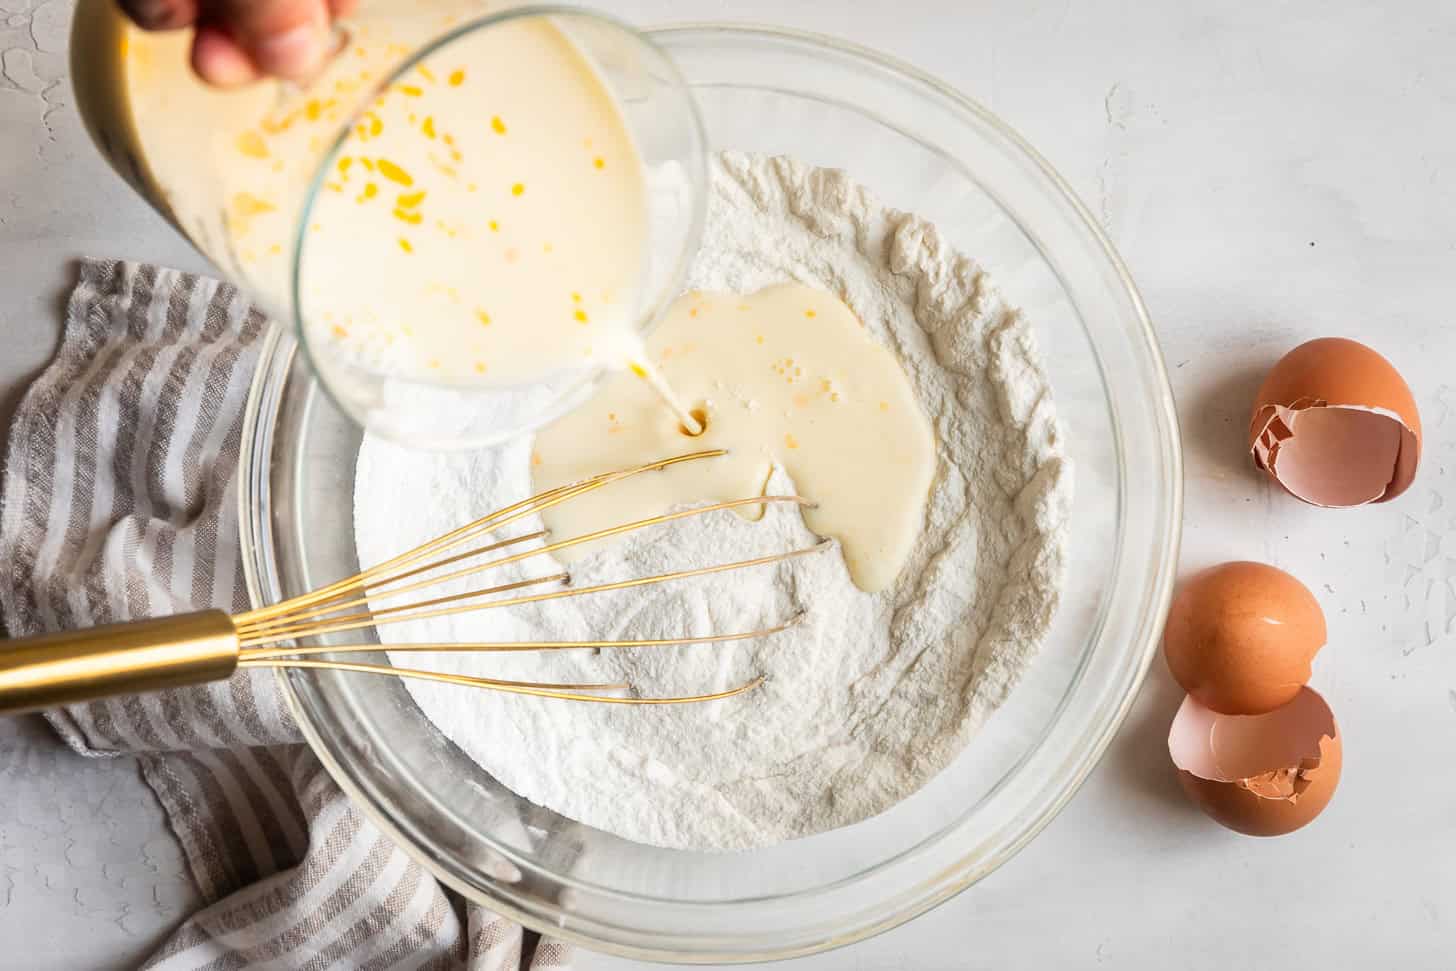
Pour wet ingredients into dry ingredients.
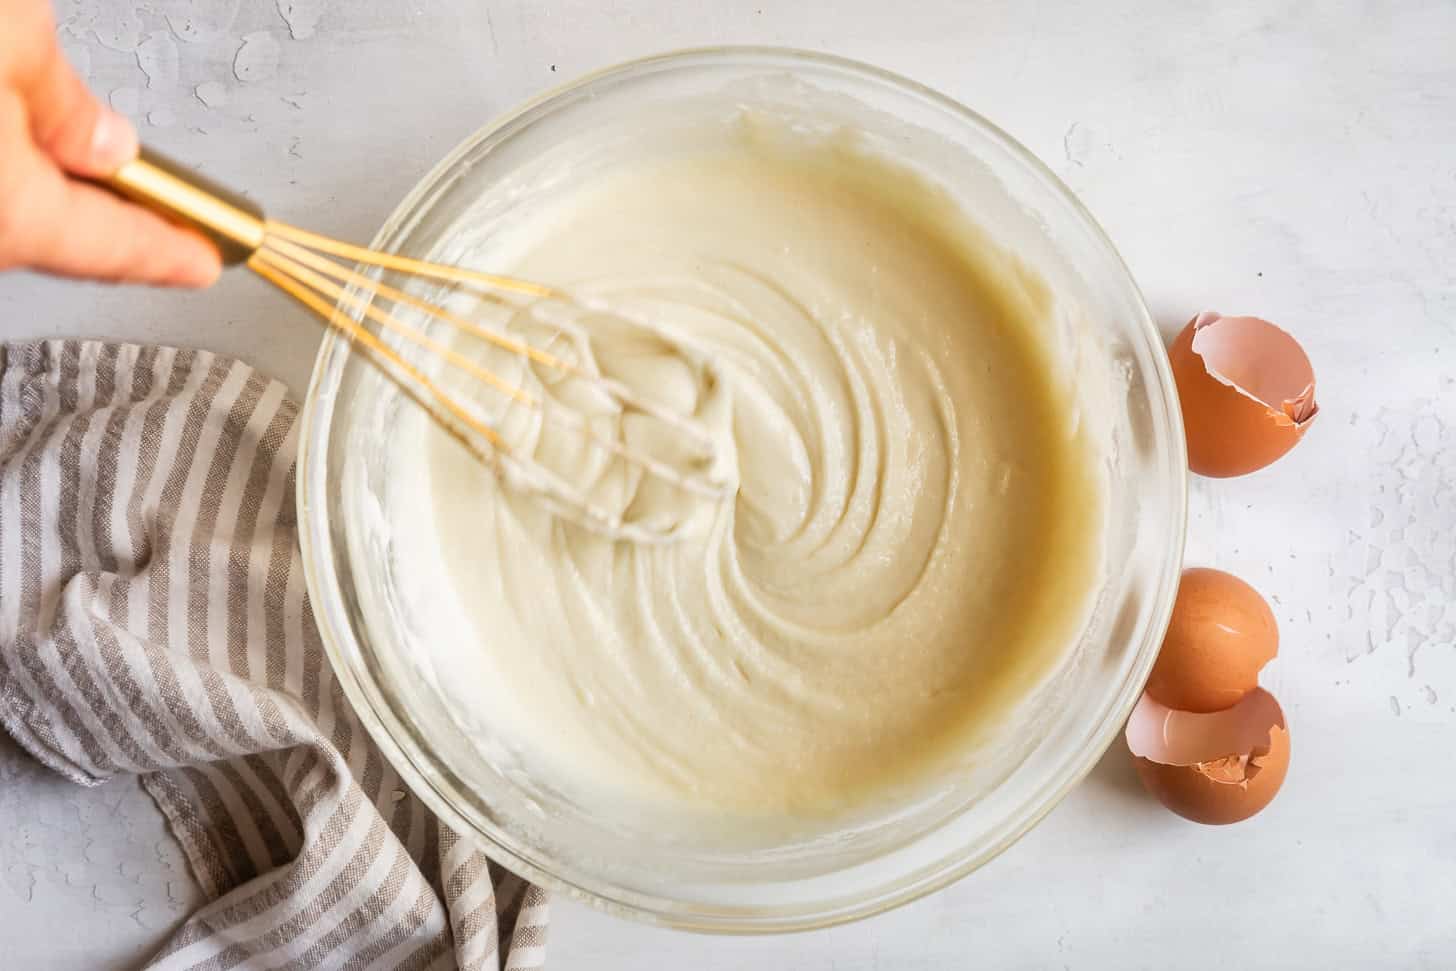
Whisk until completely smooth and no lumps remain. Your batter should be pretty thick and not runny. If your batter is too thick, add a couple more splashes of milk. If your batter is too thin, add up to ¼ cup more sweet rice flour. Let rest while you preheat your waffle iron.
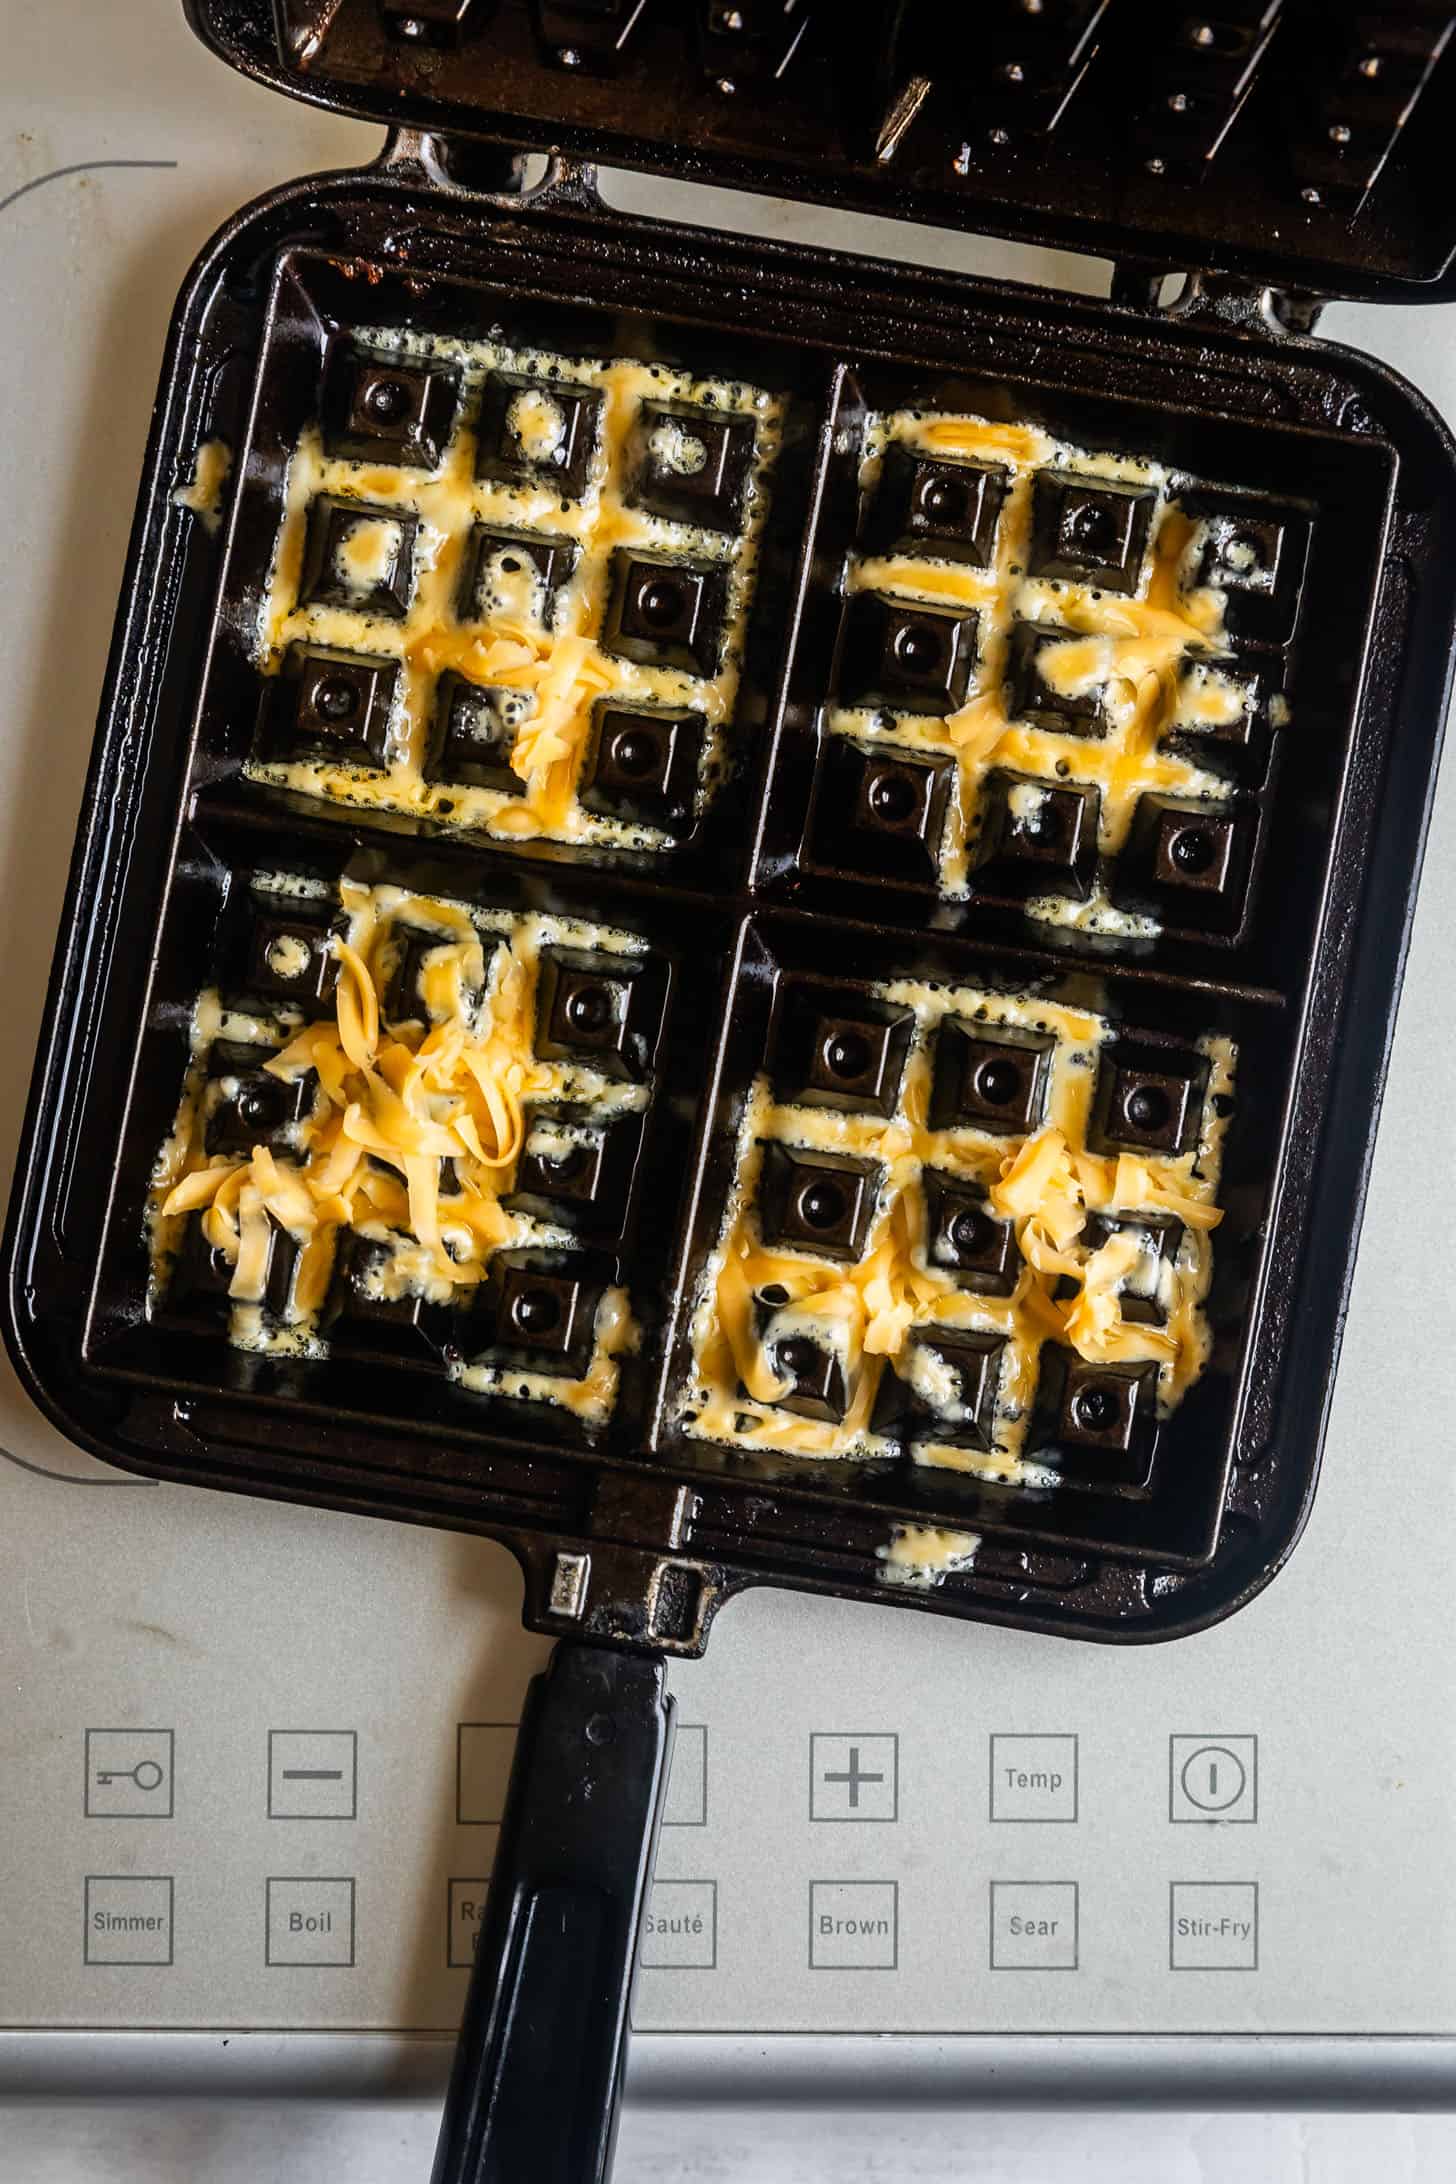
Sprinkle about 1 tablespoon of shredded cheese into each quarter of your waffle iron, or sprinkle 2-3 tablespoons of shredded cheese if making just one single waffle versus four smaller ones.
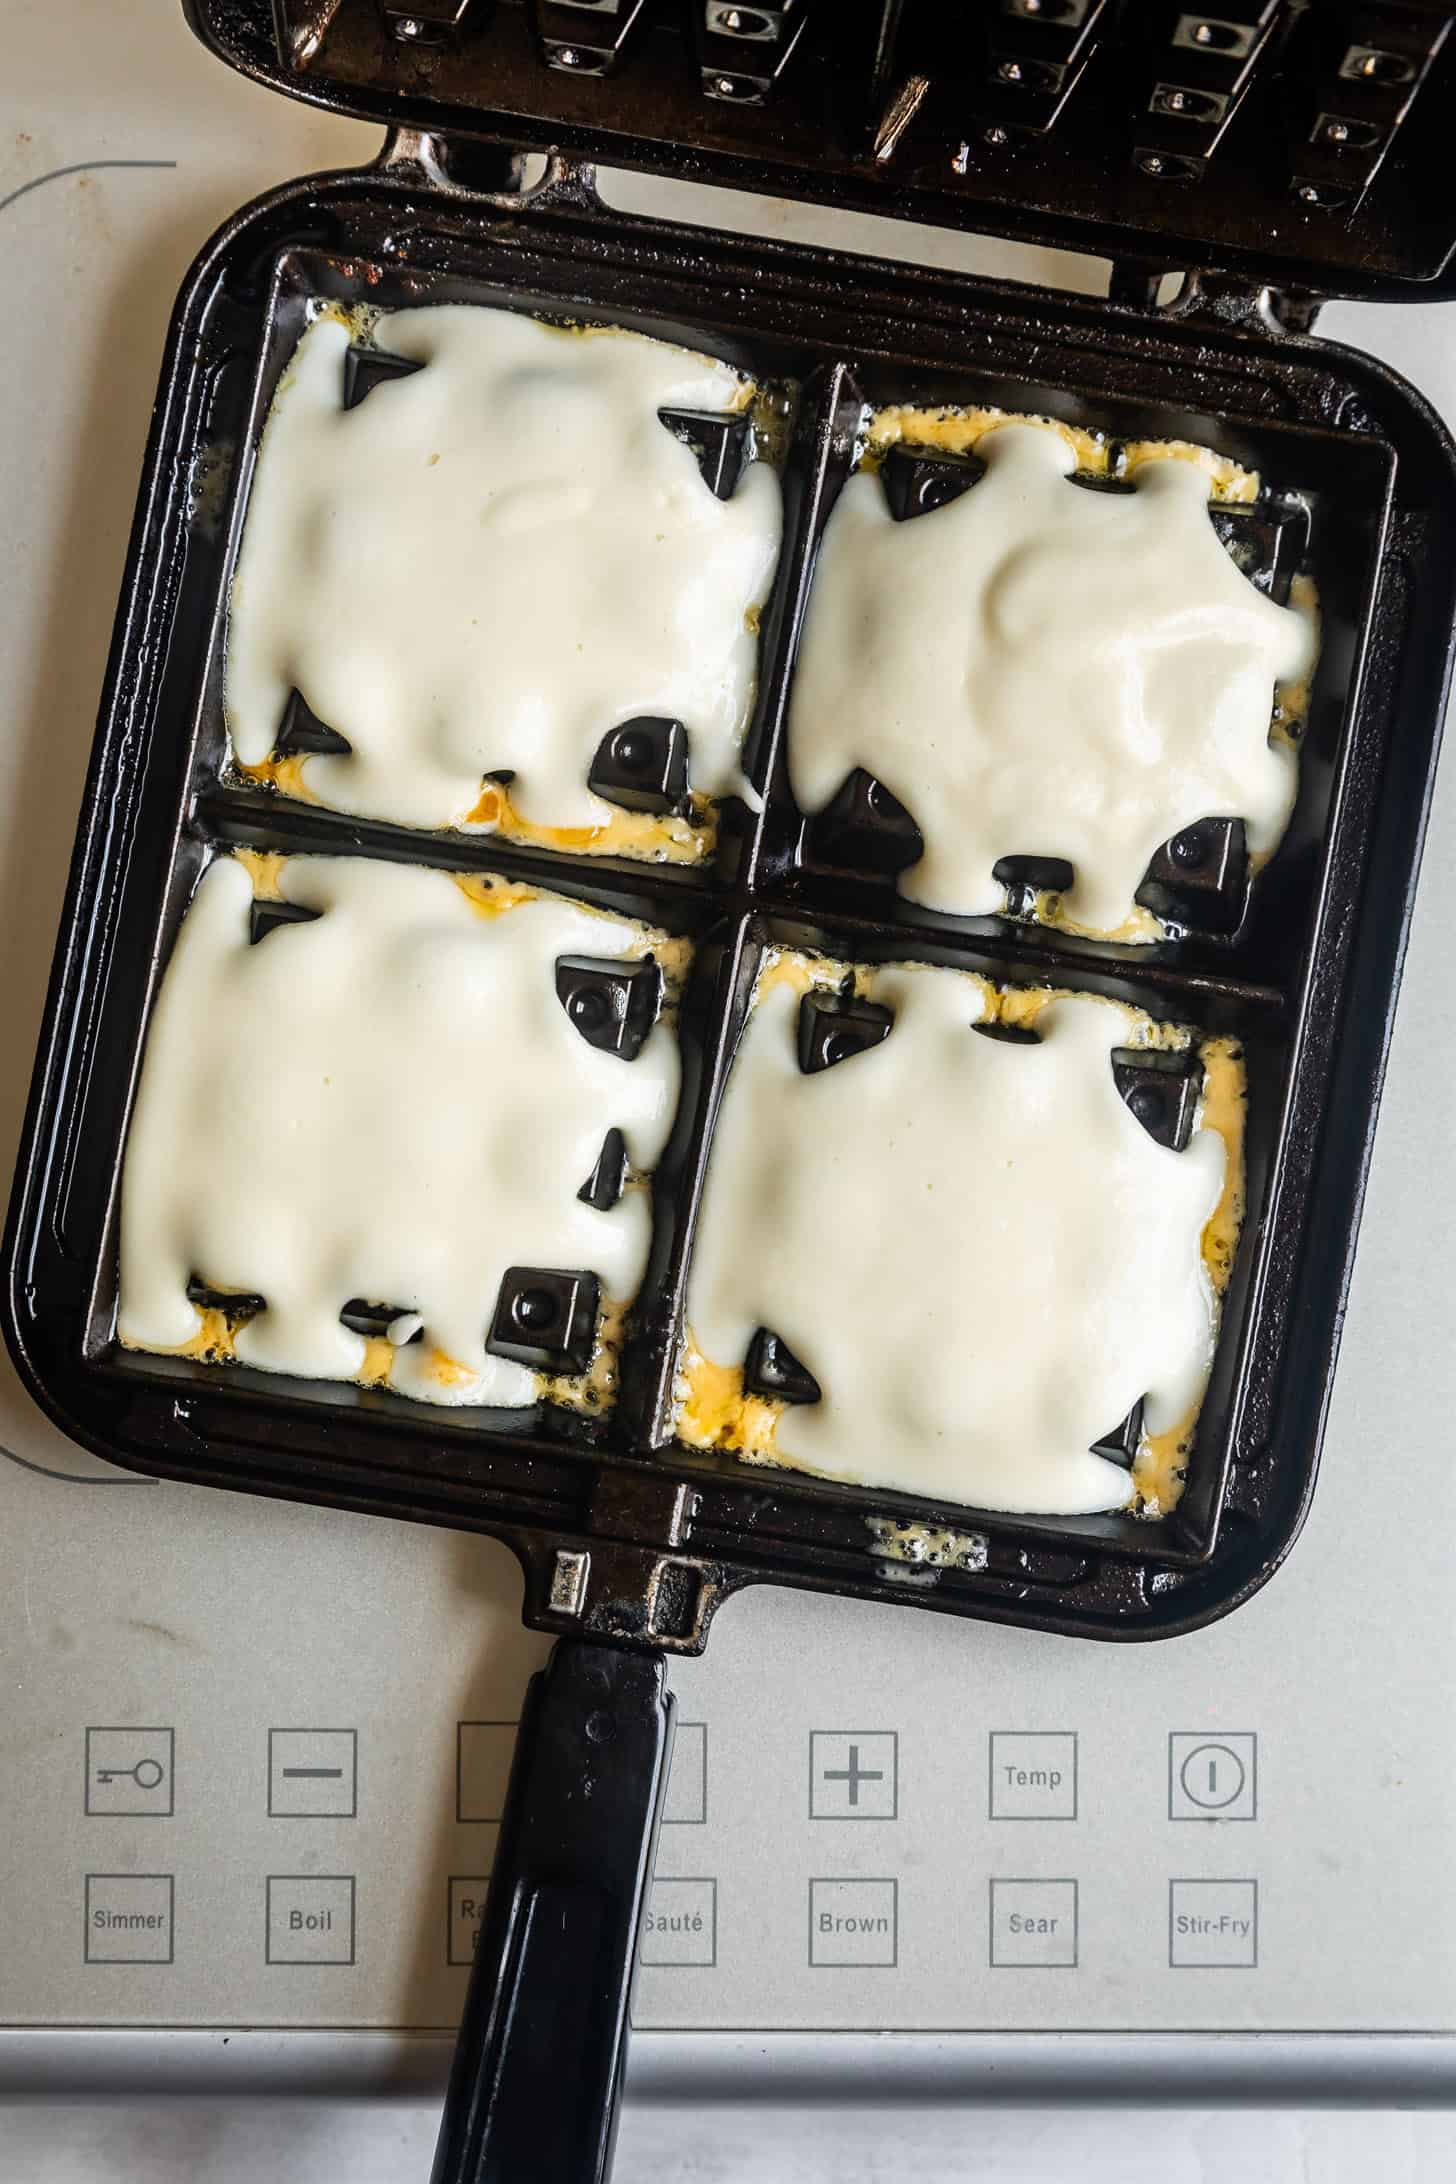
Scoop scant ¼ cup batter into each quarter of your waffle iron, or ¾ cup for one single waffle.
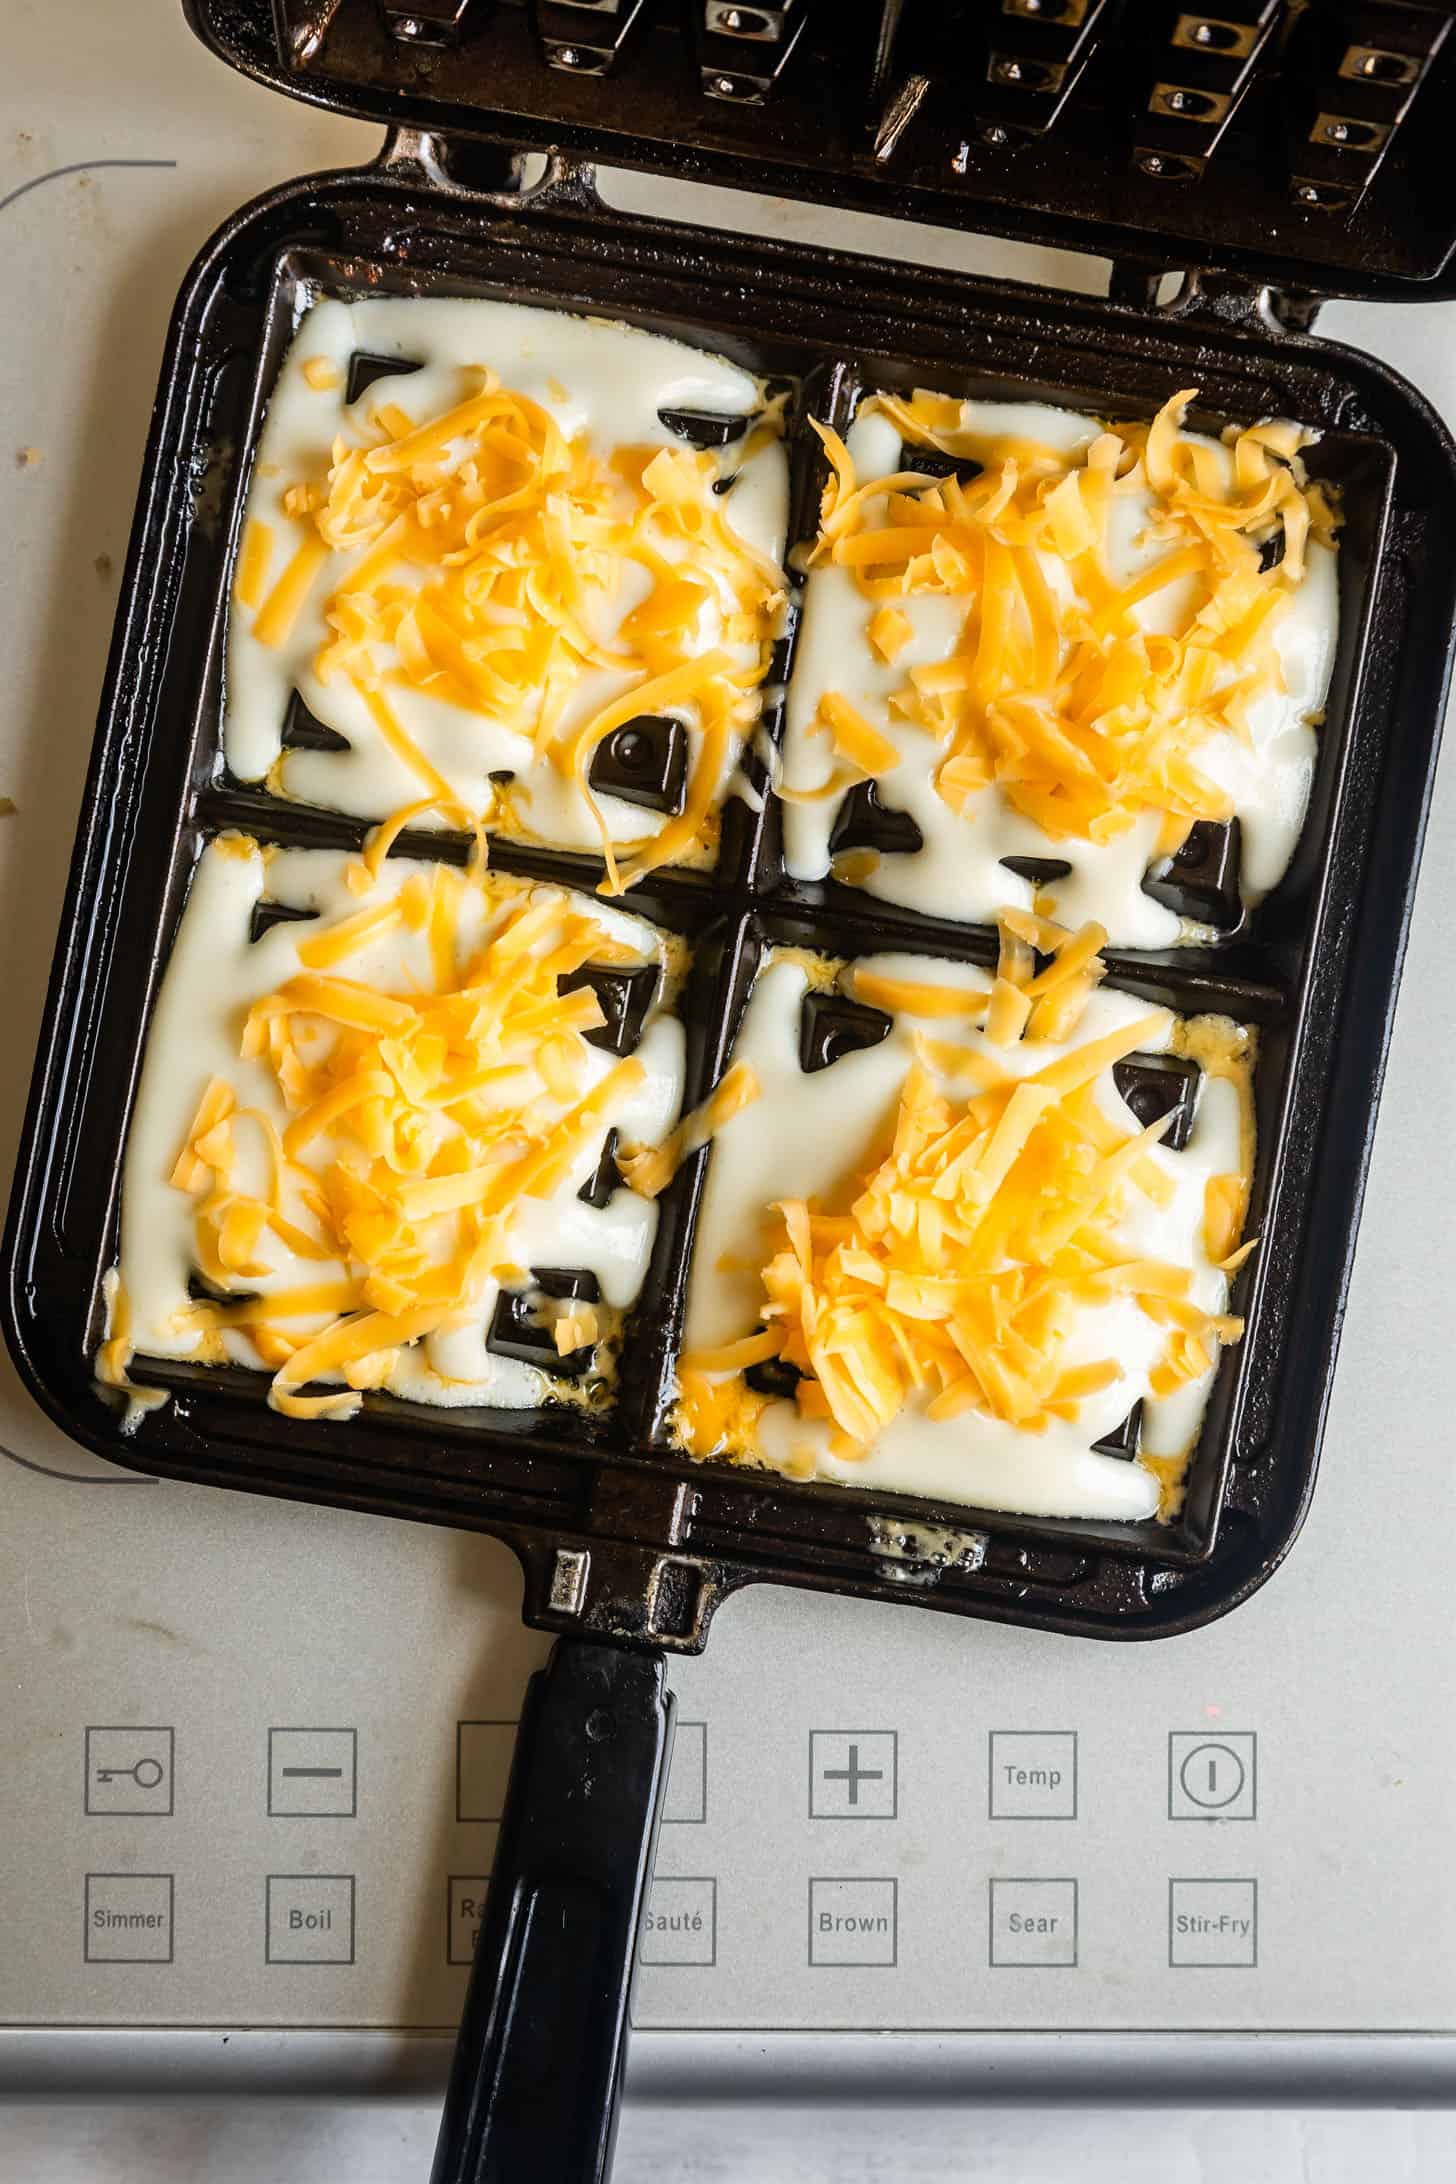
Sprinkle the top with the same amount of cheese as the first layer. Cook according to your waffle iron instructions, but until both sides are golden brown and crisp, and the cheese no longer sticks. See full recipe for details.
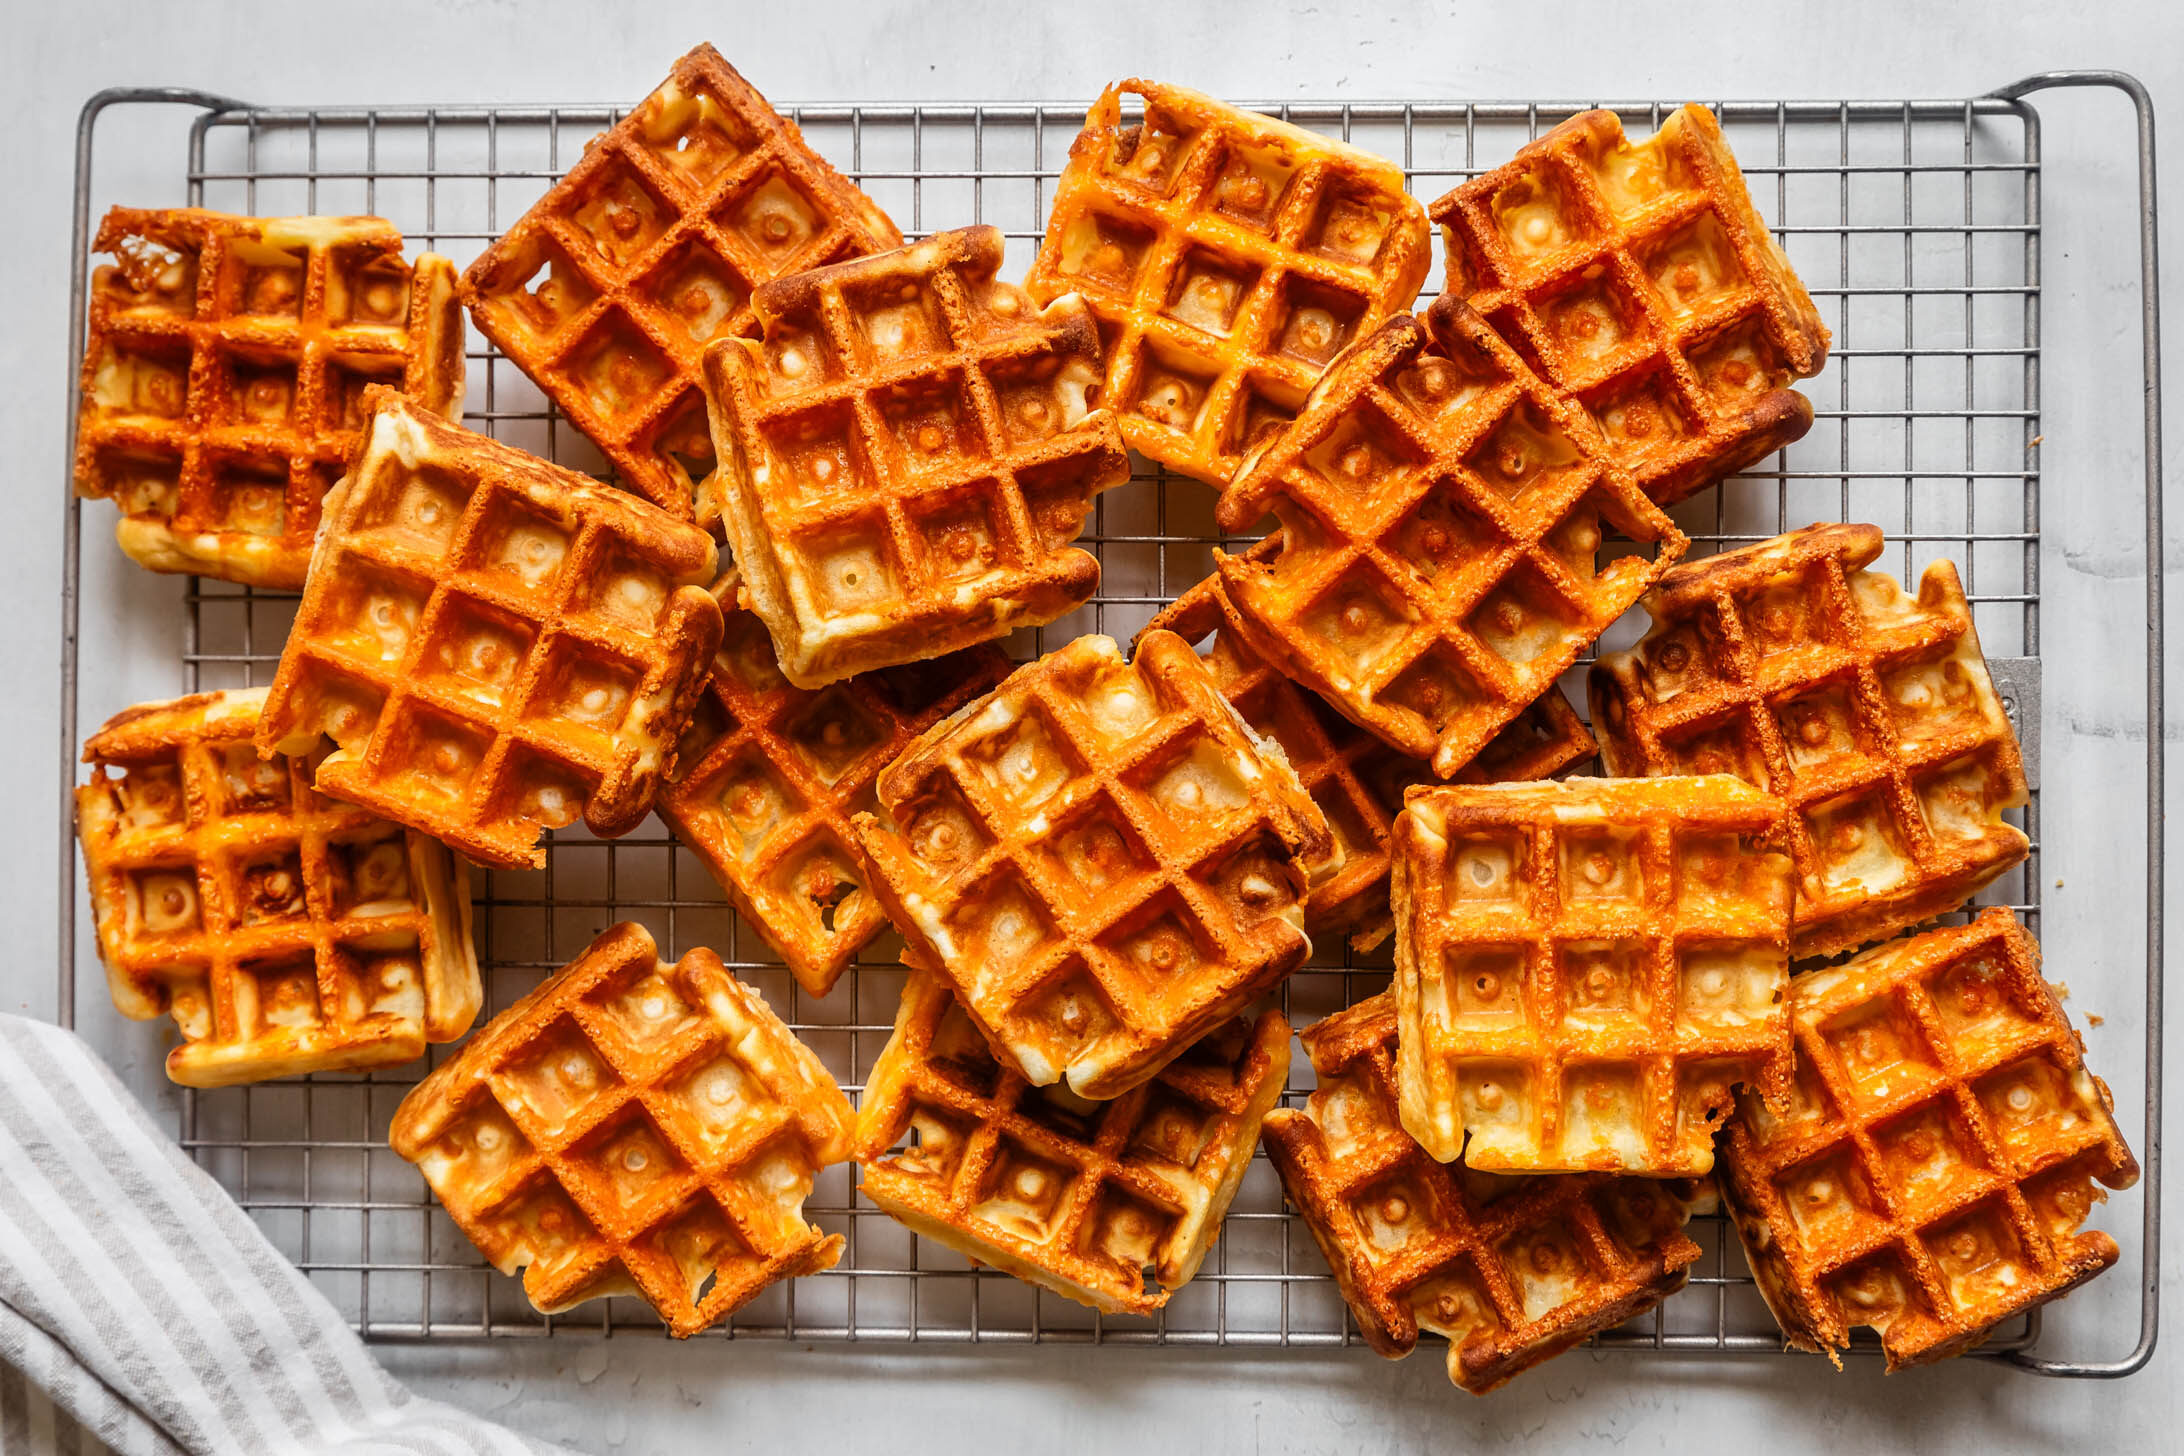
TIP: When the waffles are done, steam will stop releasing and the cheese will no longer stick to the waffle iron. You may use a wooden chopstick to help you release the waffles from the waffle iron onto a wire rack.
Can you Make Dairy-Free Gluten-Free Mochi Waffles?
To enjoy dairy-free mochi waffles, use any non-dairy milk, such as oat milk and skip the cheese. Without the cheese, be sure to grease your waffle iron!
To give it a more classic sweet mochi waffle flavor, add ½ teaspoon vanilla extract for more flavor.
Alternatively, if you can tolerate goat dairy, you can replace the cheese with shredded goat cheddar.
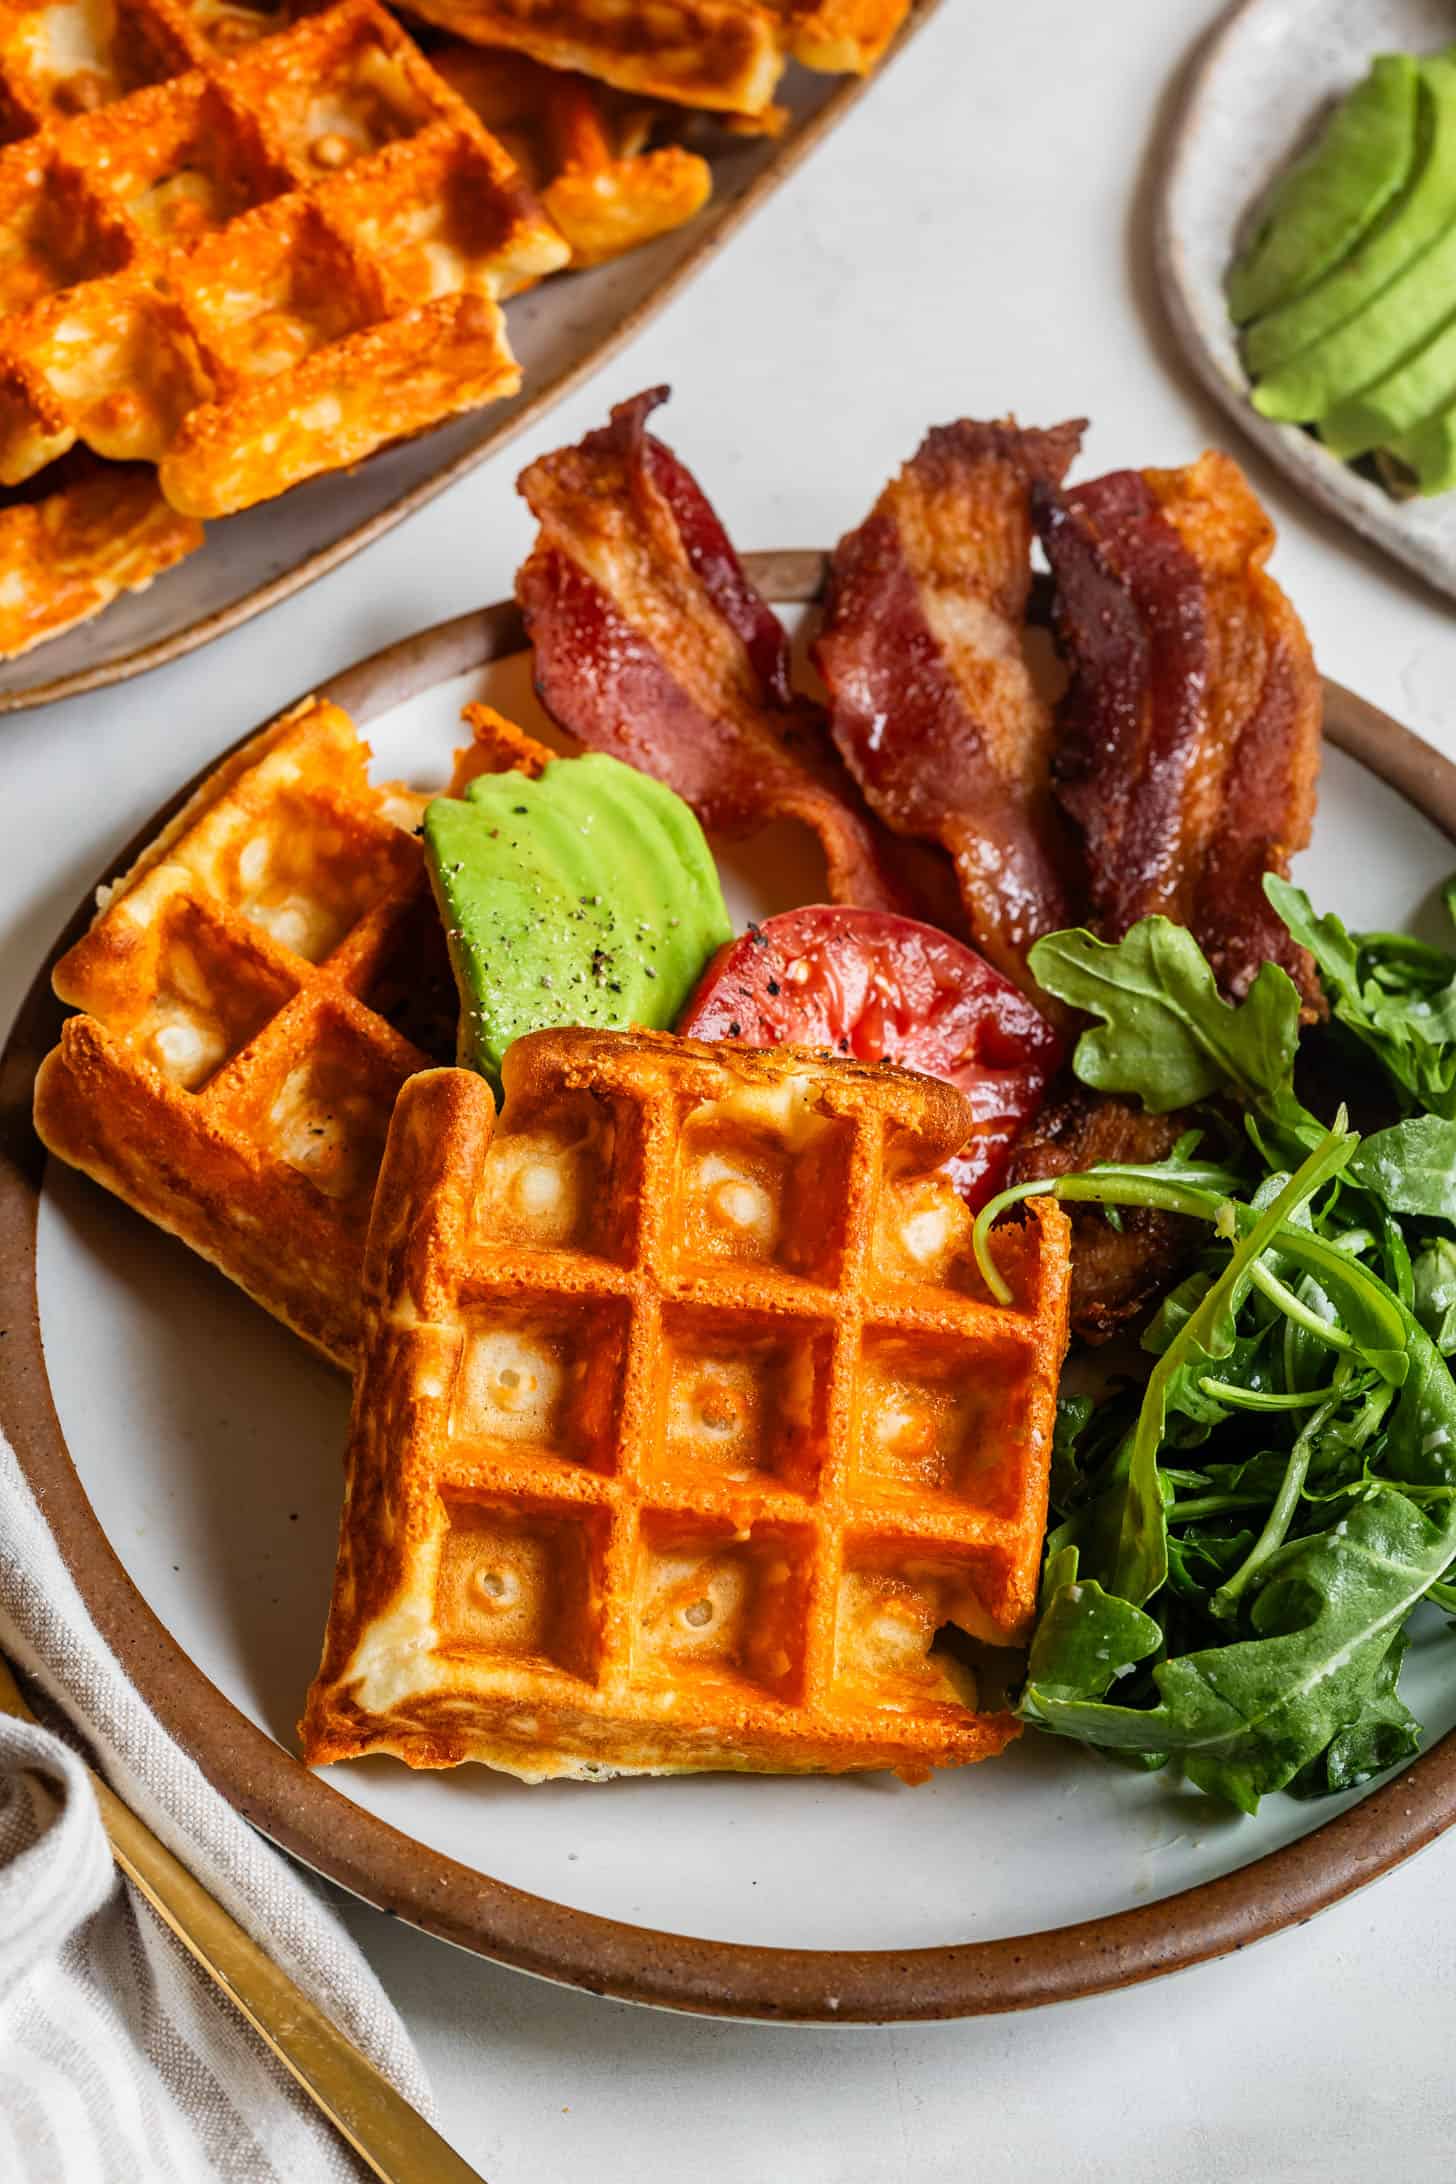
How to Serve Savory Cheesy Mochi Waffles
When we make these cheesy mochi waffles for dinner, we serve them as breakfast for dinner, alongside bacon or sausage, a quick arugula salad, fruit salad, and sometimes tater tots.
Equally as often, my kids each these cheesy mochi waffles in their school lunchboxes alongside all the other classic lunchbox sides: fruit, veggie, cracker, and olives.
Best Waffle Iron for Mochi Waffles
This recipe will work with any kind of waffle iron! Most often, we double the recipe and have three waffle irons going at once to make it go quicker. No matter what non-stick waffle iron you use, be sure to never use non-stick spray on your waffle iron. Over time, it will leave a sticky residue, completely defeating the purpose of the spray so your waffles stick every time, which is especially frustrating when making crispy cheesy mochi waffles.
Here are all the waffle irons I use and recommend:
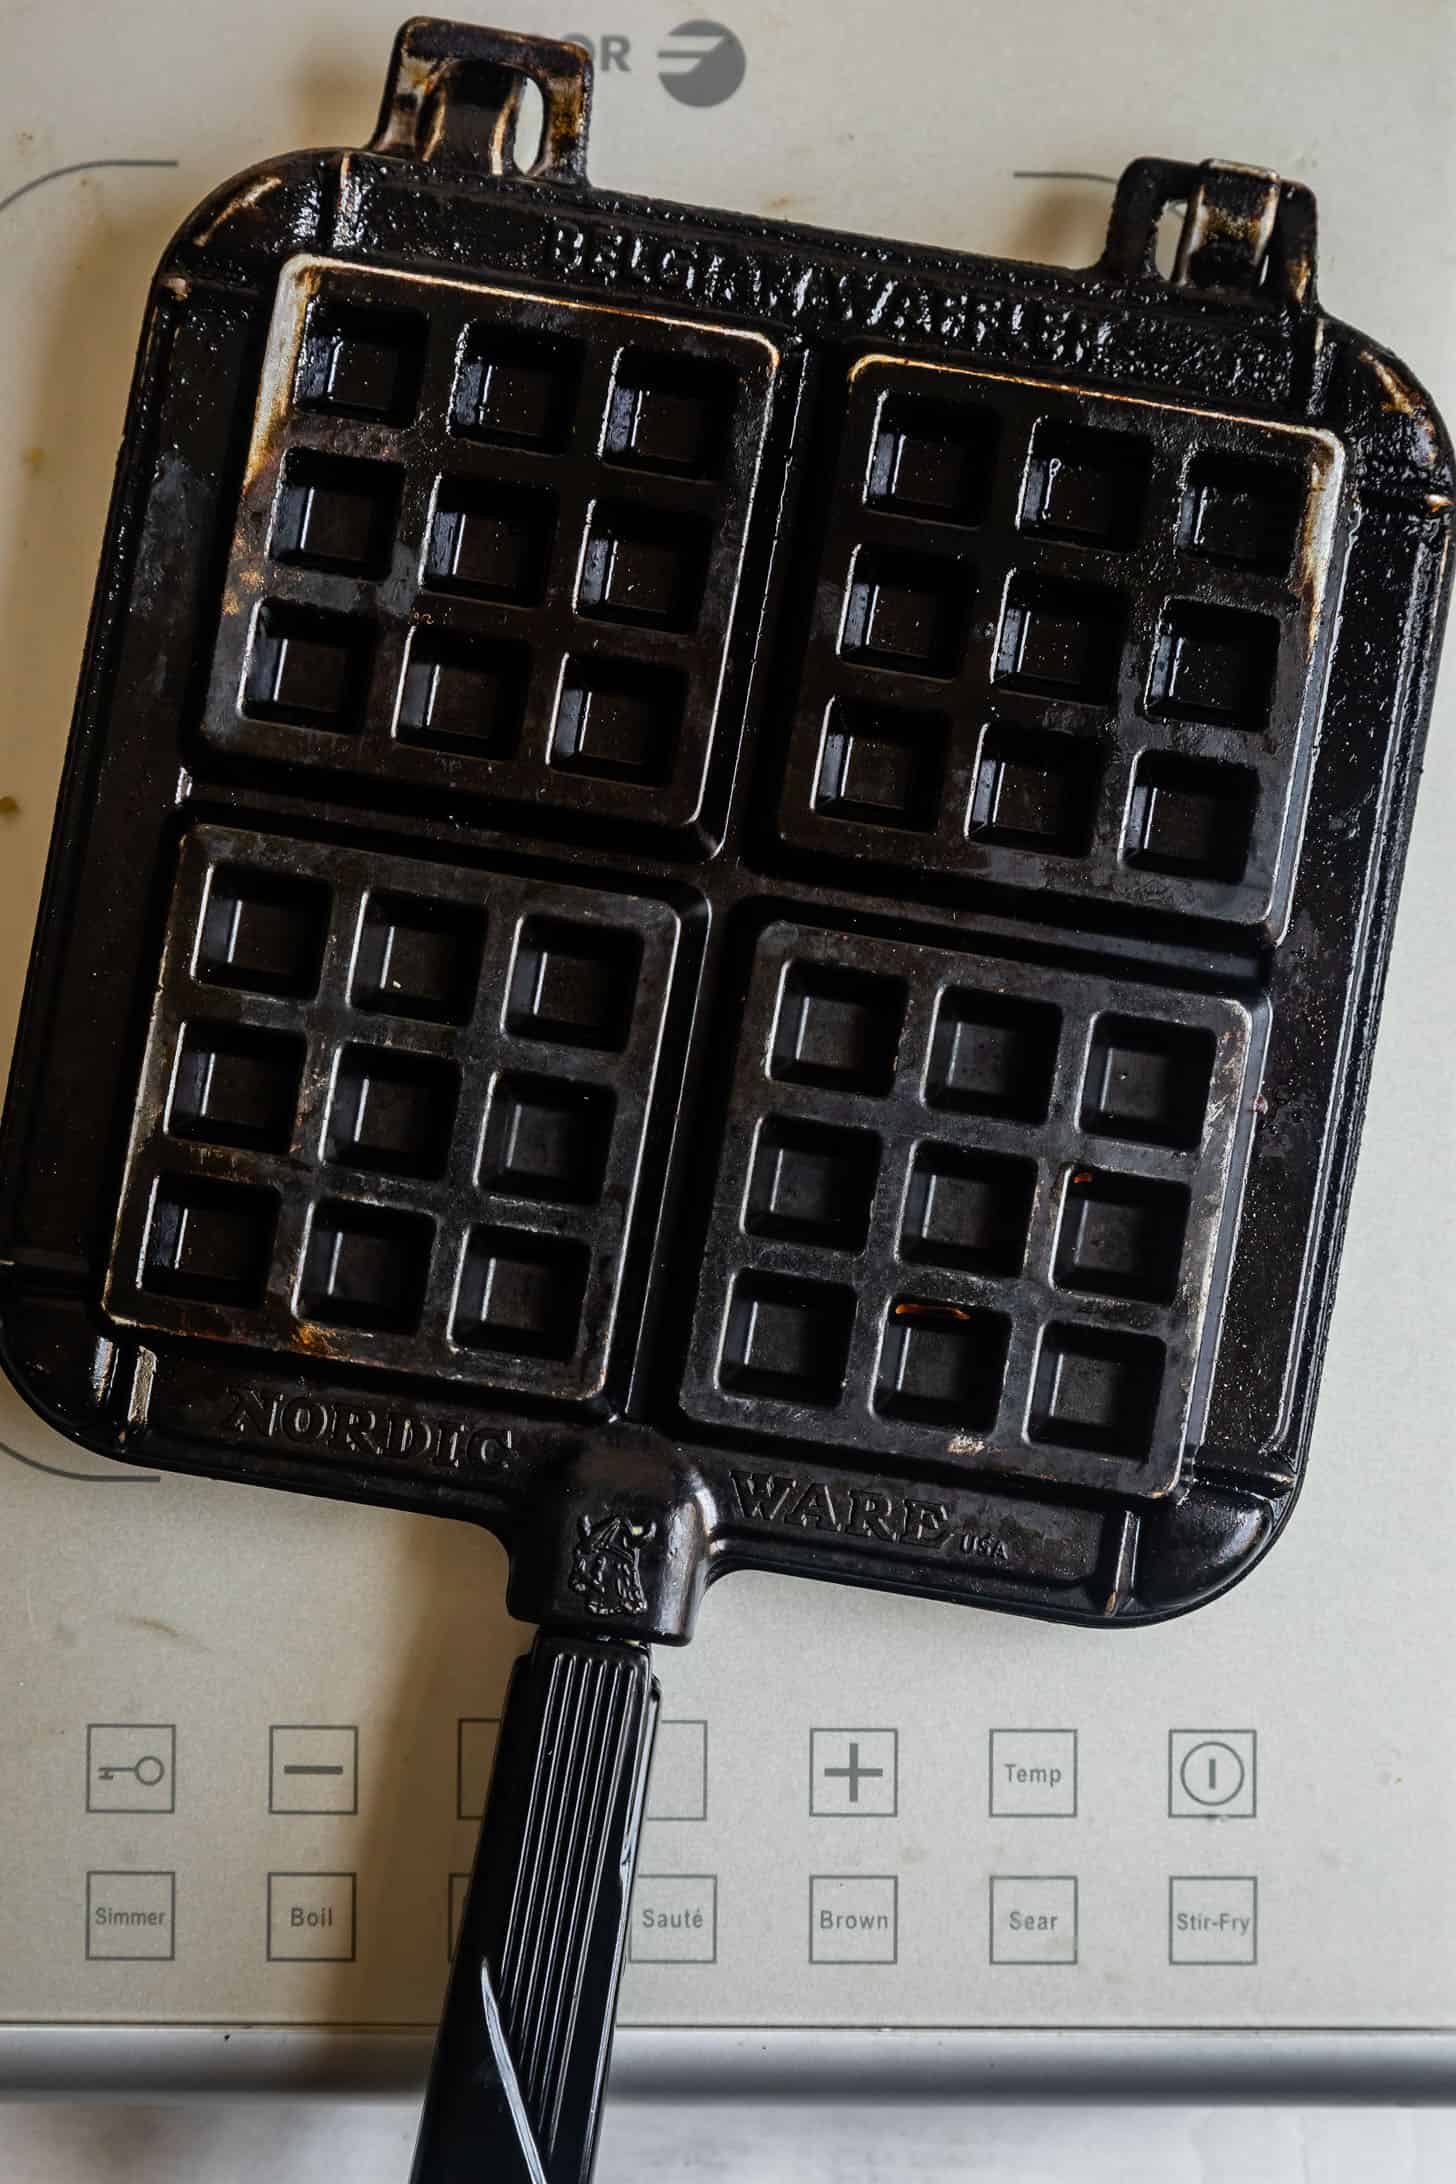
- Stovetop Waffle Iron: The thick Belgian-style waffles pictured here were made on this stovetop waffle iron. The benefits are that you don't need another appliance and it stores away easily. Plus it makes the most beautiful waffles. The downside is that it requires quite a bit more hands-on time, keeping a close eye on the temperature and flipping the waffle iron over halfway through.
- Electric Waffle Iron: When I want something quicker and hands-off, I use an electric waffle iron. While it technically is listed as a Belgian waffle iron, the waffles are not nearly as thick and crisp as the ones I make in my stovetop waffle iron. The benefits are that it requires less precision, and you can make waffles while prepping the topping and tending to screaming children. The downside is that you have store another appliance.
- Dash Mini Waffle Irons: When making mochi waffles for school lunches, this is my favorite waffle iron. We have three of them for different seasons and my kids love the festive-shaped waffles and they NEVER stick! Often, I make the kids skulls or gingerbread people while the grown-ups get thick stovetop waffles.
How to Store Cheesy Mochi Waffles
Let the mochi waffle cool on a wire rack. Once cool, transfer to an airtight container or freezer bag and store in the fridge for up to 3 days or the freezer for up to 6 months.
Reheat straight from the fridge or freezer by popping a waffle in the toaster for 1-2 minutes or an air fryer at 400° for just 2 minutes.
Tip for Quick Lunchbox Waffles
Cheesy mochi waffles are one of our main go-to quick lunchbox items. We store the cooled waffles in an airtight bag in the freezer, then the morning before school, pop a frozen mochi waffle in the toaster or the air fryer until warm and crispy.
Recipe

Savory Cheesy Mochi Waffles
Ingredients
- 330 g (2 cups + 1 tablespoon) Mochiko sweet rice flour, also called "glutinous rice flour", mochiko is distinctly different from brown rice flour or white rice flour
- 3 tablespoons (38 g) granulated sugar
- 1½ teaspoon baking powder
- ¼ teaspoon kosher salt
- 1½ cups milk, whole milk or 2% (or sub non-dairy milk)
- 2 large eggs
- 16 oz medium cheddar cheese, shredded
INSTRUCTIONS
- In a medium bowl, whisk together dry ingredients: mochiko, sugar, baking powder, and salt.
- In a measuring cup, whisk the eggs into the milk, then pour the wet ingredients to the dry ingredients and whisk until smooth. Let rest while you preheat your waffle iron.
- Preheat oven to 200°F and place a wire rack set over a baking sheet inside. You'll use this to keep waffles warm while you cook the rest.
- Preheat your waffle iron over medium heat. If using a stovetop waffle iron, heat both sides over medium heat for at least 3 minutes. Sprinkle about 1 tablespoon shredded cheese into each quarter of your waffle iron, or sprinkle 2-3 tablespoons of shredded cheese if making just one single waffle versus four smaller ones. Use an ice cream scoop or a measuring cup to scoop scant ¼ cup batter into each quarter of your waffle iron, or ¾ cup for one single larger waffle. Top with the same amount of cheese as your first layer and close the waffle iron.
- Cook the waffles over medium heat according to the manufacturer's directions, or until the steam stops, you're able to open the waffle iron easily without the cheese sticking, and both sides are golden brown and crisp. If using a stovetop waffle iron, cook on the first side for 60 seconds. Flip the waffle iron and cook for another 60-90 seconds. Gently open the waffle iron to check the waffle and, if needed, continue cooking until both sides are crispy and golden brown. (Every stove is slightly different, but mine is ready after 90 seconds on both sides). Transfer to the wire rack in the oven and repeat with the remaining batter. You may use a wooden chopstick to help you release the waffles from the waffle iron onto a wire rack.
- Serve warm with your favorite toppings or sides.

Ava Jones -
A few months ago, my youngest daughter was diagnosed with celiac disease, and we basically had to throw our entire kitchen into a dumpster rental to avoid contamination and her getting sick. She misses sandwiches the most, and gluten-free bread options are always disappointing. Then we tried this recipe, I wish you could have seen her face lit up with joy, she really enjoyed these waffles! Thank you for sharing this blessing on your blog; it’s made our journey so much easier!
Brent -
Mari saw these and basically begged me to make them for her lunch. Delish :)
Mercmakesfood -
We were lucky enough to get this recipe before it went on the blog and it quickly became a staple in our house. These are so so so so good.