Fluffy and crispy gluten-free waffles made gluten-free with oat, sweet rice, and tapioca flours. With an easy make-ahead gluten-free waffle mix option, these waffles are sure to become a Sunday brunch staple! Customize with waffle add-ins or serve with your favorite toppings.
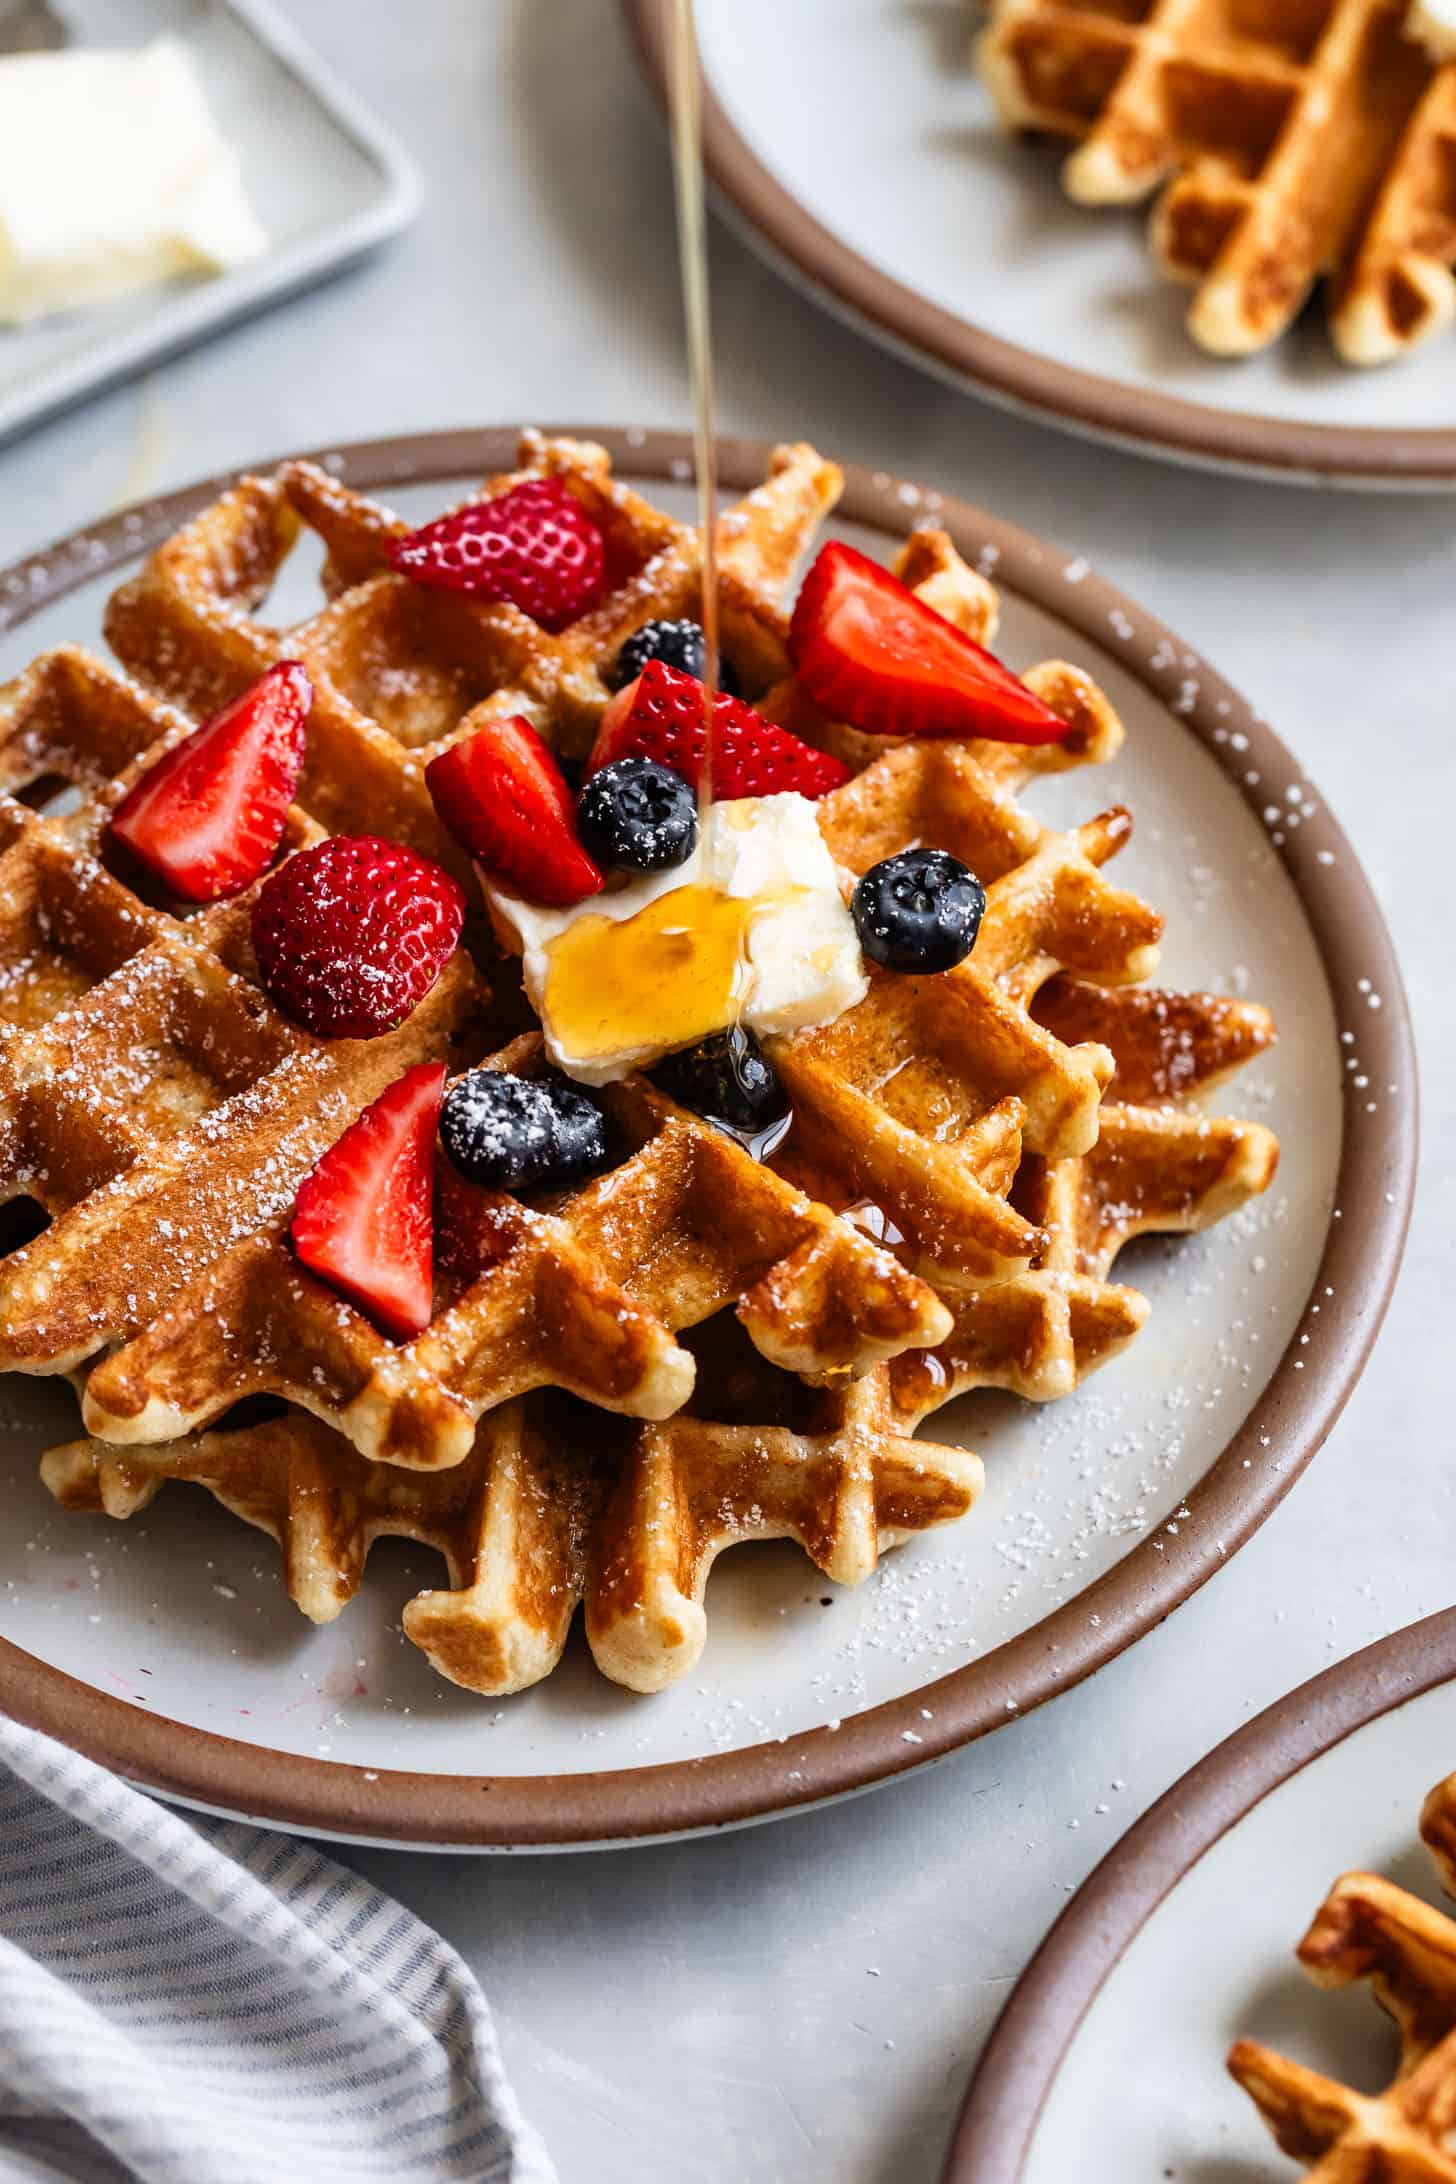
I'm guilty of jumping on the let's throw anything and everything into the waffle iron trend. Mashed potatoes? Omelets? Grilled cheese? But when it comes down to it, there's not much better than classic homemade vanilla-scented waffles. With deep nooks and crannies to capture all the toppings.
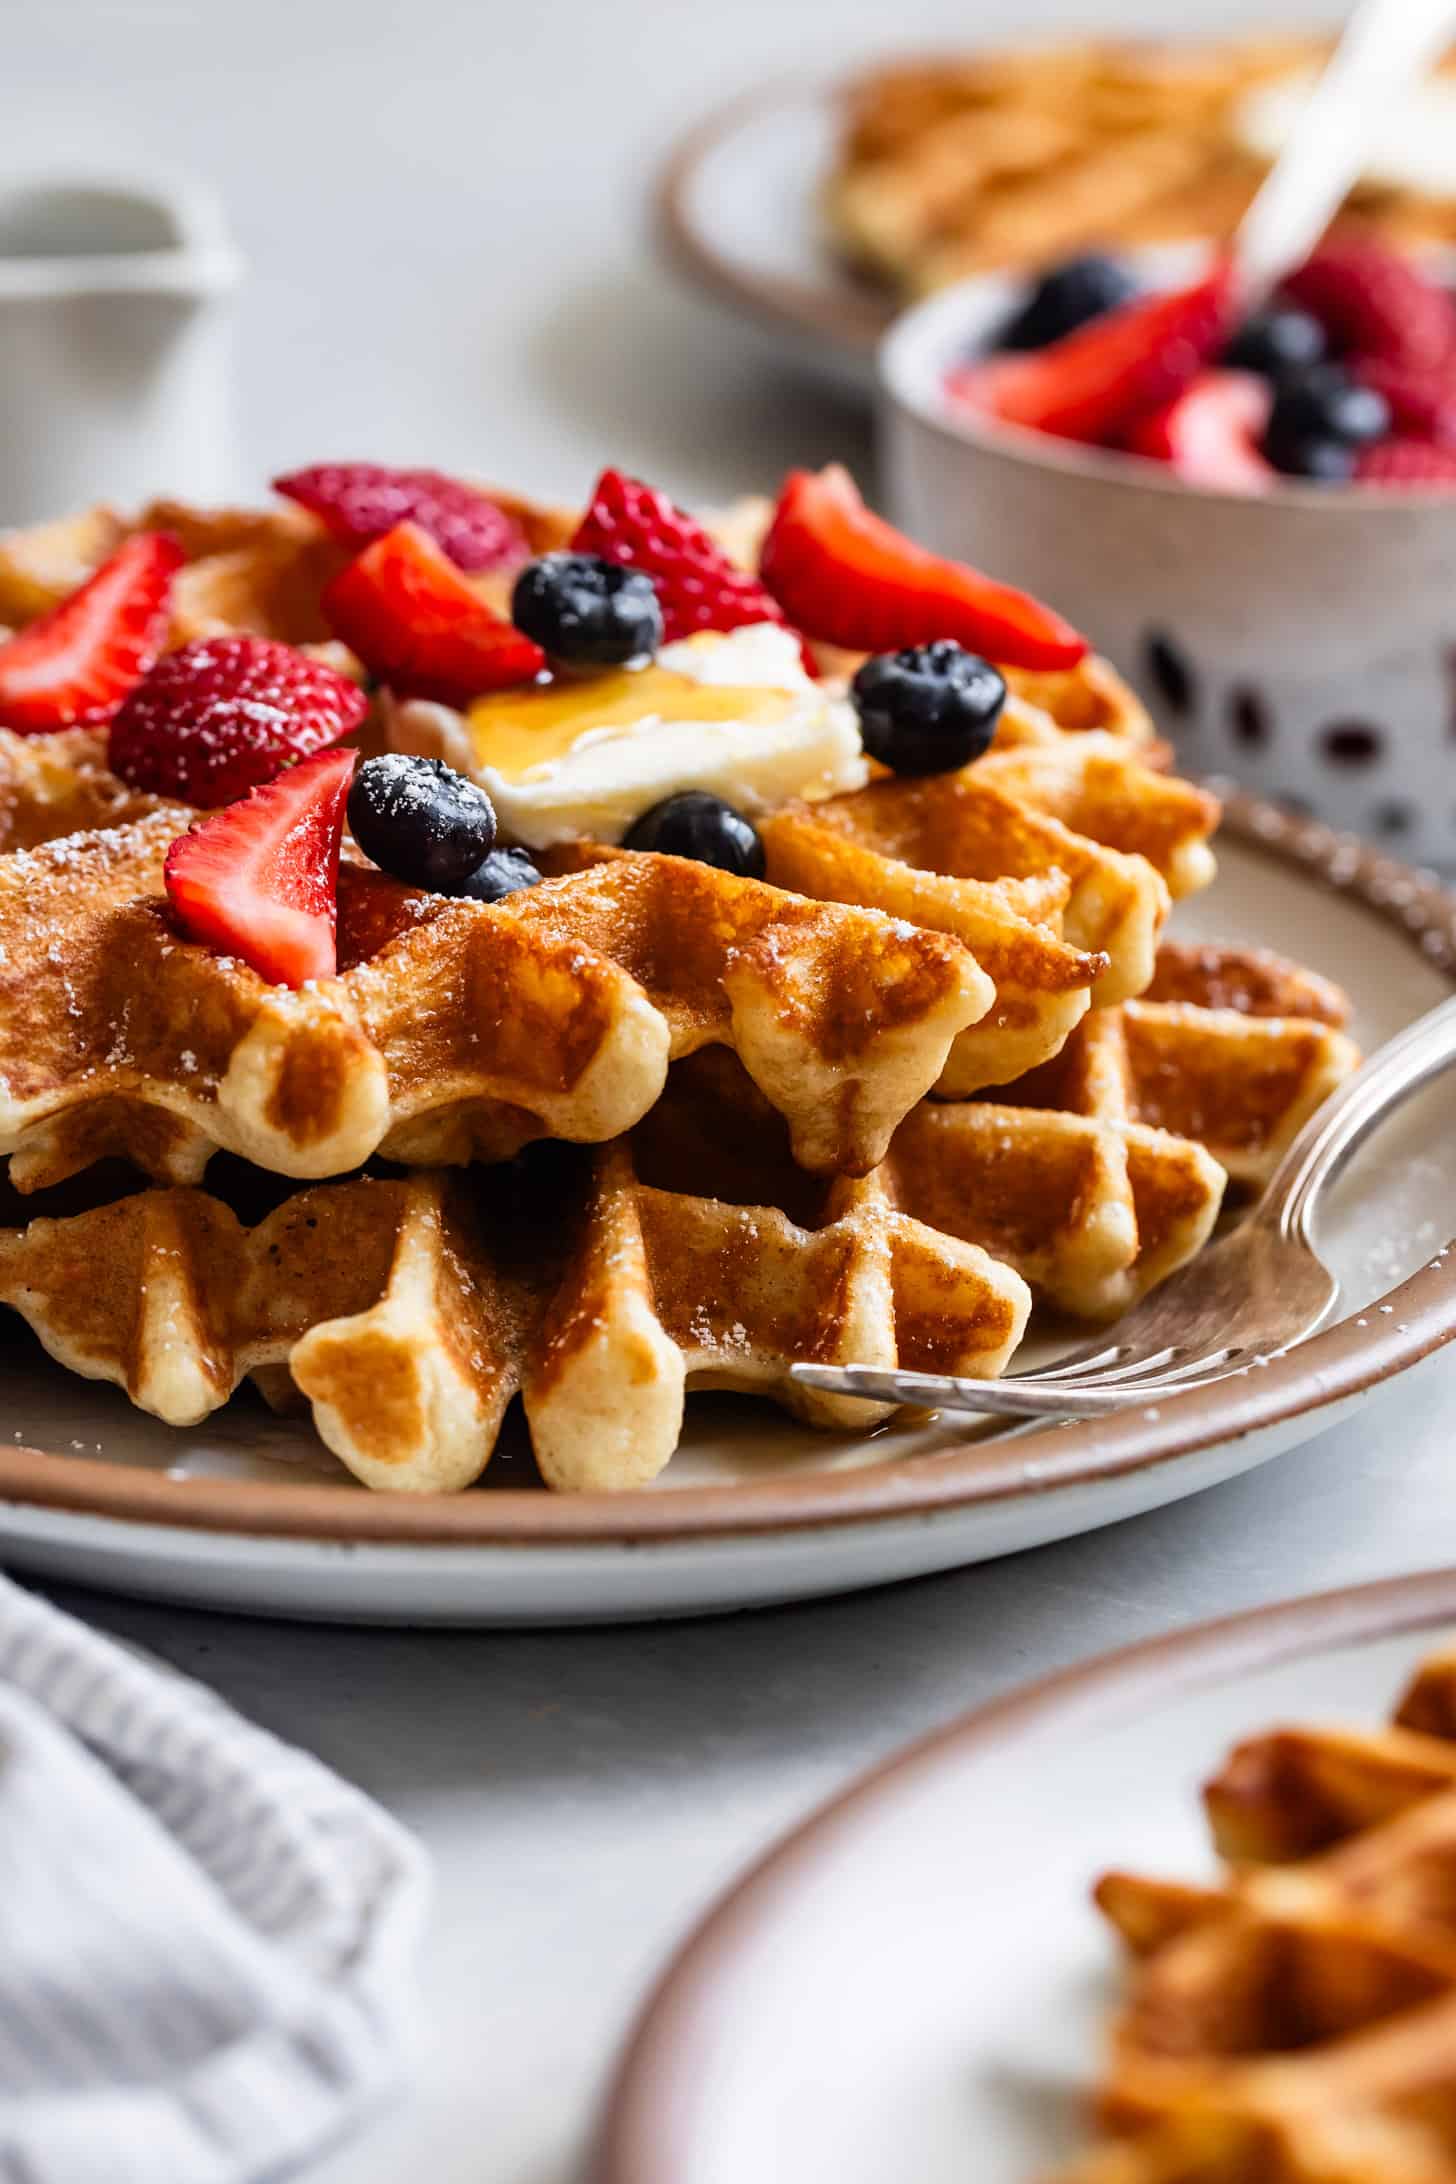
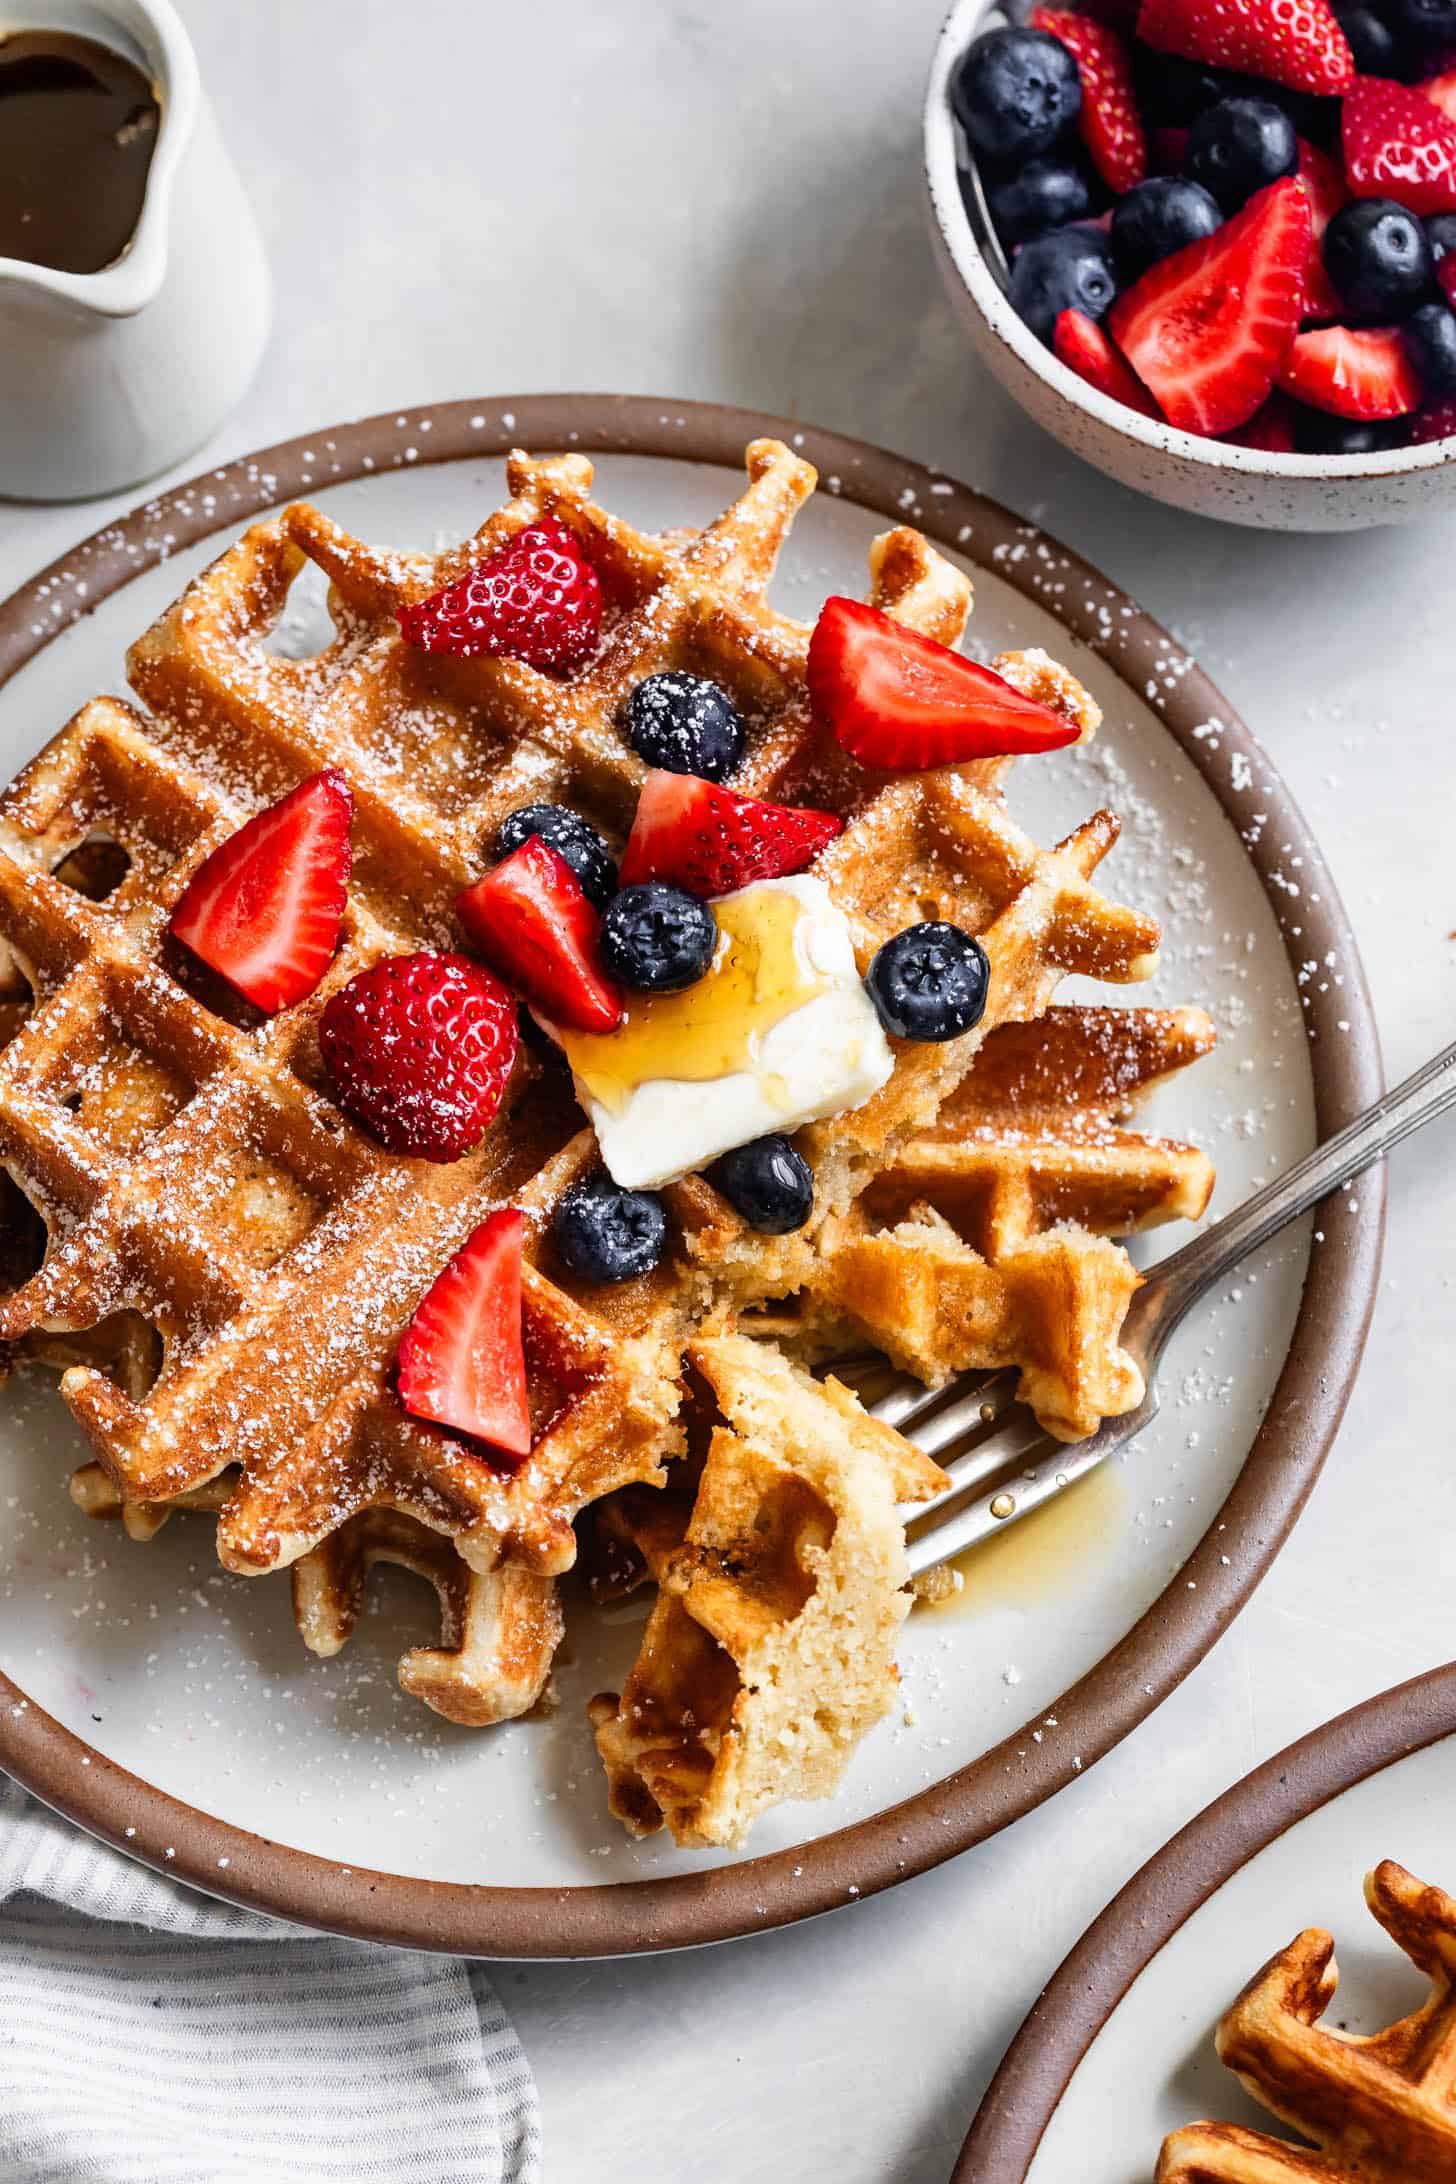
These gluten-free waffles are perfection. Their crisp outside gives way to a fluffy chewy center. They hold their form with plenty of toppings without disintegrating into a soggy mess. They're so good that I recommend making a batch of this gluten-free waffle mix to gift to all your friends!
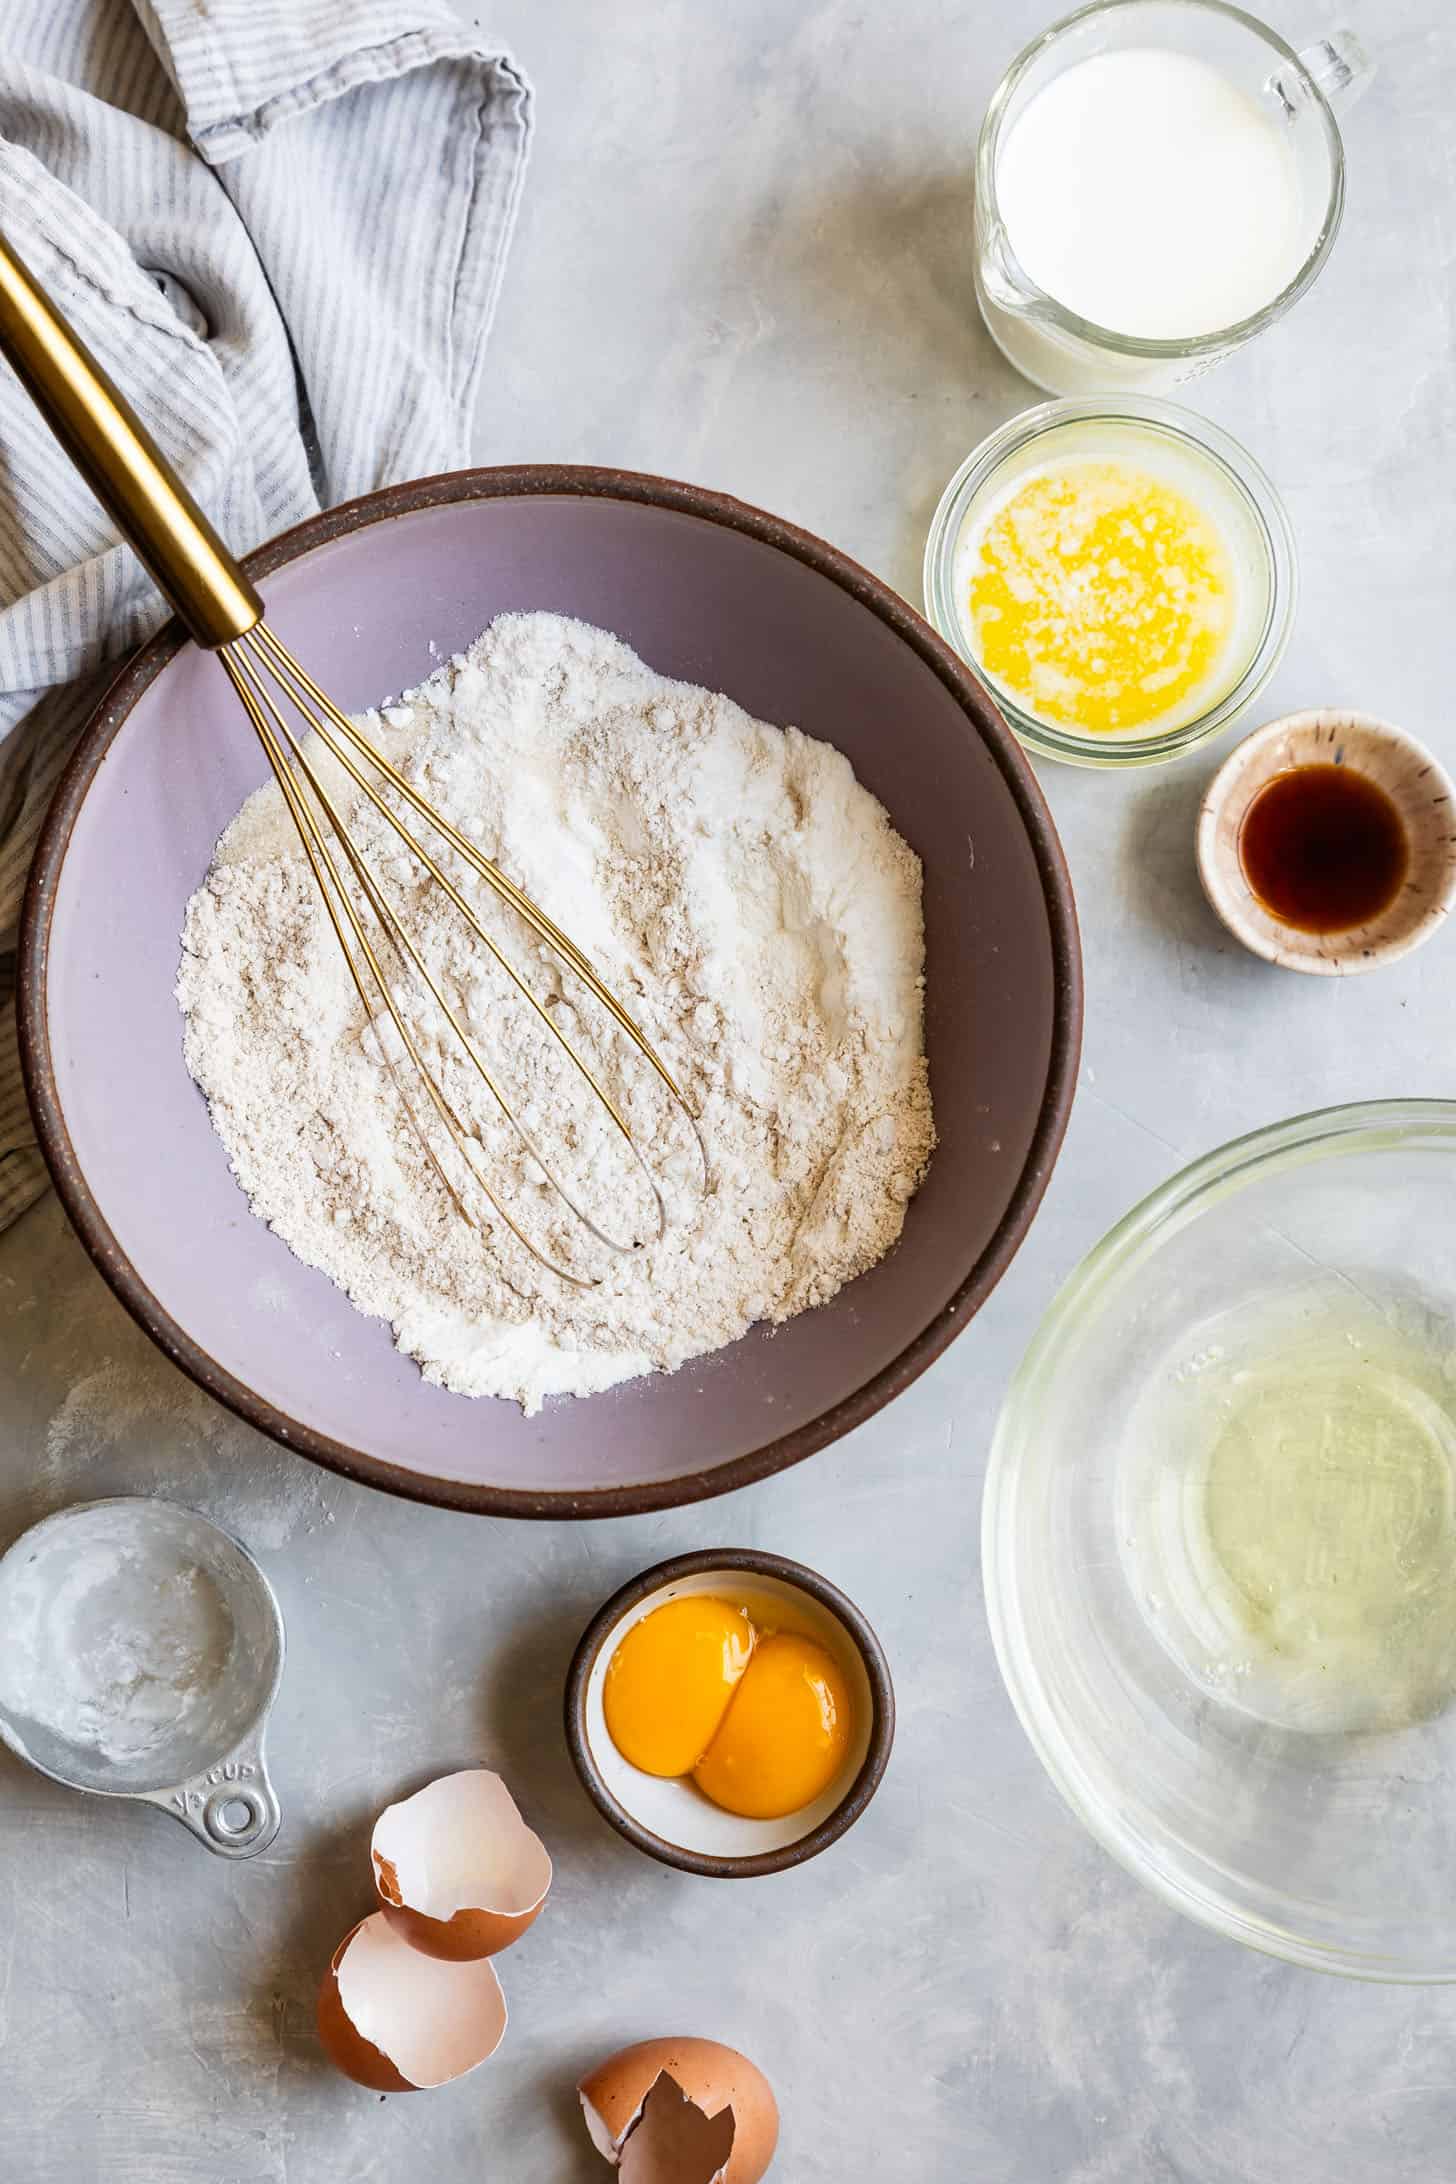
Ingredients for Gluten-Free Waffles
In addition to pantry staples, these homemade gluten-free waffles use a trio of gluten-free flours: oat flour, sweet rice flour, and tapioca starch. Here's everything you'll need to make the fluffiest gluten-free waffles:
- Gluten-free oat flour: Oat flour adds a warm wholesome flavor to the waffles. I recommend Bob's Red Mill brand. If you don't have gluten-free oat flour, you can quickly make your own by grinding gluten-free oats in a food processor or blender and sifting out any big pieces.
- Sweet rice flour: Also called mochiko, sweet rice flour is distinctly different from white rice flour or brown rice flour, neither of which will work here. The same flour used to make mochi, sweet rice flour adds the chewy stickiness that holds the waffles together. I recommend Koda Farms brand or Bob's Red Mill brand.
- Tapioca starch/flour: Tapioca flour serves two purposes, it helps create a super fluffy texture and it helps the outside crisp up. I exclusively use Bob's Red Mill brand tapioca flour, and have found other brands are not as finely ground, resulting in a not great outcome.
- Sugar
- Baking powder
- Salt
- Whole milk: Substitute plant milk, if needed.
- Large eggs, room temperature: Separate the egg yolks and the egg whites. Beat the egg whites until stiff peaks form and fold the egg whites into the batter. This will create lighter, fluffier waffles!
- Unsalted butter: Substitute plant butter, if needed.
- Vanilla extract
Gluten-free waffle mix
Save time by making a big batch of gluten-free waffle mix to have on hand! Sift together several batches of oat flour, sweet rice flour, tapioca flour, sugar, baking powder, and salt and store in a large canister. I recommend sifting and storing at least 6 batches at a time!
Each time you want to make waffles use the following measurements for 4 large or 6 smaller waffles:
- 219g (or about 1.5 cups) of gluten-free waffle mix
- ½ cup + 3 tablespoons whole milk
- 2 large eggs, room temperature, separated
- 3 tablespoons melted unsalted butter
- ½ teaspoon vanilla extract
Gifting Gluten-Free Waffle Mix
To make gluten-free waffle mix as a gift, fill a quart-sized mason jar with 2.5x the dry ingredients in the recipe:
- 1¼ cups (150g) gluten-free oat flour
- 1¼ cups (200g) sweet rice flour
- ½ cup + 2 tablespoons (75g) tapioca starch/flour
- ¼ cup + 3½ tablespoons (94g) granulated sugar
- 5 teaspoons baking powder
- 1¼ teaspoon kosher salt
Include an instructions tag for making 2 large waffles per batch. Here's a free printable tag you can use!
Gluten-free dairy-free waffles
To make these waffles dairy-free, substitute the whole milk with plant milk such as oat milk or almond milk, and the melted butter for plant butter. The results are equally delicious!


How to make gluten-free waffles
You are just a few steps away from the fluffiest gluten-free waffles with a crisp outside:
- Sift together dry ingredients in a large bowl.
- Whisk together wet ingredients, minus the egg whites in a separate bowl.
- Whisk wet ingredients into dry ingredients, until just combined, with a few lumps remaining.
- Whip the egg whites with a hand mixer or stand mixer to stiff peaks, then gently fold the egg whites into the batter until just combined and no white streaks remain. Let the batter rest while you preheat the waffle iron.
- Cook the waffles on a lightly greased waffle iron according to the manufacturer's instructions.
- Top with your favorite toppings and enjoy!
Tips for gluten-free waffles
Waffles are incredibly easy to make, but there are a few pitfalls that can make or break the perfect waffle.
- Whip and fold in the egg whites. This helps create a fluffy waffle with a crisp exterior.
- Take care not to overmix the batter. There should be a few lumps remaining after you're done mixing. Overmixing will deflate the egg whites and create a runny batter that doesn't fluff up as well.
- Brush the waffle iron with oil or butter, but do not use cooking spray. As someone who has personally ruined a waffle iron with cooking spray, I'm here to tell you not to use it on a non-stick waffle iron. Over time, it will leave a sticky residue, completely defeating the purpose of the spray so your waffles stick every time!
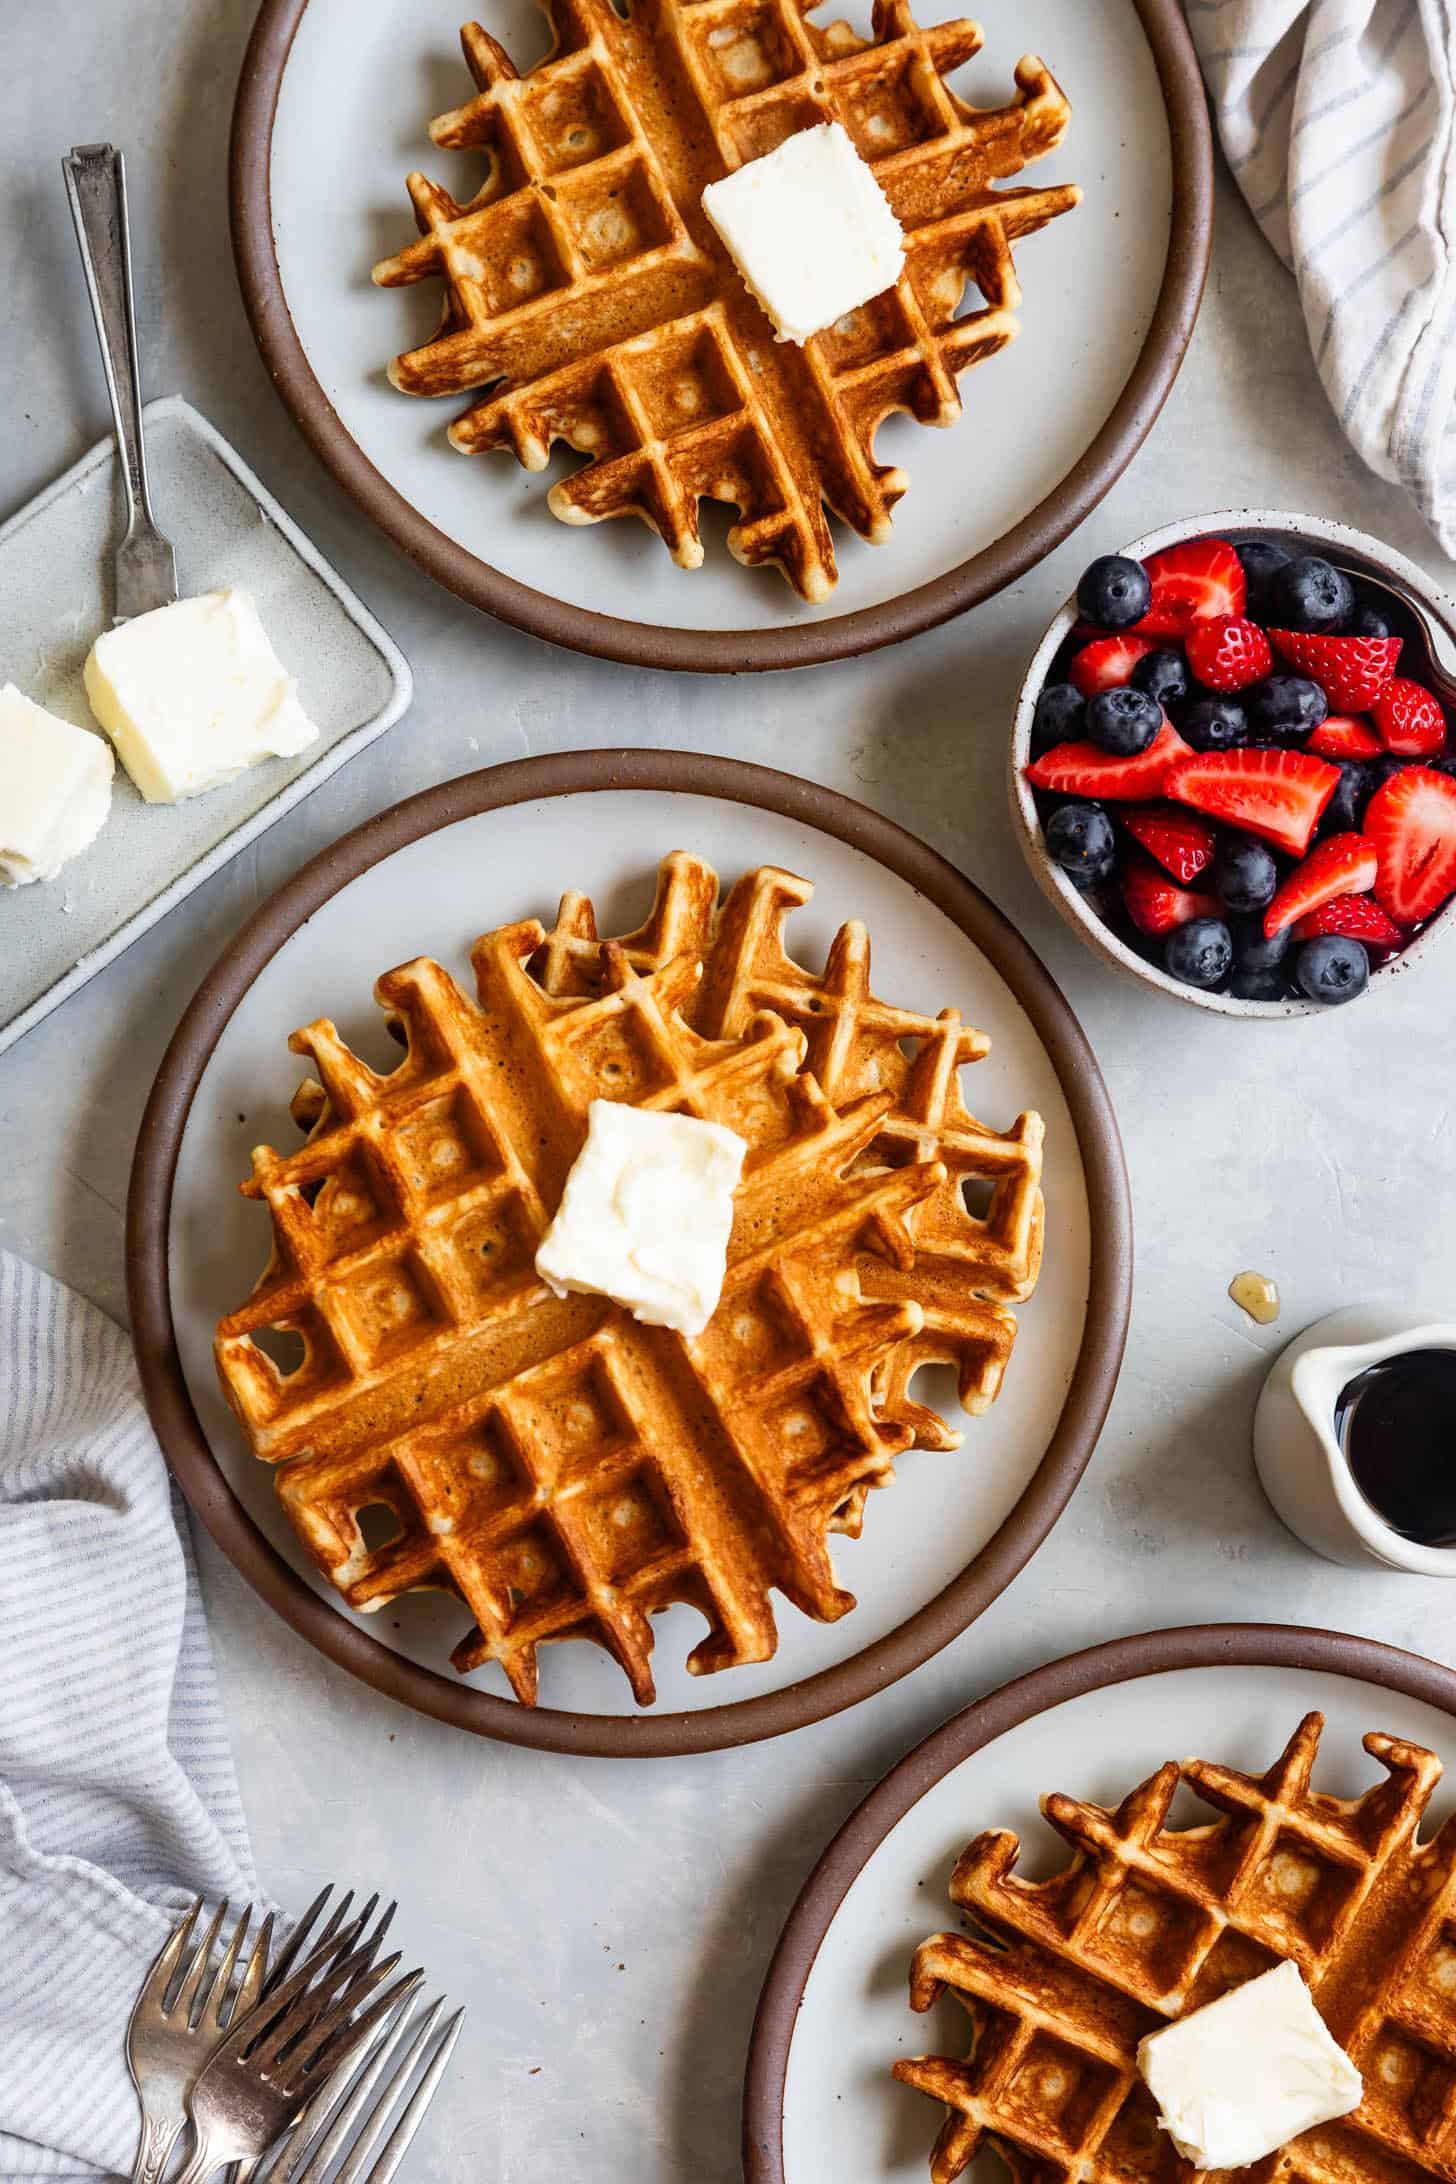
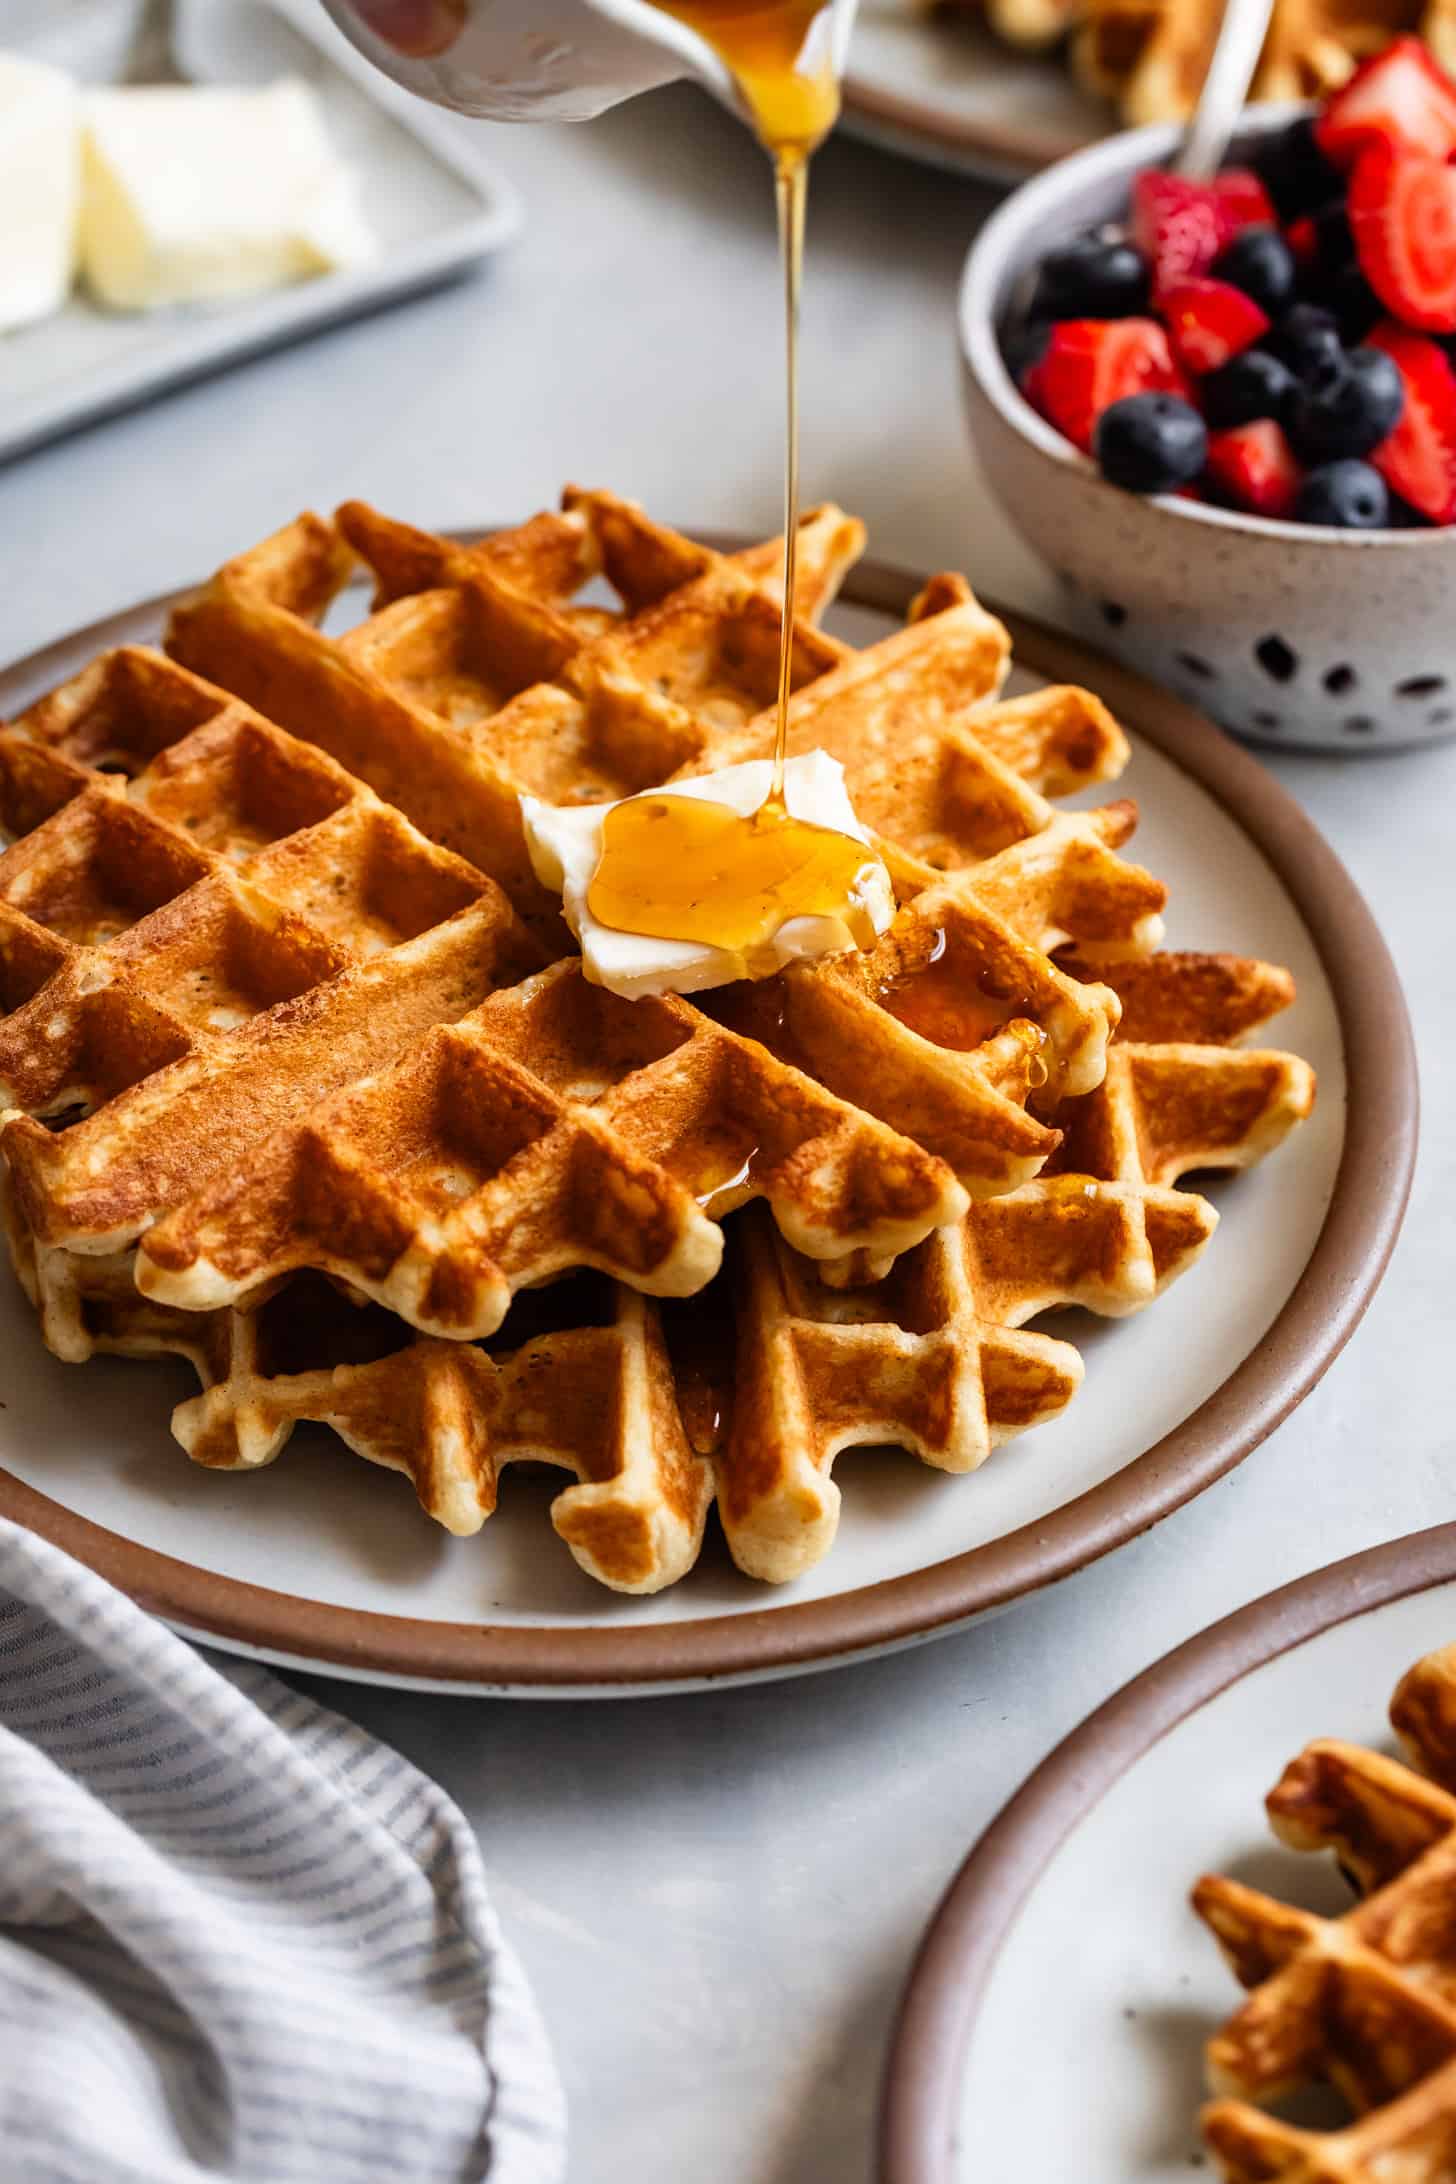
Best waffle iron
I have two go-to waffle irons in my collection.
For thick Belgian waffles, I use a stovetop waffle iron. The waffles pictured here were made on this stovetop waffle iron. The benefits are that you don't need another appliance and it stores away easily. Plus it makes the most beautiful waffles. The downside is that it requires quite a bit more hands-on time, keeping a close eye on the temperature and flipping the waffle iron over halfway through.
When I want something quicker and hands-off, I use electric waffle iron. While it technically is listed as a Belgian waffle iron, the waffles are not nearly as thick and crisp as the ones I make in my stovetop waffle iron. The benefits are that it requires less precision, and you can make waffles while prepping the topping and tending to screaming children. The downside is that you have store another appliance and the waffles aren't quite as thick and crisp.
A little plug for the Dash mini waffle irons as well - we have three of them for different seasons and my kids love the festive-shaped waffles! Often, I make them skulls or gingerbread people while the grown-ups get thick stovetop waffles.

Waffle Add-Ins
Customize these plain waffles with your favorite add-ins:
- Cocoa powder: Replace ¼ cup of oat flour with ¼ cup Dutch-processed cocoa powder for chocolate waffles.
- Chocolate chips: Fold up to ½ cup mini chocolate chips to the batter.
- Sprinkles: Fold up to ⅓ cup sprinkles to the batter. I recommend using rainbow jimmies (the long skinny ones). The color is vibrant and they typically won't bleed into the batter in streaks.
- Matcha: Add 1½ tablespoons of high-quality matcha powder (I recommend Encha!) to the dry ingredients.
- Lemon zest: Add 1½ tablespoons lemon zest to the batter and replace 2 tablespoons of milk with fresh lemon juice.
- Pumpkin spice or chai spices: Add up to 2 teaspoons of pumpkin spice or chai spices to the dry ingredients.
Waffle topping ideas
There are infinite topping ideas for waffles! Here are a few combinations for inspiration:
- Classic: Butter, fruit, maple syrup
- Strawberries, Nutella, and whipped cream
- Fresh or caramelized bananas with whipped cream or a scoop of ice cream
- Cooked apples with cinnamon
- Berry compote
- Bacon and fried eggs
- Fried chicken and maple syrup
How to store waffles
Store leftover waffles in an airtight container in the fridge for up to a week. Pop them in the toaster or air fryer at 350°F for a couple of minutes to reheat while keeping the outside crispy!
Alternatively, you can store cooled waffles in an airtight container or freezer bag for up to 6 months. Defrost at room temperature or in the microwave, then pop in the toaster or air fryer at 350°F for a couple of minutes to reheat and crisp the outside.
Homemade Frozen Gluten-Free Waffles
We make big batches of waffles and store them in the freezer for quick breakfasts or lunches. I recommend halving large waffles before storing, so they'll fit in the toaster when you're ready to reheat them.
Other Gluten-Free Waffles Recipes
- Savory Gluten-Free Corn Flour Waffles
- Gluten-Free Chamomile Waffles
- Gluten-Free Chocolate Chestnut Waffles
- Gluten-Free Sweet Amaranth Waffles
- Gluten-Free Savory Amaranth Waffles
- Gluten-Free Cheddar Jalapeno Cornbread Waffles
- And if you're on team pancake, here's my classic Gluten-Free Pancake recipe
Recipe

Gluten-Free Waffles
Ingredients
- ½ cup (60 g) Bob's Red Mill gluten-free oat flour
- ½ cup (80 g) sweet rice flour, also called "Mochiko" - distinctly different from "white rice flour" or "brown rice flour"
- ¼ cup (30 g) Bob’s Red Mill tapioca flour
- 3 tablespoons granulated sugar
- 2 teaspoons baking powder
- ½ teaspoon kosher salt
- ½ cup + 3 tablespoons whole milk
- 2 large eggs, room temperature, separated**
- 3 tablespoons unsalted butter, melted
- ½ teaspoon pure vanilla extract
INSTRUCTIONS
- In a medium bowl, sift together oat flour, sweet rice flour, tapioca starch, sugar, baking powder, and salt. Set aside.
- Whisk together the milk, egg yolks, melted butter, and vanilla extract in a measuring cup and set aside.
- Using a hand mixer, whip the egg whites on medium-high speed until stiff peaks form, about 2-3 minutes. Set aside.
- Add the milk and egg mixture to the dry ingredients and whisk until just combined, but some lumps remain. Gently fold the whipped egg whites into the batter until just combined and no white streaks remain, taking care not to over-mix. Let the batter rest while you preheat the waffle iron.
- Preheat oven to 200°F and place a wire rack set over a baking sheet inside. You'll use this to keep waffles warm while you cook the rest.
- If using an electric waffle iron, lightly brush the waffle iron with canola oil and cook the waffles according to the manufacturer's directions. If using a stovetop waffle iron, be sure to heat both sides for at least 3 minutes on medium heat. Lightly brush the top and the bottom of the waffle iron with canola oil. Pour ¾ cup of batter into the middle of the waffle iron and cook for 60 seconds. Flip the waffle iron and cook for another 60-90 seconds. Gently open the waffle iron to check the waffle and, if needed, continue cooking until both sides are crispy and lightly golden brown. (Every stove is slightly different, but mine is ready after 90 seconds on both sides). Transfer to the wire rack in the oven and repeat with the remaining batter.
- Serve warm waffles with your favorite toppings!
Nutrition





Jess Grimm -
These waffles have a great crispy outside and fluffy, chewy inside. This recipe made 3 full Belgian waffles. The batter does not spread much so I was able to fully fill the waffle maker. I did follow her suggestion to whip the egg whites. We enjoyed these with cool whip & fresh fruit on top. This recipe is a keeper as well as a lot of her other recipes. I have never made anything that has not turned out yet!
Jess Grimm -
See above comment