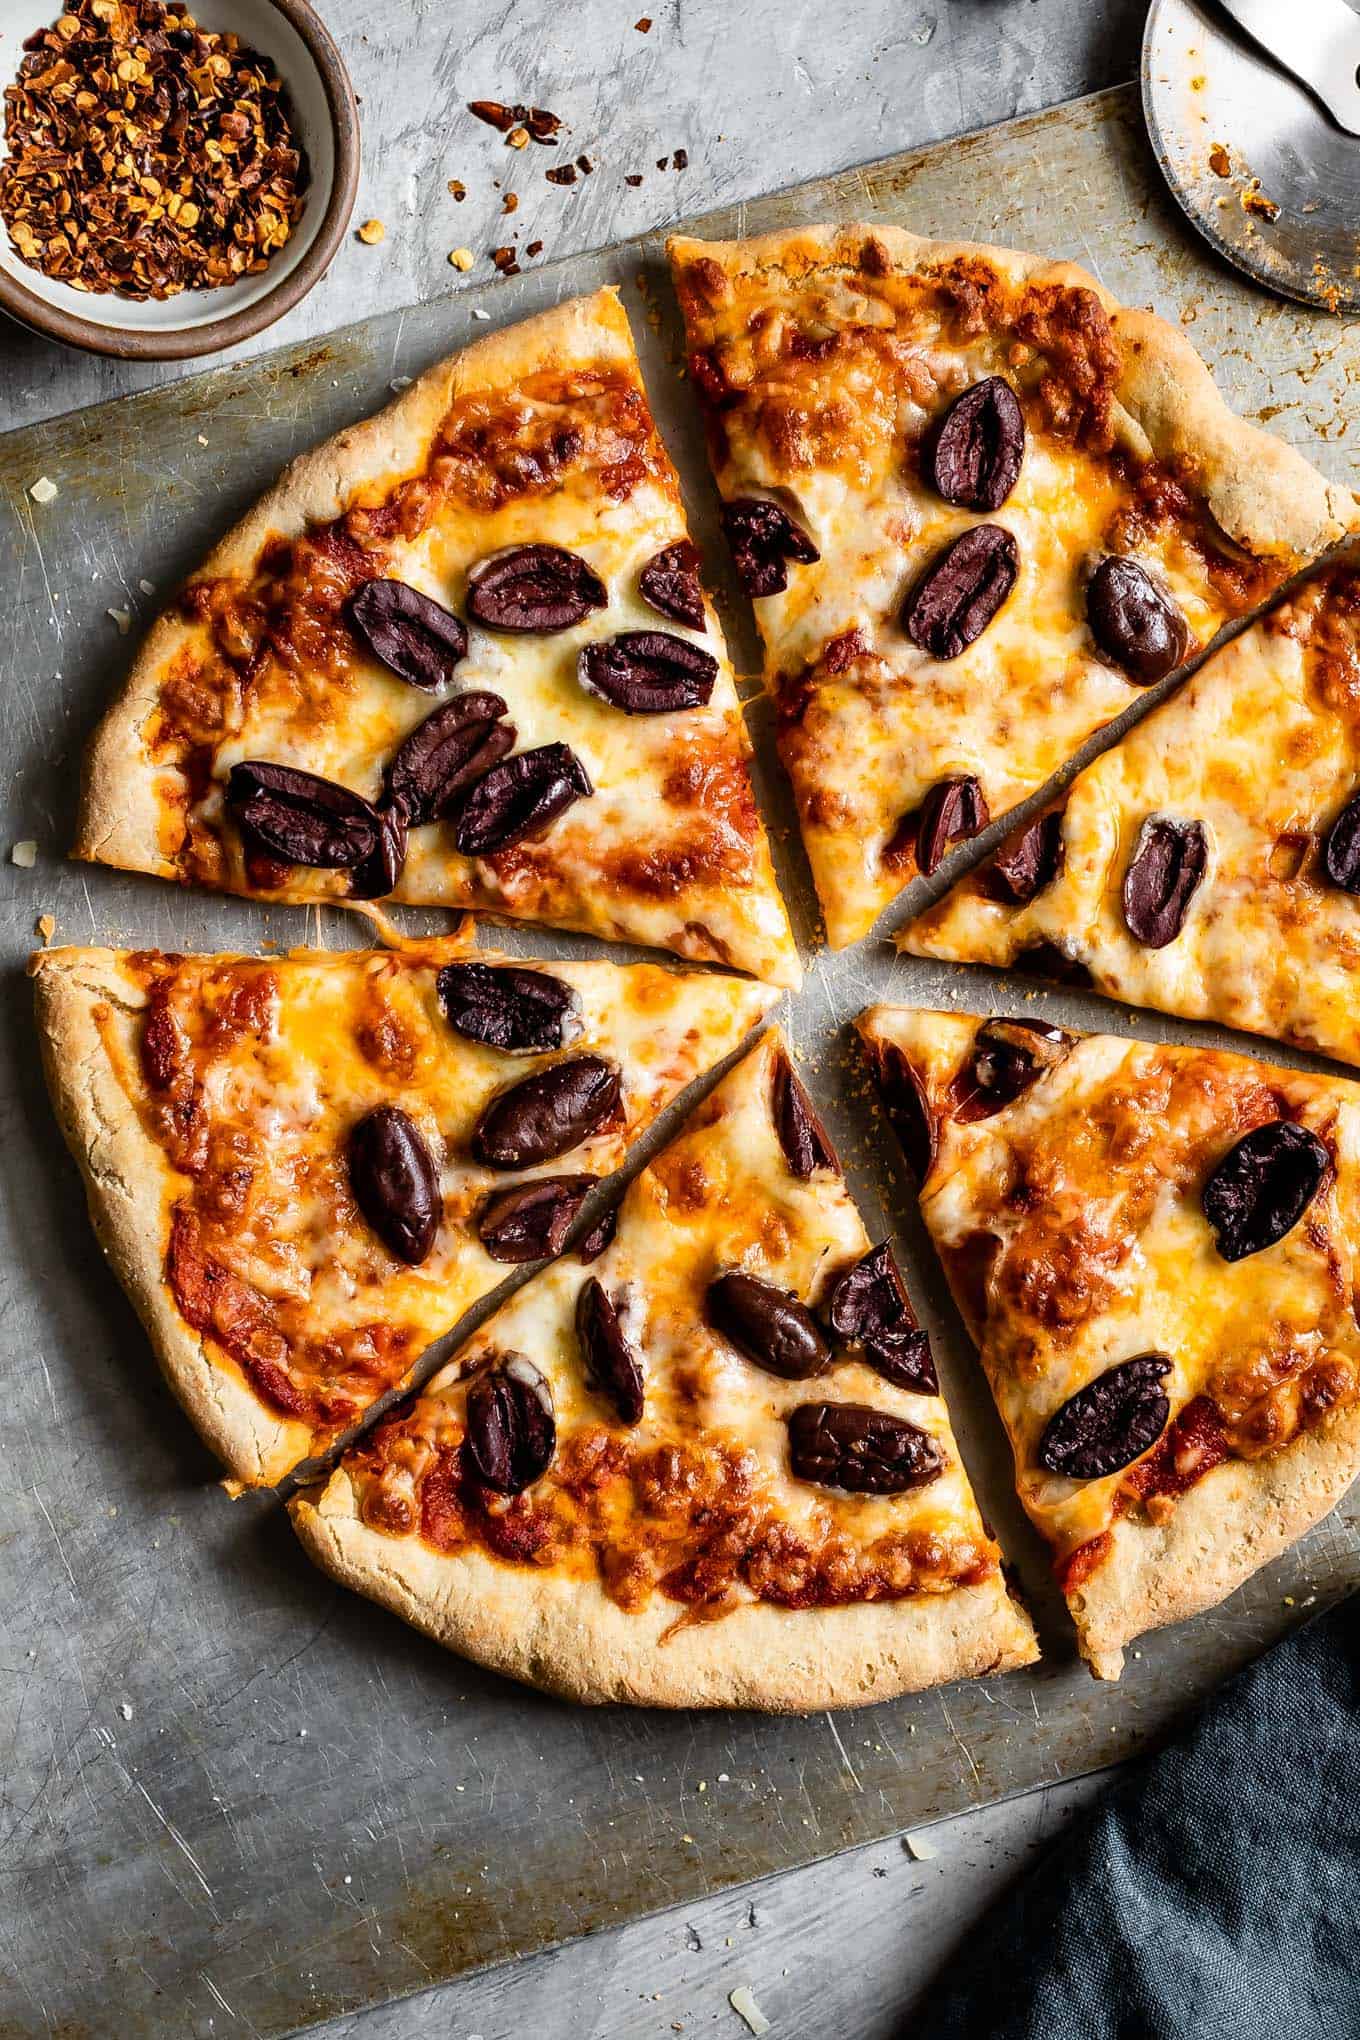
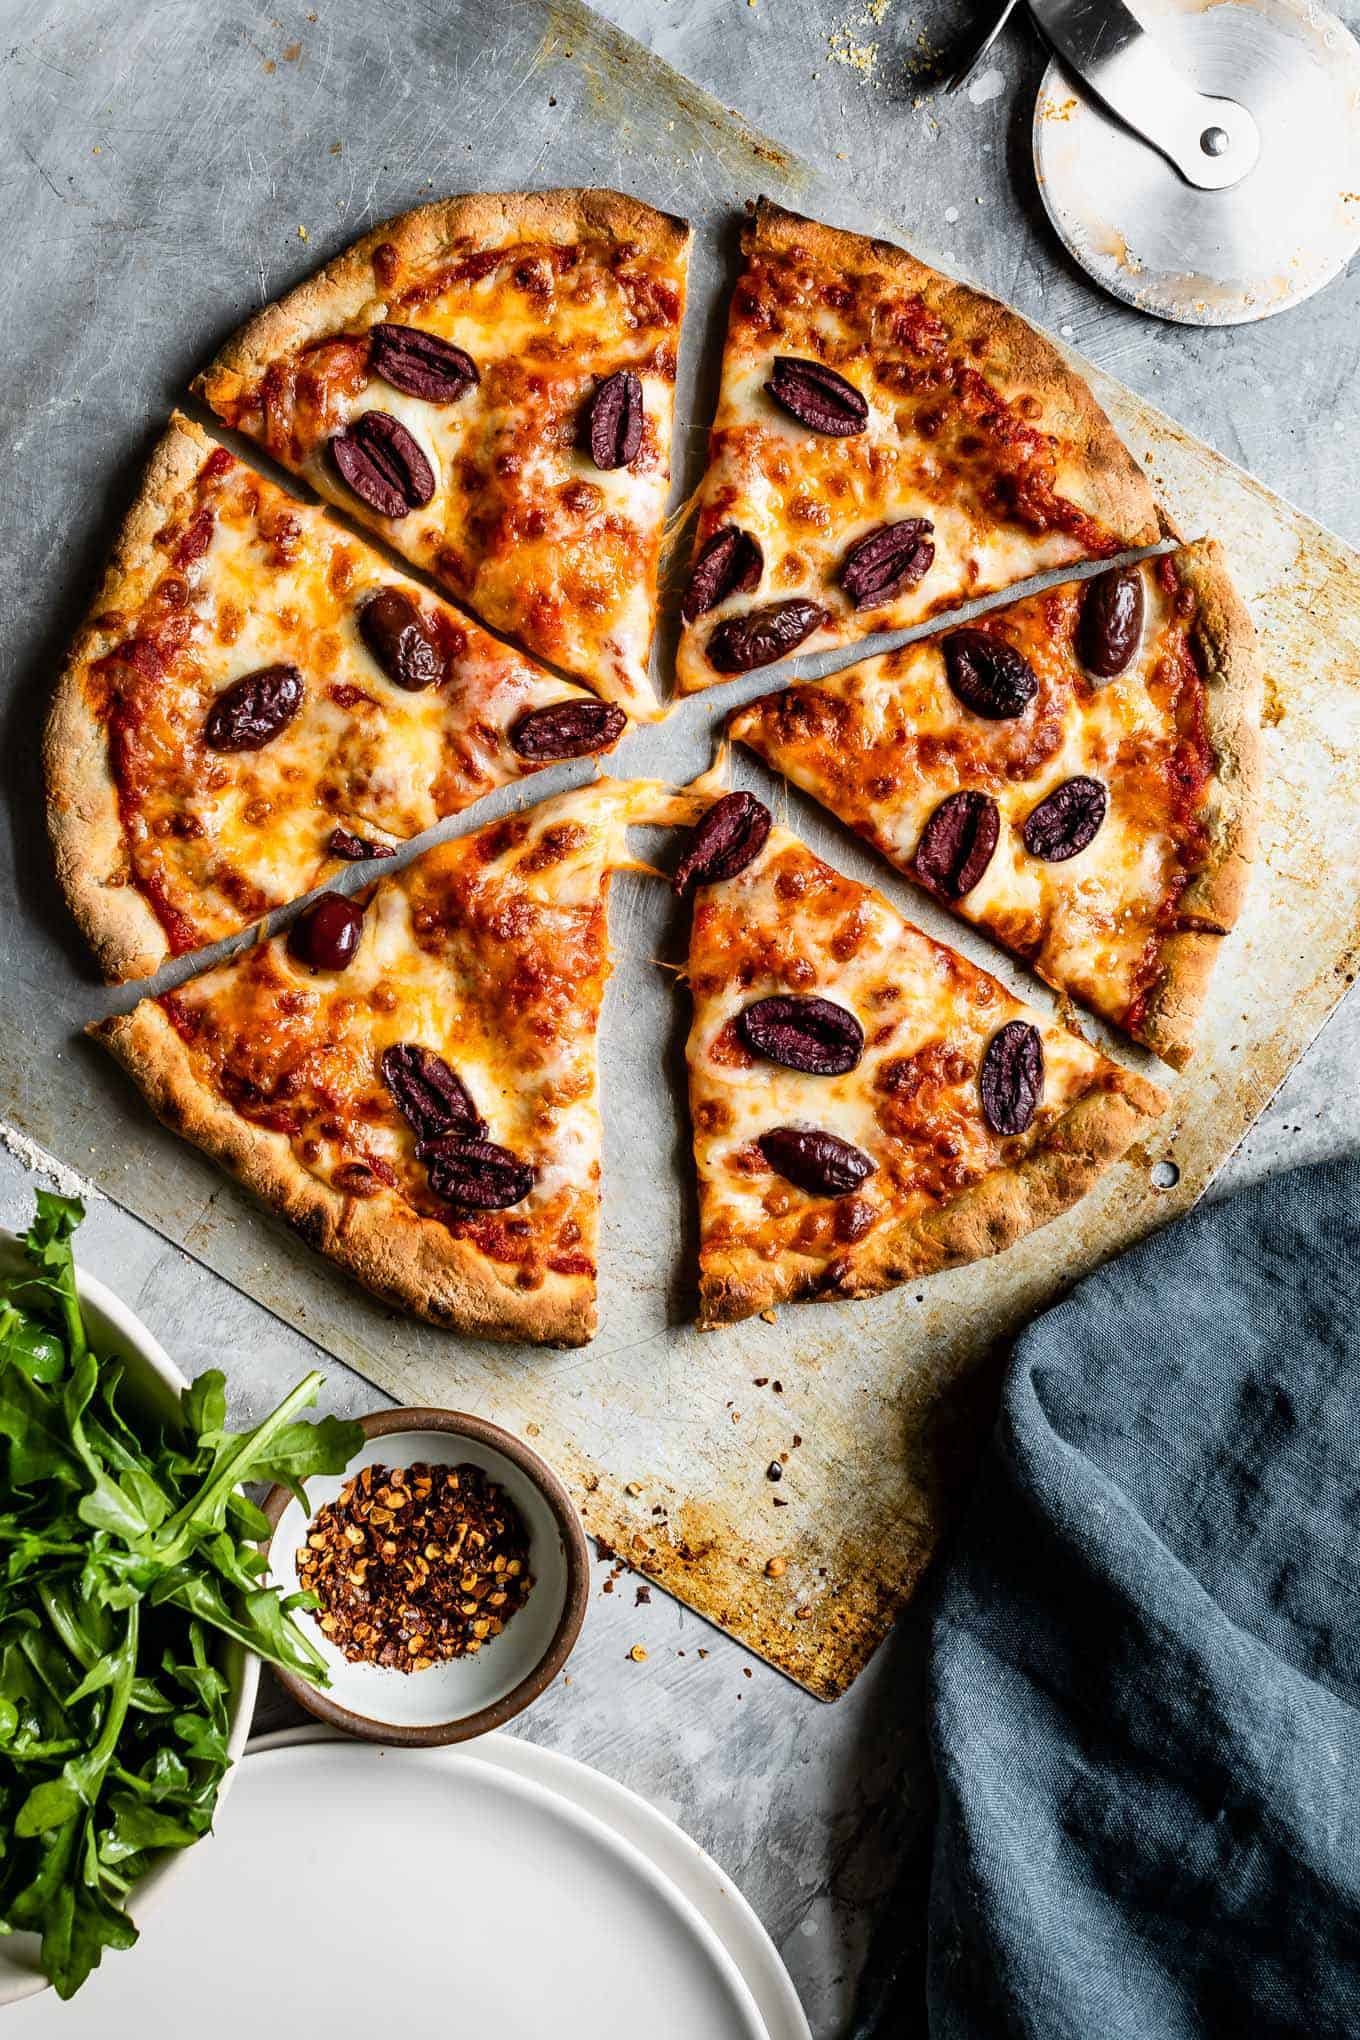
This gluten-free pizza crust recipe is thin and crisp, with beautiful soft air bubbles and a thick bready edge that bakes up a soft and chewy. Make it in your oven or a pizza oven and top with your favorite toppings!
This post is sponsored by Bob’s Red Mill, a long-term partner of Snixy Kitchen
Like brownies and chocolate chip cookies, I realize that pizza crust preference is one of those foods where people have strong divisive opinions on texture. Some like it thin and crispy with a chewy crust (that's us), others want it thin and foldable like New York Style pizza, and, on the opposite end, others want it thicker, soft, and chewy, almost bready. You're entitled to love it just the way you want it, but if you're in that former camp like me, have I got a pizza crust for you...
This gluten-free pizza recipe is the second recipe in a year-long partnership with Bob’s Red Mill. Here's a list of all the recipes I’ve made in partnership with Bob’s Red Mill over the years!
Gluten-Free Pizza Crust Recipe
Ever since we got a tabletop wood-burning pizza oven, we've been experimenting to create our perfect gluten-free pizza crust recipe. Notice I said "our perfect." This pizza crust recipe is thin and crispy, but not too thin, with beautiful bubbles and a crisp but super chewy crust. It's the gluten-free pizza crust I've been dreaming of for years. Having reached what we deem the perfect crust, it's become a weekly pizza night staple in our house.
A few readers saw my gluten-free pizza dough on IG stories and offered to test the recipe. Many have told me it has become a weekly staple in their houses as well.
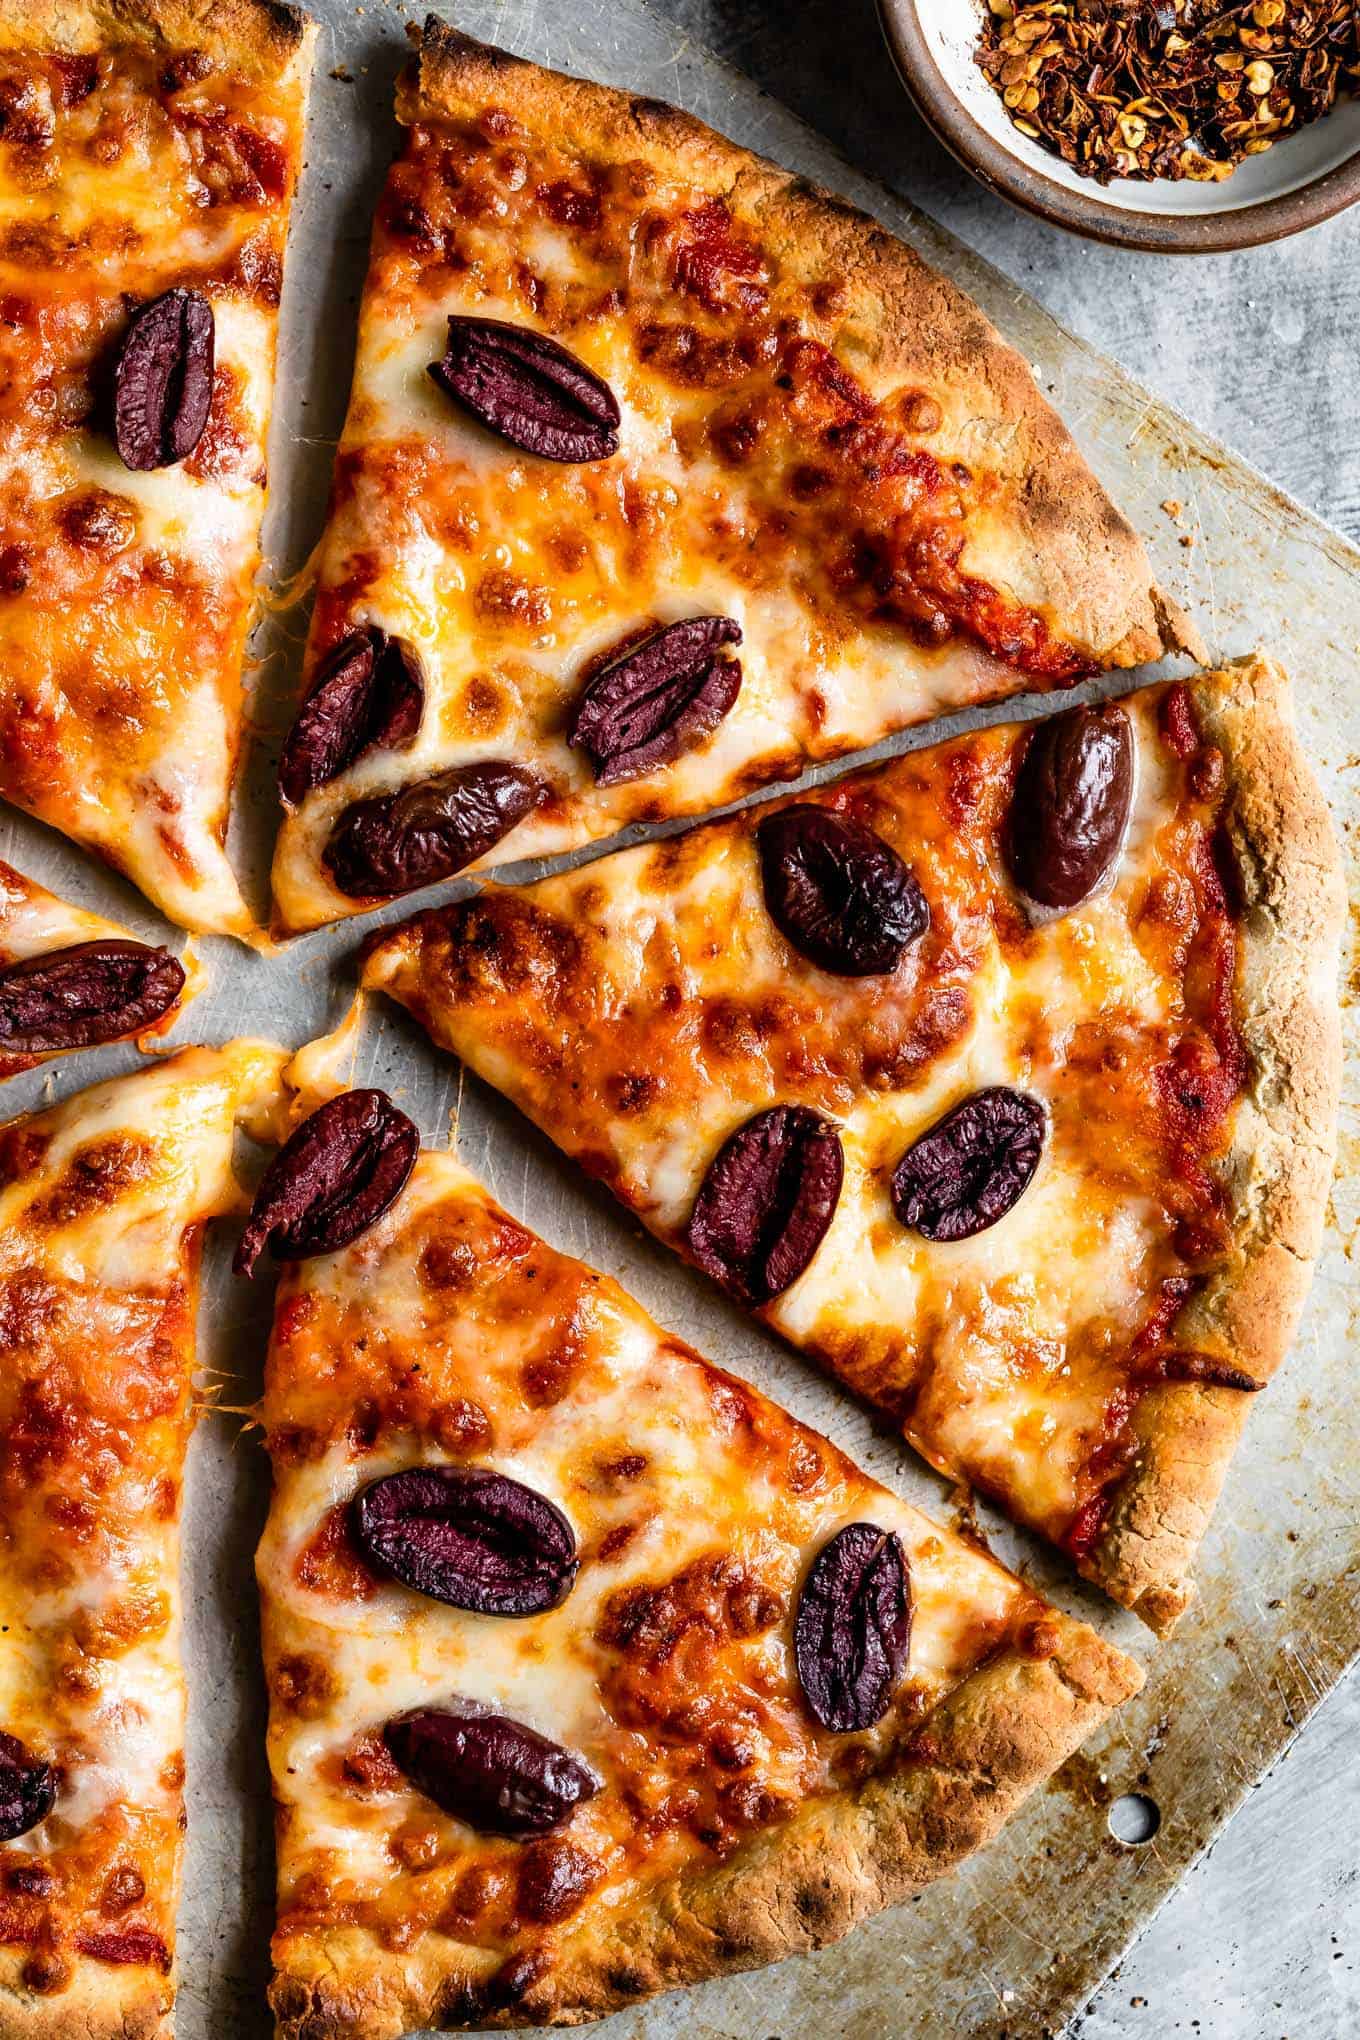
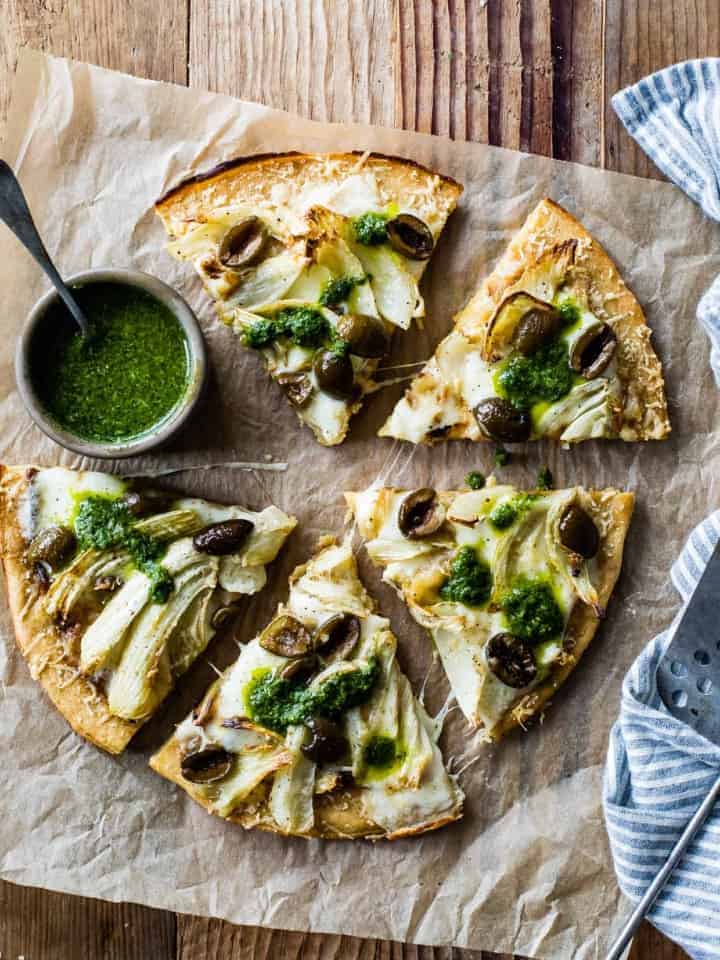
The two pictures above show the crust baked on a pizza stone in a conventional oven.
What is gluten-free pizza made of?
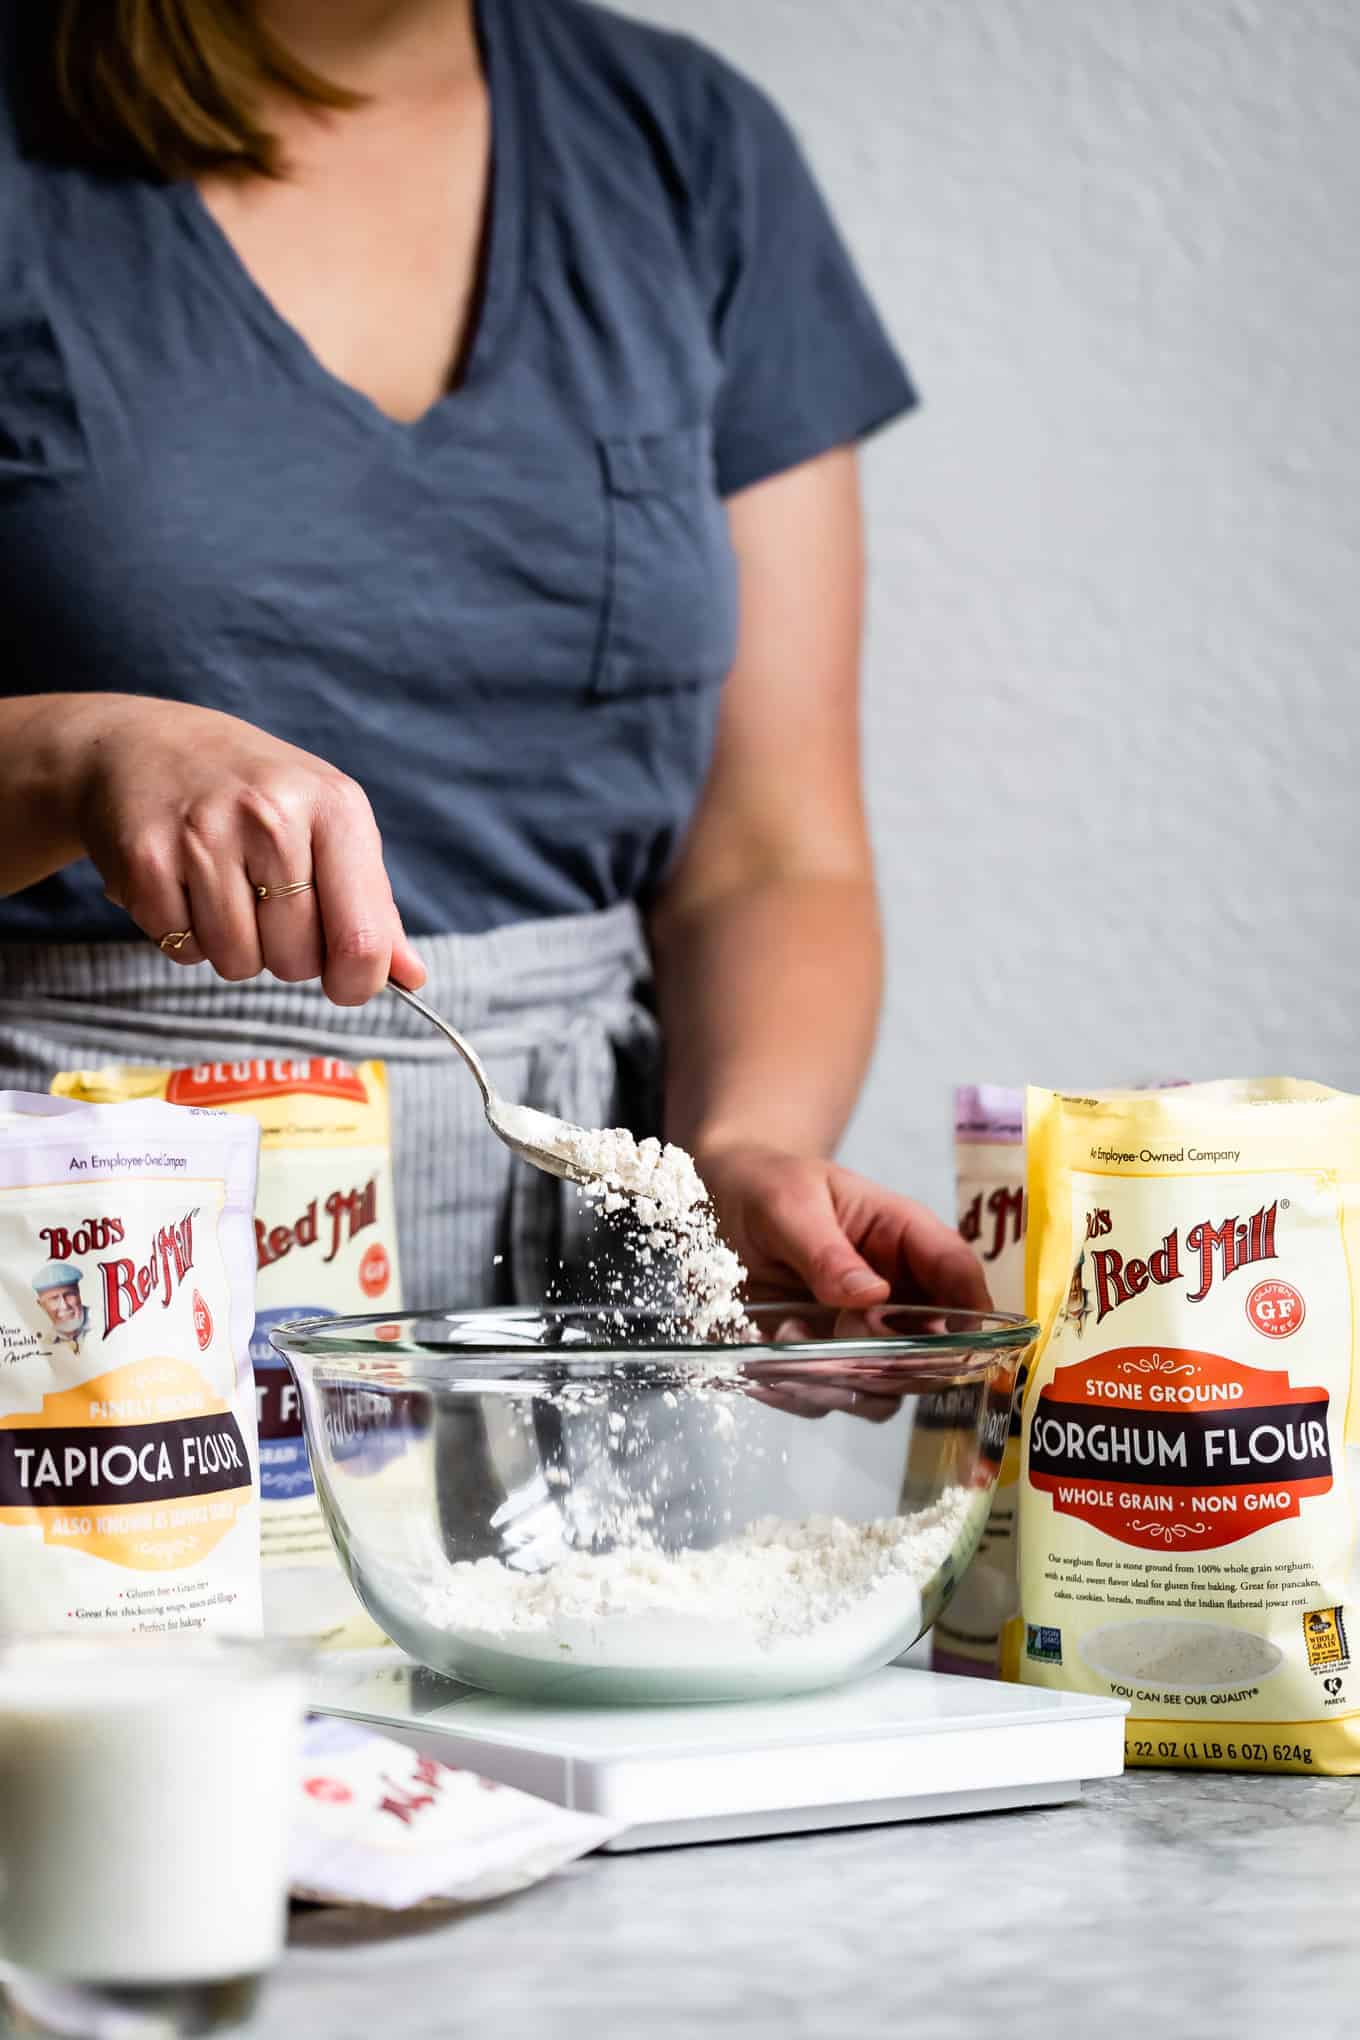
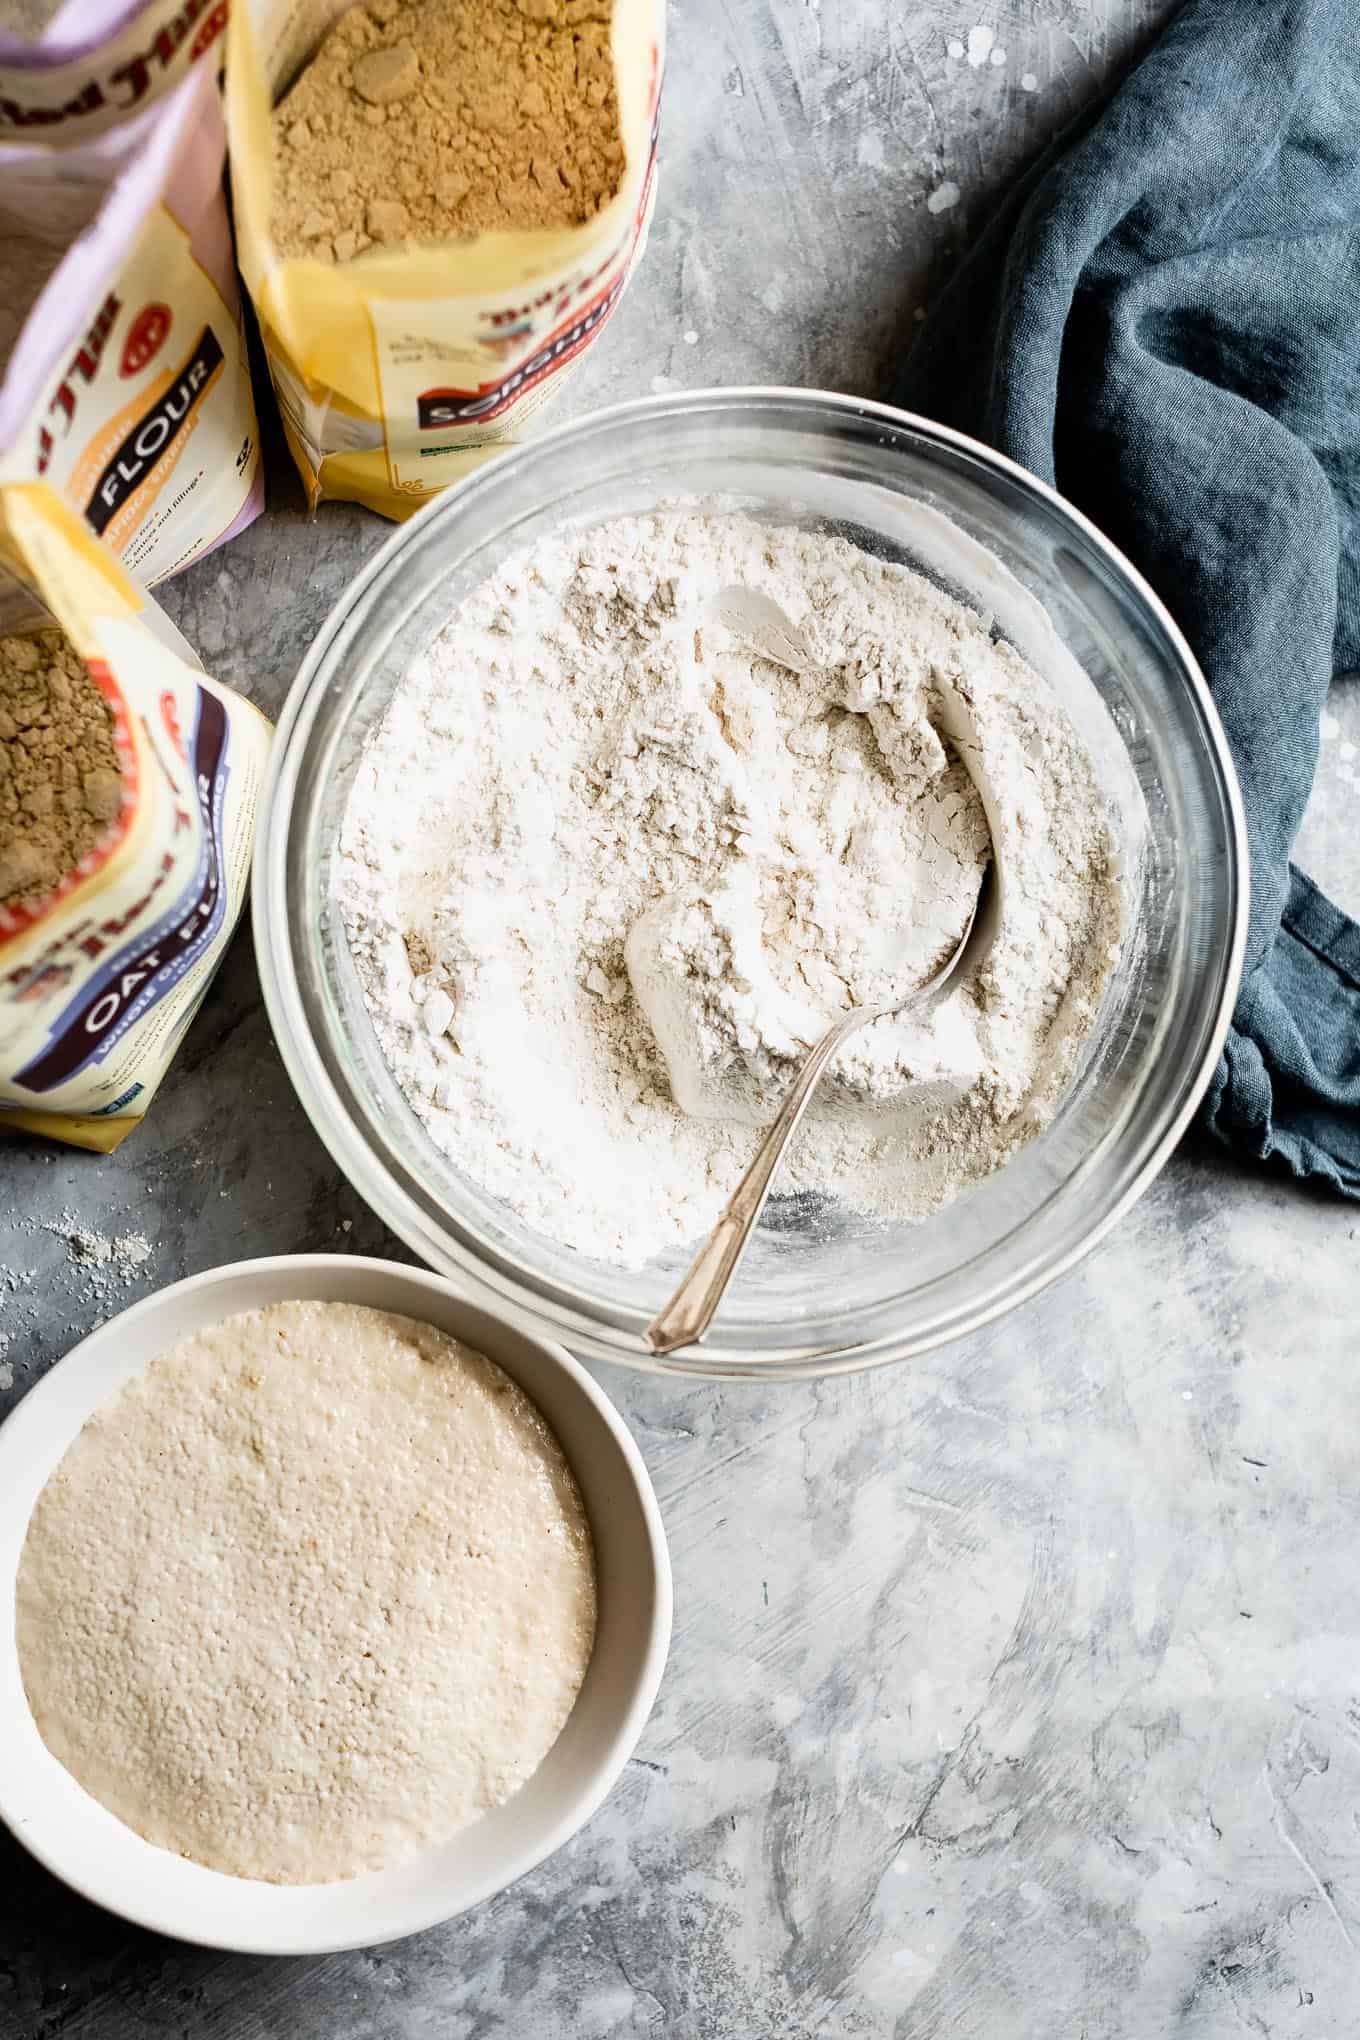
Gluten-free pizza is made using a combination of gluten-free flours, with milk and apple cider vinegar added in to help with the structure of the yeast development. My gluten-free pizza recipe starts with the same flour blend I made into gluten-free soft pretzels: Bob’s Red Mill gluten-free oat flour, sorghum flour, tapioca starch, and corn starch. The texture of the inside of the pretzels is doughy and chewy, just how I wanted my gluten-free pizza crust, which made it perfectly suited for the adaptation.
When I made the soft pretzels, I broke down each flour and what it brings to the dough, as well as why I used milk in gluten-free dough. To read more in detail head over to that gluten-free soft pretzel post. Here's a brief summary:
Oat flour gives the crust it's soft moist texture and wholesome whole grain notes.
Sorghum flour, like oat flour, is wholesome and whole grain, but with slightly sweet notes it adds flavor depth. I use sorghum flour in my gluten-free sourdough starter and bread because of what it adds.
Tapioca starch gives the dough a chewy texture and structure.
Corn starch helps the outside of the crust crisp up and brown like a classic pizza crust.
The more and more I bake gluten-free the more I learn that having a consistent brand of flour makes a huge difference. For example, I've found some brands of tapioca starch are less finely ground, which makes a less chewy and more gritty texture and will negatively impact the moisture absorption. For each of these flours, I use only Bob’s Red Mill brand, which is finely ground and consistent in quality. Using Bob's Red Mill flours will provide the best texture of gluten-free pizza crust!
Gluten-Free Yeast Dough
To encourage and trap the most air bubbles from the yeast in gluten-free pizza dough, I use milk and add apple cider vinegar (a trick I also use in my gluten-free cinnamon rolls).
Milk: I use milk in place of water. As I described in more detail in the soft pretzels post, the proteins in milk (caseins) help provide structure to the dough by mimicking gluten. If you want the crust to be vegan or dairy-free, subbing in water will work, the outer crust just won't be quite as fluffy.
Apple cider vinegar: The apple cider vinegar in the dough will help to strengthen it and slightly increases the acidity. This allows the yeast to grow easier, causing your pizza dough to rise a bit better.
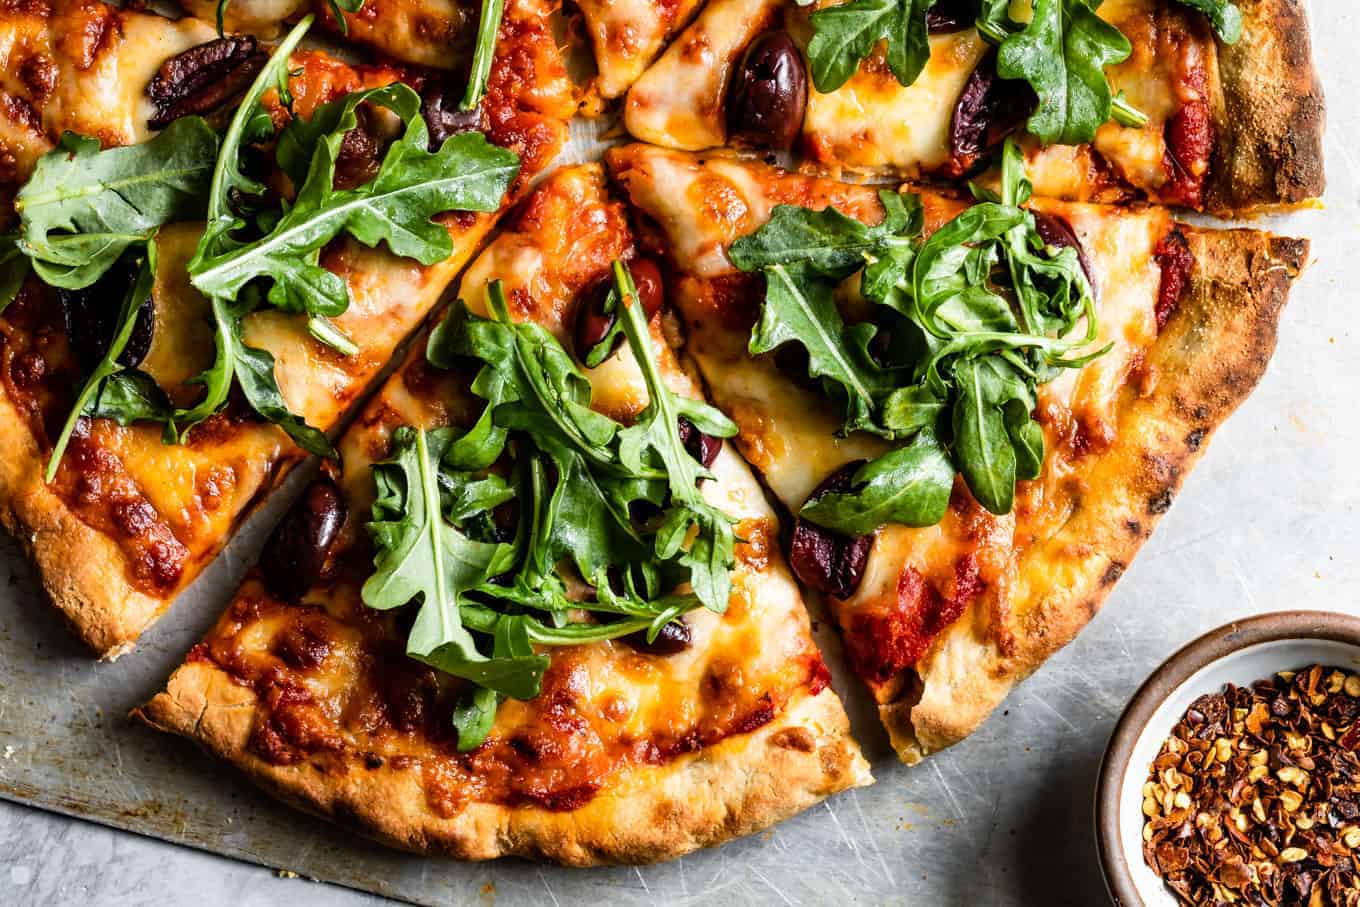
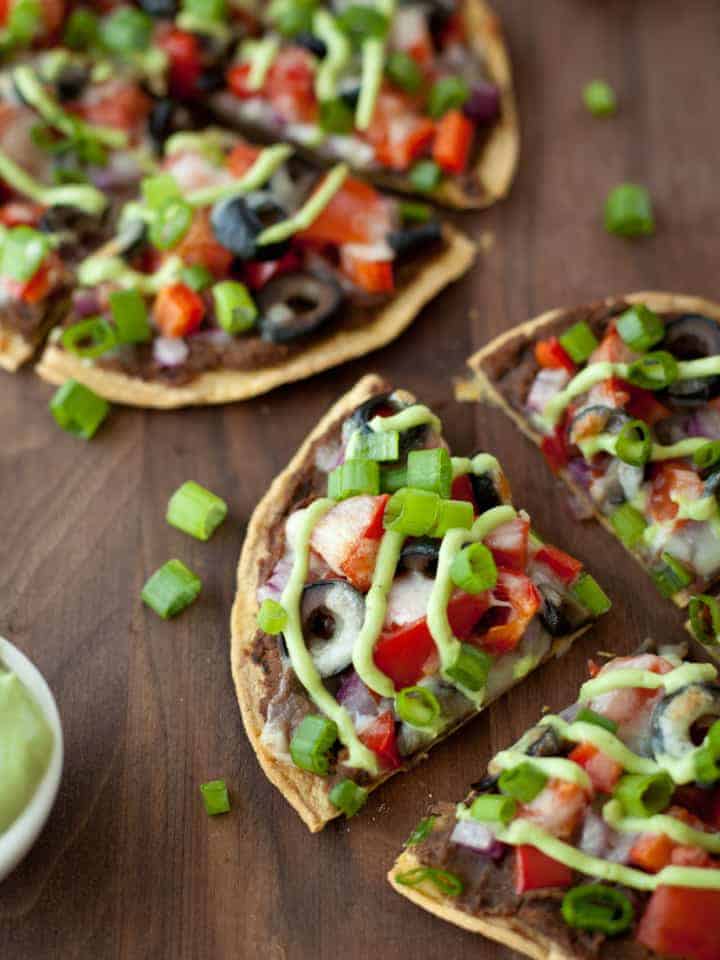
This crust and all the following pictures show the crust baked in a wood-burning tabletop pizza oven.
Gluten-Free Pizza Dough
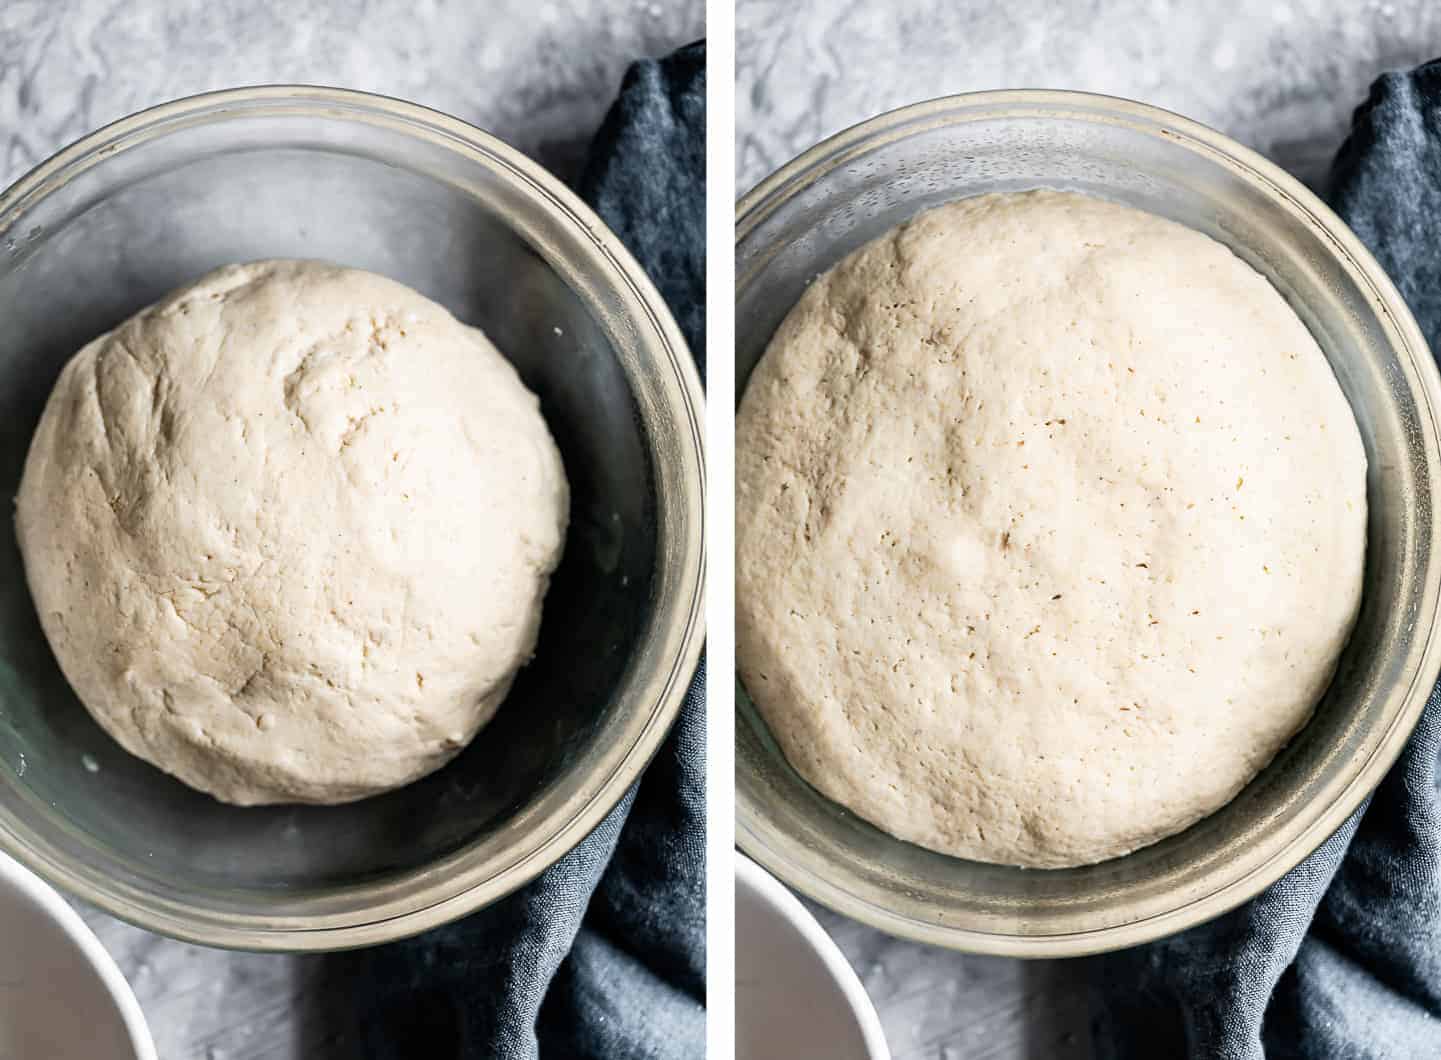
If you've made homemade pizza dough before, you'll find that the texture of this gluten-free pizza dough is a bit different. You want it to be soft and pliable, but not too sticky. When you first pull it out of the mixing bowl, it might feel sticky, but as you work it into a ball, it should become less sticky and hold together as a smooth ball. When you poke the dough, it should feel a bit softer than fresh playdough or unchilled sugar cookie dough. If you notice your dough is too firm, knead in a tablespoon of milk to soften it up.
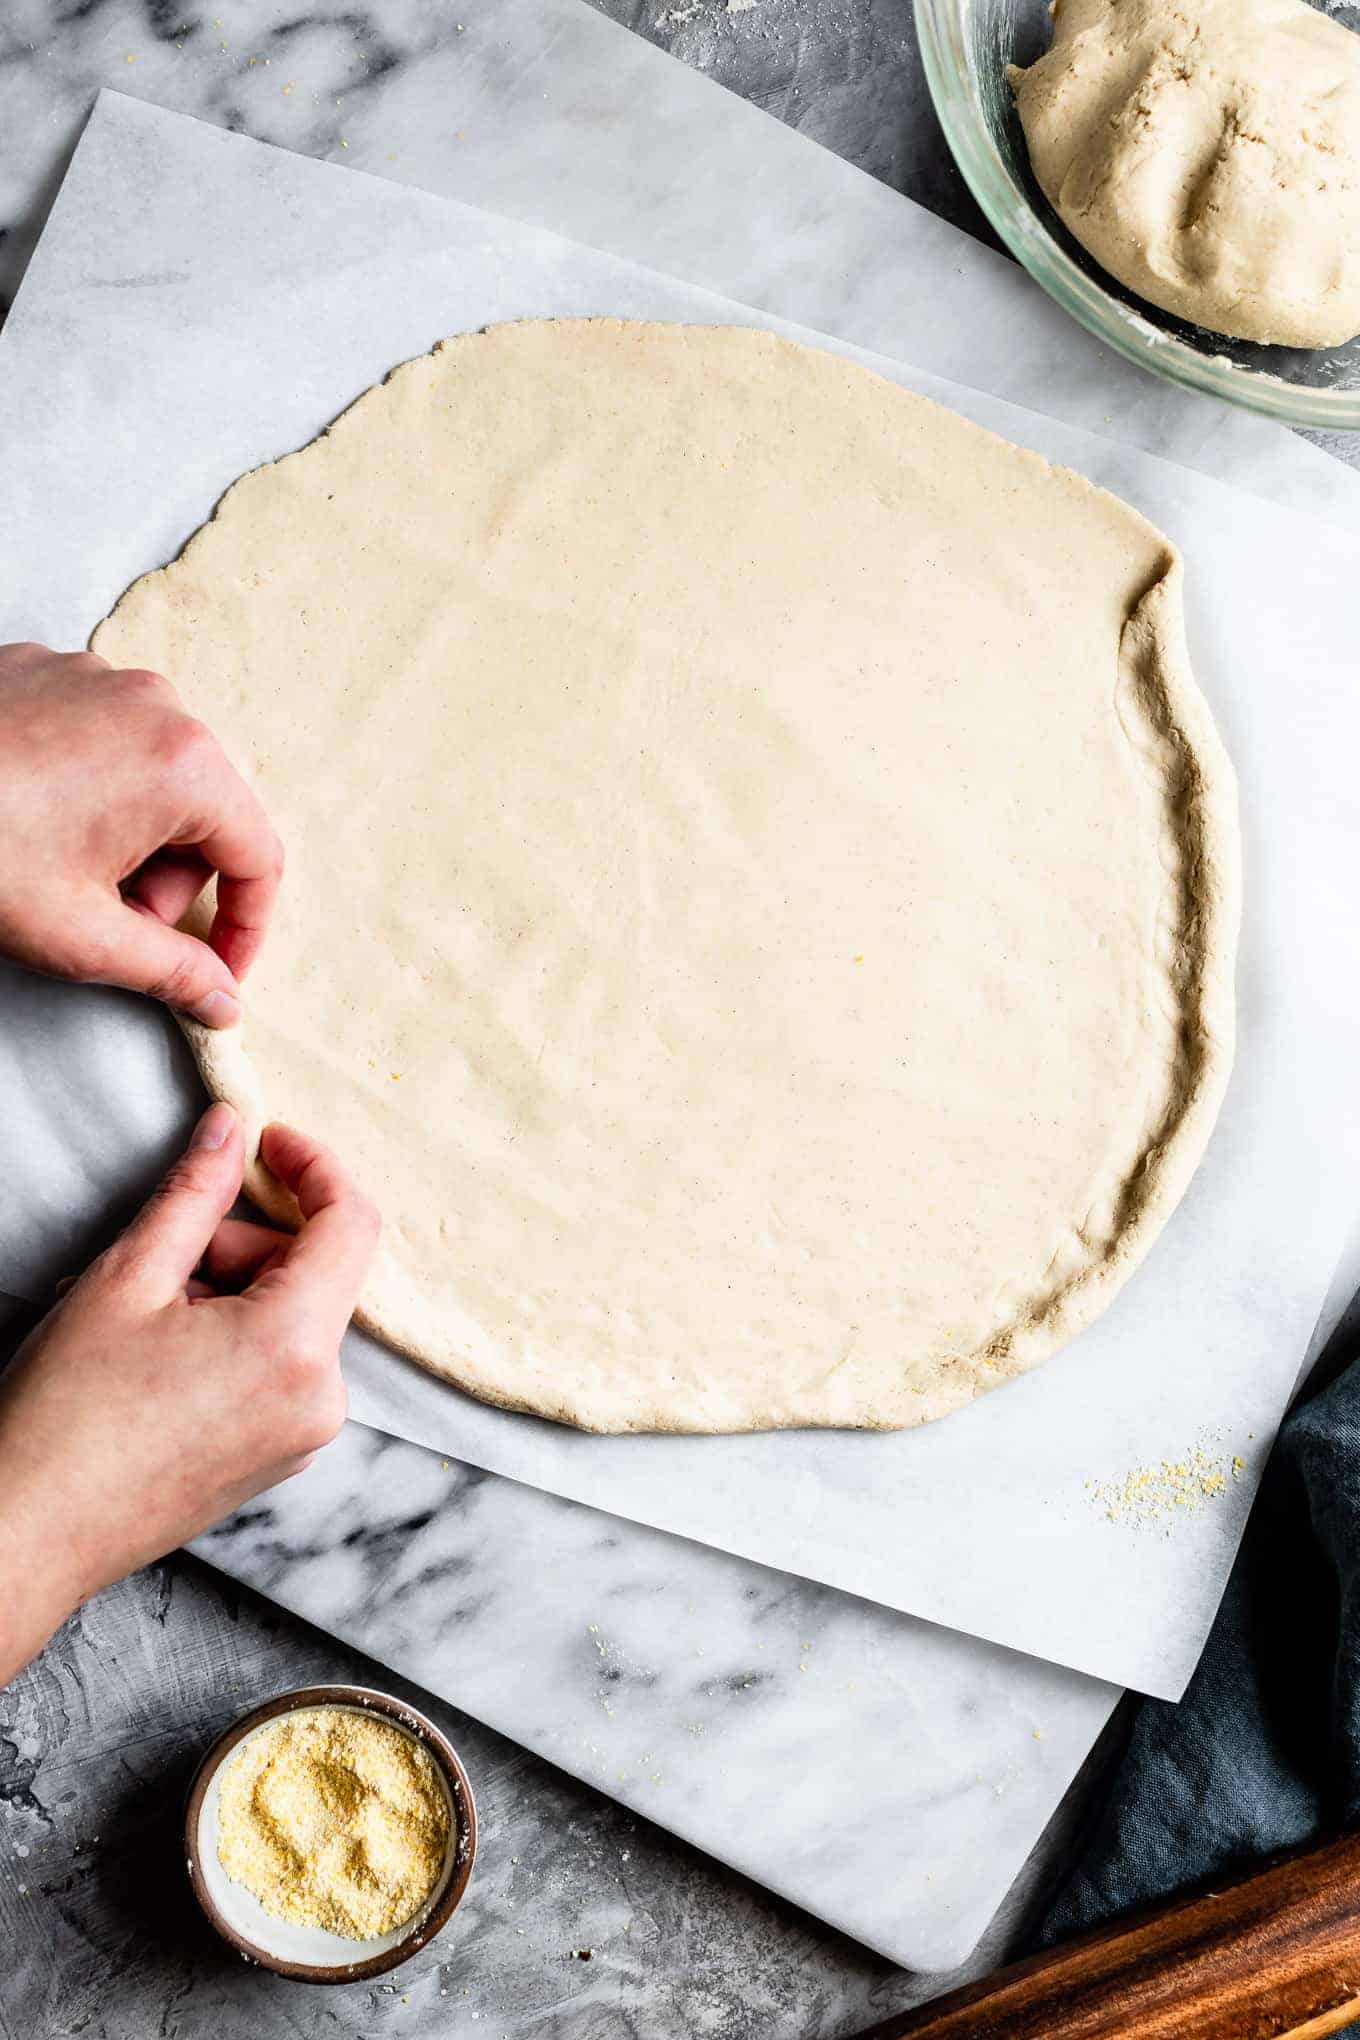
Just like traditional pizza dough, cover and let the dough rise for an hour until it doubles in size. When you roll out the crust, I find it's easiest to use a rolling pin. When it's large enough, roll in the outer ½-inch to create a thicker crusted edge.
Pizza Oven or Conventional Oven?
I first developed this recipe using my wood-burning tabletop pizza oven, but I've now made it just as many times in the conventional oven. It works great in either!
In a wood-burning pizza oven, the gluten-free pizza crust turns out more browned on top with slightly larger air bubbles. The wood also helps flavor the crust. I've written the instructions for a conventional oven because that's probably what most people have. To use a pizza oven, reduce the baking time according to the manufacturer's instructions.
In a conventional oven, I recommend using a pizza stone for the best results, but if you don’t have a pizza stone, you can use a large cast-iron skillet or dark baking sheet. Your crust may be a bit less crispy using the baking sheet. Whatever you use, have it in the oven while preheating.
Can you freeze gluten-free pizza crust?
You can absolutely freeze gluten-free pizza crust dough! I recommend letting it rise and rolling it out then freezing on a baking sheet before transferring it to a freezer bag or wrapping it well in plastic wrap for longer storage. When you're ready to bake it, you can par-bake it straight from the freezer, adding 3 minutes to the bake time.
Best Gluten-Free Pizza Crust
Pizza could easily be considered a major food group in our house. I have another cheesy gluten-free pizza crust on my site, which is based on the method of making Brazilian cheese bread. While amazing, it's not a classic-style pizza crust, which is what I've been after of late.
Having ordered every gluten-free pizza I come across, I still would prefer to make and eat this crust at home. It's the closest thing I've ever eaten to a traditional gluten pizza crust in texture and flavor.
The crisp bottom puffs up, creating soft air pockets throughout. The thick edge bakes up bready and doughy with a soft chewy center and a thin crisp crunchy exterior. We love the outer crust so much that when our kids leave it behind, Lucas and I fight over who gets to eat it.
I've simultaneously been developing a sourdough gluten-free pizza crust which is equally amazing with a slightly different flavor profile. Stay tuned for that recipe just as soon as I can shoot it!
Pizza Topping Inspiration
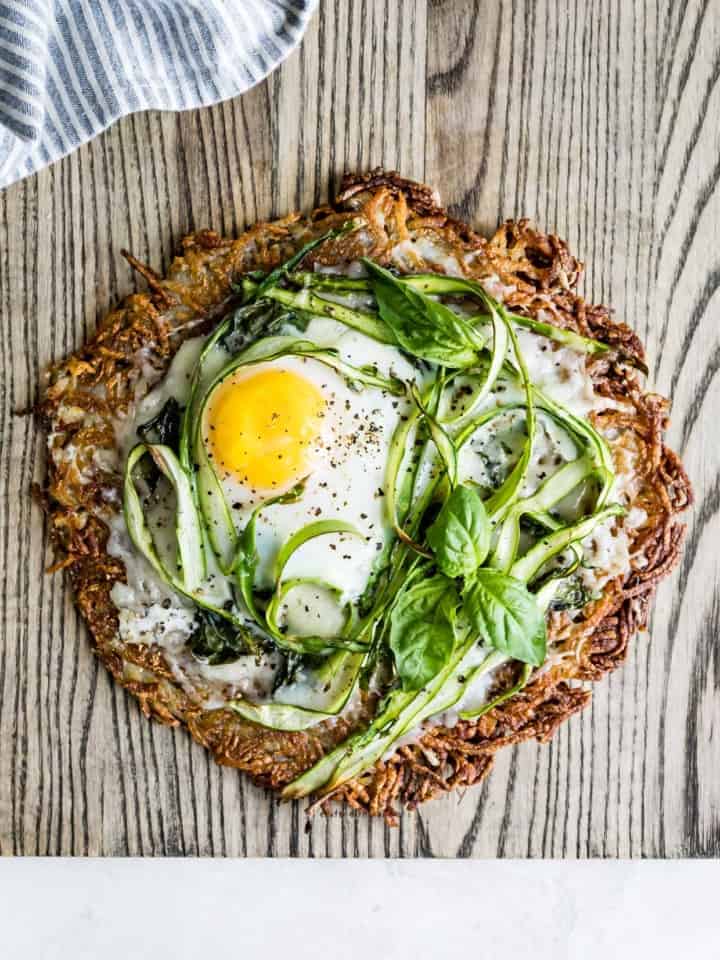
Roasted Potato Pizza with Shaved Brussels Sprout Slaw
Fresh Mozzarella, Pesto, Basil Pizza
Crispy Scallion & Asparagus Pizza from Naturally Ella
Kale Pesto Pizza from Mash & Spread
Breakfast Pizza from Spoon Fork Bacon
Peach Burrata Tomato Pizza from Vegetarian Ventures
Chicken Pesto Pizza from Kitchen Confidante
Recipe

Gluten-Free Pizza
Ingredients
- 1 cup + 2 tablespoon warm whole milk, between 105-110ºF (see note for dairy-free version)
- ¼ ounce (2¼ teaspoons) active dry yeast
- 1 teaspoon honey
- 115 g (about ¾ cup + 2½ tablespoons) Bob's Red Mill tapioca flour
- 115 g (about 1 cup + 1 tablespoon) Bob's Red Mill gluten-free oat flour
- 70 g (about ½ cup + 1 tablespoon) Bob's Red Mill sorghum flour
- 56 g (about ¼ cup + 2½ tablespoons) Bob's Red Mill cornstarch
- ¾ teaspoon Bob's Red Mill xanthan gum, see note
- ½ teaspoon kosher salt
- 1 tablespoon extra virgin olive oil
- 1 tablespoon apple cider vinegar
- Cornmeal, for sprinkling
INSTRUCTIONS
- Warm the milk in a small pot to between 105-115°F (if you go over, just let it cool until the temperature is in that range so you don't kill the yeast). Transfer to a wide medium bowl and mix in honey. Slowly sprinkle the yeast over the warm milk and use a spoon to mix completely. Let sit for 10 minutes while the yeast activates and foams. If your yeast hasn't gotten foamy by 10 minutes, your yeast may not be fresh, so try again with a new package.
- Meanwhile, combine tapioca starch, oat flour, sorghum flour, corn starch, xanthan gum, and salt in the bowl of a stand mixer with the dough hook attachment or a large mixing bowl. When the yeast/milk mixture is ready, add it to the flour along with the olive oil and vinegar and mix on low to combine. Increase speed to medium and knead for 4-5 minutes until the dough is super smooth and pulls away from the edges a bit. (If using a mixing bowl, mix with a wooden spoon until it's thick, then knead with your hands until it forms a smooth ball).
- Shape it into a ball and transfer the dough to a lightly oiled bowl (If it’s a bit sticky, that's okay!). Cover with plastic and set in a warm place for an hour, until doubled in size (I use the proof setting on my oven).
- Preheat oven to 500°F (or preheat a pizza oven) with a pizza stone on the bottom rack. If you don’t have a pizza stone, you can use a large cast-iron skillet or dark baking sheet. With a baking sheet, bake it on the parchment paper and keep in mind, your crust may be a bit less crispy on the bottom. Whatever you use, have it in the oven while preheating.
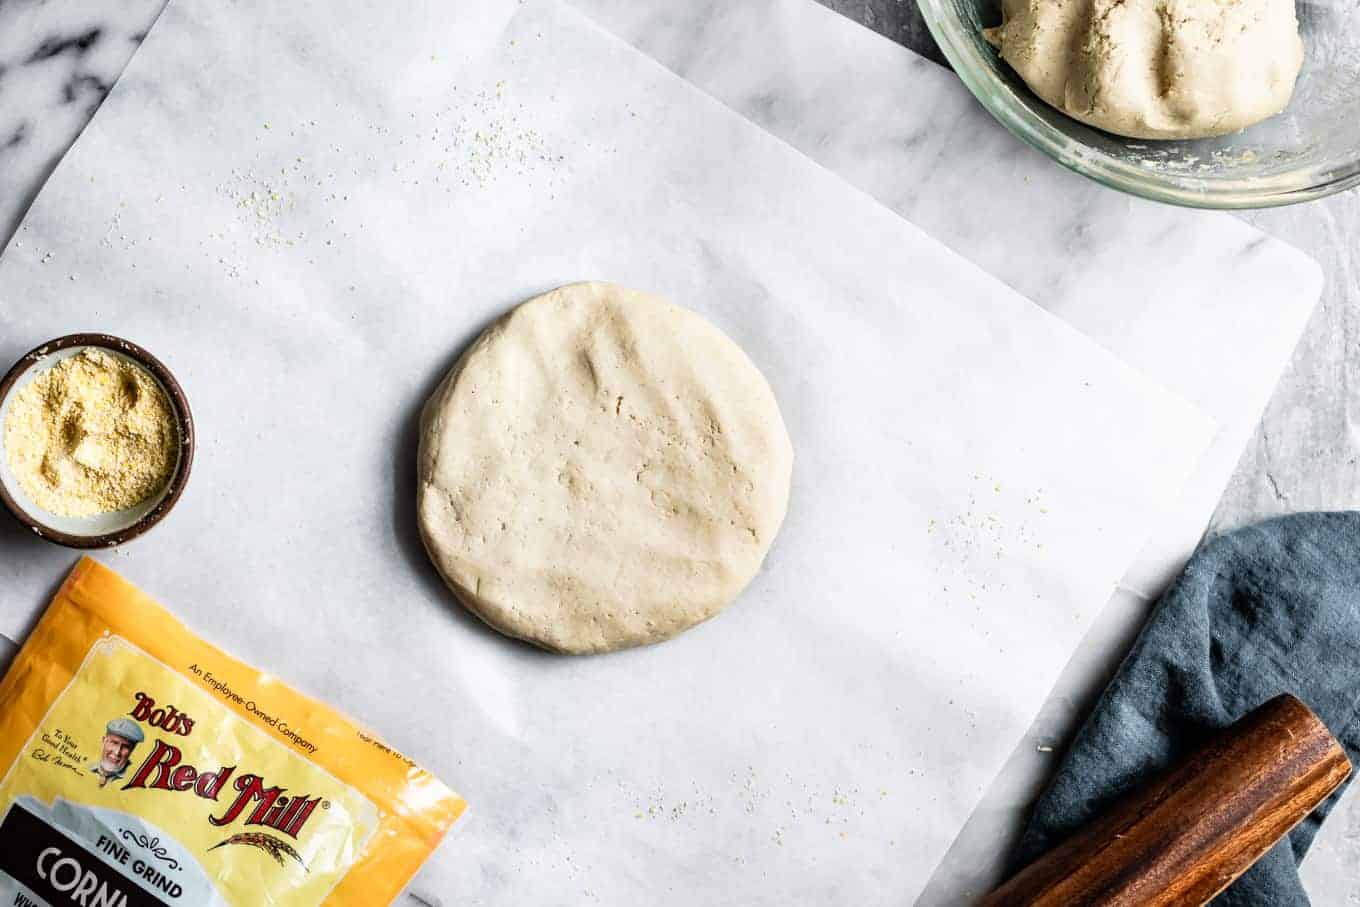
- Divide the dough in two and shape each half into a disk. On a sheet of parchment paper, roll each crust into a 13-inch round using a rolling pin. Fold the outer ½-inch edge over and crimp/seal the roll onto the bottom to create a crust edge (see pictures). Prick the bottom a few times with a fork to avoid large air pockets. Repeat with second crust.
- Dust a flat cookie sheet with cornmeal and carefully remove the pizza crust from the parchment paper and transfer it onto cornmeal-coated sheet. With confidence, slide one pizza crust onto the hot pizza stone or into the pizza oven. Par-bake for 6-8 minutes, until firm, but not yet browned (adjust timing if using a pizza oven, according to the manufacturer’s instructions. For example, I only par-bake mine for 1 minute, rotating halfway through, in my Uuni pizza oven).
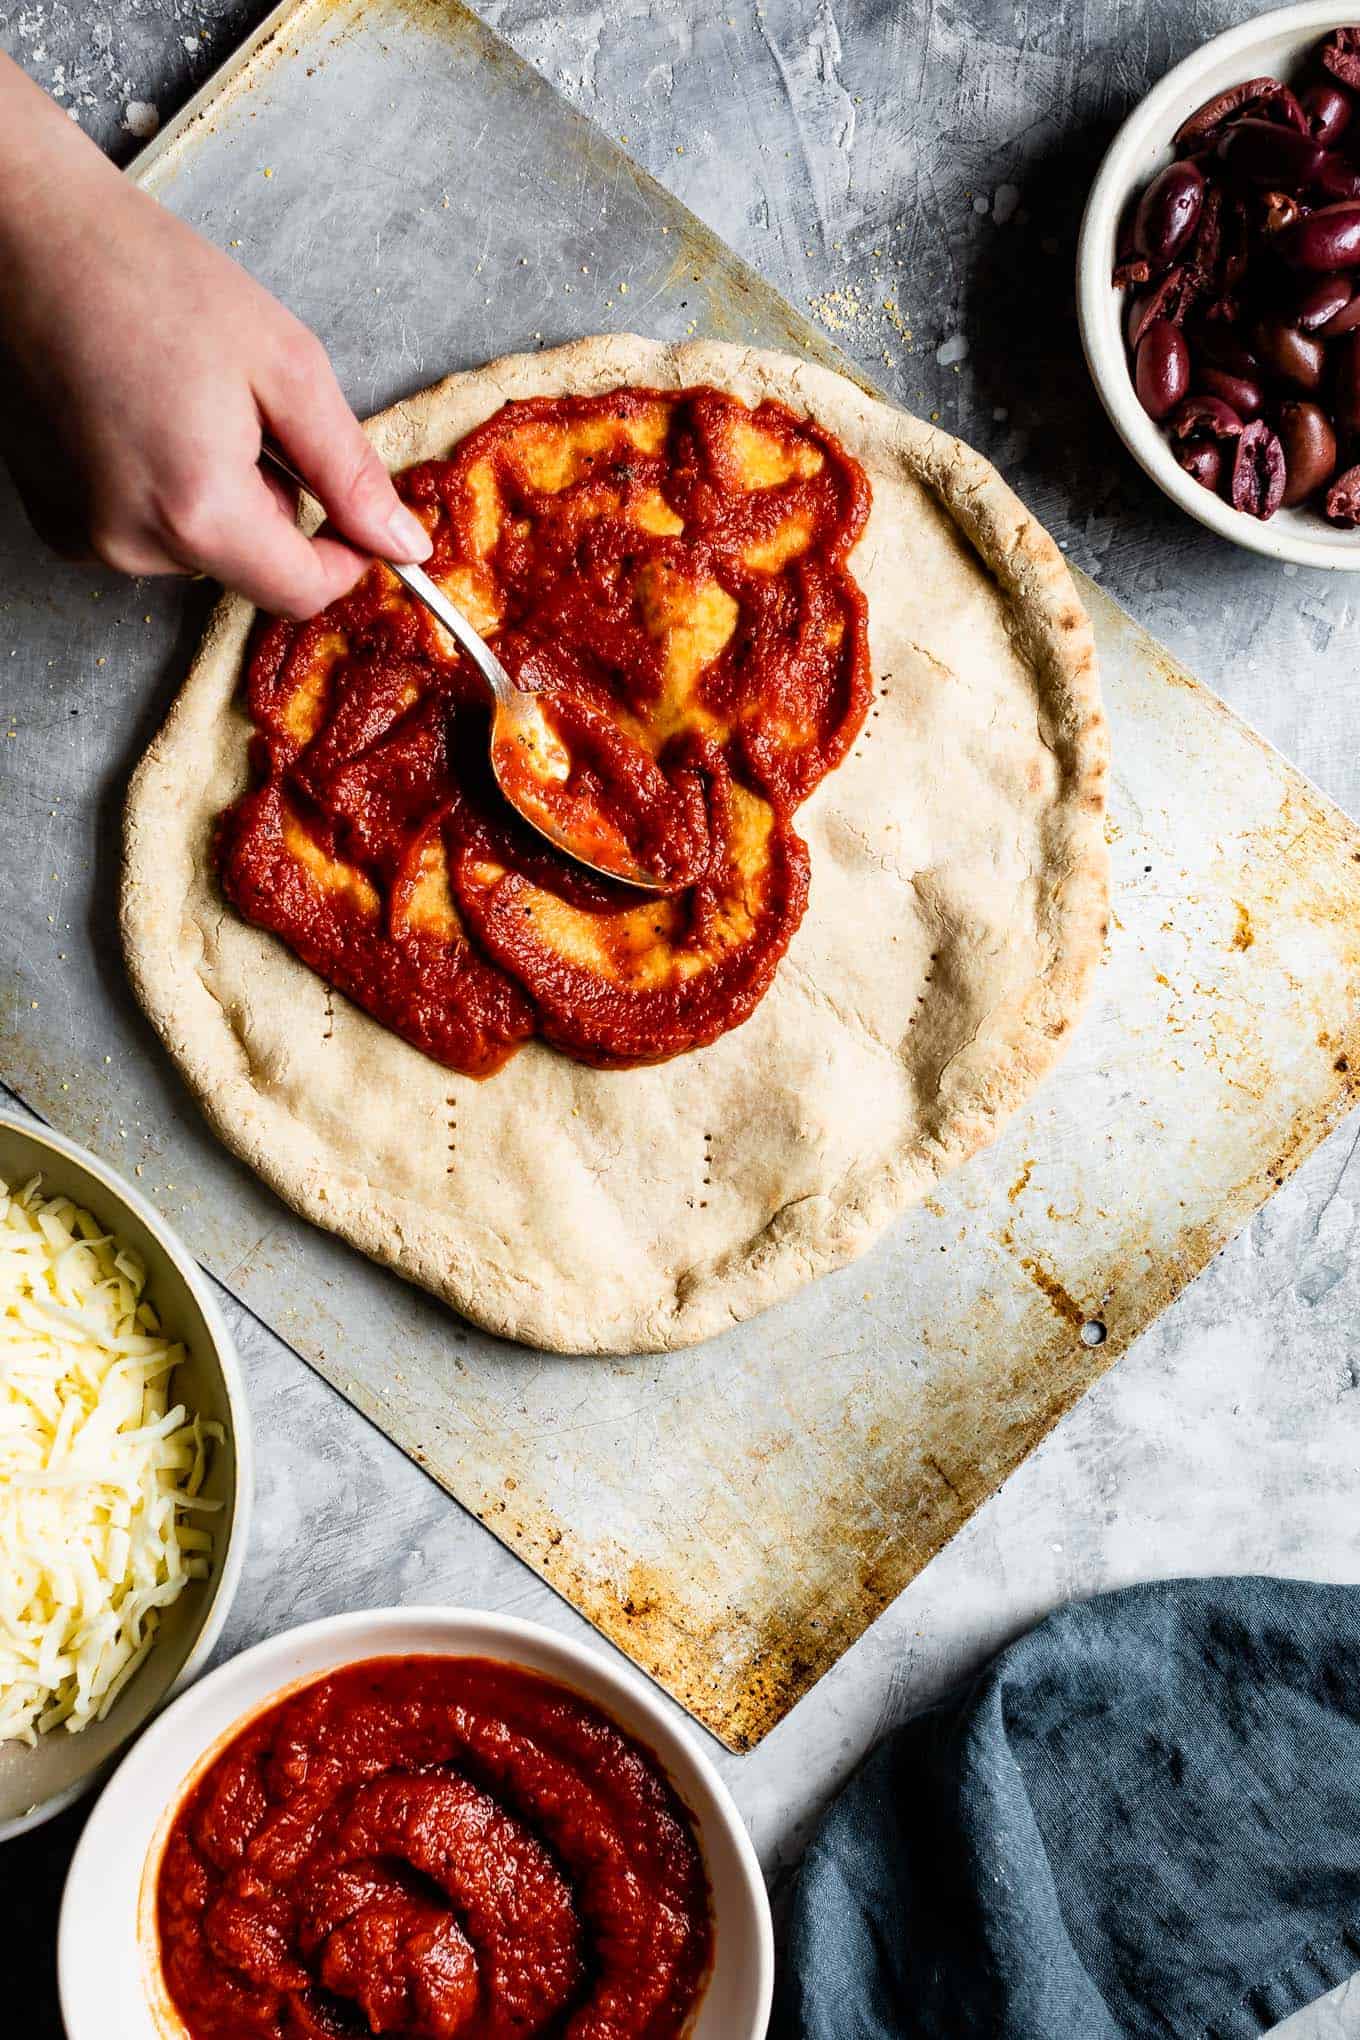
- Remove the pizza from the oven and add sauce and toppings. While adding the toppings, par-bake the second crust.
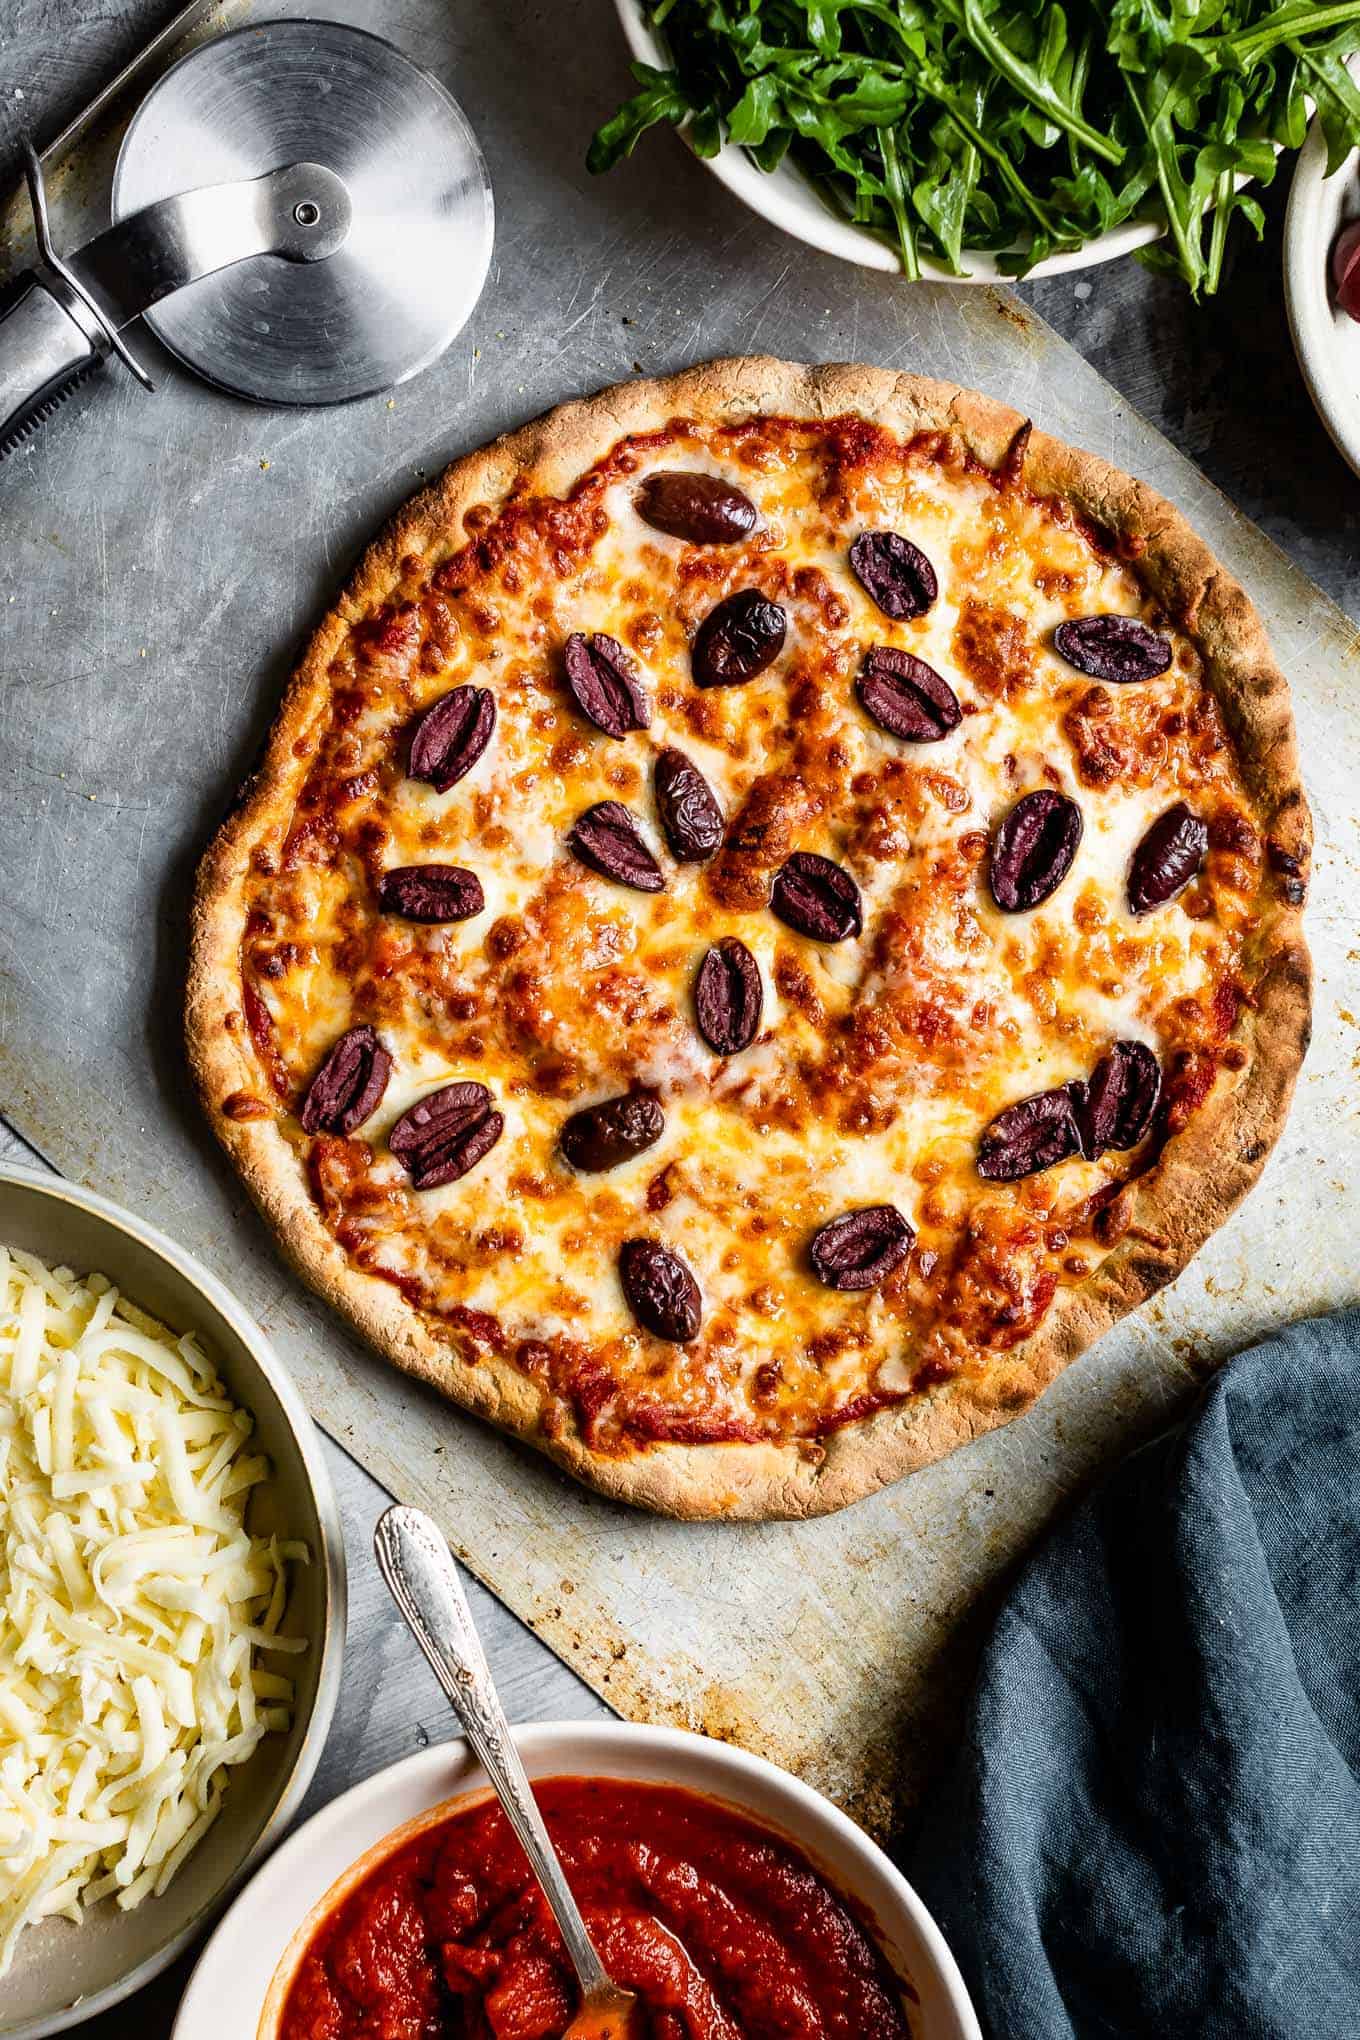
- Bake the topped pizza for another 12-15 minutes until the crust is crispy on the bottom with golden edges and cheese is melted (again, adjusting timing if using a pizza oven).
Notes
- 2½ tablespoons ground chia seeds, but results will be a bit less chewy/fluffy and more crispy like flatbread. To do this, add an additional tablespoon of milk.
- 12g (about 2.5 tablespoons) psyllium husk flakes. To do this, add an additional 3 tablespoons of milk.





monica le -
Perfect texture and taste :)
Krista -
This gluten-free pizza crust has been a game-changer for our household. The dough is so easy to work with and bakes up beautifully every time. It's without a doubt the best crust I've had since I had to go gluten-free. Thank you, Sarah!
Debbie Feely -
Sarah! I’m so excited to see this! I loved using Authentic Foods Pizza Crust Mix, then found out I’m allergic to whole grain rice. So I’ve been floundering knowing brown rice is the staple out there. However, I’m also allergic to xanthan gum. Very. Have you tried psyllium or other subs?
I will be trying this. I’ll figure it out.
Debbie Feely -
Oops sorry. I didn’t read all the way down. Let me know about the psyllium. My sweetie doesn’t care for chia.
Sarah Menanix -
Will do! I plan to test it again next week with psyllium.
Debbie -
Sarah! I made this a second time with psyllium. I think I might use a tad less next time but wow! This doubled and more very rapidly. It tastes delicious and is seriously crunchewy! Just the best! Thank you!
J'Marinde -
I have been gluten free for more than 35 years and I still get ghastly ill from so-called "gluten free oats." I also peer-counsel those new to food allergies, and I make a point to warn them off of such products. The ensuing illness is not worth it. I might try some corn flour in place of this.
Debbie -
I think we are all different. I am very happy with gluten free oats. A staple for my diet. I can’t have rice bran or whole grain rice, and although I’m not allergic corn is a problem for me. Crazy, right? Or like my niece has settled on sorghum as her staple flour and it runs right through me. I will sub white buckwheat in this recipe. I think it helps all of us to know there are probably other things besides gluten that can be problematic.
radu -
This recipe is very interesting. I will try it and come back with a reply. You can also check my blog, http://www.basilbunch.com. I don't have gluten free recipes yet, but I am working hard to add more content.
Jane Ashton -
Hi there....what flours would you suggest could sub for the oat flour, please? Also, did you end up trying psyllium husk?
Sarah Menanix -
I haven't had a chance to test with psyllium yet, but let me check if I've got topping ingredients and if so, I'll make pizza for dinner tonight!
While I haven't tried it, I would suggest replacing the oat flour with more sorghum flour. Sorghum flour tends to soak up moisture just a bit differently, so watch the videos in my IG stories to get an idea of the proper texture as you may find you need to add an additional 1-2 tablespoons sorghum flour!
Sarah Menanix -
Hi Jane! Just wanted to let you know that I tested the pizza crust with psyllium husk tonight and updated that in the recipe above!
Manisha -
I’m always experimenting with new recipes. I made yours last night and my daughter and husband loved it. I did not change the recipe, ok well I did add an egg white to it I just find it helps in bread type recipes. And I loved the way it came into an actual dough. The first one I par baked But the second pizza we cooked straight away with the topping. Both came out the same in the end. We even did one with a stuffed crust. Thanks for sharing.
Sarah Menanix -
Good tip on the egg white! I'll have to try that next time. I just made it again tonight to test it with psyllium husks instead of xanthan gum. Pizza night twins!
Alanna Cartier -
I only have instant yeast! Can I substitute it for regular active dry yeast?
Sarah Menanix -
Hi! I've not tried it with instant yeast, but to sub in instant yeast, use about 25% less yeast and proceed as normal, but you just won't need to "activate" the yeast for ten min first! So for this recipe, use about 1.75 tsp instant yeast (to honestly if you use a whole packet, it prob won't make a difference!)
Chanah -
Hi! Can I use whole wheat flour instead of the sorghum flour? Thanks for sharing!
Sarah Menanix -
Honestly, I'm not sure! Since I'm gluten-free, I don't have a lot of basis to give recommendations about whole wheat flour as a substitute, sorry!
Angie Lai -
Hey Sarah,
I'm excited to try this recipe! The link to your tabletop pizza oven is broken and I am curious what make/model you use. I've never had one and am very curious. Thanks!
Sarah Menanix -
I have to uuni 3. Thanks for letting me know - looks like they have a new model of them right now - I'll update my link later tonight, but mine is most similar to the uuni frya or karu.
Angie Lai -
Thanks so much Sarah! We are trying this recipe on the grill tomorrow night. After meaning to make it for MONTHS, I am very excited to finally do it!
Darcy -
I have tried so many since having to change to a gluten free diet. So thankful for your work to provide the best pizza crust recipe - with or without gluten. Thanks!
Jen -
Been GF for over a decade, best GF pizza crust I've ever had!
SARAH M MESSENGER -
Hi there!!
This recipe looks amazing! Unfortunately I can not have the cornstarch, what can I substitute for it? I was thinking maybe arrowroot?
Thanks
Michele -
I really don’t like to sign up for places that require my email, so this means something. I am only doing this as a small token of our huge appreciation that someone has finally solved the mystery of an absolute delicious gluten free pizza dough!
Julia -
I’ve been celiac for almost 15 years, and this is the best pizza crust I’ve ever had! My partner and I make it at least once a month. I’d like to make this for a friend, but she doesn’t eat corn. Any suggestions on a substitution for the cornstarch? Arrowroot? Potato starch?
DebS -
This is my absolute favorite gf pizza. I've tried many and although they were good, this one is next level. Love that there's no rice flour. Sometimes, the pizzas with rice flour remind me of a big rice cracker :)
Was wondering your thoughts on grilling this pizza on the BBQ? Am wondering if that would work.
Mike -
This was my first recipe of yours that I tried. I followed the instructions using all Bob's Red Mill products as listed in the recipe. I weighed the flours instead of using measuring cups. It came out extremely wet. More wet than expected. I have tried this twice and both times, again wet. So wet, that it did not ball up into a ball one could handle. Both times I let it rise, and then greased the pizza sheet and spread it out with wet hands. Forget dividing it in 2. It did spread out nicely in a half sheet all of the dough. It was nice, but not what I expected from your posting. Any advice? At first I thought I made a mistake, but two results from the same instructions has me scratching my head. I might try measuring the flour with measuring cups instead of weighting them but, some of the flours are expensive. Thanks for any guidance.
Sarah Menanix -
Hm - that is very strange! We make this pizza dough weekly and I've not had it turn out wet. I just checked with another reader who regularly makes this dough to see if she's ever had it turn out wet and had also not experienced that. Let me help brainstorm what may have gone wrong. I certainly understand not wanting to waste expensive gf flours!
1. I've noticed some liquid measuring cups are inaccurate, up to a 1/4 of a cup. 1 cup + 2 tablespoons should weigh 270g. Could your measuring cup be off and thus too much liquid is added to the dough?
2. Did you measure the temperature of your milk? Warm milk will help the yeast rise, but will also bring the starches together better than cold milk will. Similarly, did your yeast rise in the warm milk properly before adding it to the dough?
3. Do you add the xanthan gum? While this is just a little bit in the recipe, it is essential. Skipping it (without one of the listed substitutes) WILL lead to a too-wet dough.
I also have an IG story series saved as a highlight that might help to see the texture in action.
Do you happen to have any pictures of the dough? If so, please email me at [email protected] - that might help me figure out what went wrong!
Mike -
Thanks for the quick reply. I will double check the accuracy of my liquid measuring cup. I did check the temperature on the milk and I did use xantham gum.
I don't have a picture of the two batches I made but I am going to try it again. I will document my next try. I loved the flavor and the texture. Both doughs I turned into a kinda "sicilain style" pan pizza by wetting my hands and pressing the dough into two sheet pans.
I stoked now to find out the issue on my end and make this work. Again, I appreciate the quick reply and advice.