
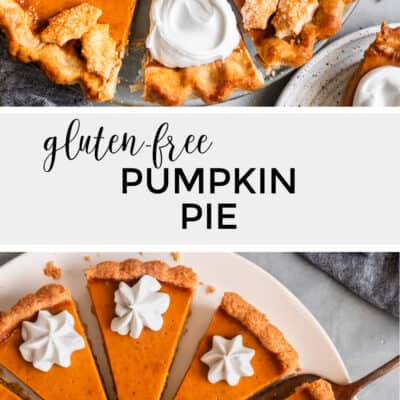
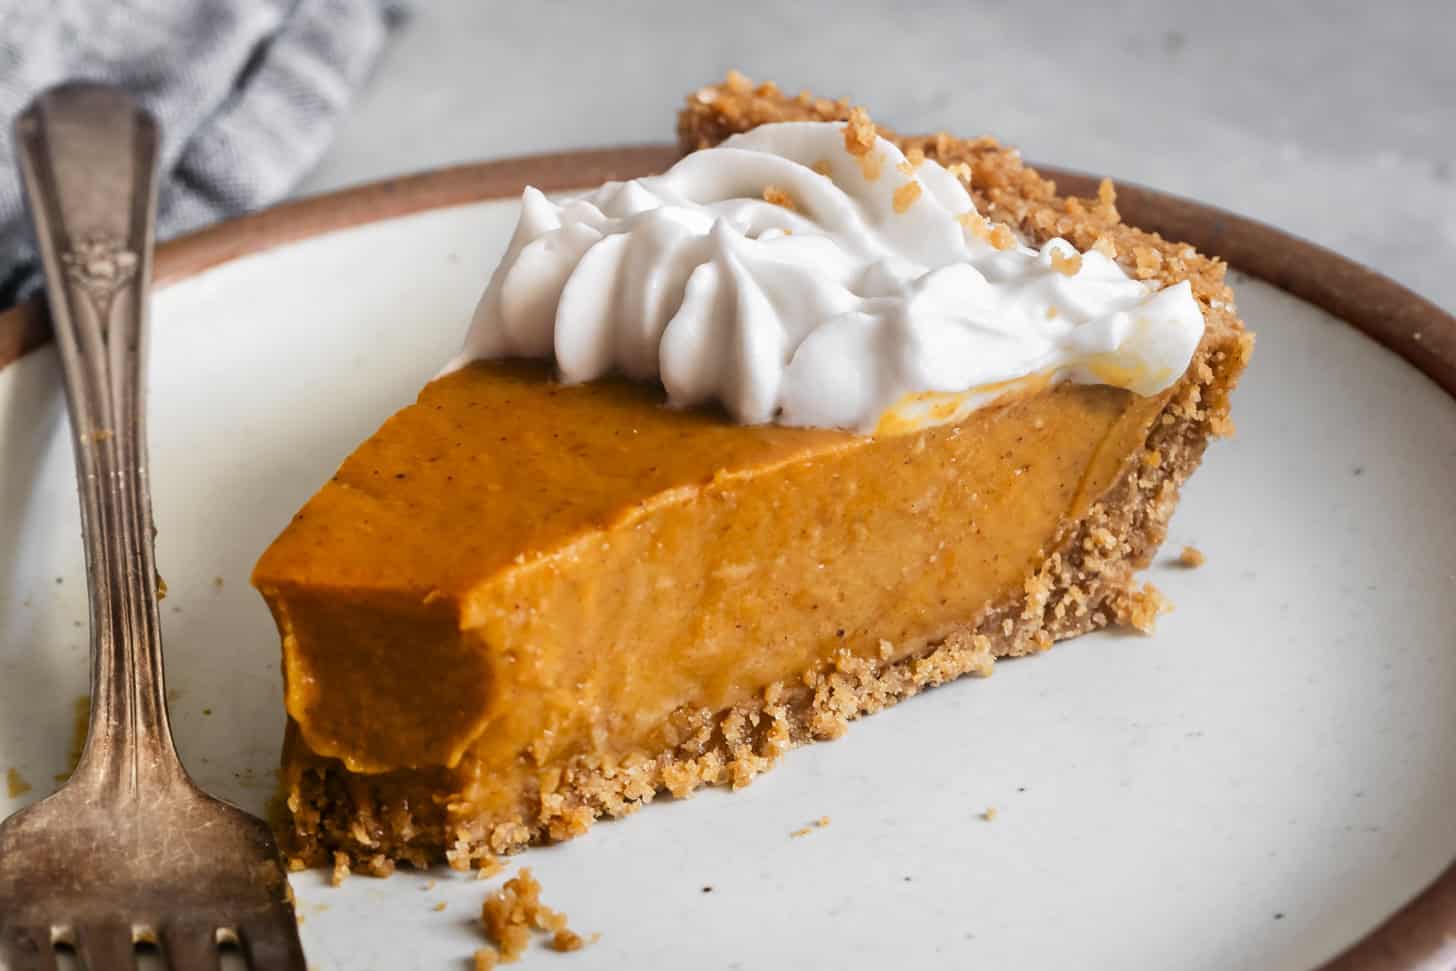
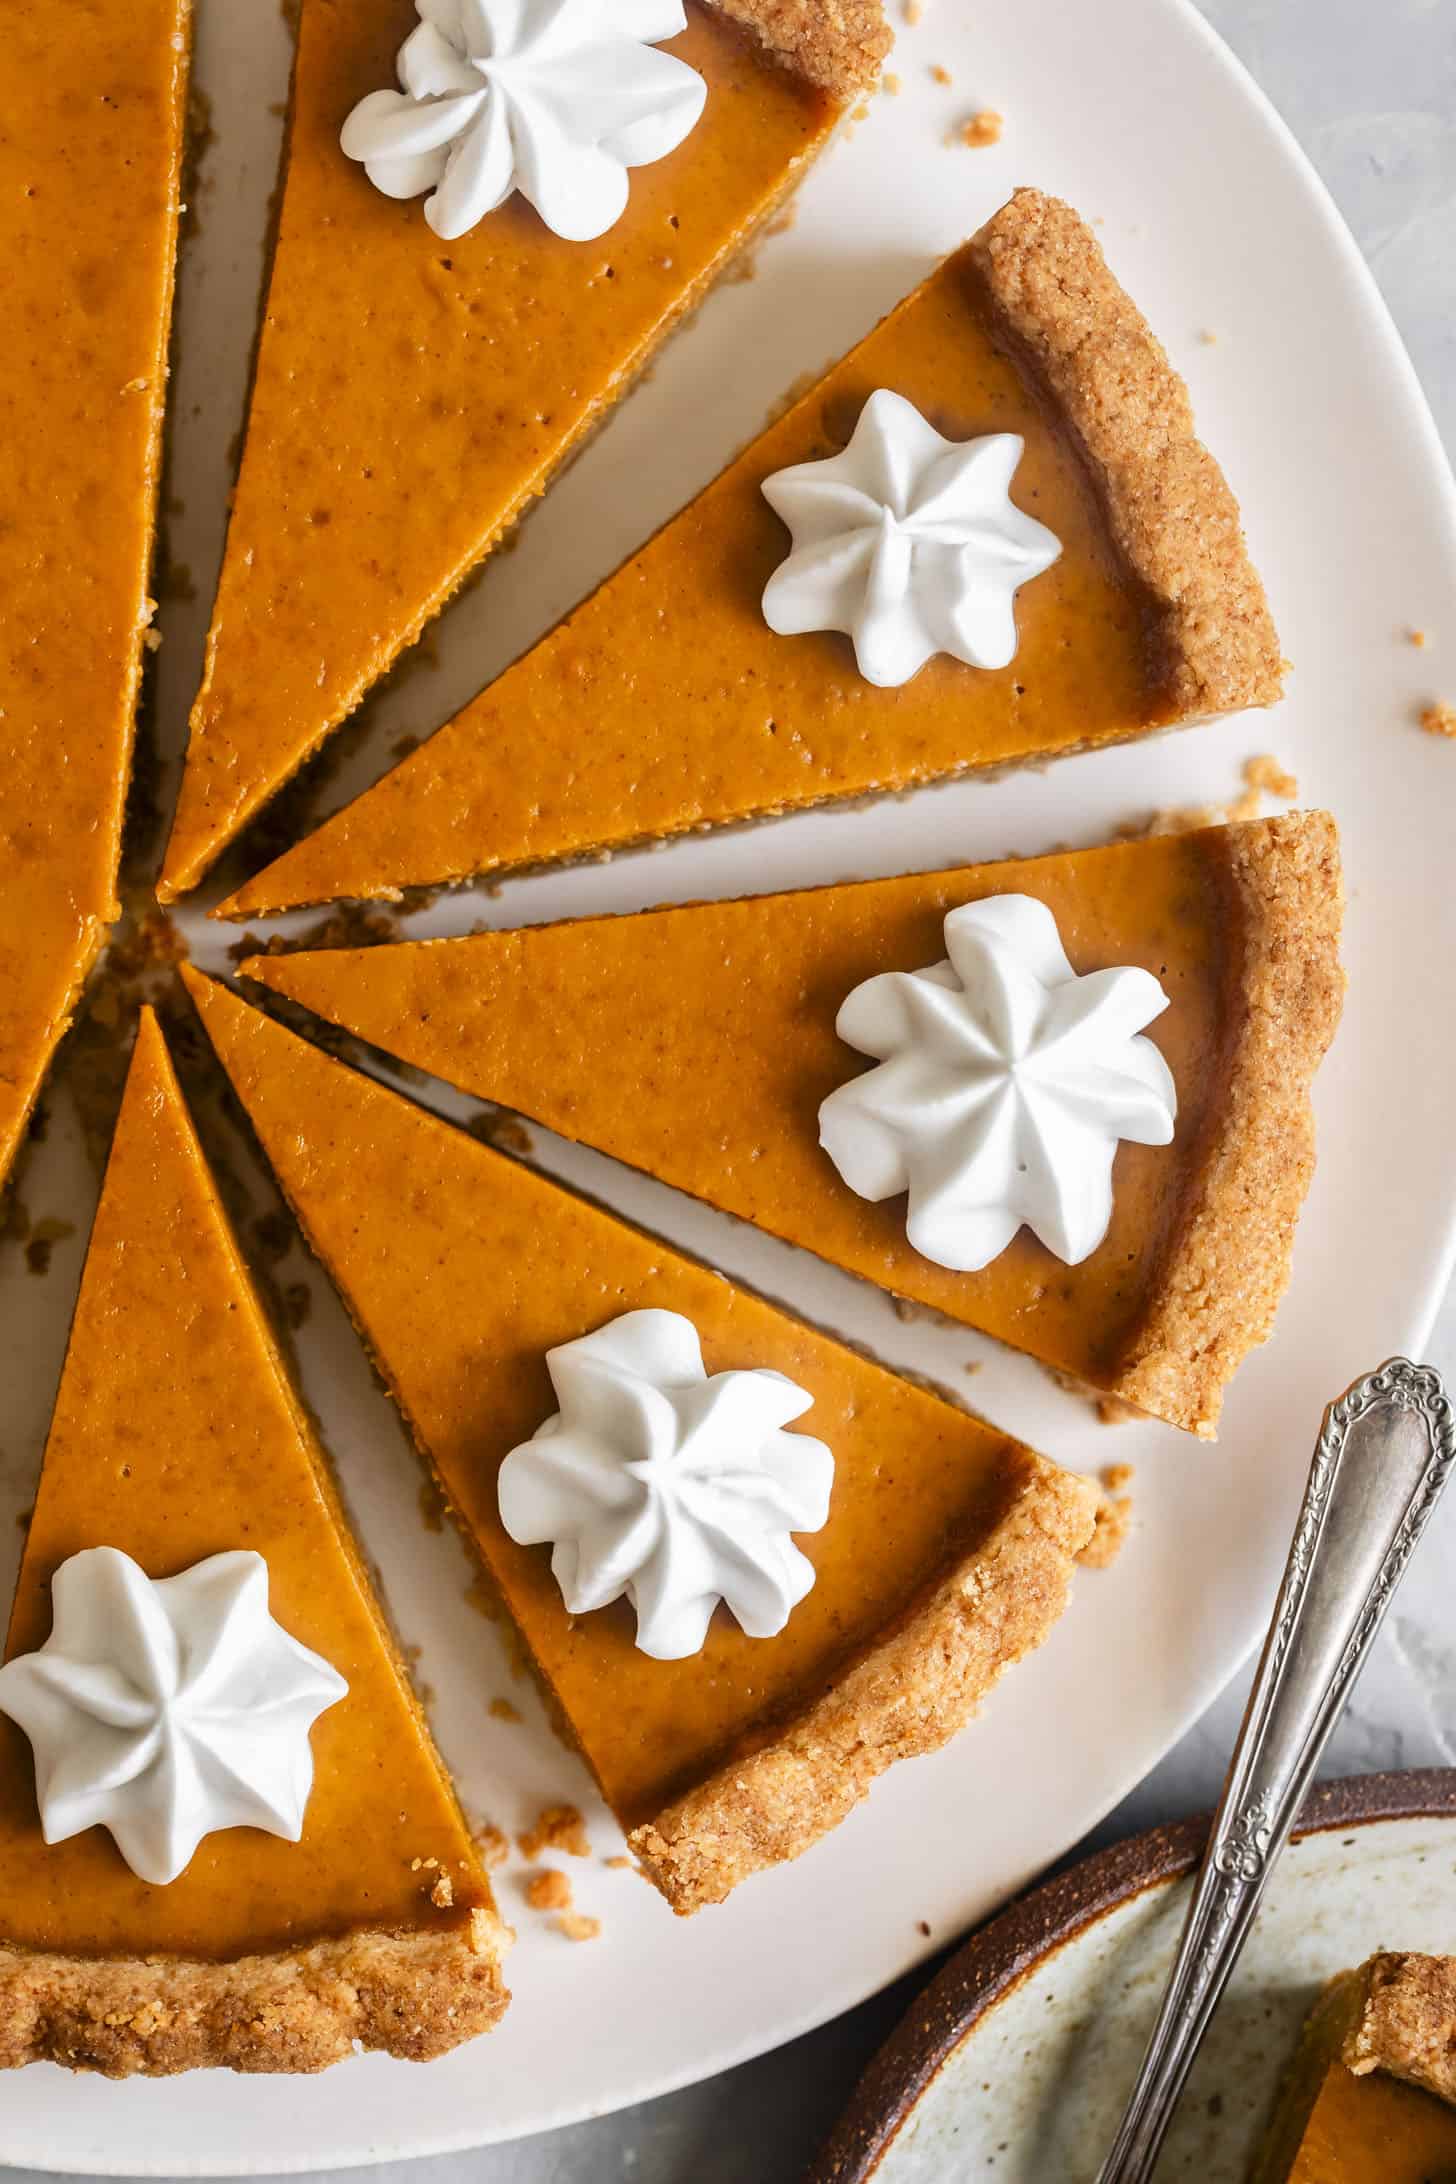
This gluten-free, dairy-free pumpkin pie is creamy, smooth, and delicious in any crust, whether you bake it in a flaky pie crust, graham cracker crust, or shortbread tart crust! The filling is sweetened with brown sugar and uses coconut milk rather than the usual evaporated milk. Bake it like a classic pumpkin pie, or use the simple stovetop no-bake method. Topped with soft pillows of coconut whipped cream, no one will believe it's gluten-free or dairy-free!
When it comes to Thanksgiving desserts, I've got those dialed in. They've been set for years. There's always gluten-free pecan pie, gluten-free vanilla bean pear persimmon pie, and this gluten-free dairy-free pumpkin pie. Each family member requests a different favorite, so I make them all, and my dad finishes up the leftovers for a week after the big day.
You won't miss the dairy or the gluten!
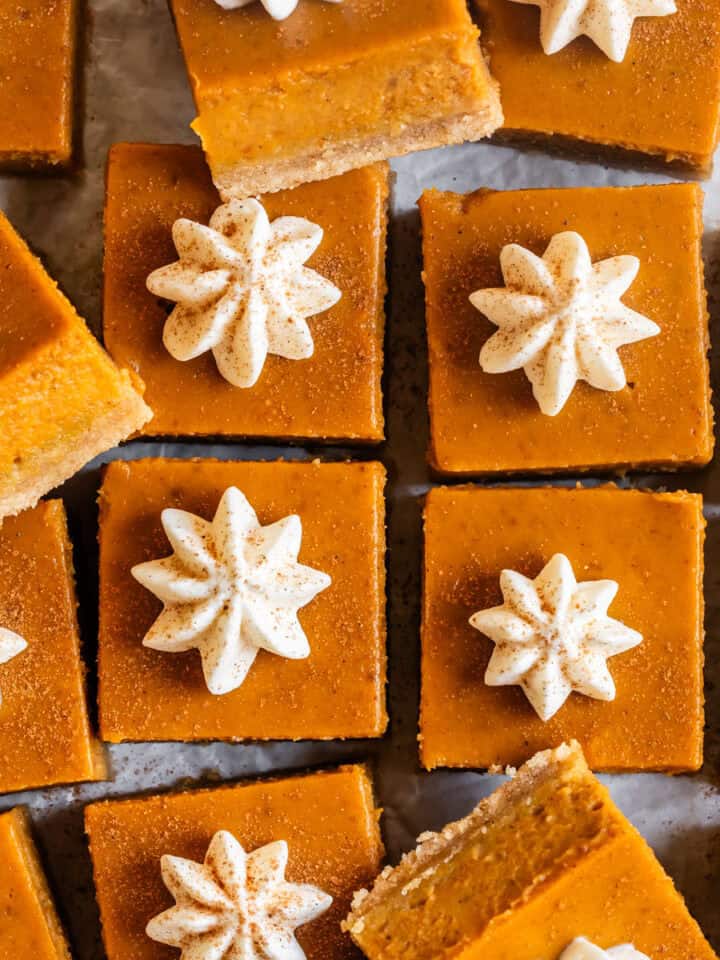
Traditional pumpkin pie filling uses evaporated milk, heavy cream, or half-and-half in the custard; that's how I make my delicious gluten-free pumpkin pie bars. To make a dairy-free filling, I used canned coconut milk in place of the dairy.
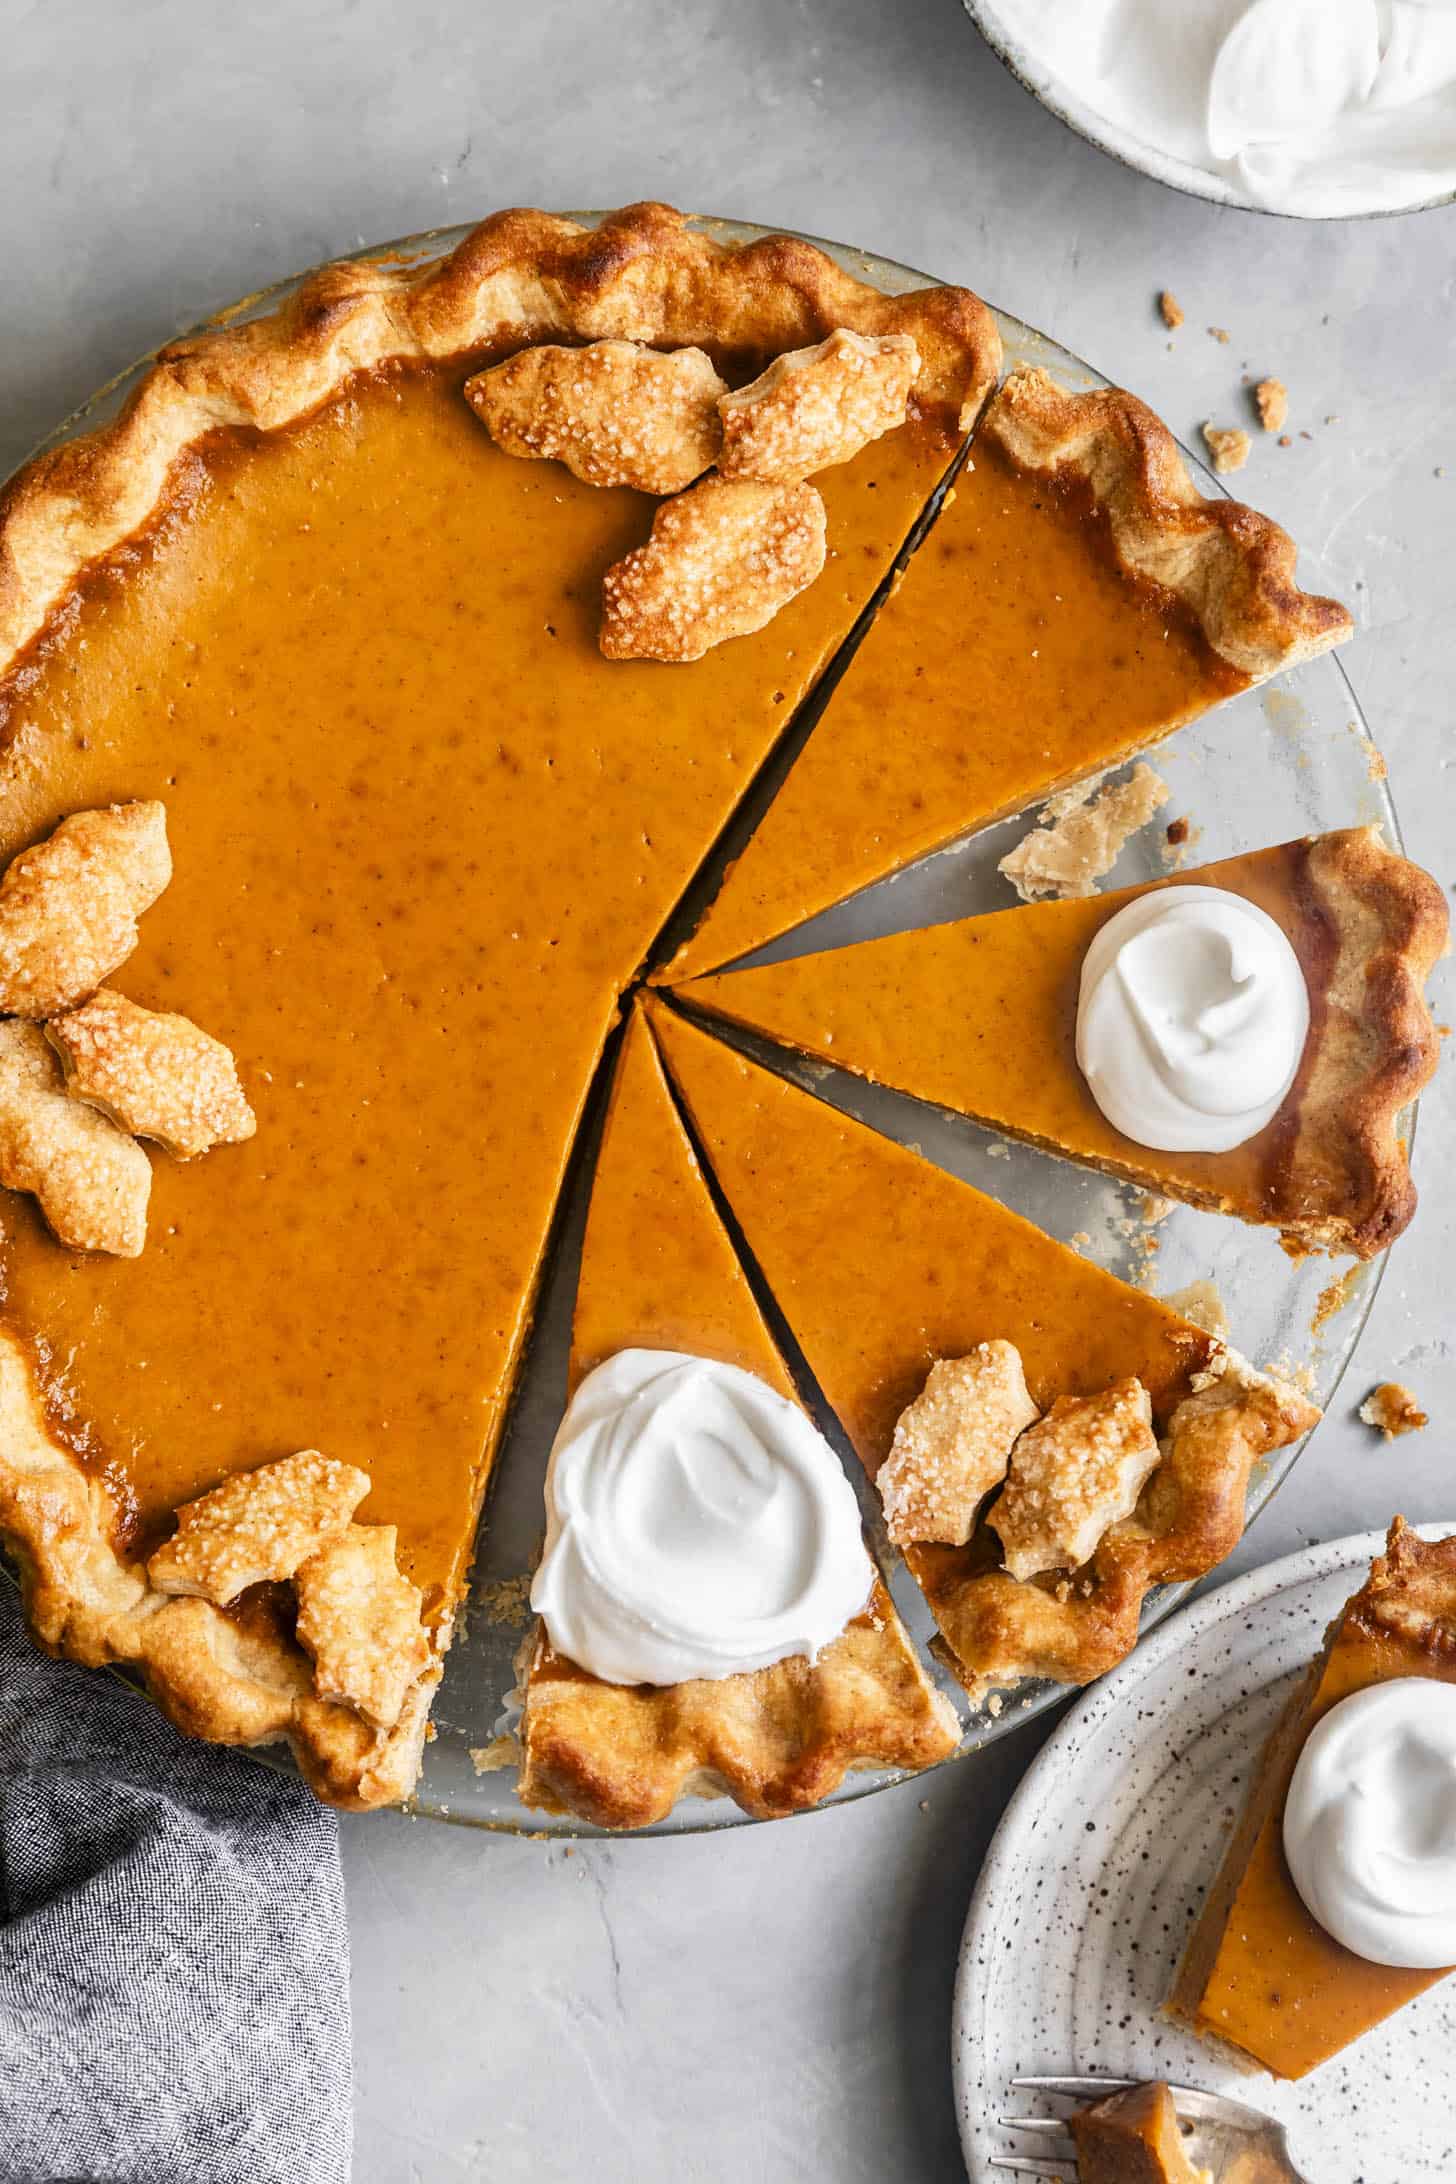
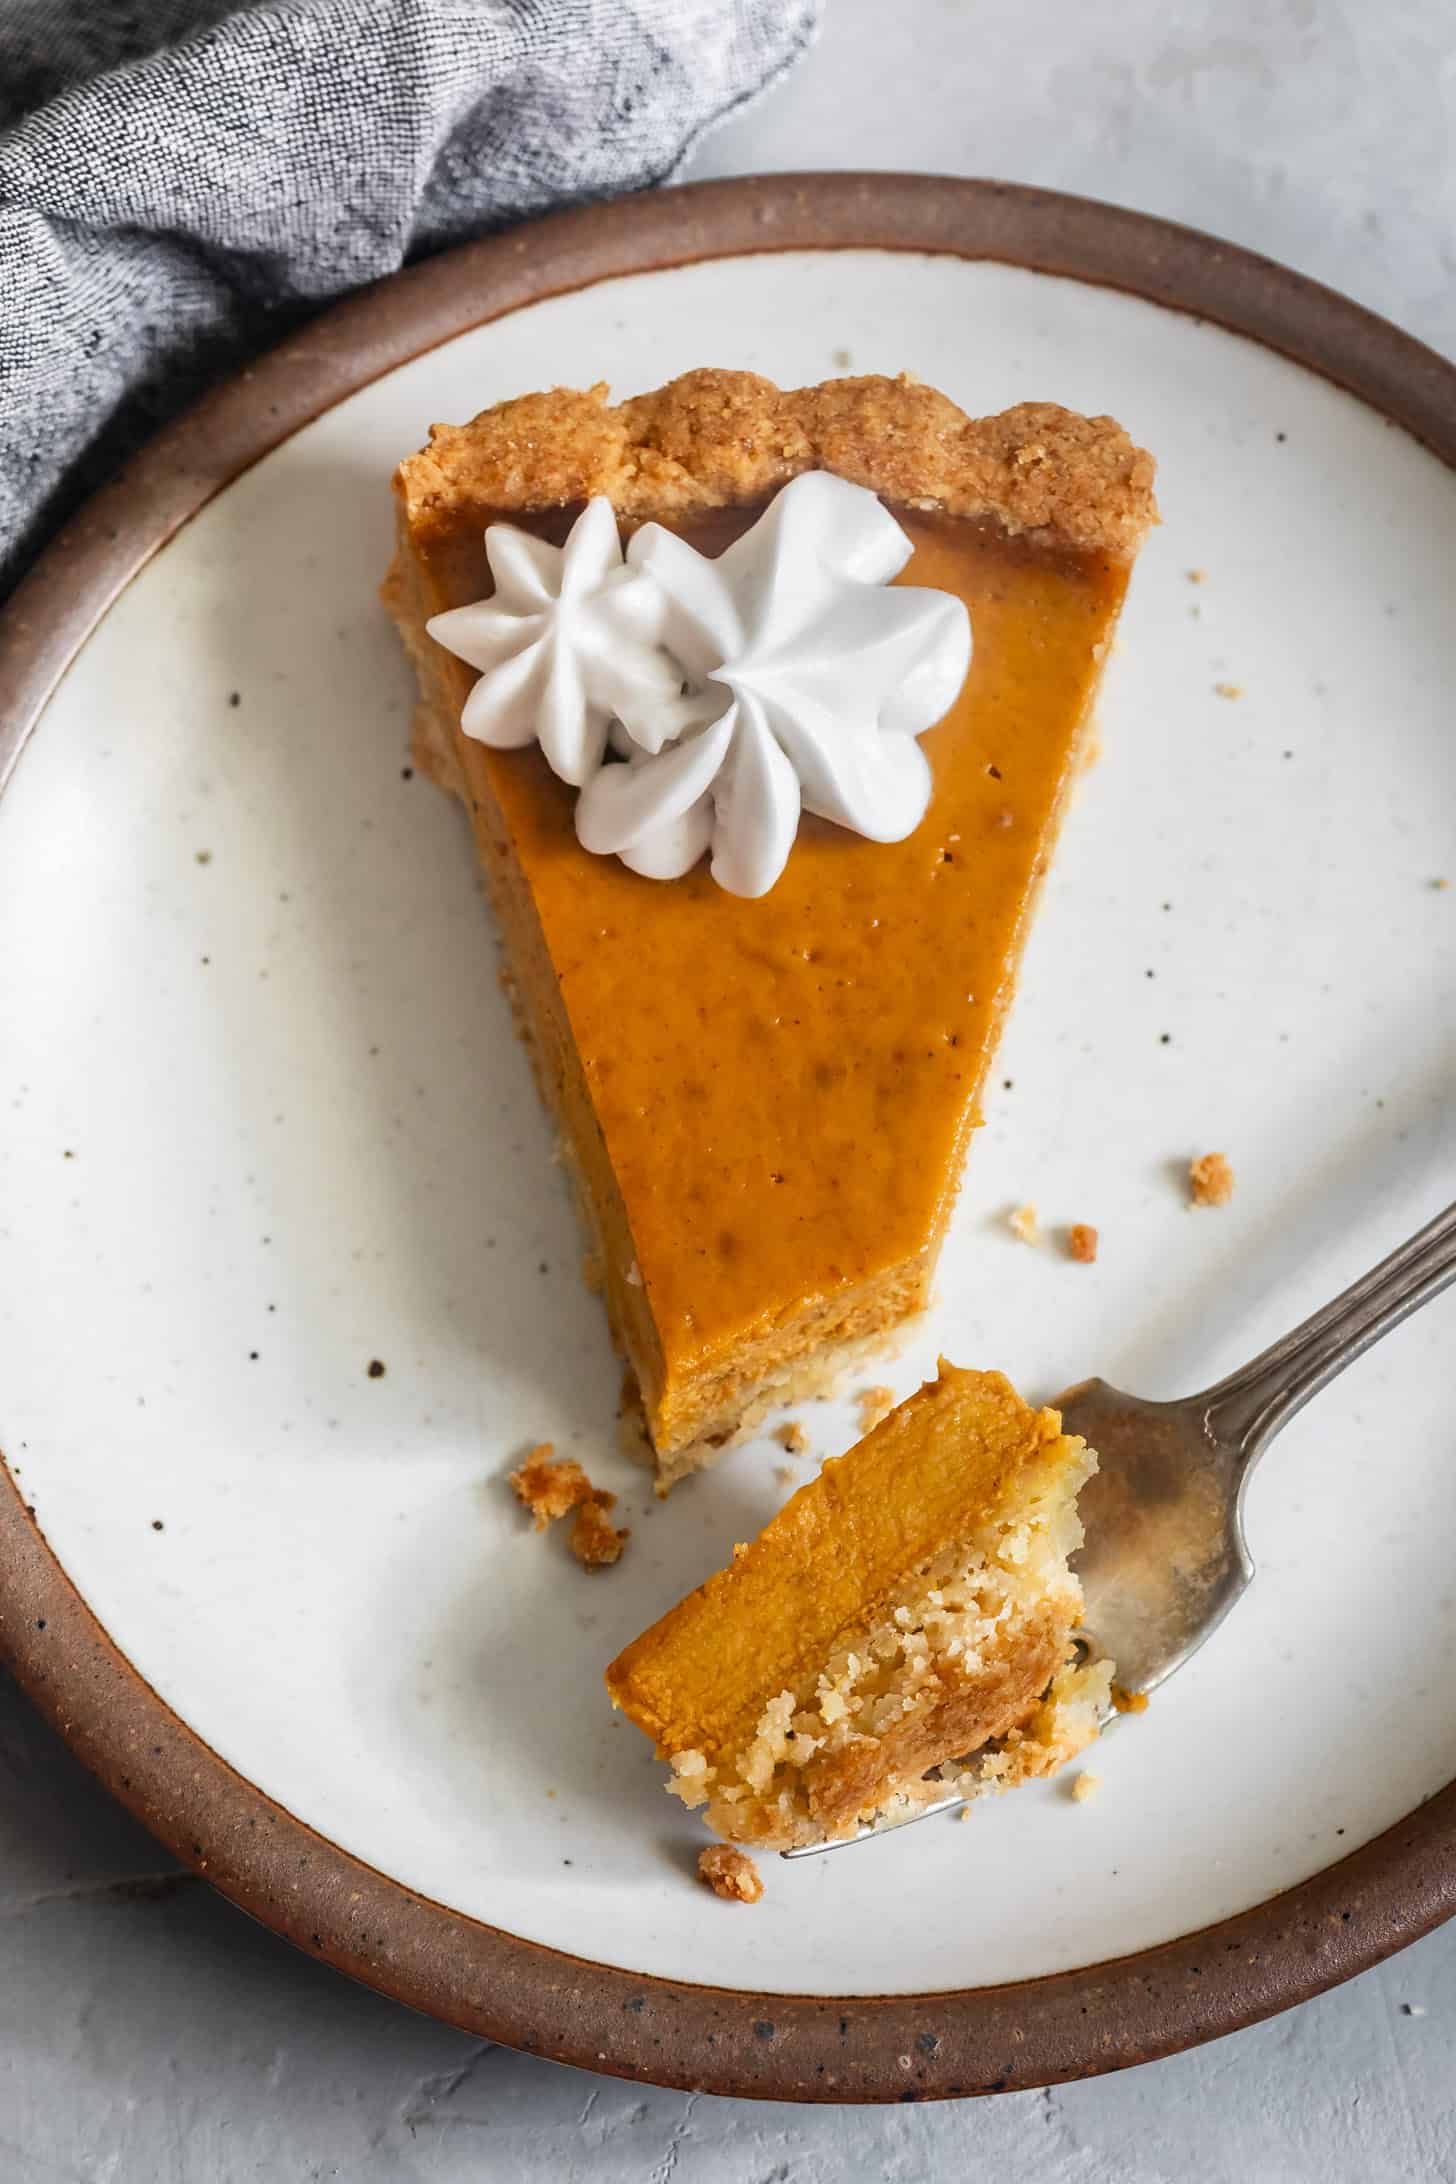
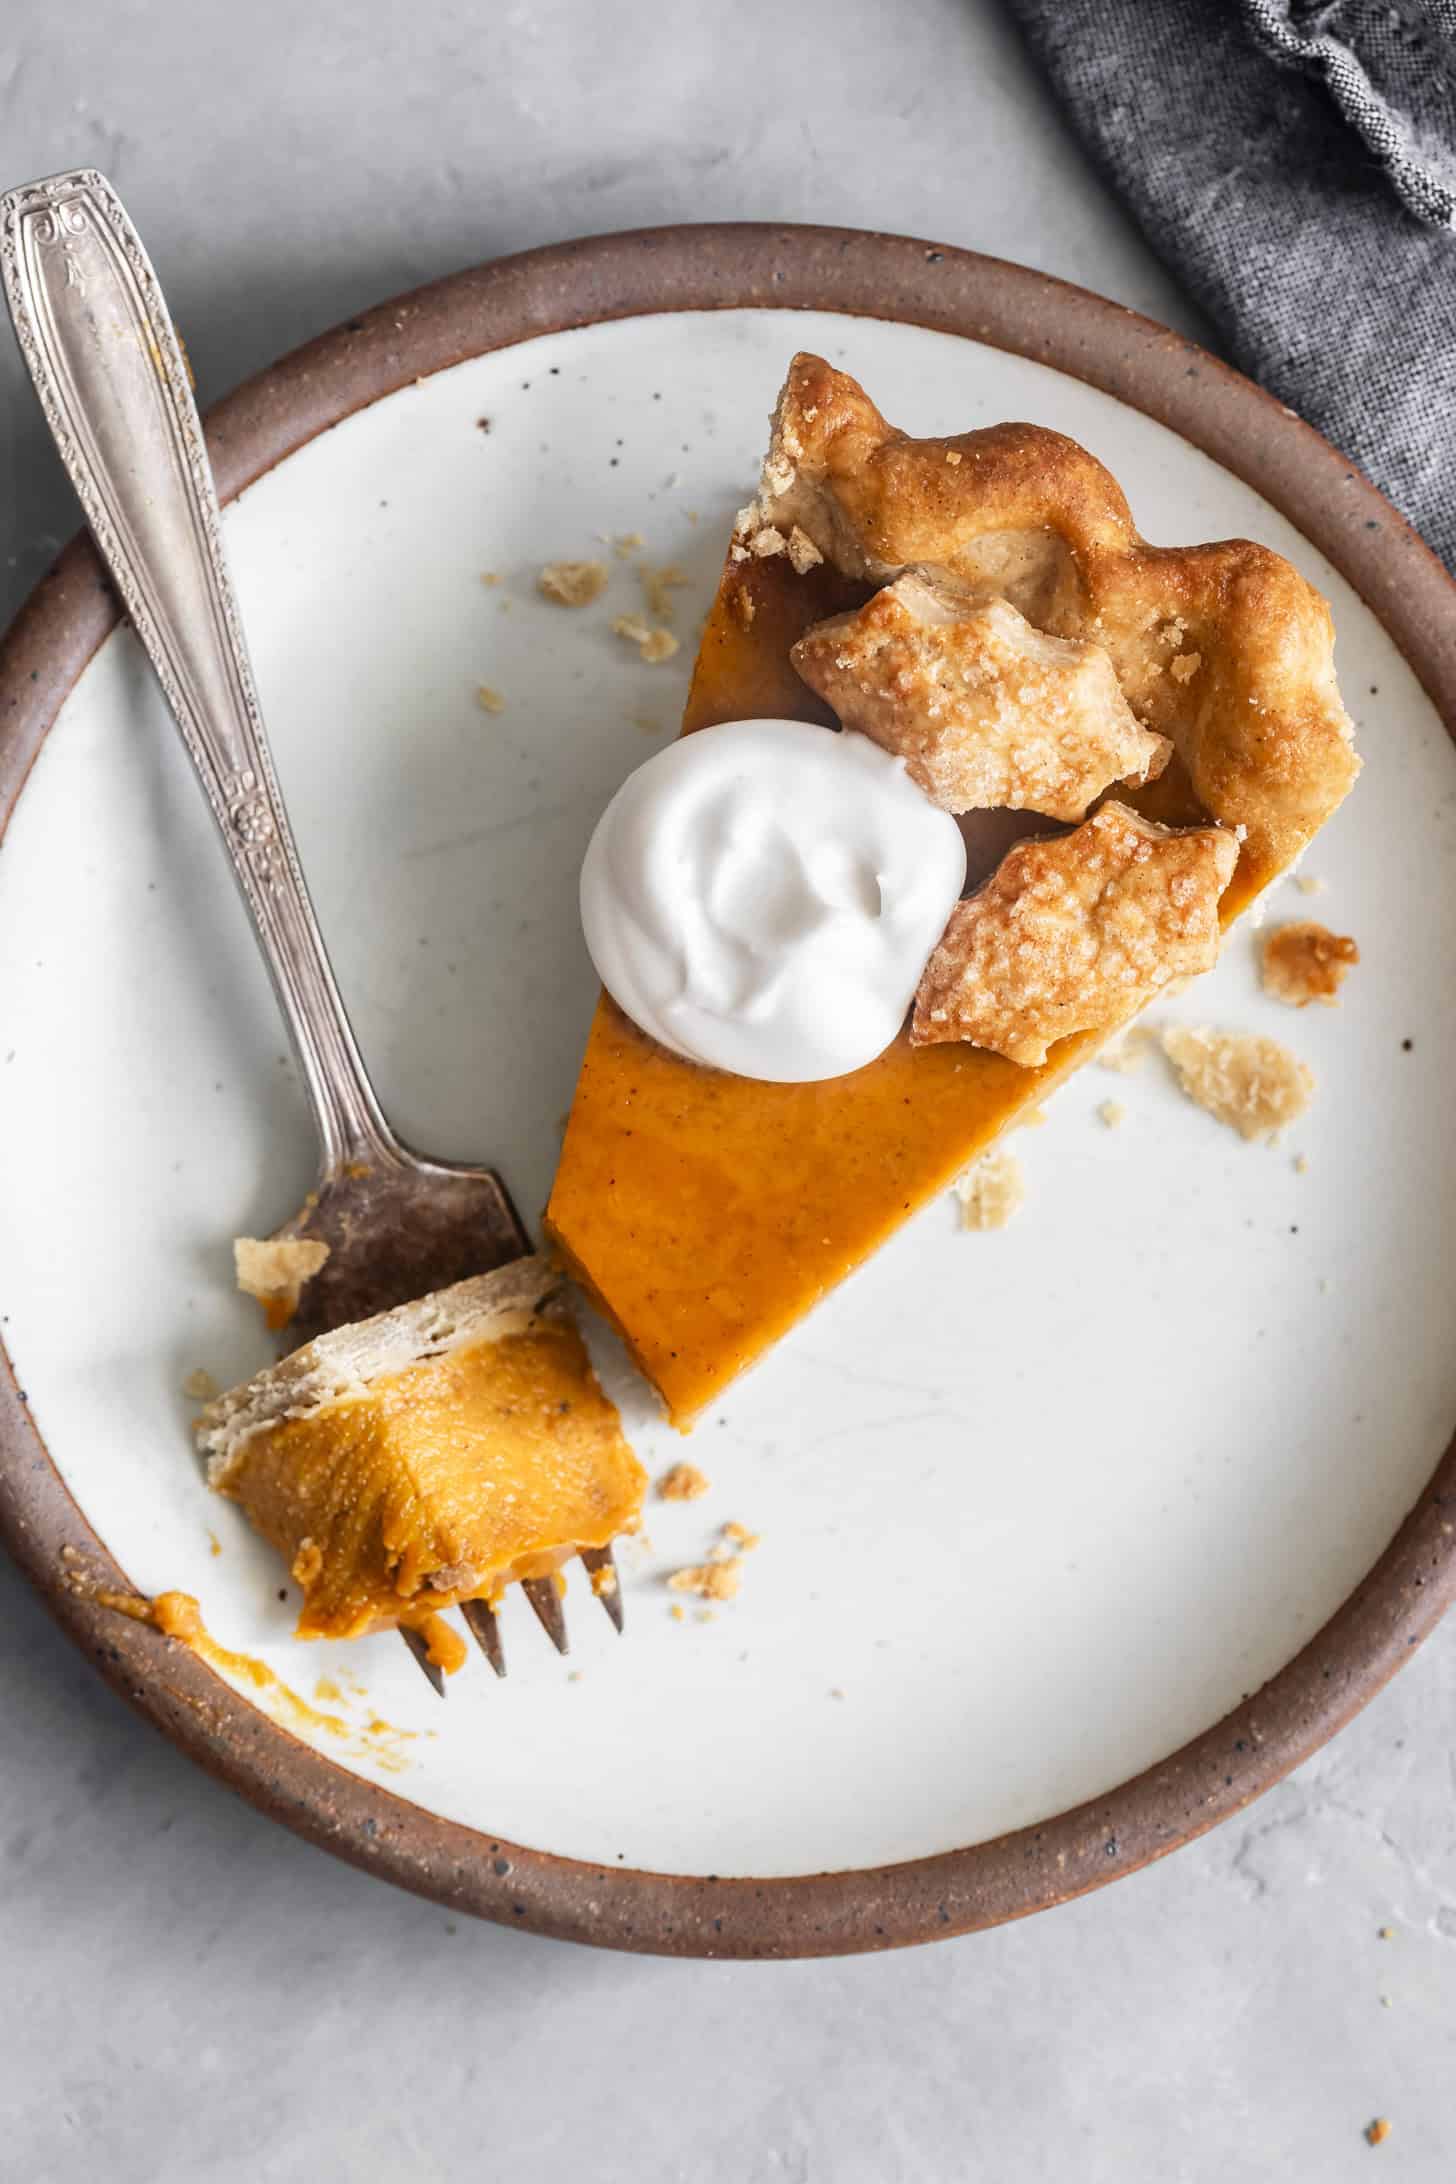
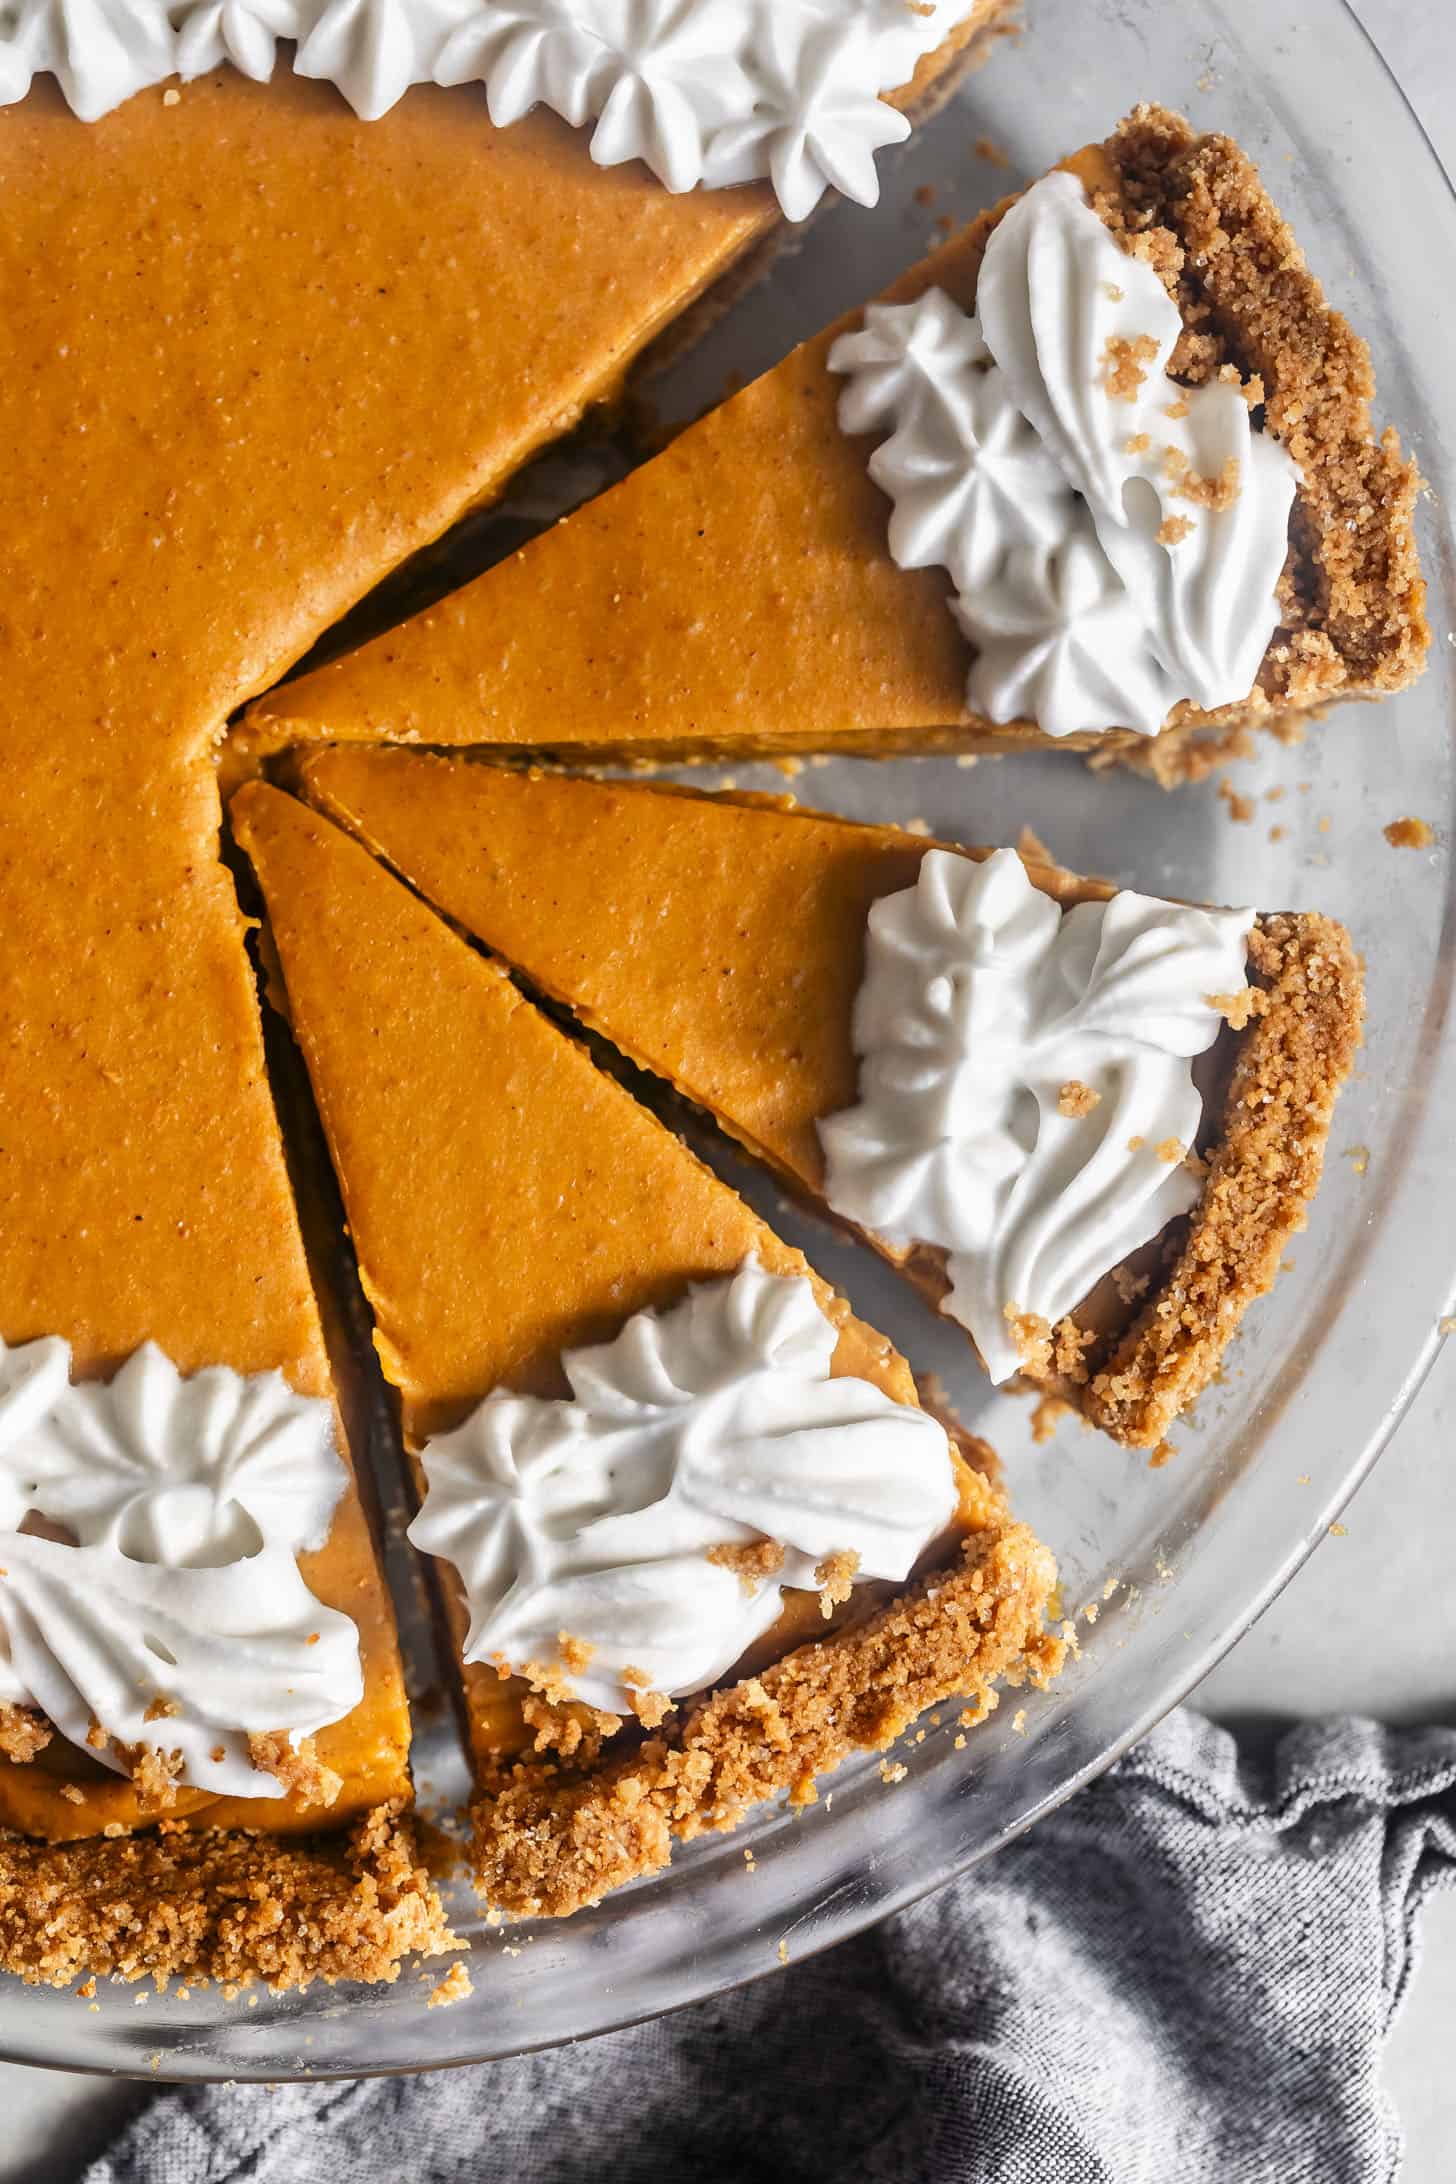
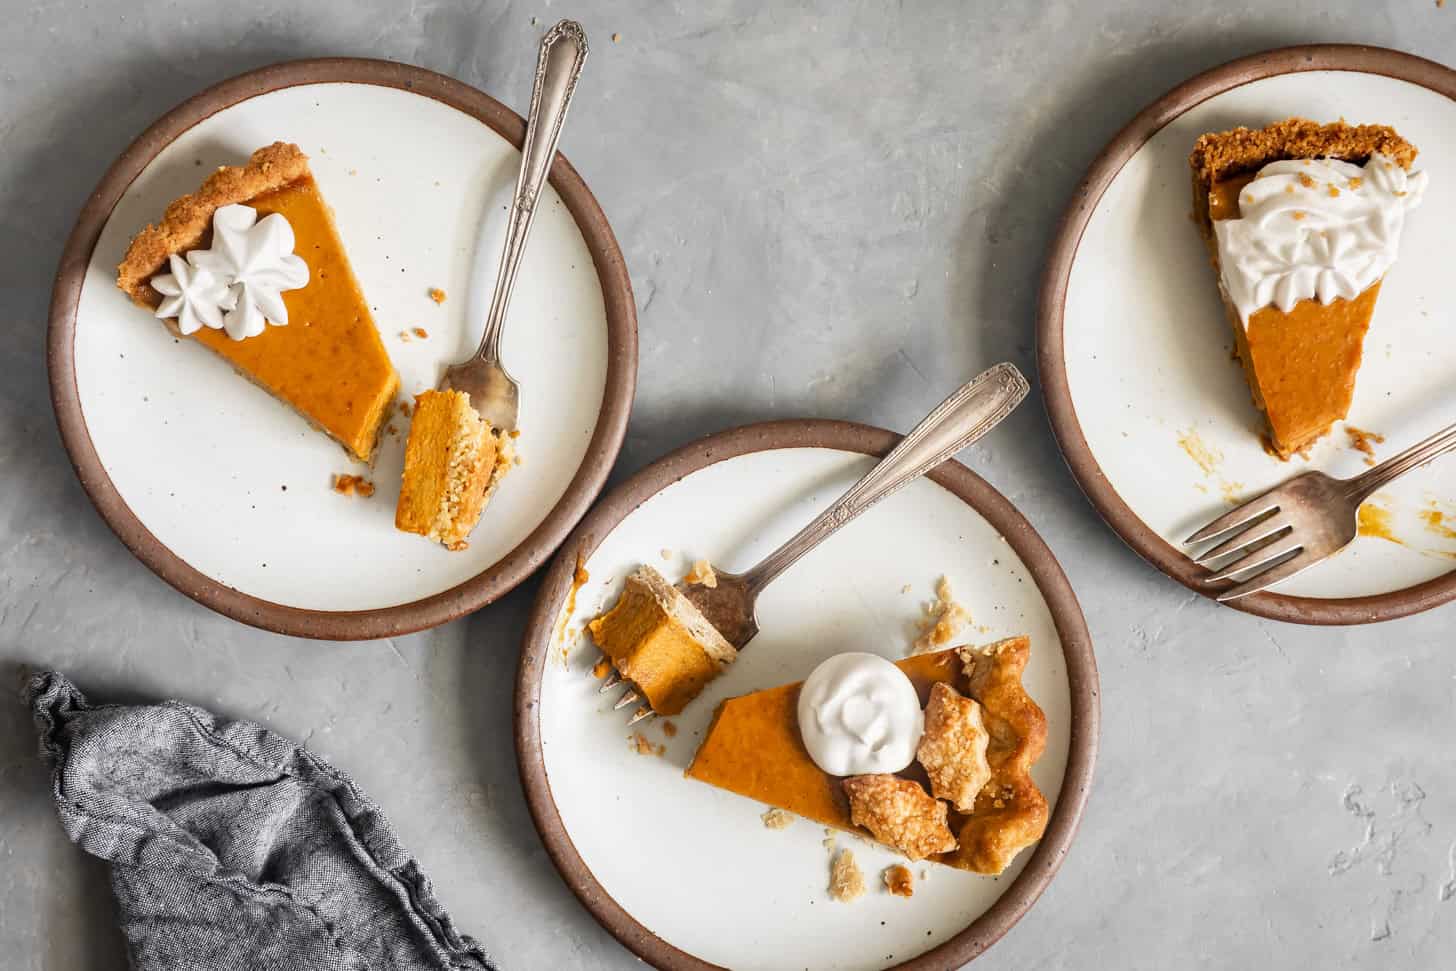
This gluten-free and dairy-free pumpkin pie is a pie for everyone. The texture is smooth and creamy with flavors that taste like fall. Topped with a dollop of coconut whipped cream, it will become a holiday staple your friends and family request year after year.
And for all you coconut skeptics, it miraculously tastes nothing like coconut. It's hard to believe a pie so luscious and creamy has no dairy!
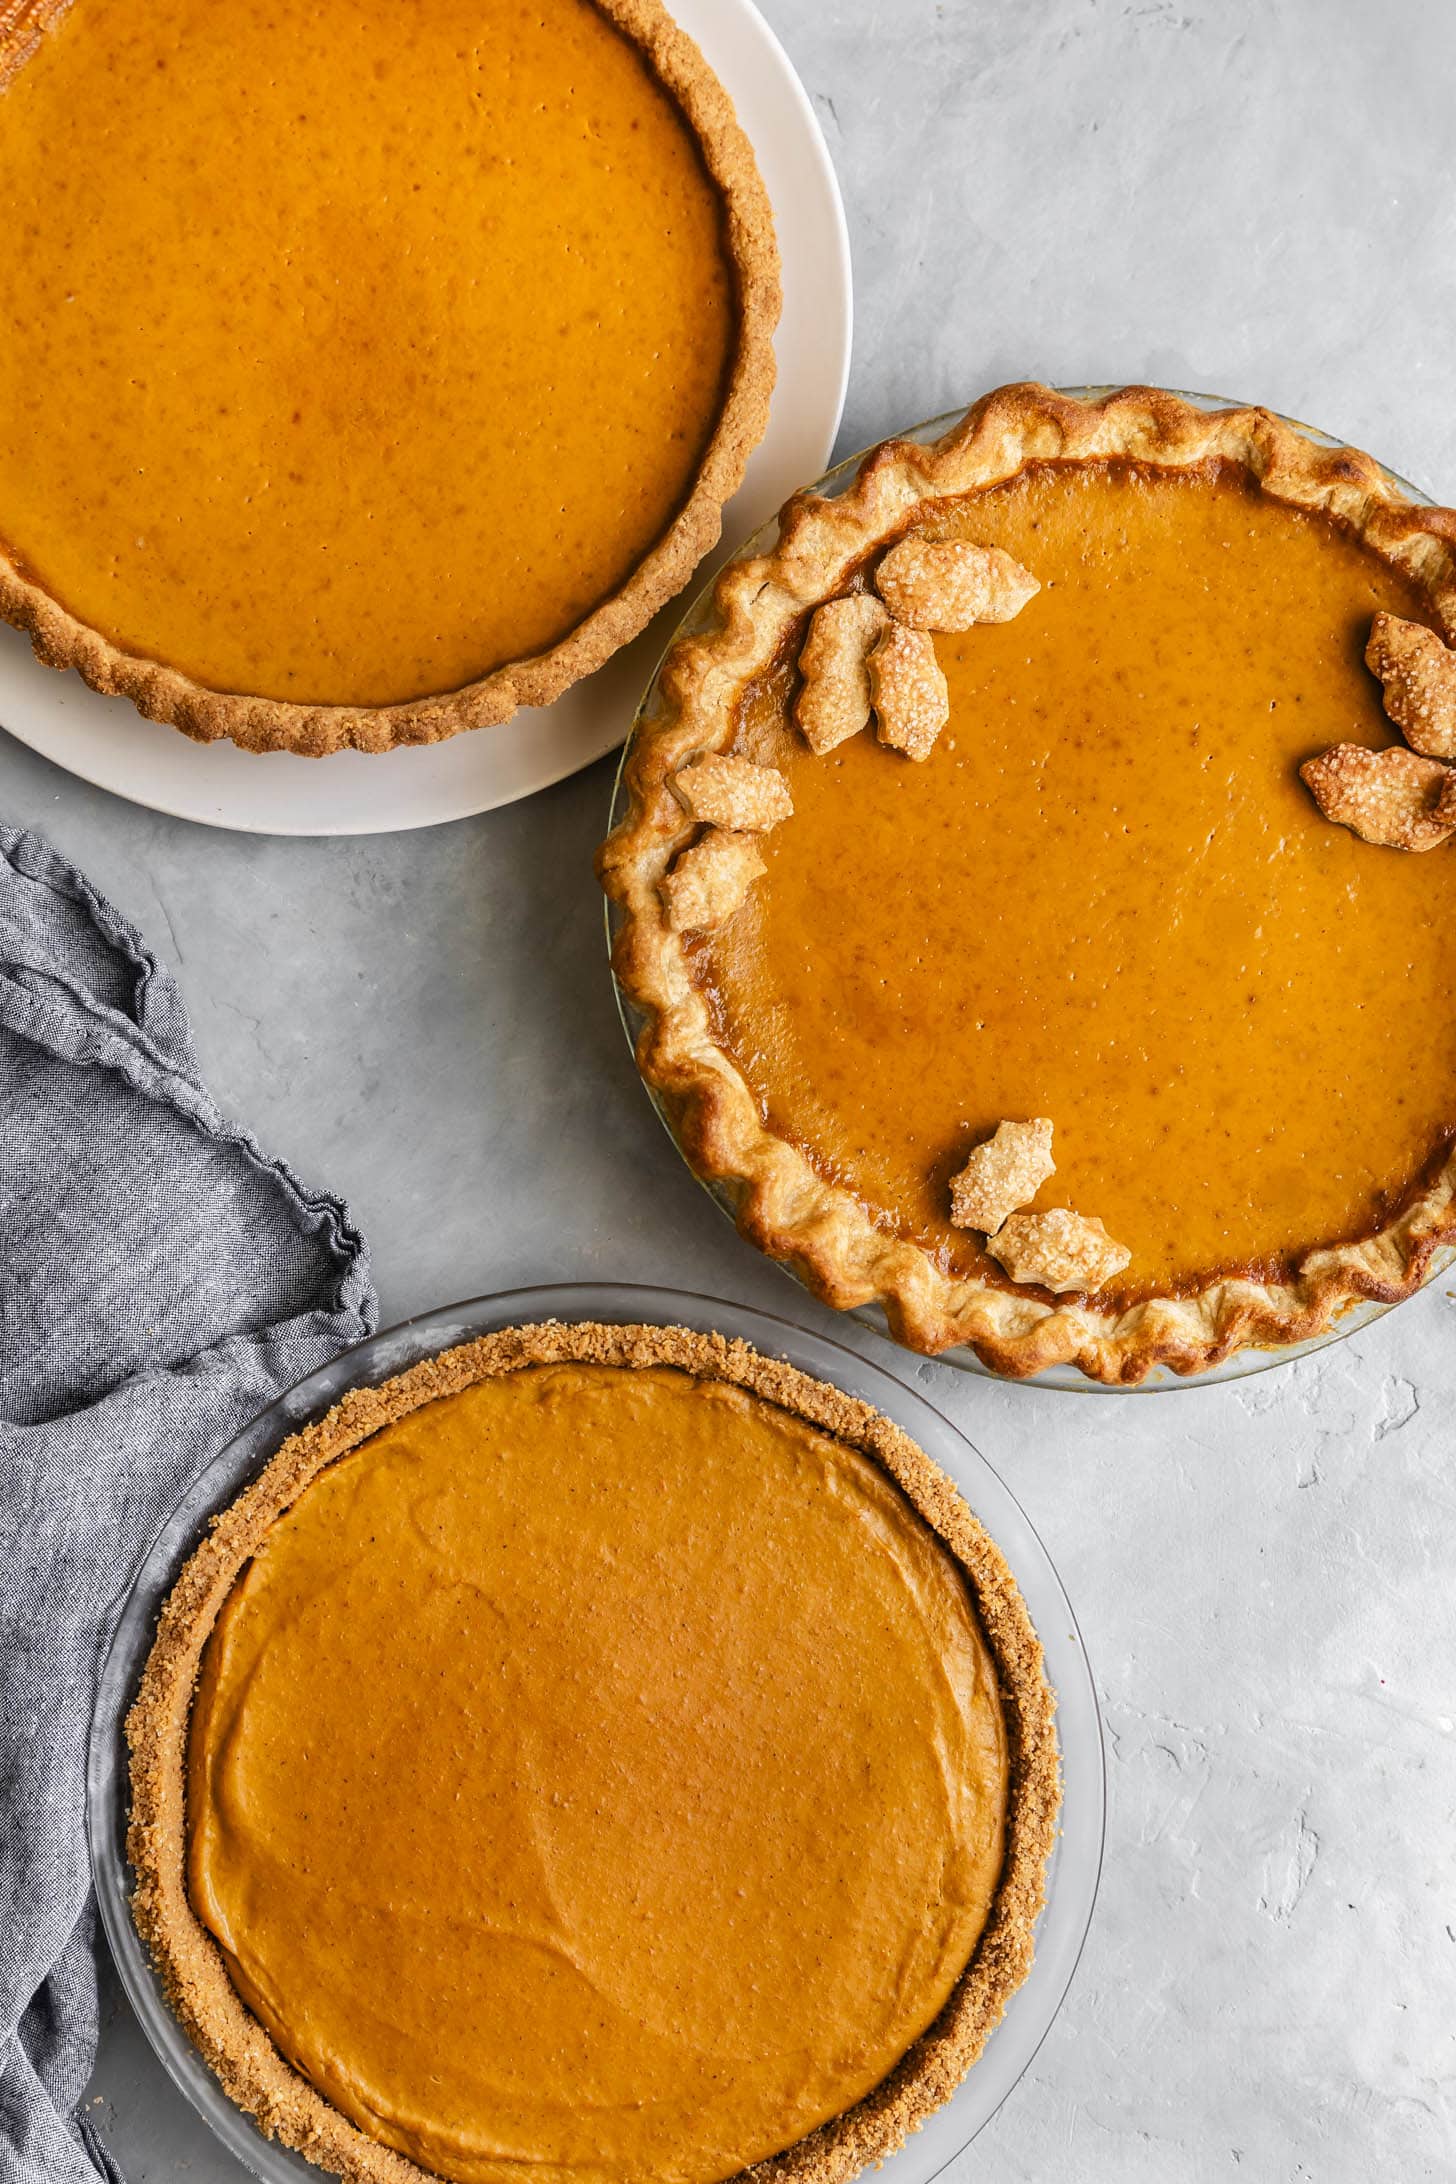
The best crust for pumpkin pie
All of these recipes can be made with unsalted butter or stick-style plant-based butter. Use whatever you need for your dietary restrictions.
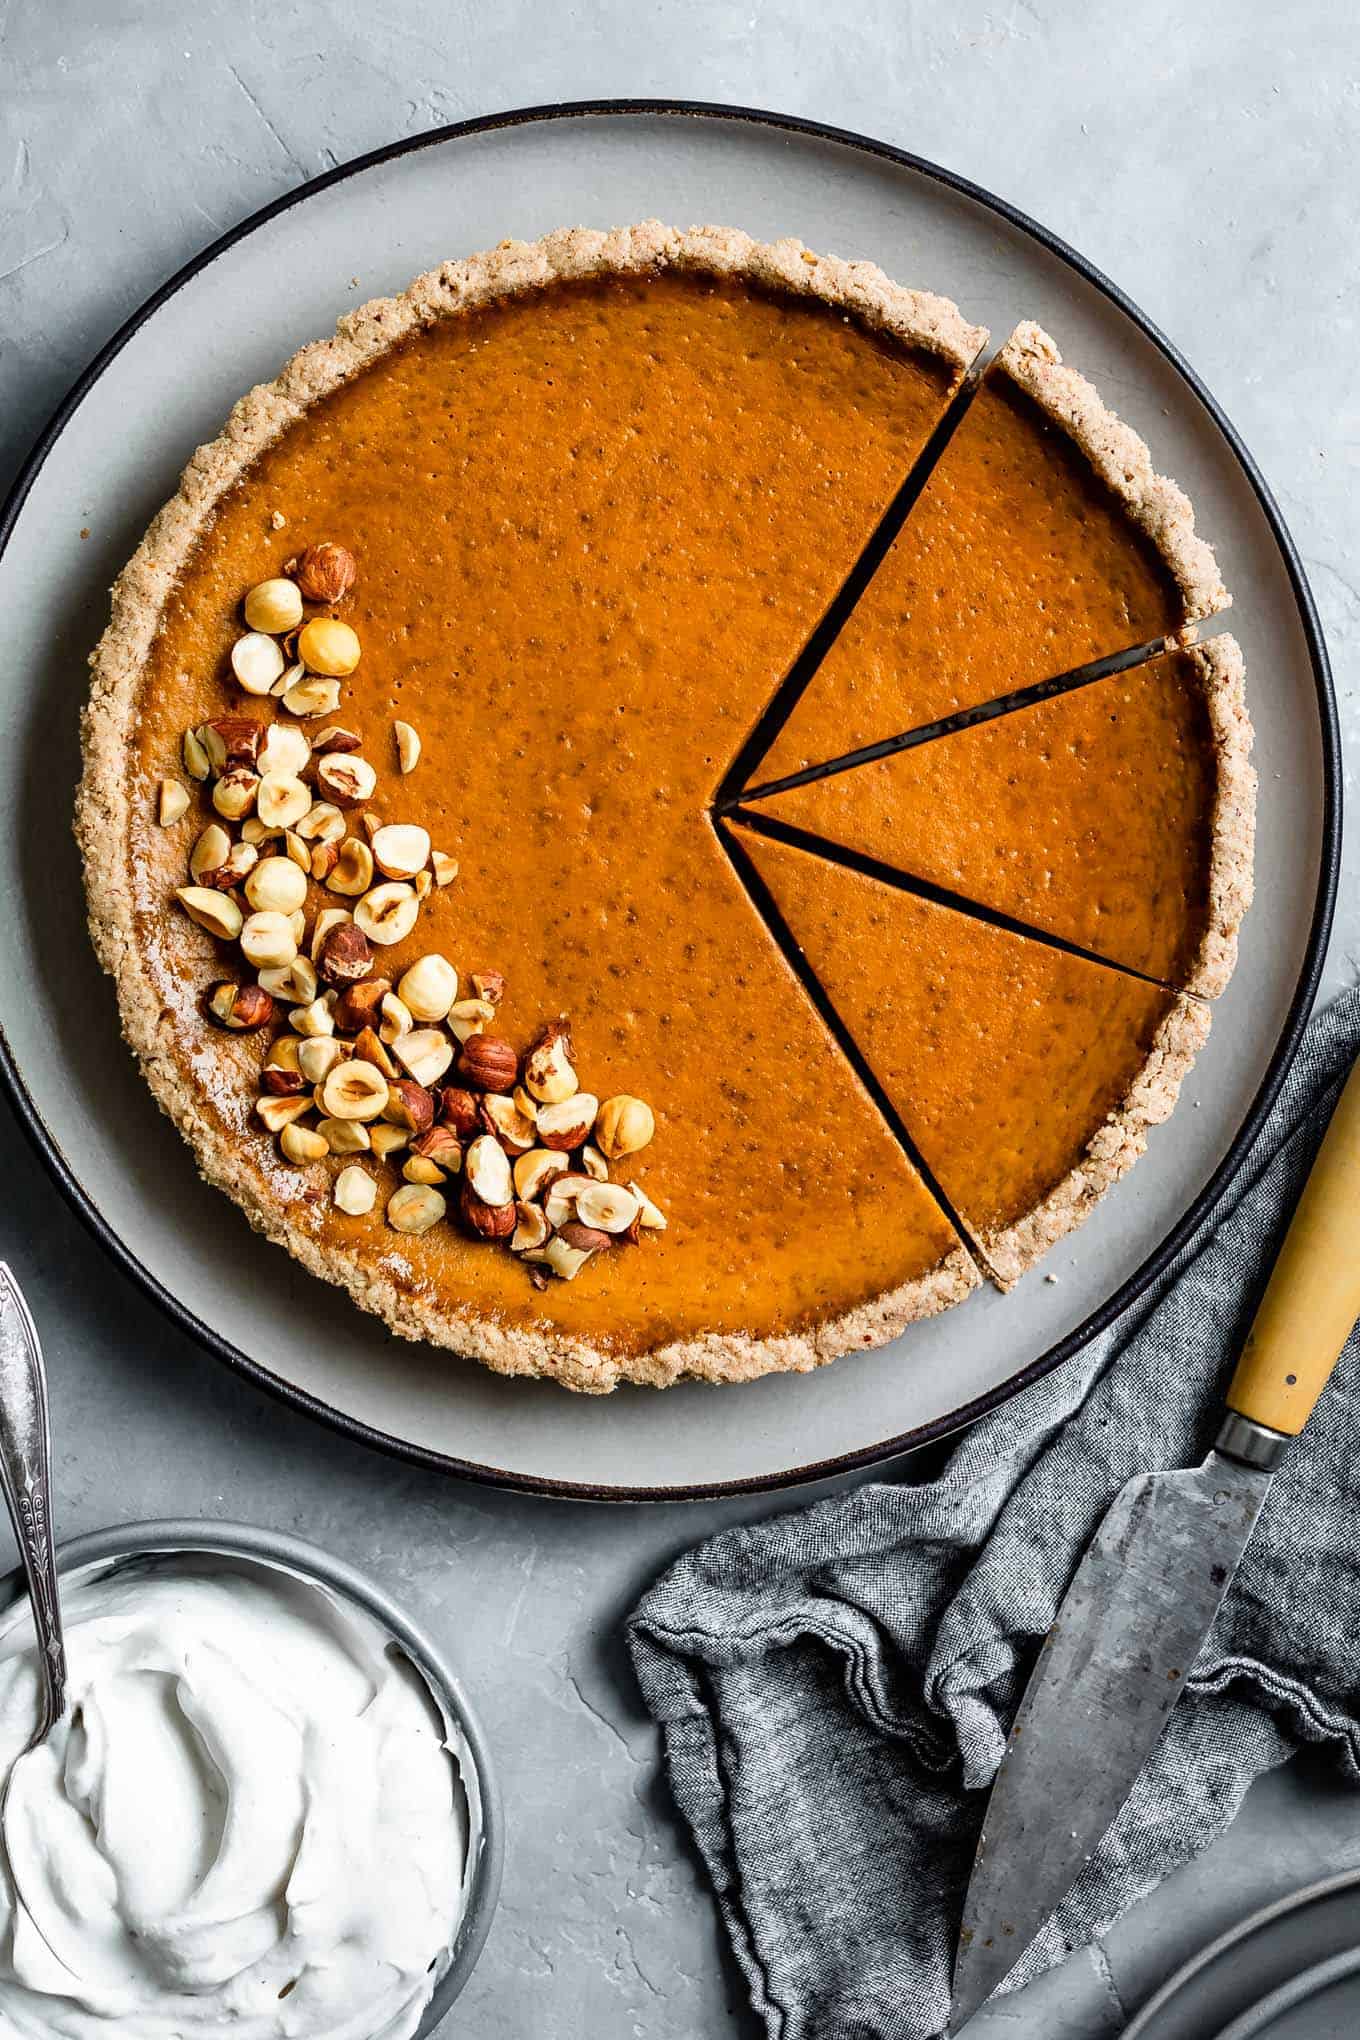
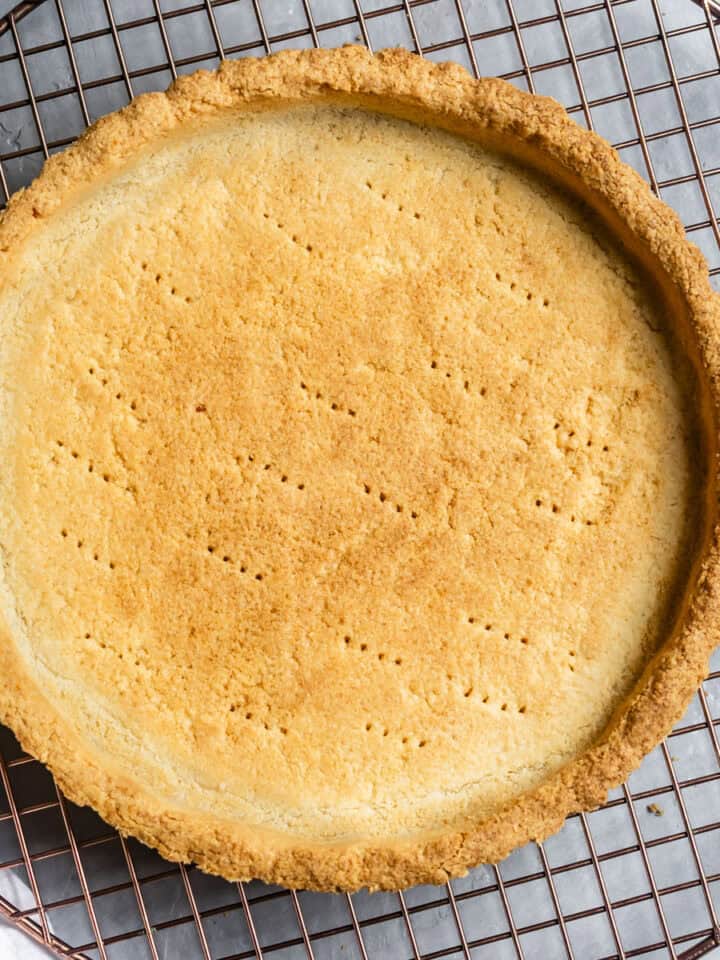
Shortbread Gluten-Free Tart Crust:
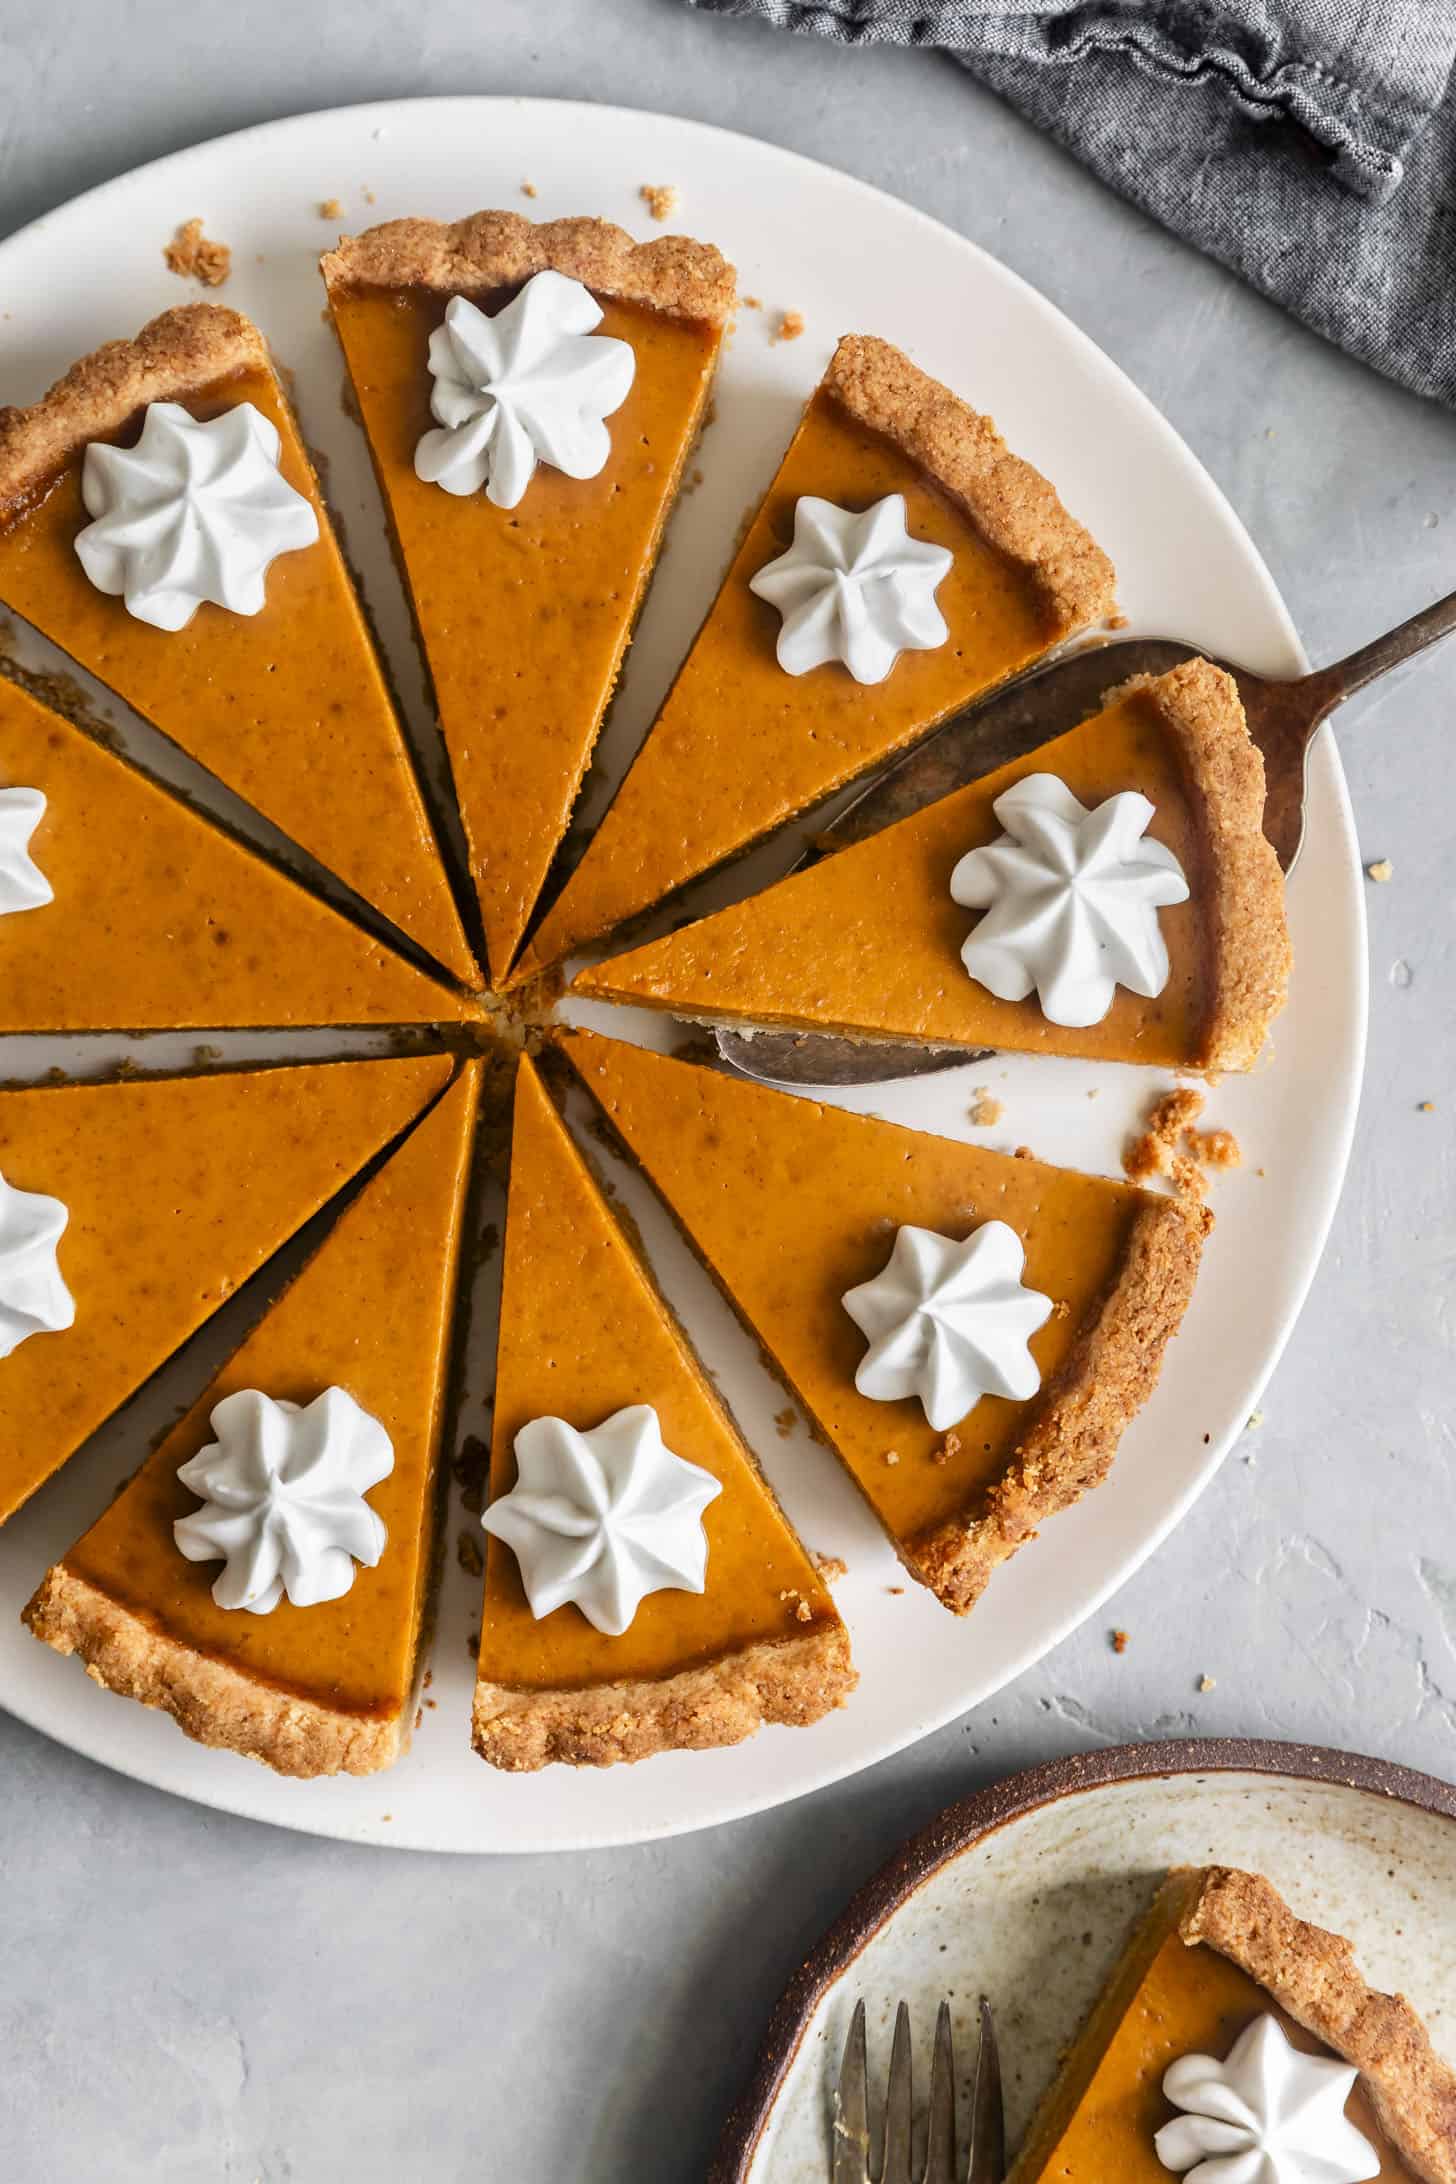
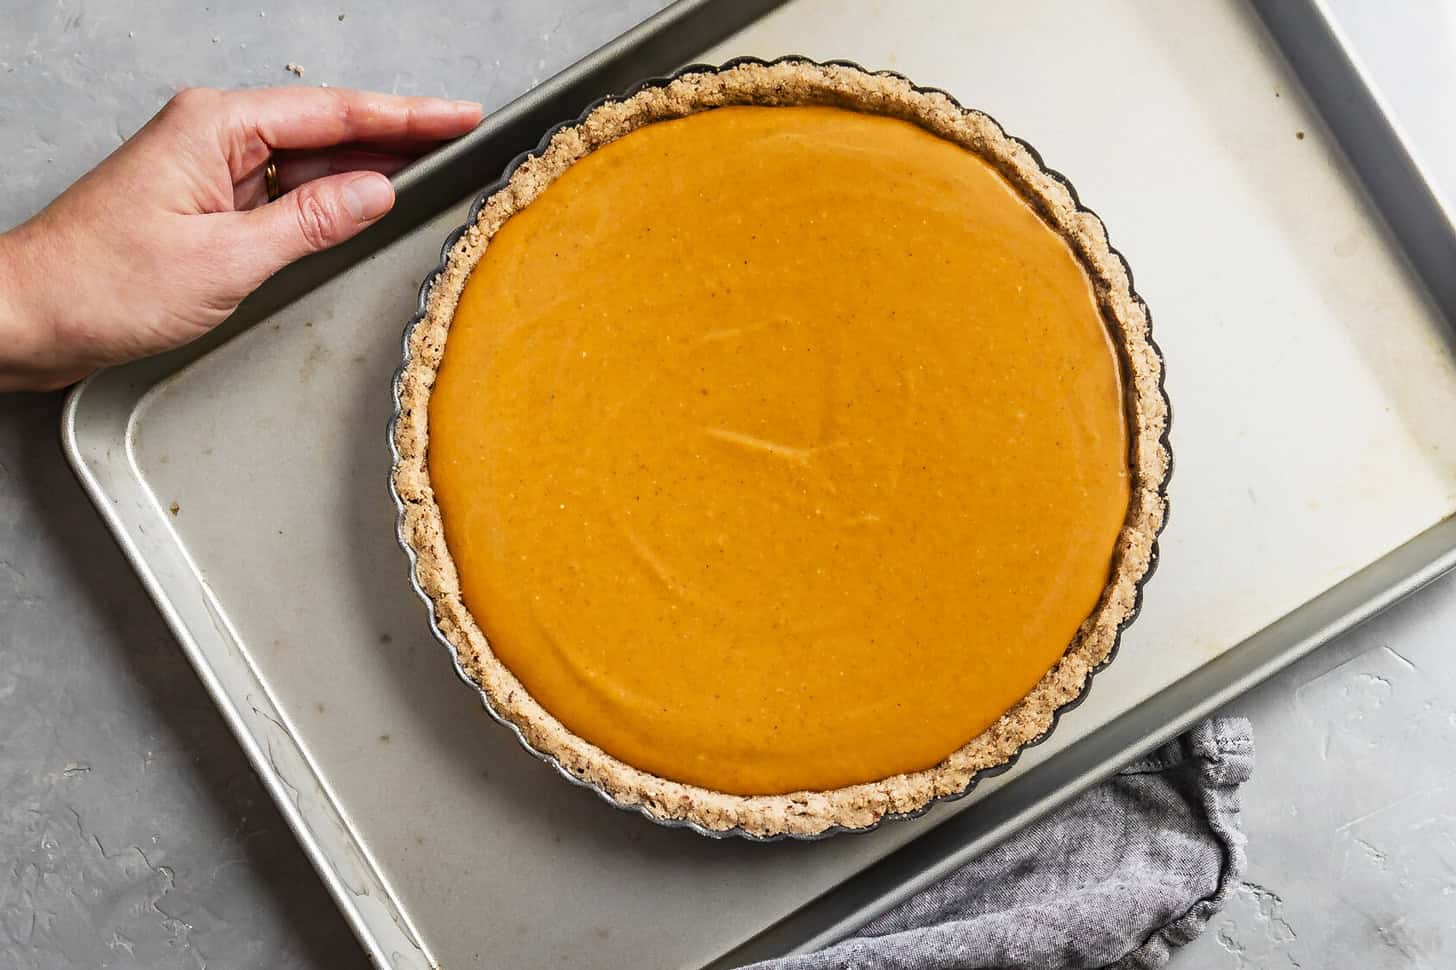
My annual go-to pumpkin pie is nestled into a buttery gluten-free tart crust. The slightly sweet, nutty crumb that melts in your mouth pairs beautifully with the spiced pumpkin filling. For extra warmth and nuttiness, you can swap in hazelnut flour for the almond flour.
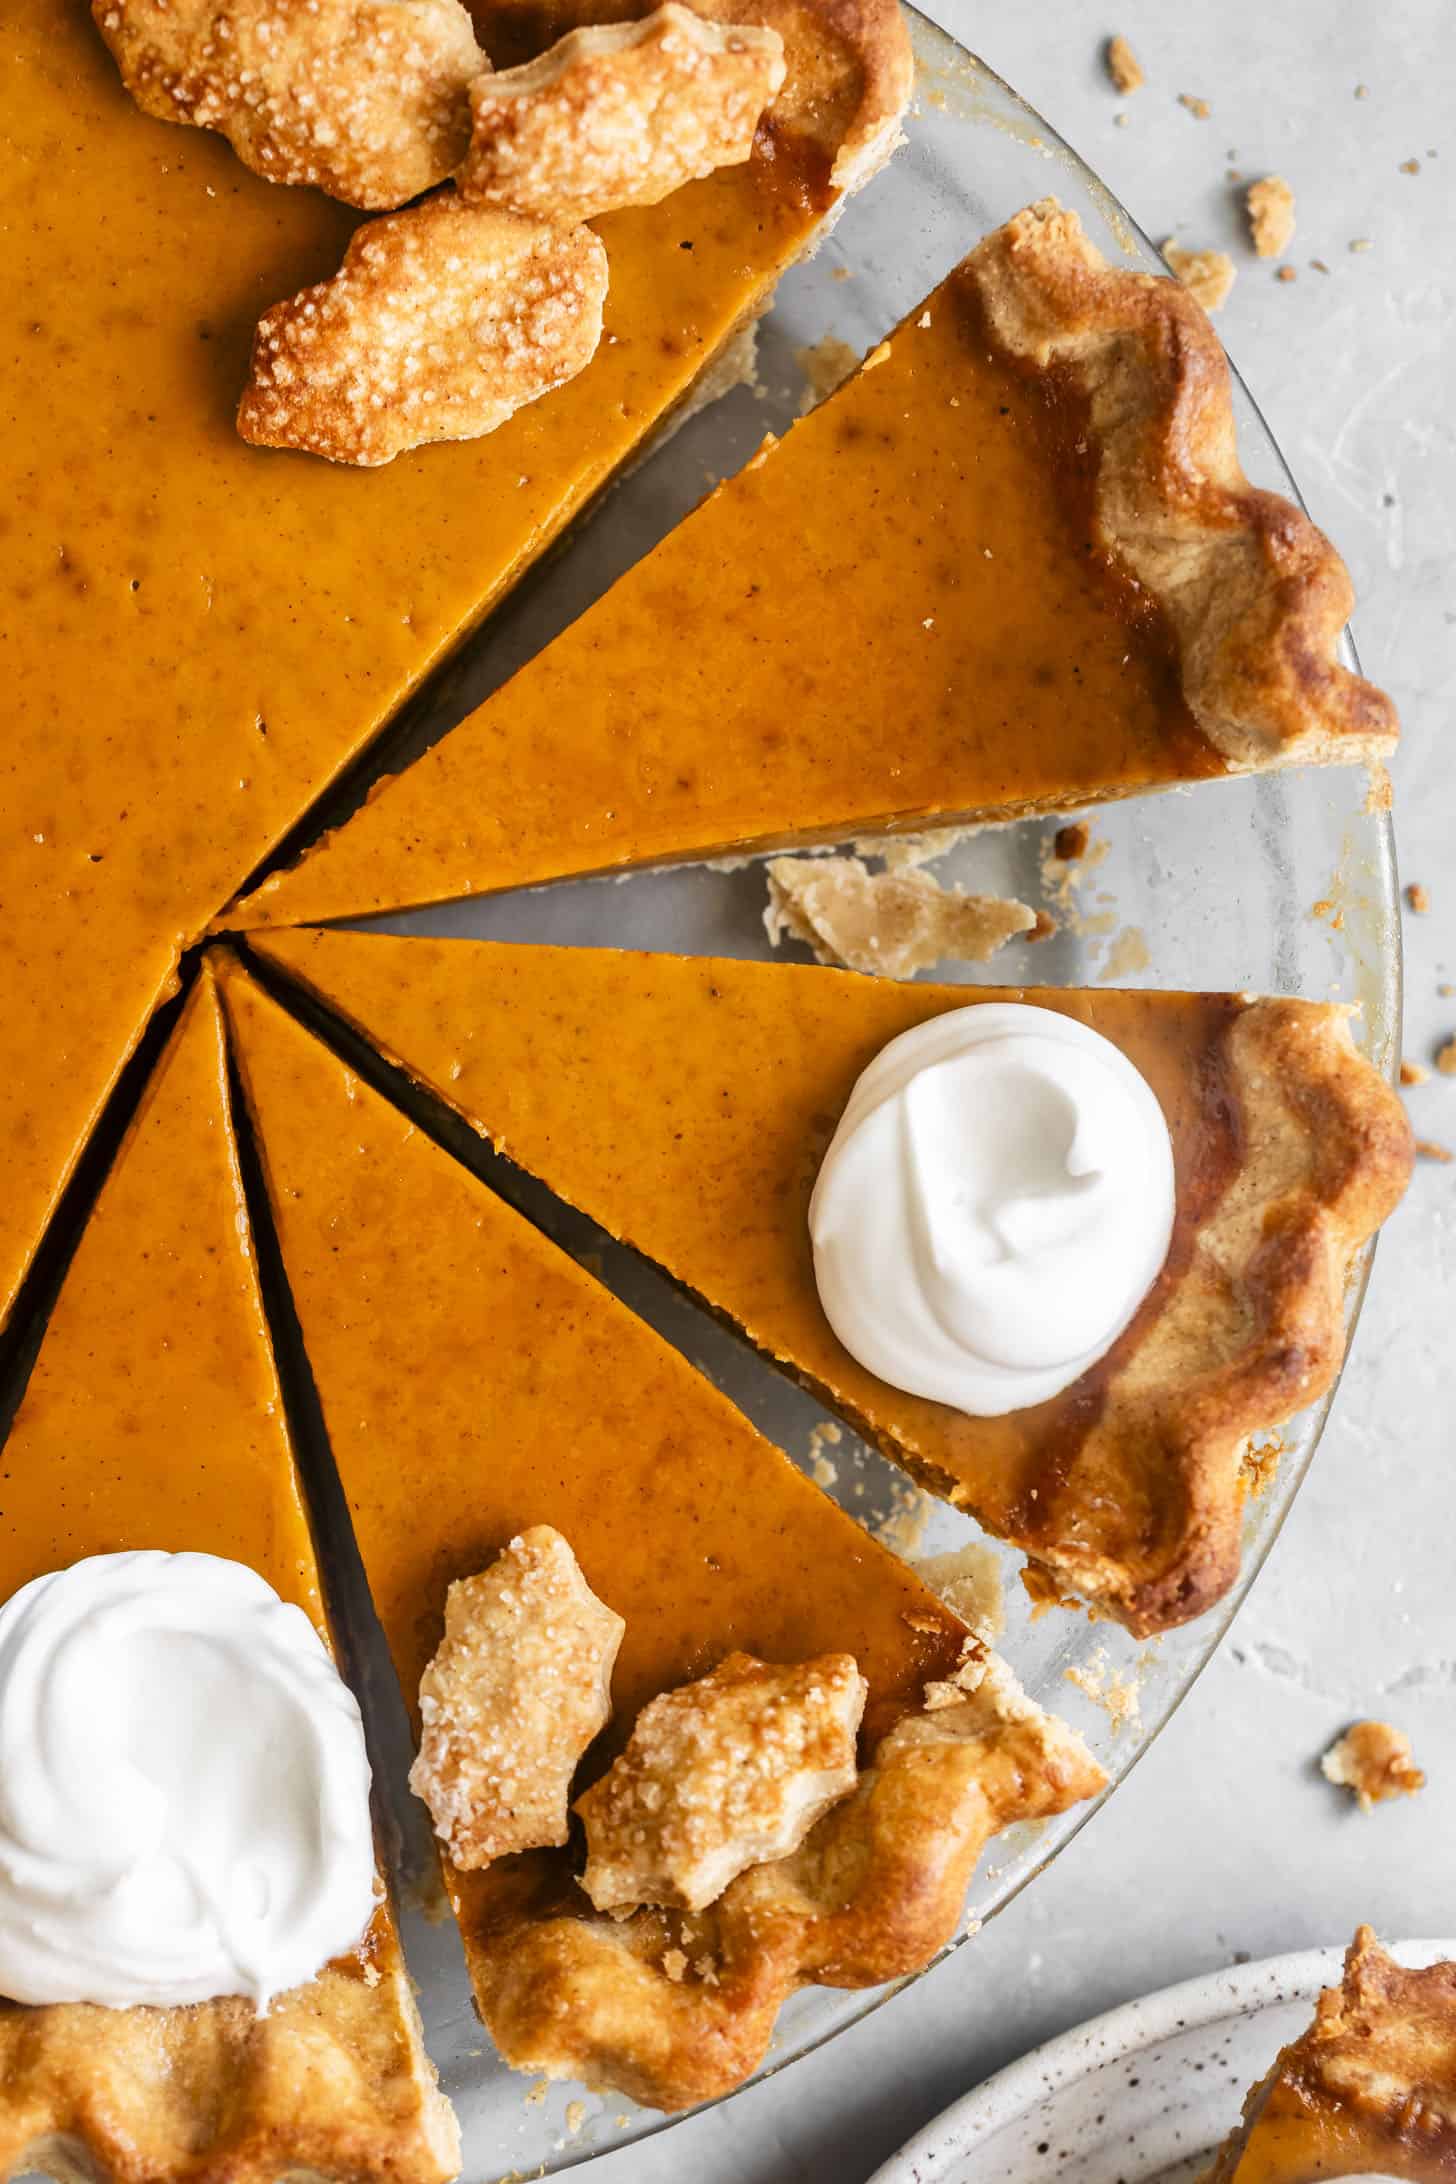
Flaky Gluten-Free Pie Crust:
The most classic of all options, you can use a flaky all-butter (or plant-butter) gluten-free pie crust (homemade or store-bought). Homemade requires a bit more forethought and planning.
Gluten-Free Graham Cracker Crust:
The sweetest and easiest choice, perfect when you want a simple press-in crust, and don't want to fuss with buying gluten-free flours.
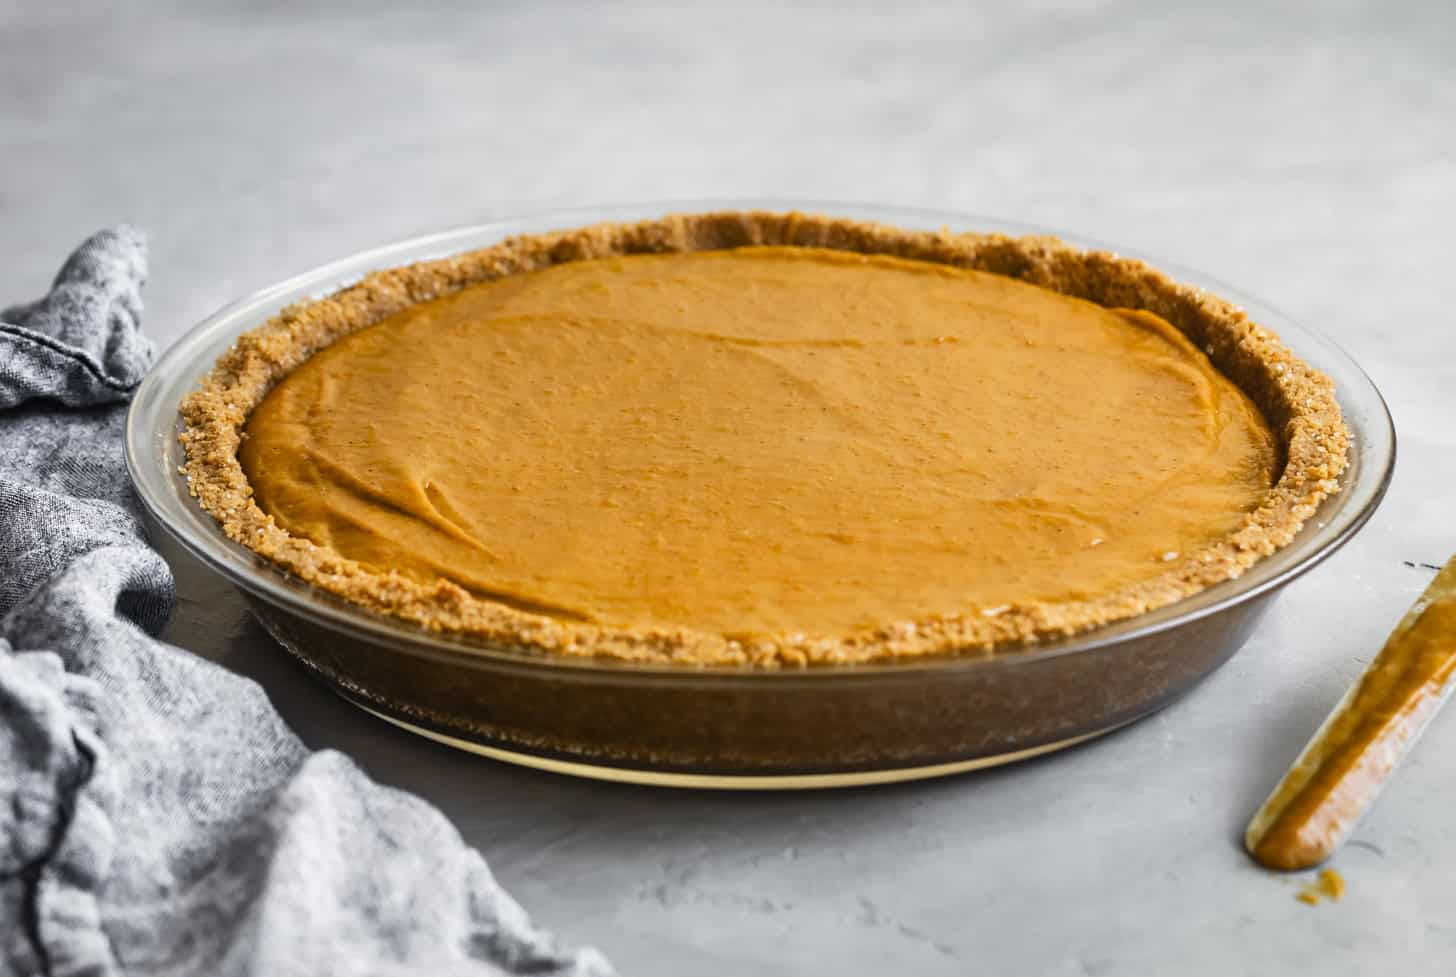
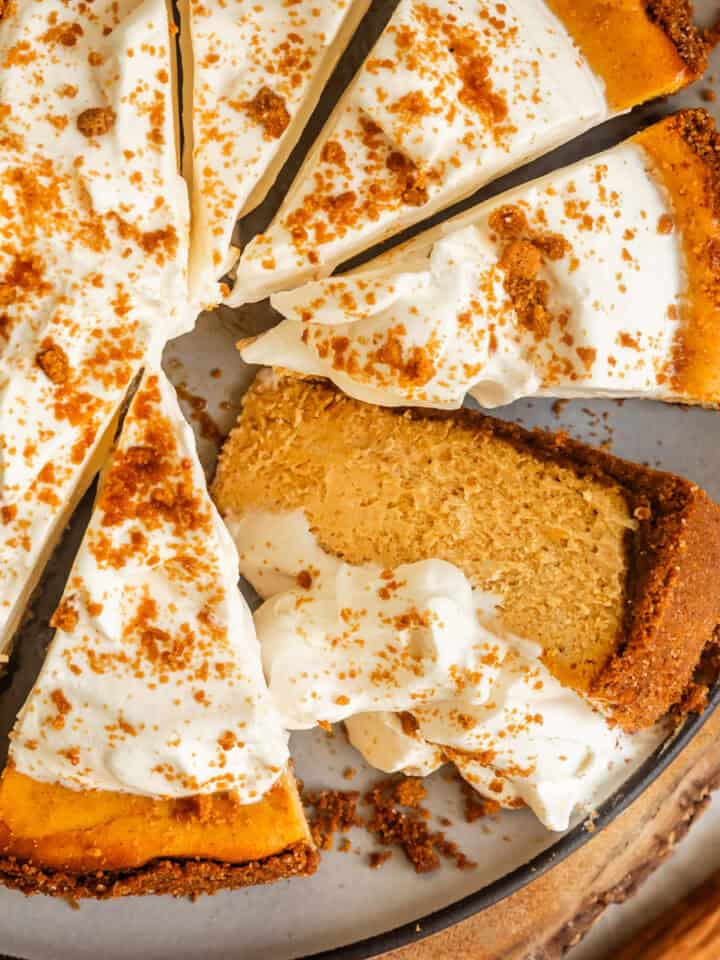
Short on Oven Space? Try the No-Bake Filling Option
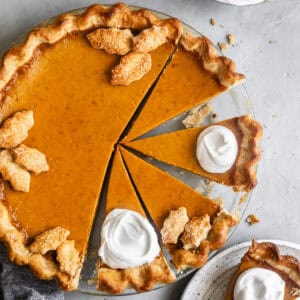
I've also developed this pumpkin pie to include a no-bake pumpkin pie option. Pictured blow in the graham cracker crust, this has become my go-to for simplicity and oven-space. For the no-bake version, increase the coconut milk, use only the egg yolks, and add corn starch. You'll make it on the stovetop like you're making pudding, then pour it into the crust and chill until firm.
The result is just as delicious with a creamier, softer pudding-like texture.
Recipe
Creamy Gluten-Free Dairy-Free Pumpkin Pie
Ingredients
- 1 9-inch gluten-free tart crust, dairy-free, if needed, OR
- 1 9-inch gluten-free graham cracker crust, dairy-free, if needed, OR
- 1 9-inch gluten-free pie crust, dairy-free, if needed, OR
- ½ cup (112 g) light brown sugar
- 2 teaspoons cornstarch
- ½ teaspoon ground cinnamon
- ¼ teaspoon ground ginger
- ¼ teaspoon ground nutmeg
- ⅛ teaspoon ground allspice
- ⅛ teaspoon ground cloves
- ¼ teaspoon kosher salt
- 2 large eggs
- 1-⅓ cups (320 g) canned pumpkin puree, see note
- 1 cup (240 g) full fat canned coconut milk, mixed well until homogenous (see note)
- ¾ teaspoon pure vanilla extract
- ½ cup (112 g) light brown sugar
- 3 tablespoons cornstarch
- ¾ teaspoon ground cinnamon
- ½ teaspoon ground ginger
- ½ teaspoon ground nutmeg
- ¼ teaspoon ground cloves
- ¼ teaspoon kosher salt
- 2 cups (480 g) full fat canned coconut milk
- 1⅓ cups (320 g) canned pumpkin puree
- 2 large egg yolks
- ¾ teaspoon pure vanilla extract
- 1 batch coconut whipped cream, (plan ahead: chill the coconut cream for at least 24 hours)
INSTRUCTIONS
Gluten-Free Crust
- Prepare your crust according to the recipe. You can make this pumpkin pie with gluten-free tart crust (use almond flour or sub in hazelnut flour), gluten-free graham cracker crust, or a gluten-free pie crust. For the baked pumpkin pie filling, just par-bake the crust according to the recipe. Let cool completely before filling. For the no-bake pumpkin pie filling, fully bake and cool the crust according to the respective recipe.
Baked Filling Version
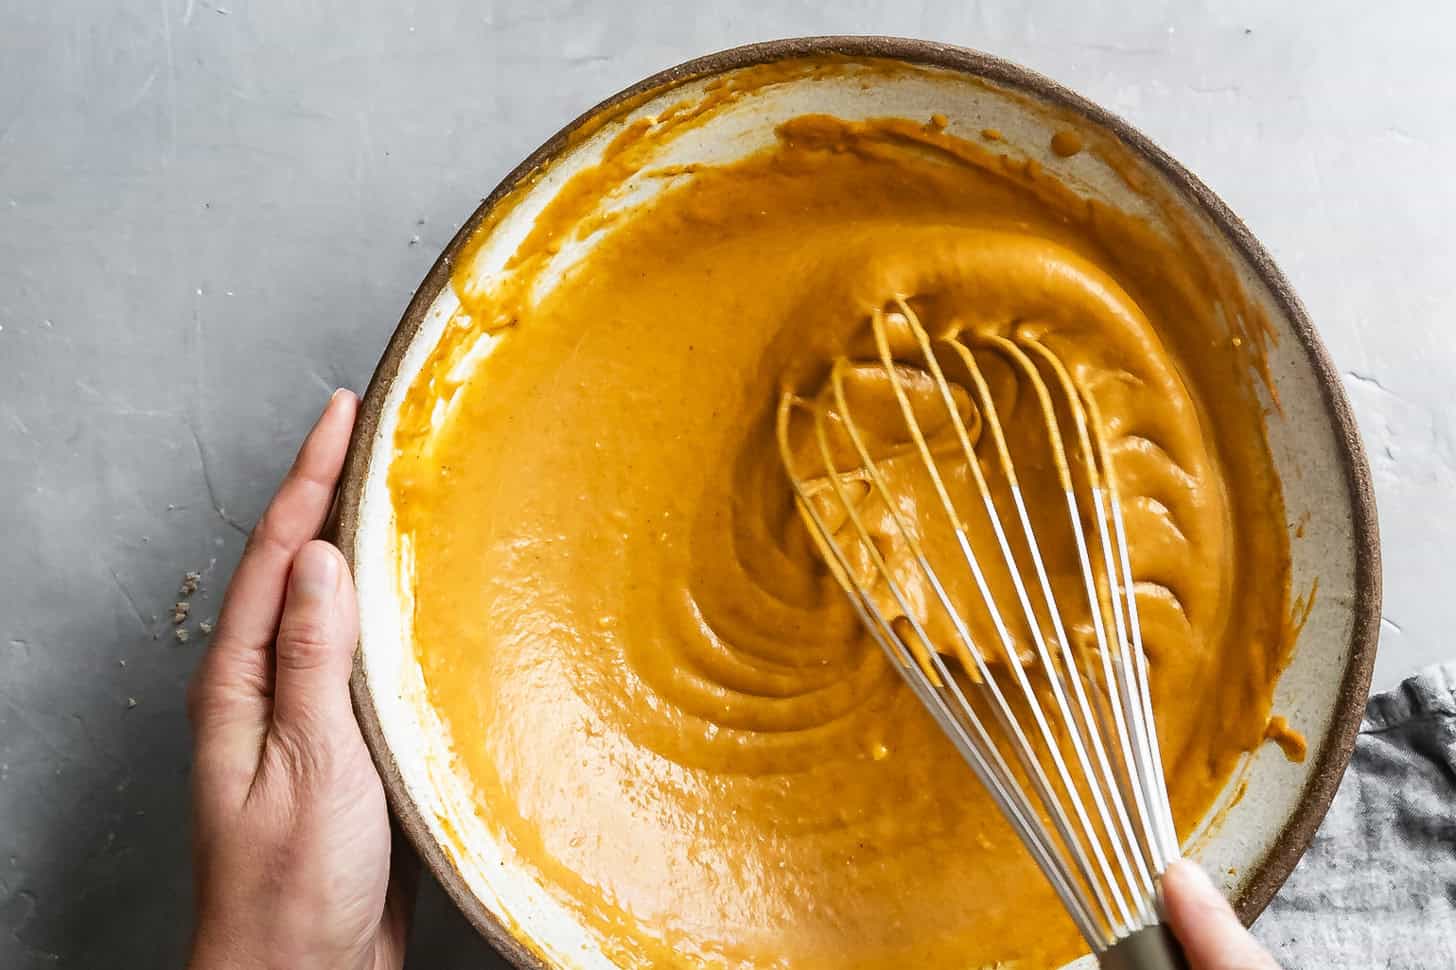
- For the baked filling version, preheat the oven to 350°F. In a large mixing bowl, mix the brown sugar with the spices and corn starch. Add the eggs, pumpkin, coconut milk, and vanilla and whisk well to combine. Pour the filling through a fine-mesh sieve to get rid of any clumps of coconut milk remaining.
- With the par-baked tart or pie crust on the baking pan on the oven rack, carefully pour the filling into the crust. Gently push the rack into the oven and bake for 45-50 minutes until the center is set when the pan is gently jiggled. Take care not to overbake so the inside stays soft and creamy.
- Remove from oven and let cool completely on a wire rack for at least an hour. If you used a tart crust, gently release the tart from the pan before chilling. Chill for at least 2 hours. If made the day before, chill overnight uncovered for up to a day (otherwise cover or put in an airtight container to store for longer).
No-Bake Filling Version
- For the no-bake filling version, whisk together light brown sugar, corn starch, spices, and salt in a medium saucepan. Add coconut milk, pumpkin puree, egg yolk, and vanilla extract and whisk until smooth. Bring to a boil over medium heat, whisking constantly, making sure to scrape the edges and bottom of the pot. Continue boiling for 1½ more minutes until it thickens to the consistency of yogurt.
- Pour into fully baked and cooled crust and smooth with an offset spatula. If you have any extra filling beyond what fits in the crust, pour it into a dessert cup for pudding cups. Chill completely, about 2 hours. If you used a tart crust, gently release the tart from the pan before chilling. If made the day before, chill overnight uncovered for up to a day (otherwise cover or put in an airtight container to store for longer).
Coconut Whipped Cream
- Prepare the coconut whipped cream according to the recipe, chilling until ready to use. Serve pie cold with coconut whipped cream.
Notes

Jenna Robinson -
Hi! I made this the night before Thanksgiving. Should I leave room temp or in fridge overnight? Thanks!
Sarah Menanix -
You can do either! I keep mine chilled overnight because I like the texture of chilled pumpkin pie better:)
SF -
Maybe I'm missing it, but when do you add the cornstarch?
Sarah Menanix -
Thank you! When I just reshot this post last week, I added a bit of corn starch to the baked version and liked the texture better, but of course forgot to include it in the steps. Mix it up with the brown sugar and spices so it doesn't clump when you add the remaining ingredients.
Jess -
I try a new pumpkin pie recipe every year and this one quickly made its way to the top.
Alison -
Can I use pumpkin pie spice, instead of combining cinnamon, ground ginger, nutmeg, all spice, and ground clove?
Sarah Menanix -
Absolutely! I never have pumpkin pie spice on hand, which is why I use the individual spices. Just measure out the same total amount of pumpkin pie spice as you would for the individual spices (1.25tsp for the baked version, 2tsp for the no-bake)
Lori -
By mistake purchased cans Thai coconut cream Will this work in this recipe as a substitute for full fat coconut milk?
Sarah Menanix -
Hmmm – While I haven’t tested it before, I think it probably would still work. Coconut cream is much thicker, so I’d dilute it a bit (about ¾ coconut cream + ¼ water or non-dairy milk) to keep the texture similar (and you'll likely need to heat it just a bit so it's smooth and mixes well without clumps). Just note it may taste more coconut-forward and could set a bit faster in the oven, so you'll need to keep an eye on it. Personally, I'm risk averse on Thanksgiving, so I'd toss those coconut cream cans in the fridge overnight to make my coconut whipped cream as a topping and grab some cans of full-fat coconut milk:)
Sarah -
What temperature are you supposed to bake this at?? I made the crust and the filling and went to check the recipe and it doesn’t say. Please help!
Sarah Menanix -
Thank you!! I just updated the recipe two days ago because I put the crust in a separate post and it dropped the preheat step. Updated! It's 350°F!
Chereesca Bejasa -
Hi! I bought pie pumpkins to make it more of an experience for the kids. Have you ever used pumpkin not from a can? Any tips in doing so for this recipe?
Dee Ann -
I would really like to try this recipe, however I need to omit the eggs. Is there a replacement for eggs that would work?
Sarah Menanix -
I would use the no-bake option and leave out the egg yolks! They aren't required for thickening the pie, but add extra richness, so can easily be left out!
Katie Stoliker -
I've not been one to often leave comments but this recipe was fabulous!! i couldn't find hazelnut flour so subbed the same amount of almond flour and it worked out great. even my brother who doesn't like pumpkin pie enjoyed it!!
Lisa -
I made the pumpkin pie for 2 gatherings and it was a hit both times! I had to cook a lot of dishes for these parties, so I wanted a dessert that was easier to prepare. I made the no-bake version of this pie recipe and paired it with Sarah's gluten-free graham cracker crust. That combination worked REALLY well. I used a can of Thai Kitchen coconut milk, like Sarah suggested, and had absolutely no issues with the texture of the pie. I loved that it's dairy free!
Tina -
I made this but It did not taste as much as pumpkin as it did the coconut milk. I was hoping to make a real nice traditional pumpkin pie. Might also was lighter than the color of what you have in your photos.
Bummer! Was really hoping this to be my winner :(.
In your recipe instructions you do not say anything regarding the coconut milk being added to the actual recipe from the can as far as omitting the water or not
Tina
Sarah Menanix -
Based on your comment, I'm suspecting you used only the cream off the top of the coconut milk, which would cause it to taste much more like coconut. This would also explain why it turned out lighter than the picture. Typically when a recipe calls for canned coconut milk, if it doesn't specify only the cream, it means to use the whole can, to mix the coconut milk until it is homogenous. I urge you to try it again using the can of mixed coconut milk (both cream and liquid parts) - I make this for every Thanksgiving and it really shouldn't taste much like coconut! I'll make an addendum to the recipe so others who aren't familiar know to use both parts of the canned coconut milk - thank you!