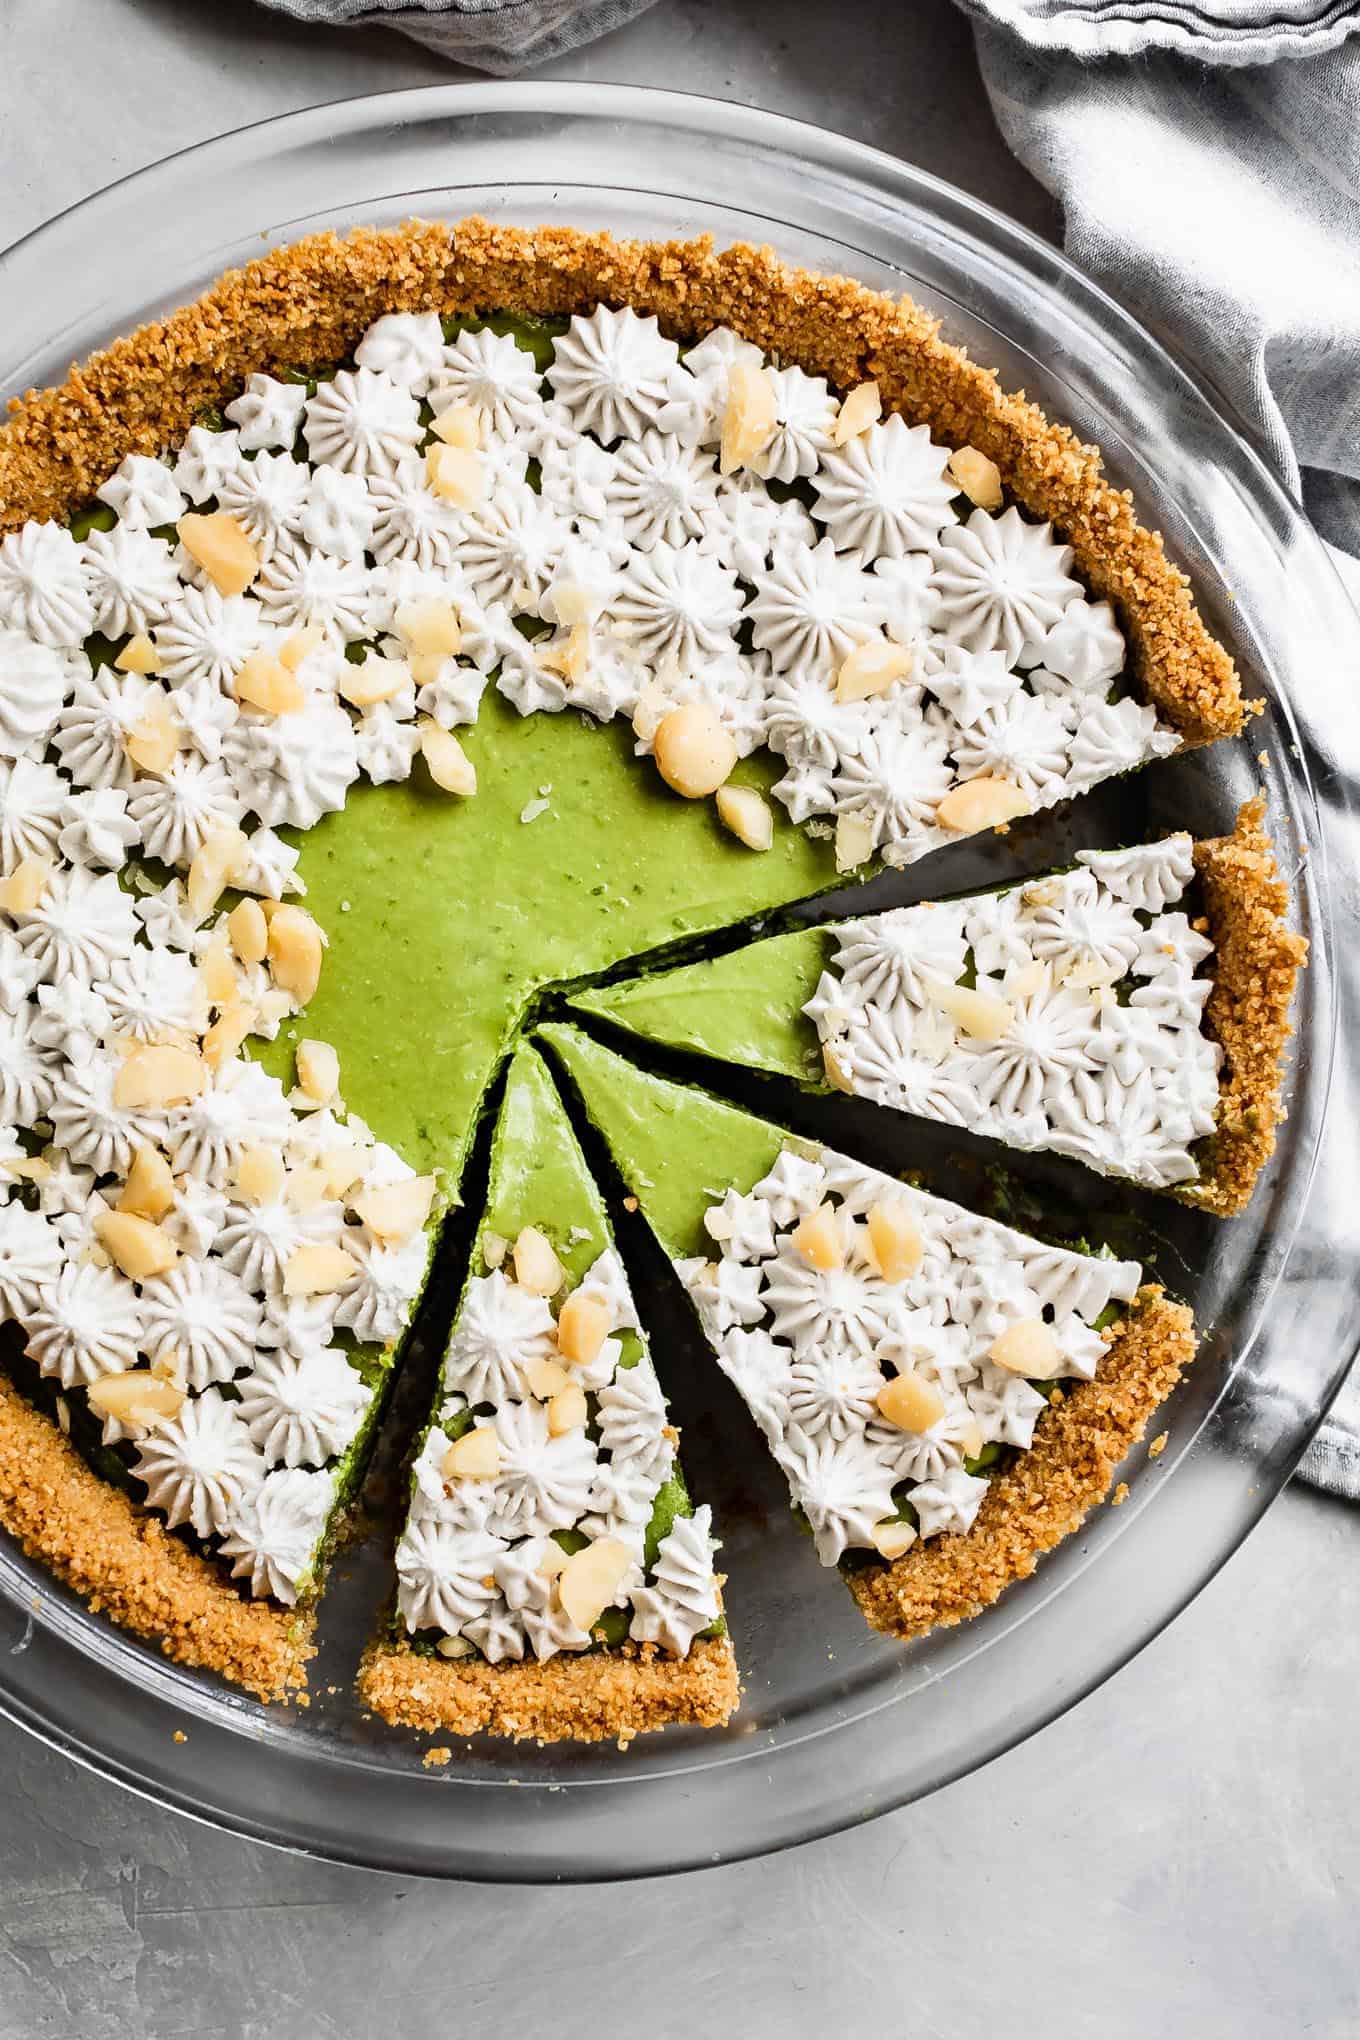
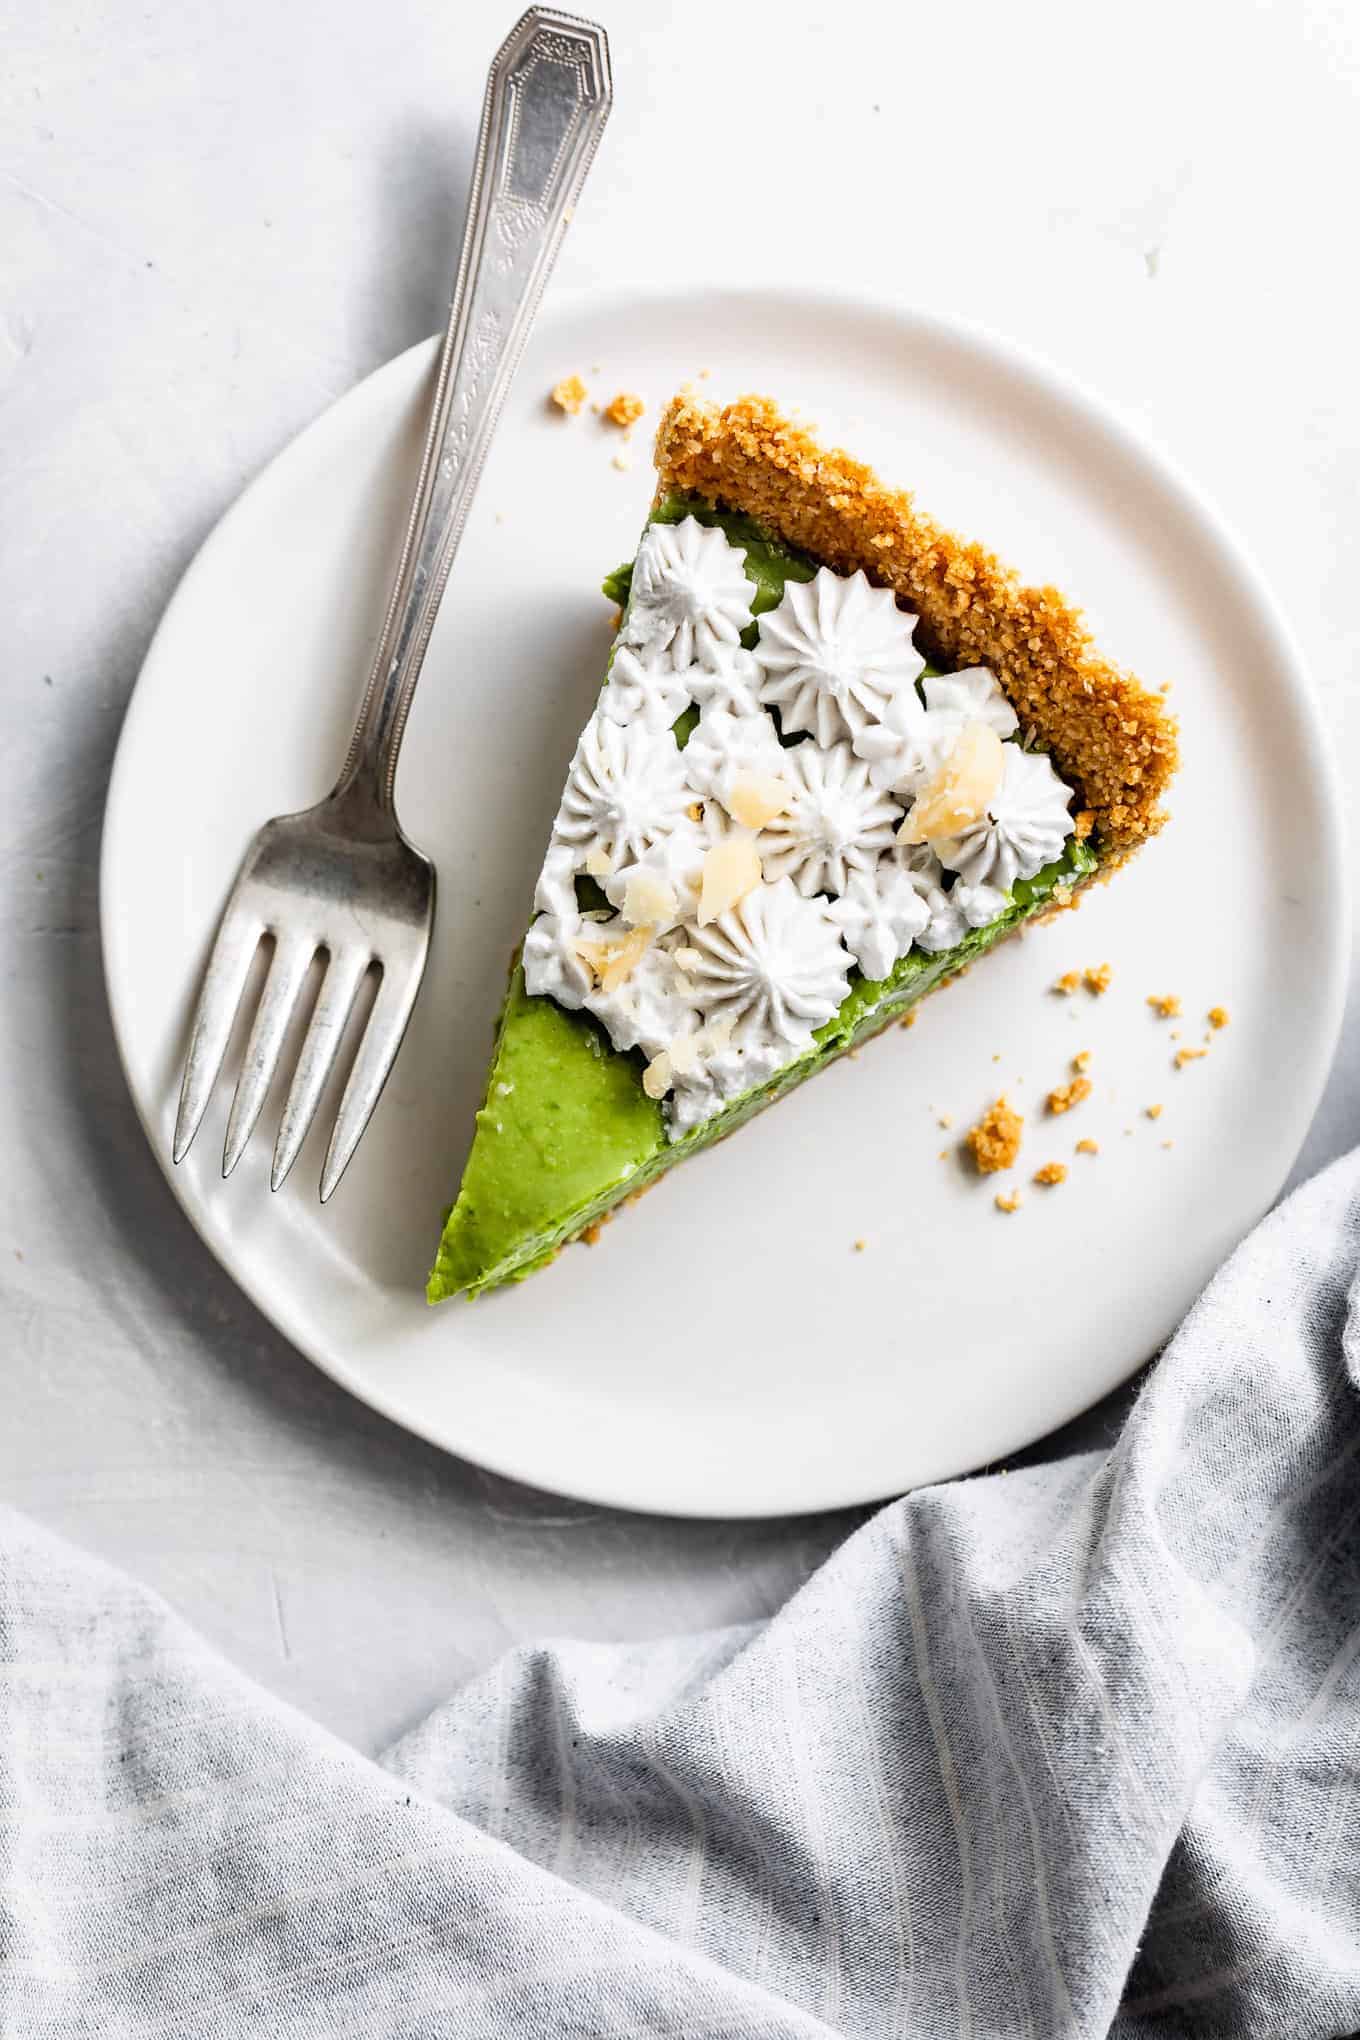
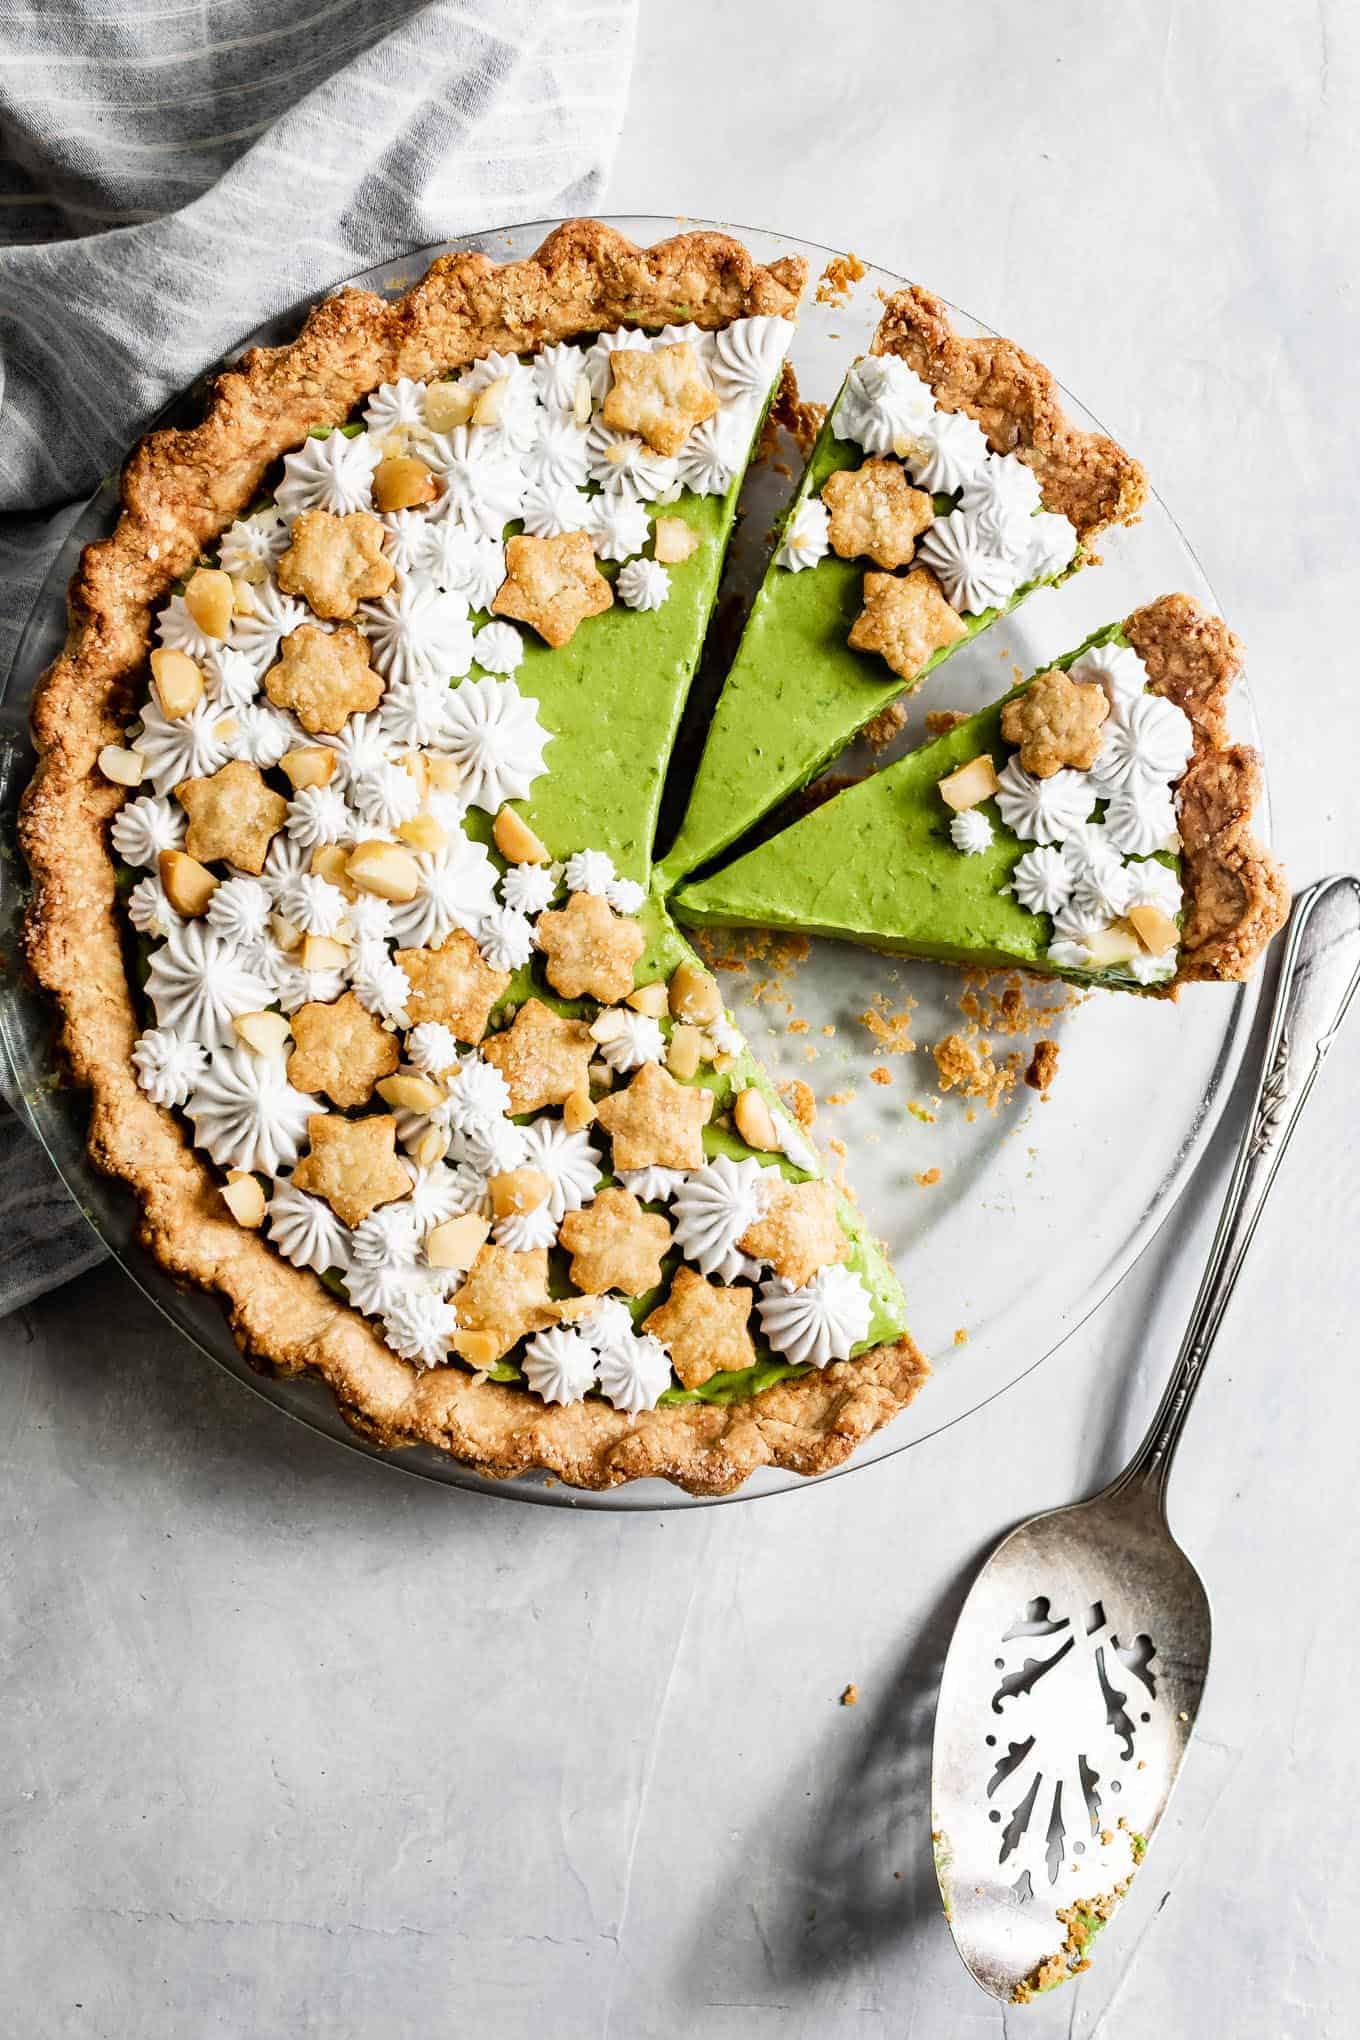
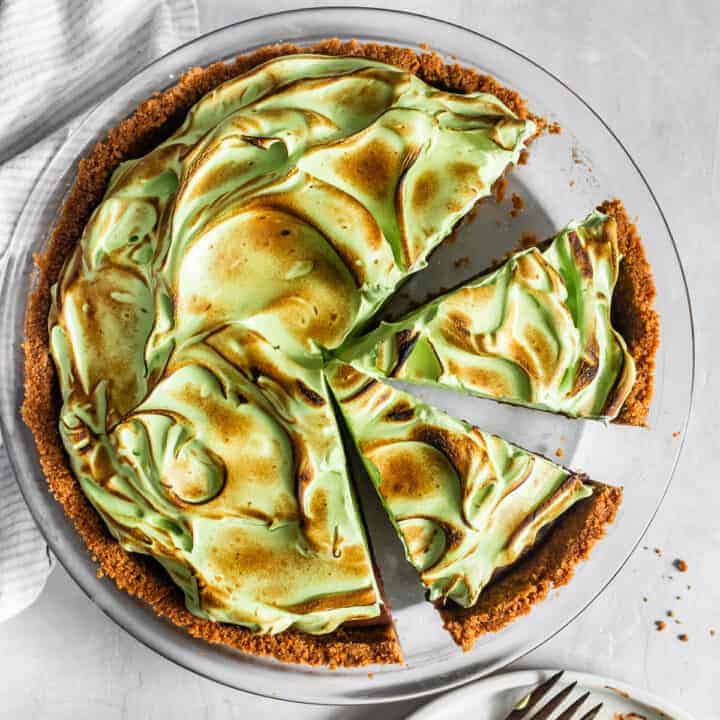
Creamy and bright gluten-free key lime pie brightened with matcha with a no-bake vegan gluten-free filling made from coconut cream and avocados. Use a gluten-free flaky pie crust or a gluten-free graham cracker crust for vegan and/or dairy-free options, or serve it crustless in dessert cups!
A year ago, I shared a picture of this gluten-free key lime pie with matcha for Pi Day on Instagram. I signed off the post with, "Stay tuned for the recipe in the next week (when I find time to write while home with two kids for at least three weeks)."
Three weeks, y'all. And I'll be real honest: I cried hard tears about that looming timeline.
Weeks became a year and here's the pie recipe with no apologies.
If you're like me, you've gone through the quarantine baking phase and now you're in the convenience cooking phase. This gluten-free key lime pie is one of the easiest pies you'll ever make.
But it tastes dynamic and flavorful. As if it took hours.
No-Bake Key Lime Pie Filling
This creamy and bright gluten-free key lime pie filling is no-bake, refined-sugar-free, and just so happens to be vegan. The crust has options for both vegan and refined-sugar-free - your call!
Let's go ahead and call this healthy snack pie, so make a full pie and go ahead and eat a slice every day this week with lunch.
And with matcha, I'll call it breakfast food too.
Vegan Key Lime Pie Recipe with Avocados
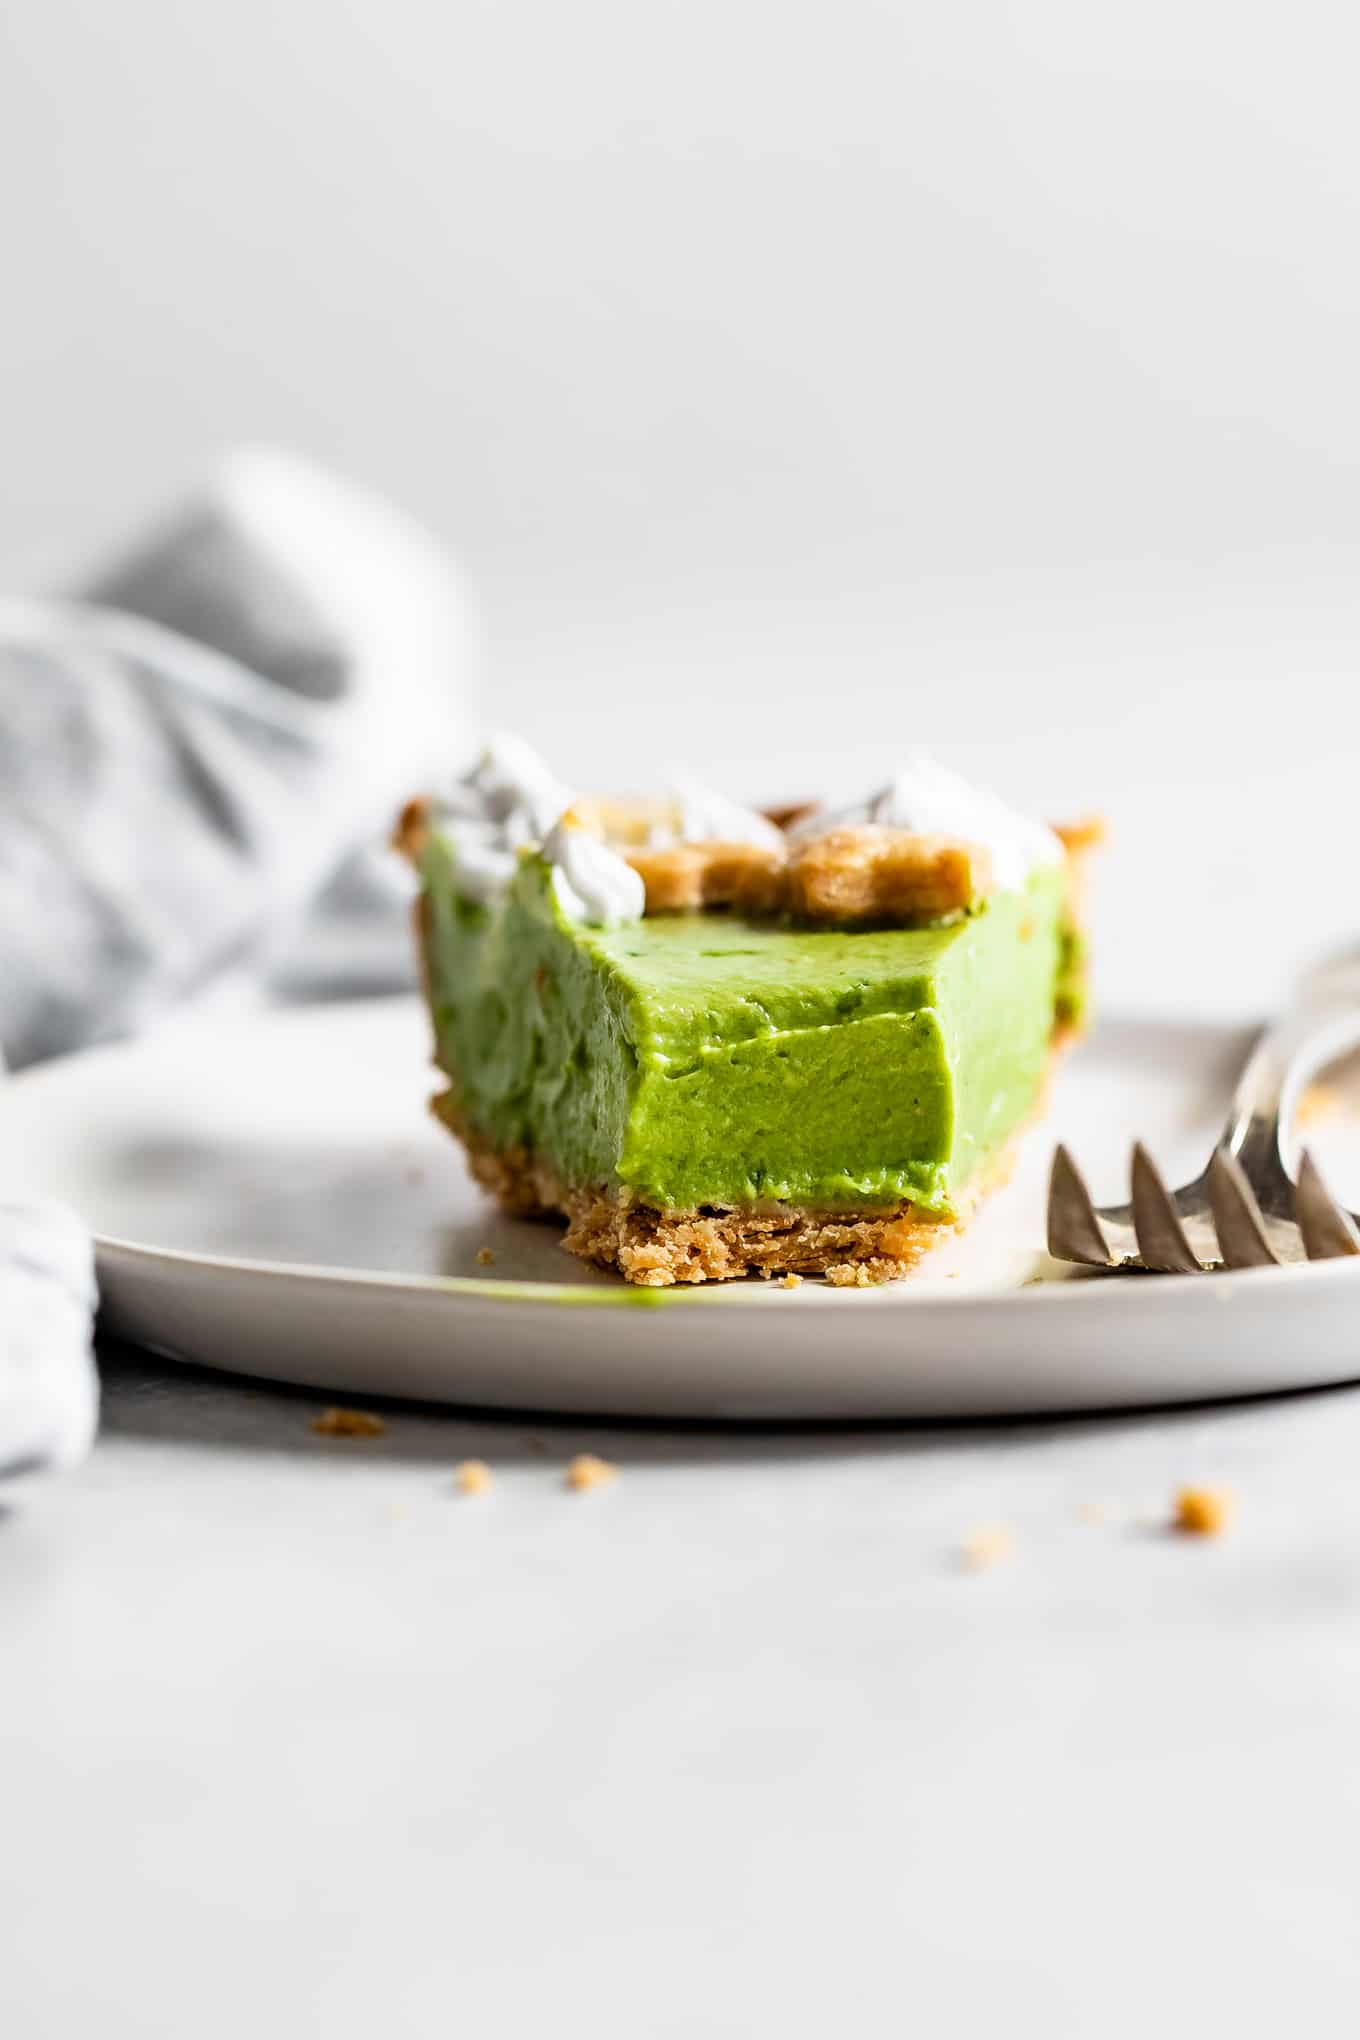
This vegan dairy-free key lime pie mousse filling tastes like a whipped key lime pie, but it's sweetened only with maple syrup, is vegan, and is made with avocados.
You read that correctly: Avocados.
When I started dating Lucas (from Texas), he was shocked by the way Californians put avocados in everything. Now he’s also a super fan and we joke to our friends who visit, “welcome to California, have an avocado.” This recipe takes it to a whole new level, turning avocados into dessert. (And if you’re skeptical, don’t worry, I promise it doesn’t taste a lick like guacamole.)
Gluten-Free Key Lime Pie Mousse
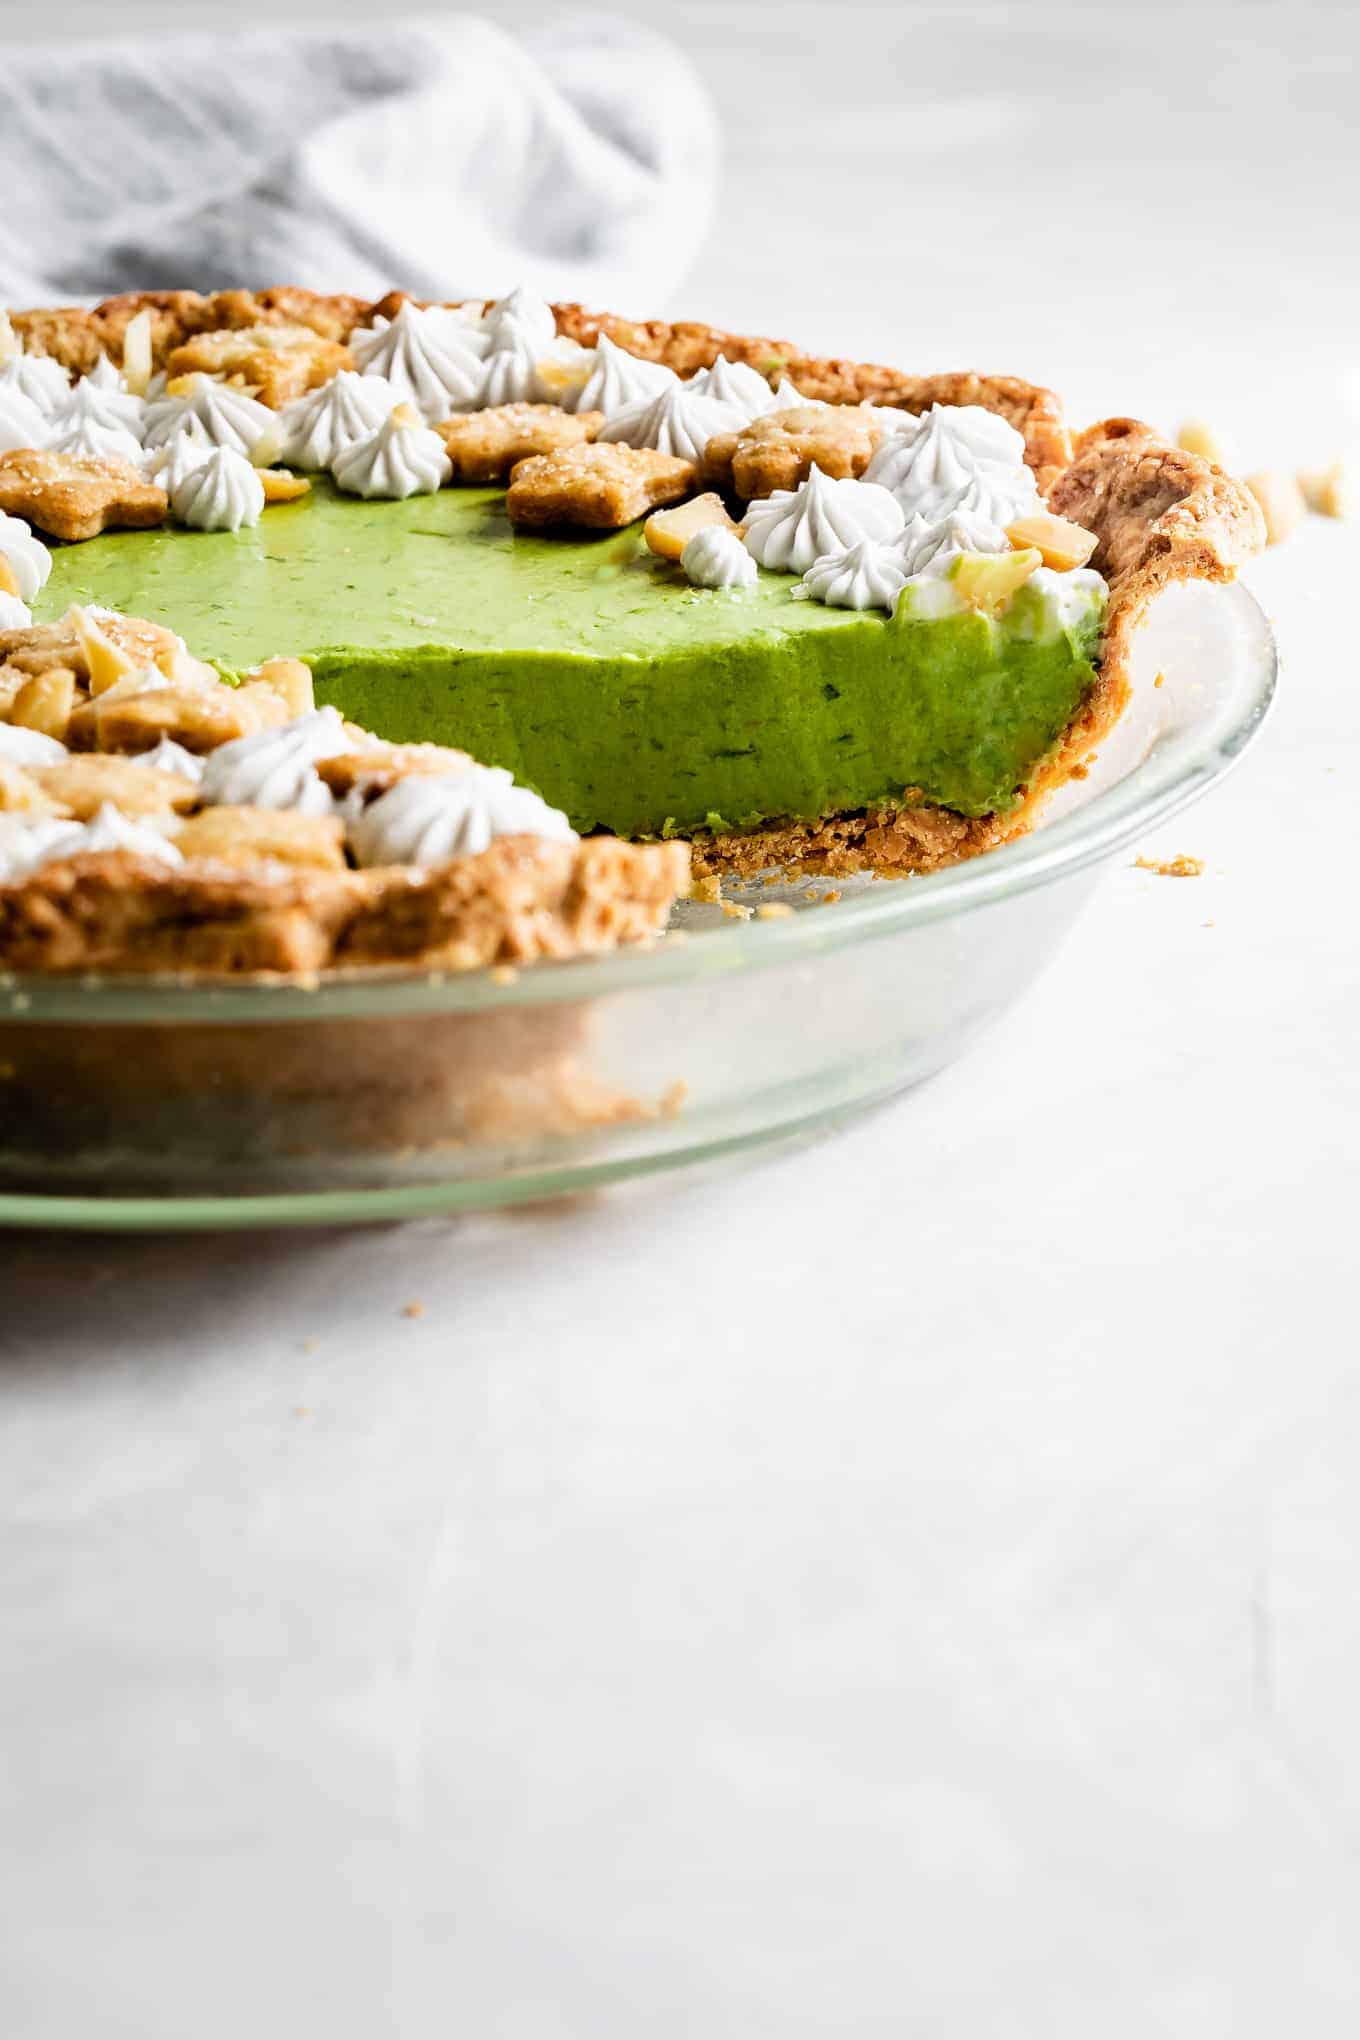
When whipped with coconut cream, avocados give the mousse a light and airy creamy texture that's almost like a smooth cheesecake. Key lime zest and juice flavor the mousse with tartness balanced by a hint of maple syrup.
Garnish it with toasted macadamia nuts to balance the sweet filling with a buttery tropical crunch.
What kind of crust for a key lime pie?
You've got two different options for what kind of crust to use: gluten-free flaky pie crust or gluten-free graham cracker crust.
You can make either of these pie crusts from scratch or opt for a pre-made store-bought shell to save time.
Gluten-Free Flaky Pie Crust
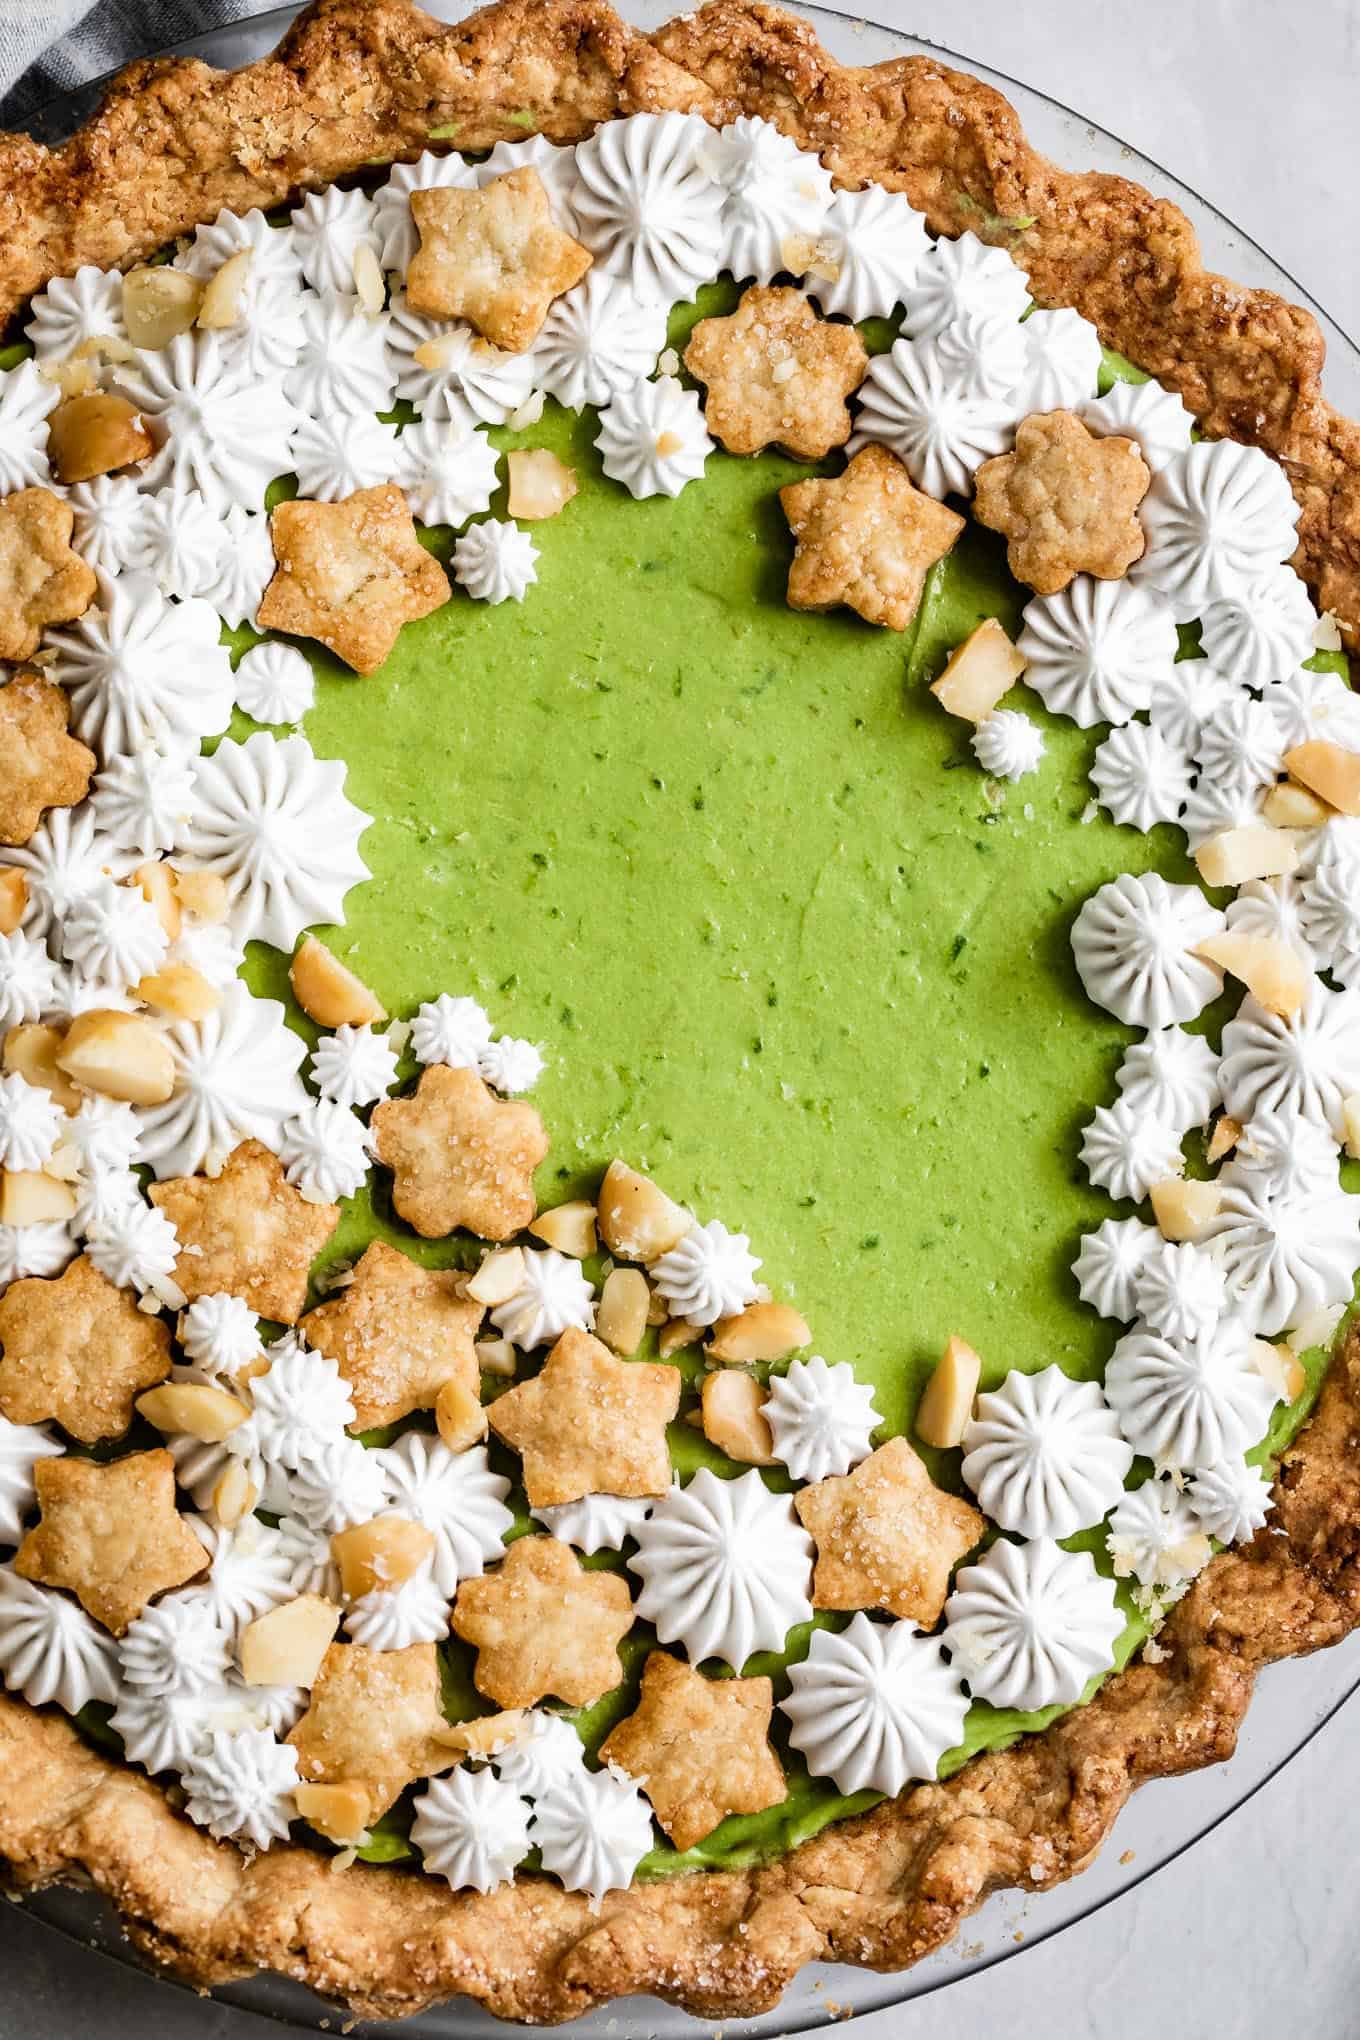
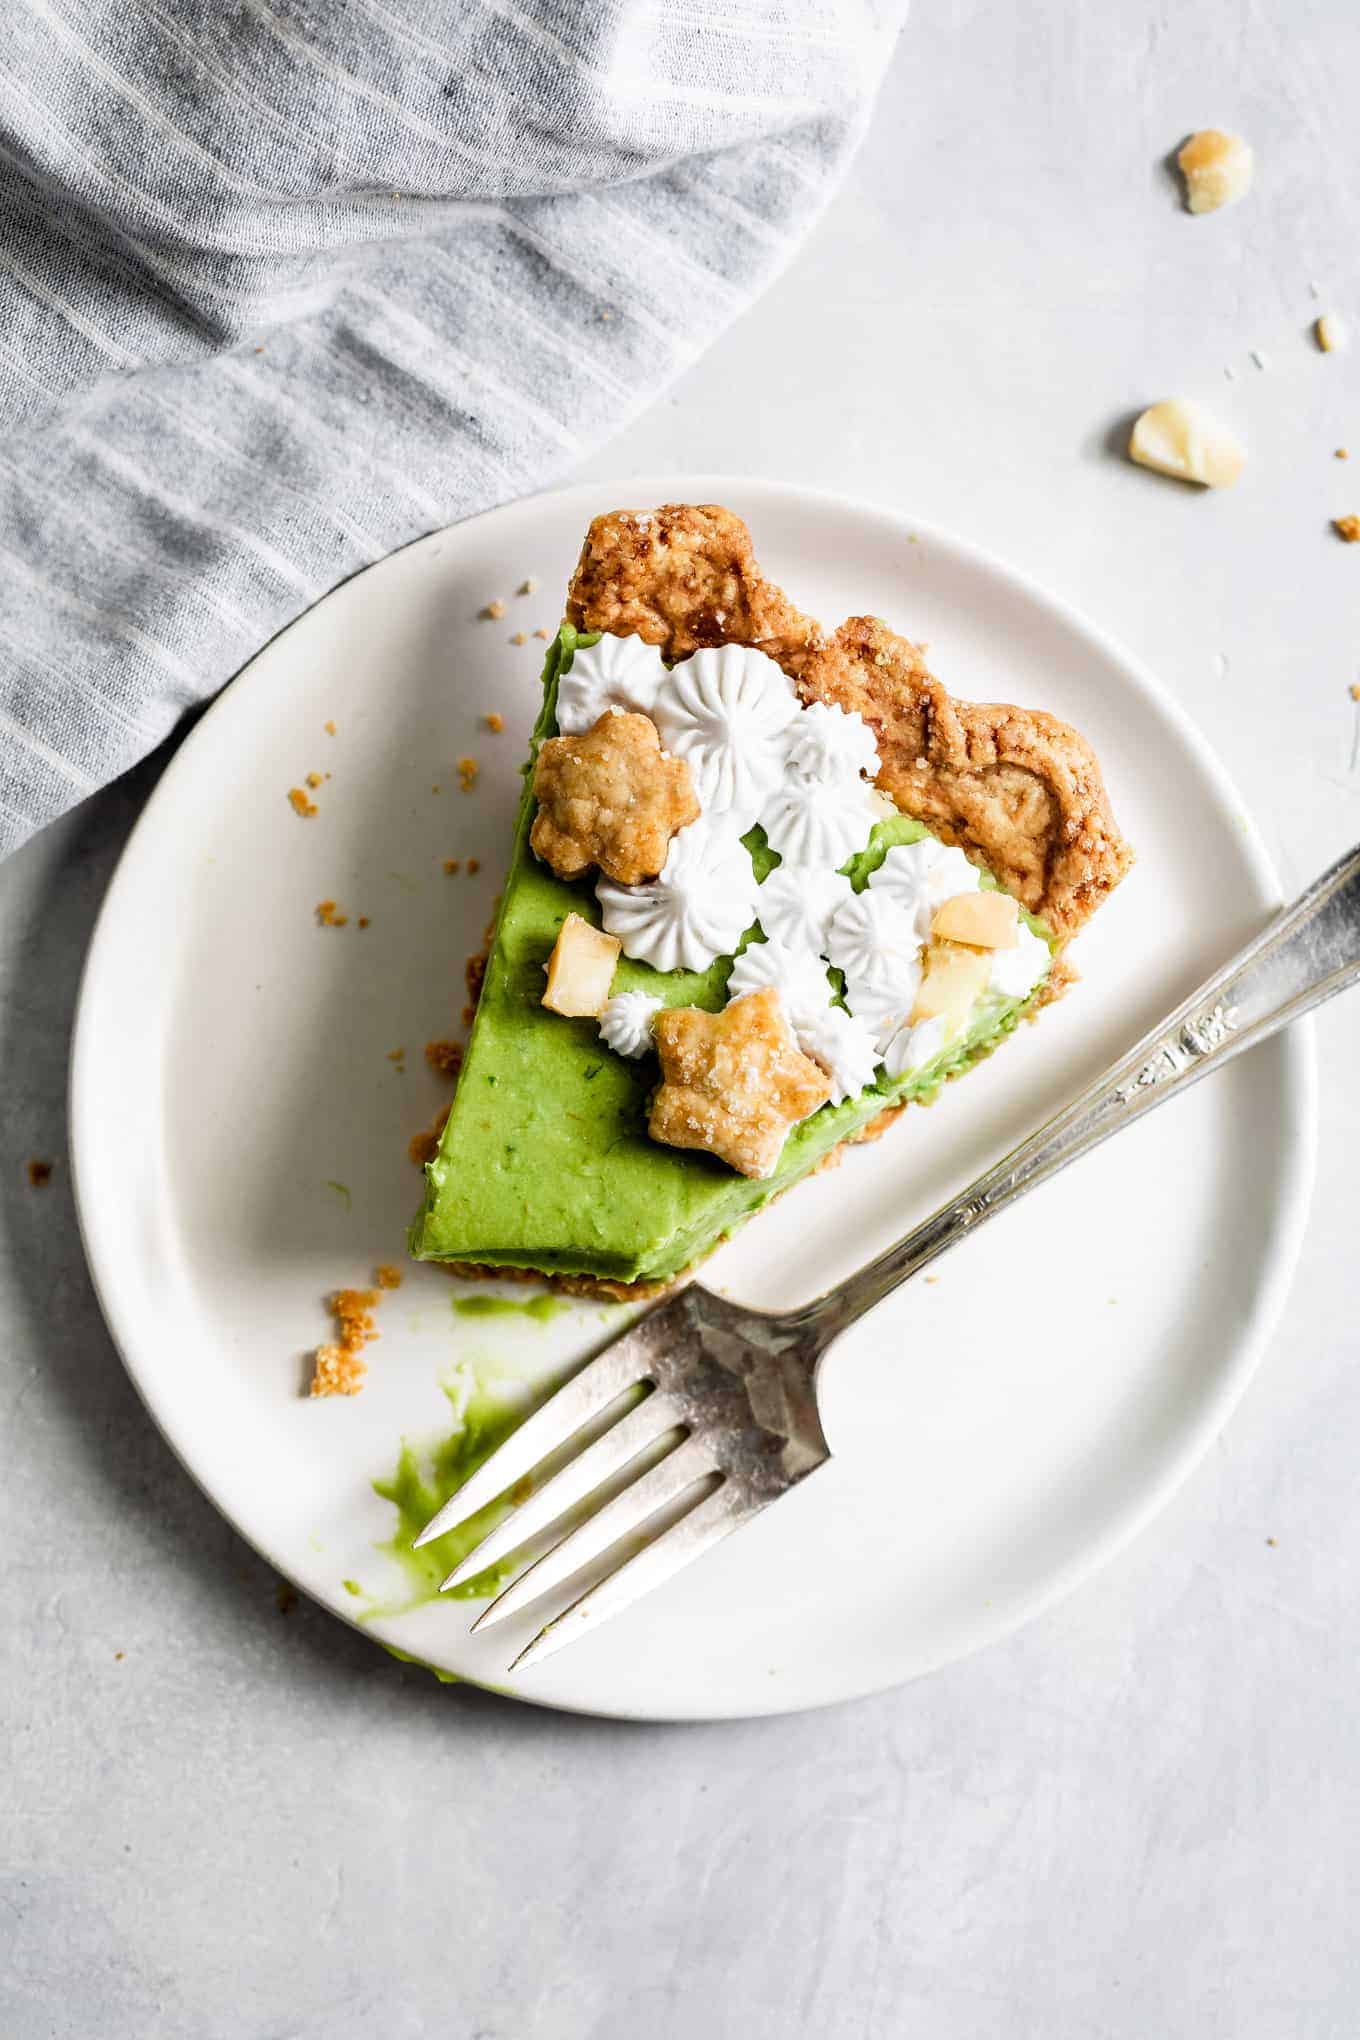
When I first shot this gluten-free key lime pie, I made it with a flaky buttery pie crust and decorated it with little pie crust cut-outs. This crust is beautiful and a delicious contrast against the light tropical filling.
It also takes a bit more work, and I've not tested it with dairy-free or vegan butter. However, you can purchase a pre-made gluten-free vegan pie shell to keep it simpler.
If you opt to use a flaky pie crust, you'll need to line it with parchment paper and fill it with pie weights to blind bake it (without filling). Then remove the pie weights to bake it until the bottom of the crust is baked through.
Graham Cracker Crust (gluten-free, dairy-free, or vegan options)
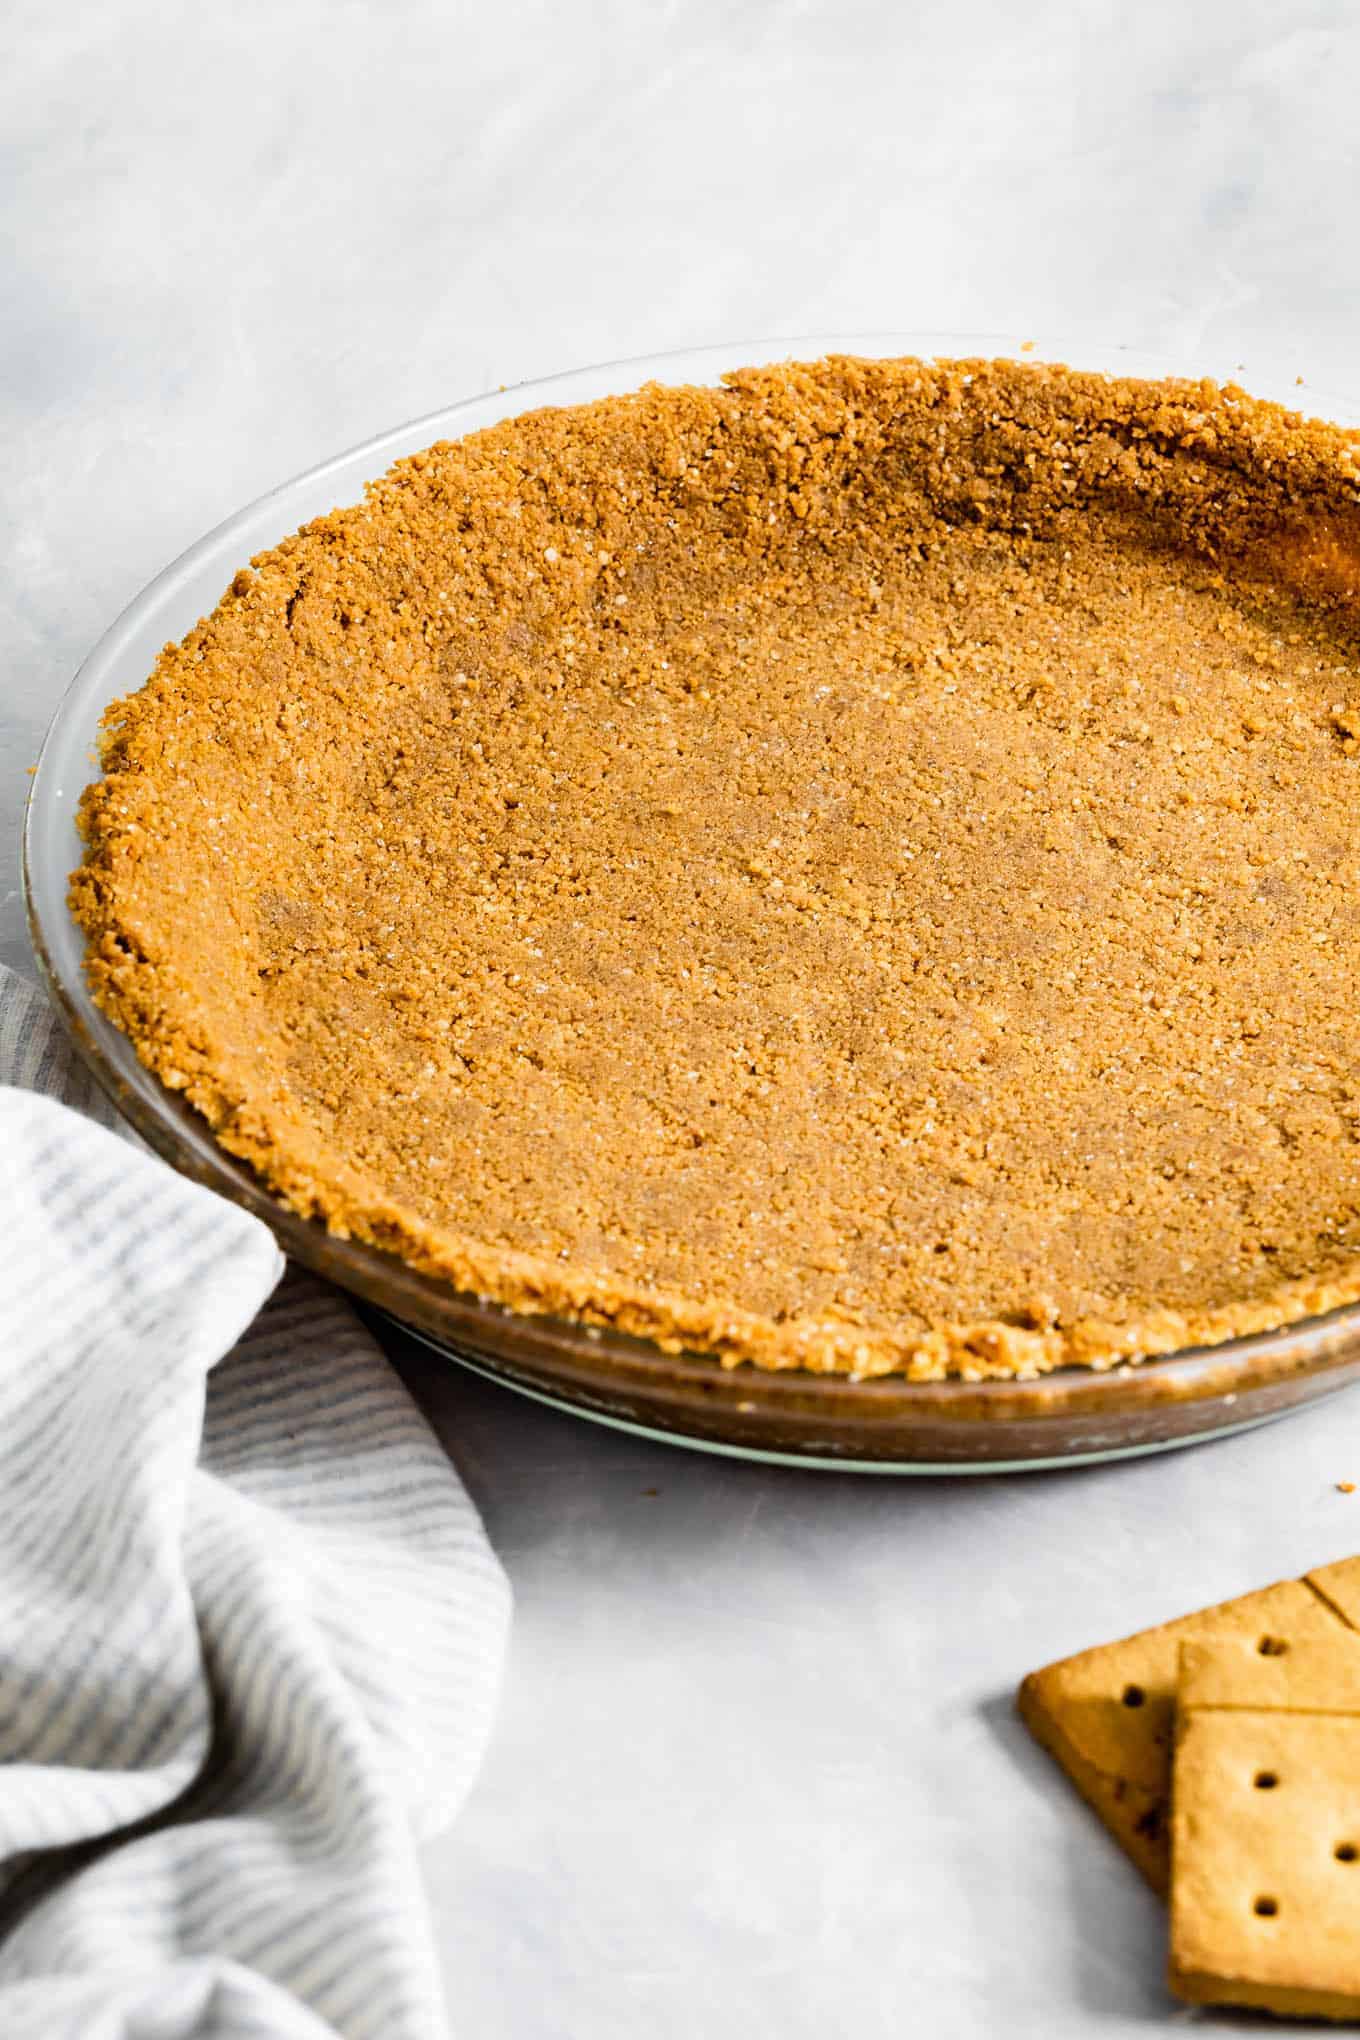
For a quicker crust with dairy-free and vegan options, I've also made this pie using this gluten-free graham cracker crust. This recipe can be made dairy-free or vegan by using vegan butter.
You can make this recipe as either a no-bake or a baked crust. For a no-bake crust, freeze the crust for 20 minutes before adding the filling.
Personally, even when I'm making a "no-bake pie" I usually still opt to bake the crust and let it cool before filling. I find the baked crust more easily removes from the pan without leaving crumbs behind and makes a cleaner cut.
No crust
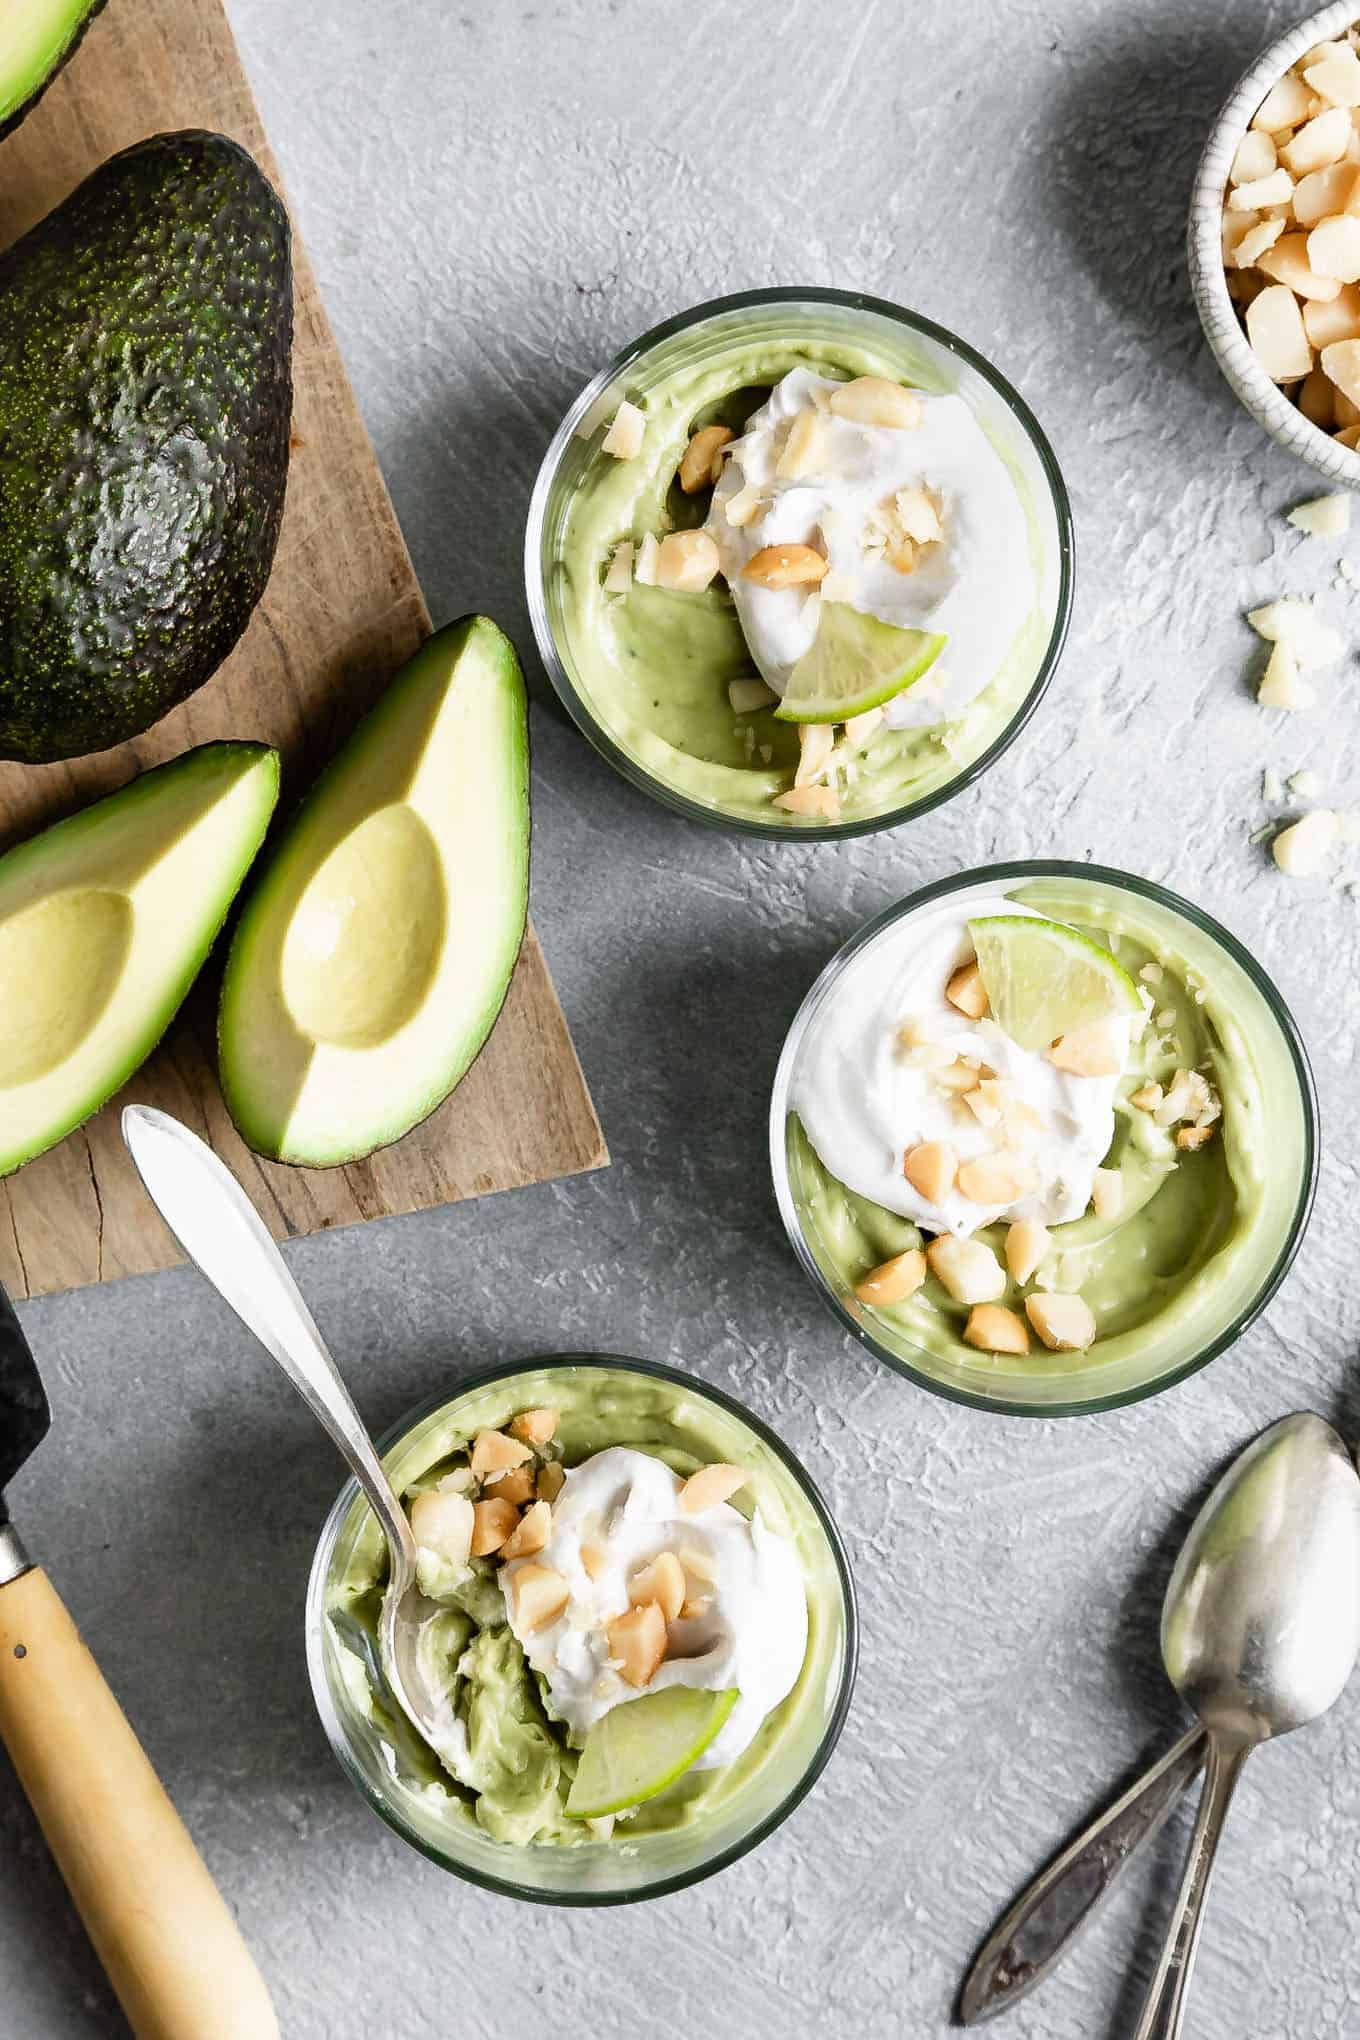
You can also absolutely skip the crust altogether and divide the filling among 5 dessert ramekins. Top it with whipped coconut cream and macadamia nuts for a quick refreshing treat! Same no-bake recipe, made as individual servings! (Pictured below, without matcha)
Key Lime Pie with Matcha
For this key lime pie, I've mixed matcha into the filling to add a hint of vegetal nuttiness and to punch up the green hue. For the brightest color, be sure to use high-quality matcha. If matcha isn't your thing, you can certainly leave it out.
Without matcha, the flavor will be akin to a classic key lime pie, and the color a bit paler as shown in the dessert cups above. When I first made this key lime pie mousse, I didn't use matcha and I served it without crust in dessert cups.
How to Make Gluten-Free Dairy-Free Key Lime Pie
Here's how to make the quickest creamy key lime pie:
- Prepare your pie crust. Mixed crushed graham crackers with sugar, butter, and salt, then press the crumbs into your pie dish. Chill it for 20 minutes or bake it for 8 minutes and let it cool.
- Blend the filling. Add all of your mousse ingredients to a high-powered blender/food processor and puree until completely smooth, scraping sides as needed. Pour it into your prepared crust and chill for at least 2 hours.
- Whip coconut cream. Whip chilled coconut cream with maple syrup.
- Garnish and serve. Serve chilled pie dolloped with coconut cream and garnish with macadamia nuts.
More Gluten-Free Pie and Tart Recipes
- Gluten-Free Chocolate Peanut Butter Pie
- Gluten-Free Blueberry Nutella Cream Pie
- Gluten-Free Dairy-Free Pumpkin Pie
- Gluten-Free Vanilla Bean Pear Persimmon Pie
- Triple Berry Pie with Gluten-Free Cardamom Crust
- Gluten-Free Chocolate Matcha Cream Tarts
- Gluten-Free Mint Mango Haupia Tarts with Pine Nut Crust
- Gluten-Free Raspberry Rhubarb Almond Tart with Chai Spices
- Gluten-Free Hibiscus Strawberry Curd Tarts with Toasted Meringue
Recipe
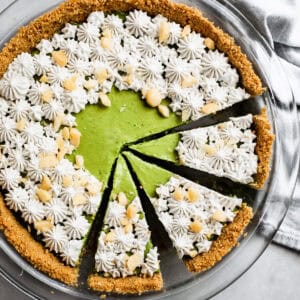
Gluten-Free Key Lime Pie with Matcha
Ingredients
- 1 baked gluten-free graham cracker crust, vegan, if needed, OR
- 1 fully baked gluten-free flaky pie crust, store-bought or homemade (homemade recipe below)
- ½ cup canned oconut cream, solid cream only (or solid cream only from canned full-fat coconut milk), chilled for at least two hours (*see brand note)
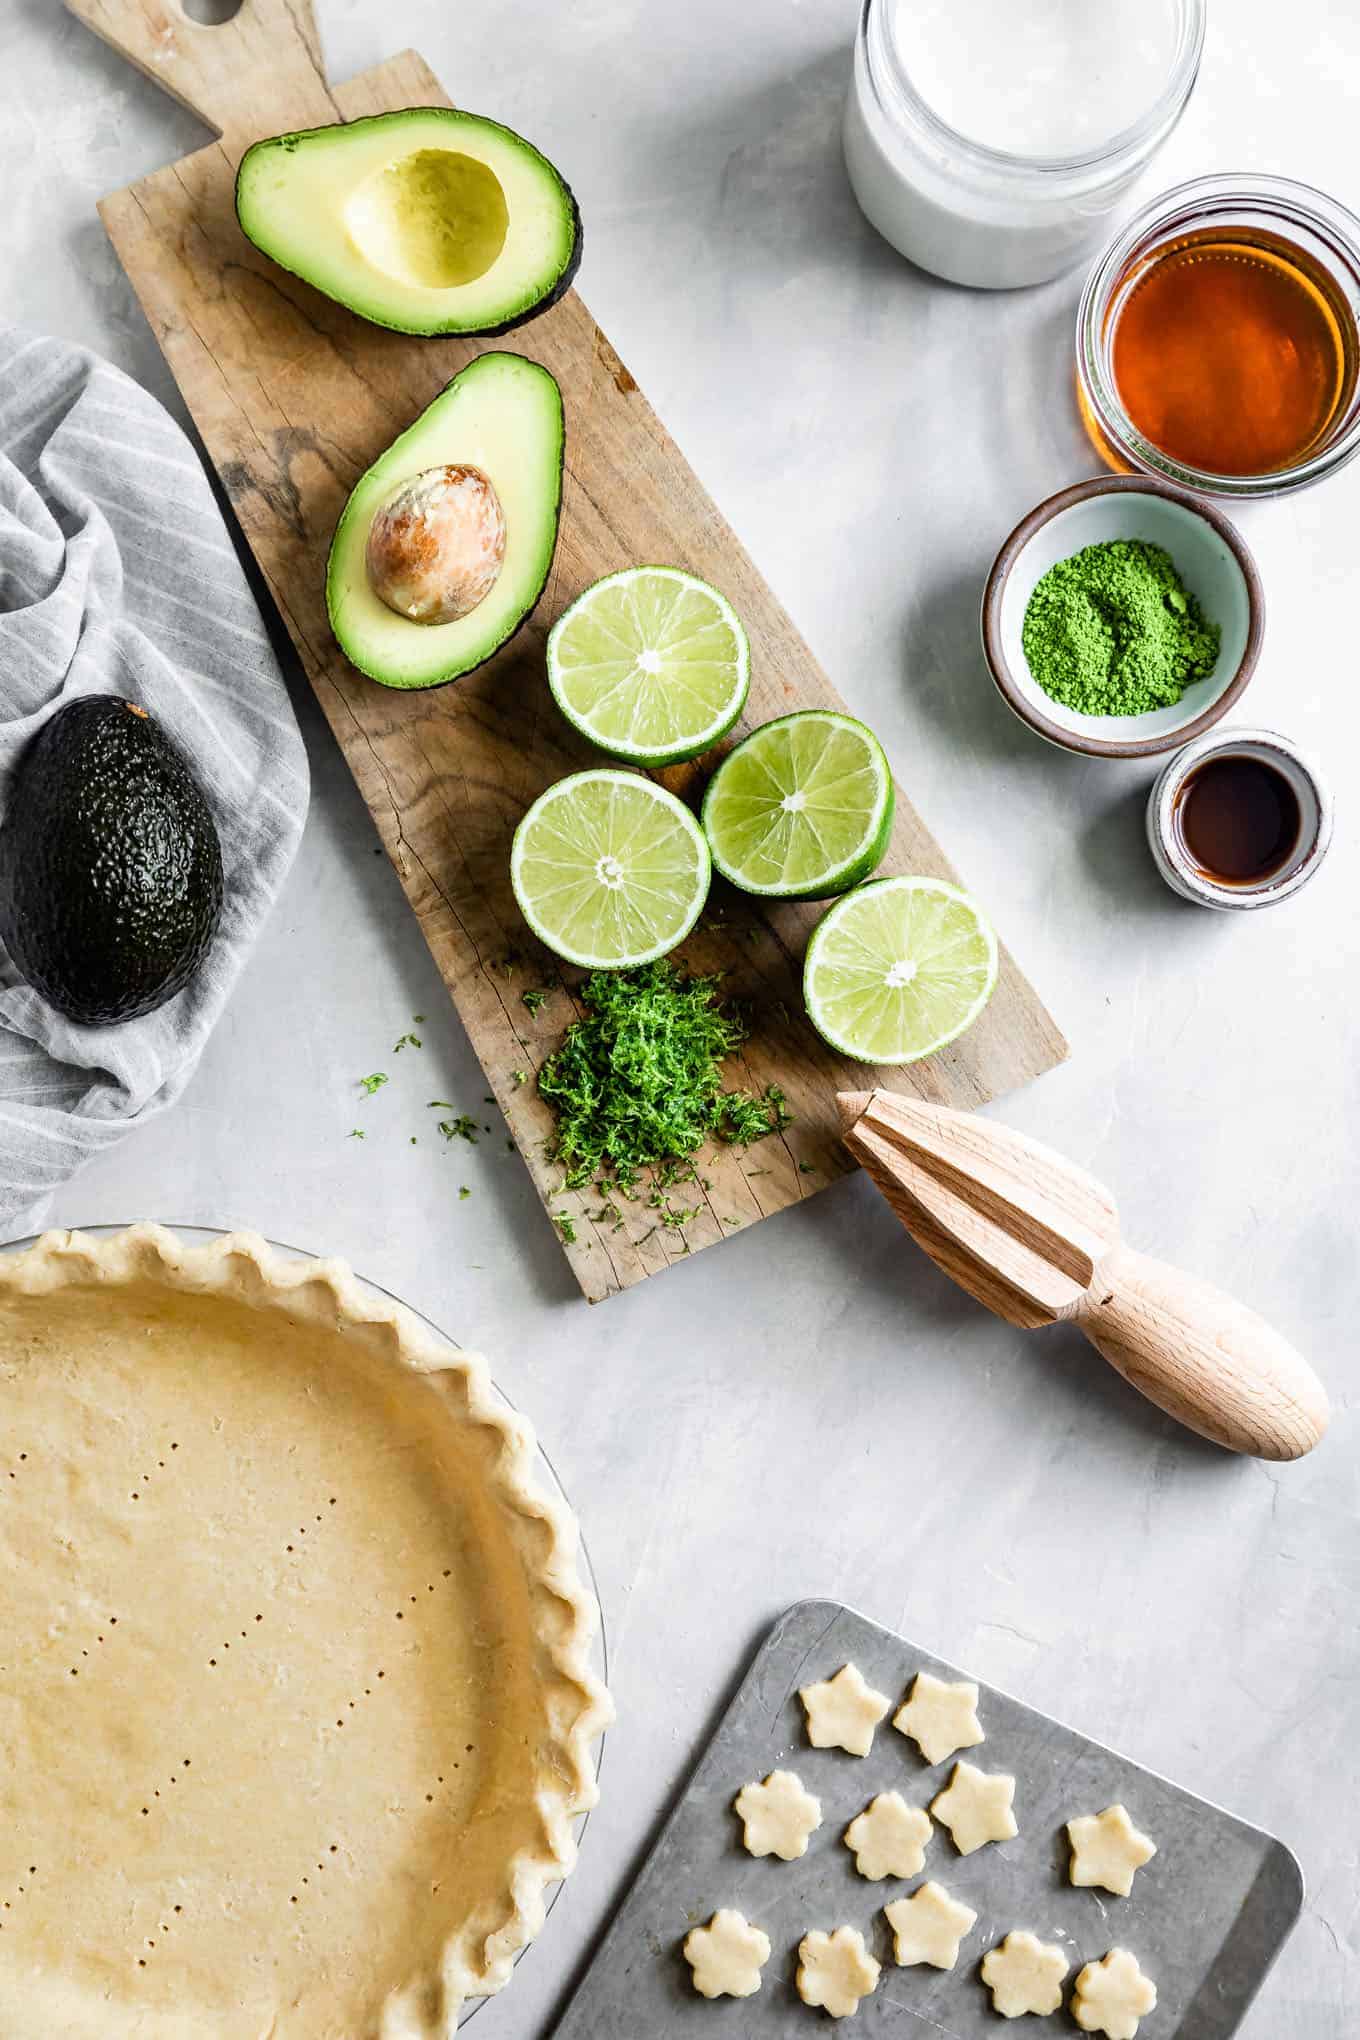
- 2 ripe medium avocados
- ⅓ cup pure maple syrup
- ⅓ cup key lime juice, from 2-3 limes, or substitute regular lime juice
- 2 tablespoons key lime zest, from 1½ limes, or substitute regular limes
- 1½ tablespoons high-quality matcha powder
- 1 tablespoon coconut oil
- ¾ teaspoon pure vanilla extract
- ¼ teaspoon kosher salt
- ⅓ cup canned coconut cream, solid cream only (or solid cream only from canned full-fat coconut milk), chilled 12 hours (*see brand note)
- 1 teaspoon pure maple syrup
- ¼ teaspoon pure vanilla extract
- Optional: ¼ cup chopped dry-roasted macadamia nuts, for garnish
- Use this recipe for gluten-free graham cracker crust
- ½ cup gluten-free oat flour
- ¼ cup + 1½ tablespoons (51 g) millet flour, plus more for rolling
- ¼ cup (40 g) sweet rice flour, also called mochiko, different from "white rice flour" or "brown rice flour" - I recommend Koda Farms or Bob's Red Mill
- ¼ cup (30 g) Bob’s Red Mill tapioca flour
- 1 tablespoon granulated sugar, plus 1 teaspoon for sprinkling (or maple or coconut sugar for refined-sugar-free)
- ½ teaspoon xanthan gum
- ¼ teaspoon kosher salt
- 8 tablespoons cold unsalted butter, cut into 8 pieces
- 4-6 tablespoons ice water
- 1 tablespoon heavy cream or whole milk, for brushing
INSTRUCTIONS
Coconut Cream
- I do not recommend using the coconut cream from Trader Joe's as they seem to have updated their supplier and the new consistency is a very oily/grainy and does not whip up well. I reliably use Native Forest, 365 brand, and Thai Kitchen coconut cream (in that order).
Matcha Key Lime Pie
- Prepare your desired gluten-free graham cracker crust or gluten-free flaky pie crust (instructions below).
- Add all of your filling ingredients to a high-powered blender or food processor and puree until completely smooth, scraping sides as needed. Pour into cooked and cooled pie crust and chill for at least 2 hours.
- To serve, put the remaining ⅓ cup solid coconut cream into a stand mixer with whisk attachment or bowl with a hand mixer. Mix as you would make whipped cream, until soft peaks form. Slowly add maple syrup & vanilla & whisk until fluffy.
- Pipe or dollop whipped coconut cream onto the top of your pie and garnish with toasted macadamia nuts and, if using, baked pie crust shapes. Serve chilled.
Gluten-Free Flaky Pie Crust
- If making gluten-free flaky pie crust, whisk together the oat flour, millet flour, sweet rice flour, tapioca starch, sugar, xanthan gum, and salt in a large bowl.
- Add the cold butter and mix with your hands, breaking up the butter until the largest pieces are about the size of an almond.
- One tablespoon at a time, dribble in the ice water, combining each time with a fork, until the dough holds together when pinched with your fingers (add water until it just holds together, but is not sticky. If you need more water, add a teaspoon at a time). Knead the dough until it comes together.
- Dust your work surface lightly with millet flour and roll dough into a ¾-inch thick rectangle. Dust the top of the dough lightly with millet flour and fold the dough into thirds like a letter and then in thirds once again to form a square. Press the dough to form a circle about 1-½ inches thick. Wrap in plastic and chill for an hour or up to overnight.
- Dust a piece of parchment paper lightly with millet flour. Remove dough from the refrigerator and let sit for 5-10 minutes to soften. Carefully roll into a 12-inch round circle on the floured parchment paper, dusting with millet flour and flipping to keep it from sticking, and repairing any cracks as you roll.
- Carefully invert the round of dough off the parchment paper into a 9-inch round pie pan, gently pressing it down into the pan. Peel off the parchment paper and trim the dough to leave only 1-inch of overhang around. Save the scraps in plastic wrap for decorations, if desired. Crimp and flute the edges of the crust with your fingertips. Prick the bottom all over with a fork and chill for 30 more minutes.
- Preheat the oven to 400°F and place the oven rack on the bottom third of the oven. Brush the crimped edges of your pie crust with heavy cream or whole milk and sprinkle with a teaspoon of sugar. Line chilled pie crust with parchment paper and fill it to the brim with pie weights, dried beans, or rice. Bake for 20-25 minutes until the pie holds its shape. Carefully remove the weights and bake for another 15-25 minutes, until the bottom is golden brown and baked through (it will continue baking a bit while it cools in the pan). If the edge starts to get too dark, cover the edges with a pie shield or foil. Let cool completely before filling.
- Note: If also baking pie shape cut-outs, place them on a separate small baking sheet with parchment paper, brushed with cream and sprinkled with sugar. Bake alongside the crust, but pull them out after 10-12 minutes, once lightly golden brown.




John -
Getting my ingredients together to joyfully make this! However, 2 references to "See brand Note" about coconut cream seem left off--what say, Esteemed Guru? I know that less gar is a good thing, so interested in your recommendations too. Thanks. Then we can start up the fun!!
Sarah Menanix -
THANK YOU! That's what I get for posting at 1am haha. Just updated it!
mercmakesfood -
I remember trying this a year ago and I'm pretty sure it was my turning point/gateway to matcha.
Marzena -
I did, but the cream turned out to be very bitter. Probably from lime ;-)
Marzena -
or about matcha?
Sarah Menanix -
Oh no, I'm sorry it turned out bitter! It definitely should not be bitter - when I make this mousse filling (which is often:) and it's sweet enough even my toddler loves it. I'd love to help you troubleshoot what may have gone differently for you.
My first guess is that, if you used matcha, you used a brand that wasn't as high-quality. This will make a huge difference, and why I recommend choosing quality matcha. Most inexpensive matcha brands that you can get at the supermarket have very bitter notes. I recommend Encha matcha, which they sell in culinary, latte, and ceremonial grades, all for different price points.
The other reason could have to do with the limes, as you suggested. While I've never had this bitterness happen, some limes definitely are sweeter than others. Did you make sure to wash them really well to make sure there's no waxy outside? And when you zested them did you make sure only to use the very green peel, stopping as soon as it turned white - the white pith is the most bitter part so you want to make sure to just zest the very outside. You might already have done this, just brainstorming what could have been different for you! Try balancing the bitterness with a bit more maple syrup to taste.