

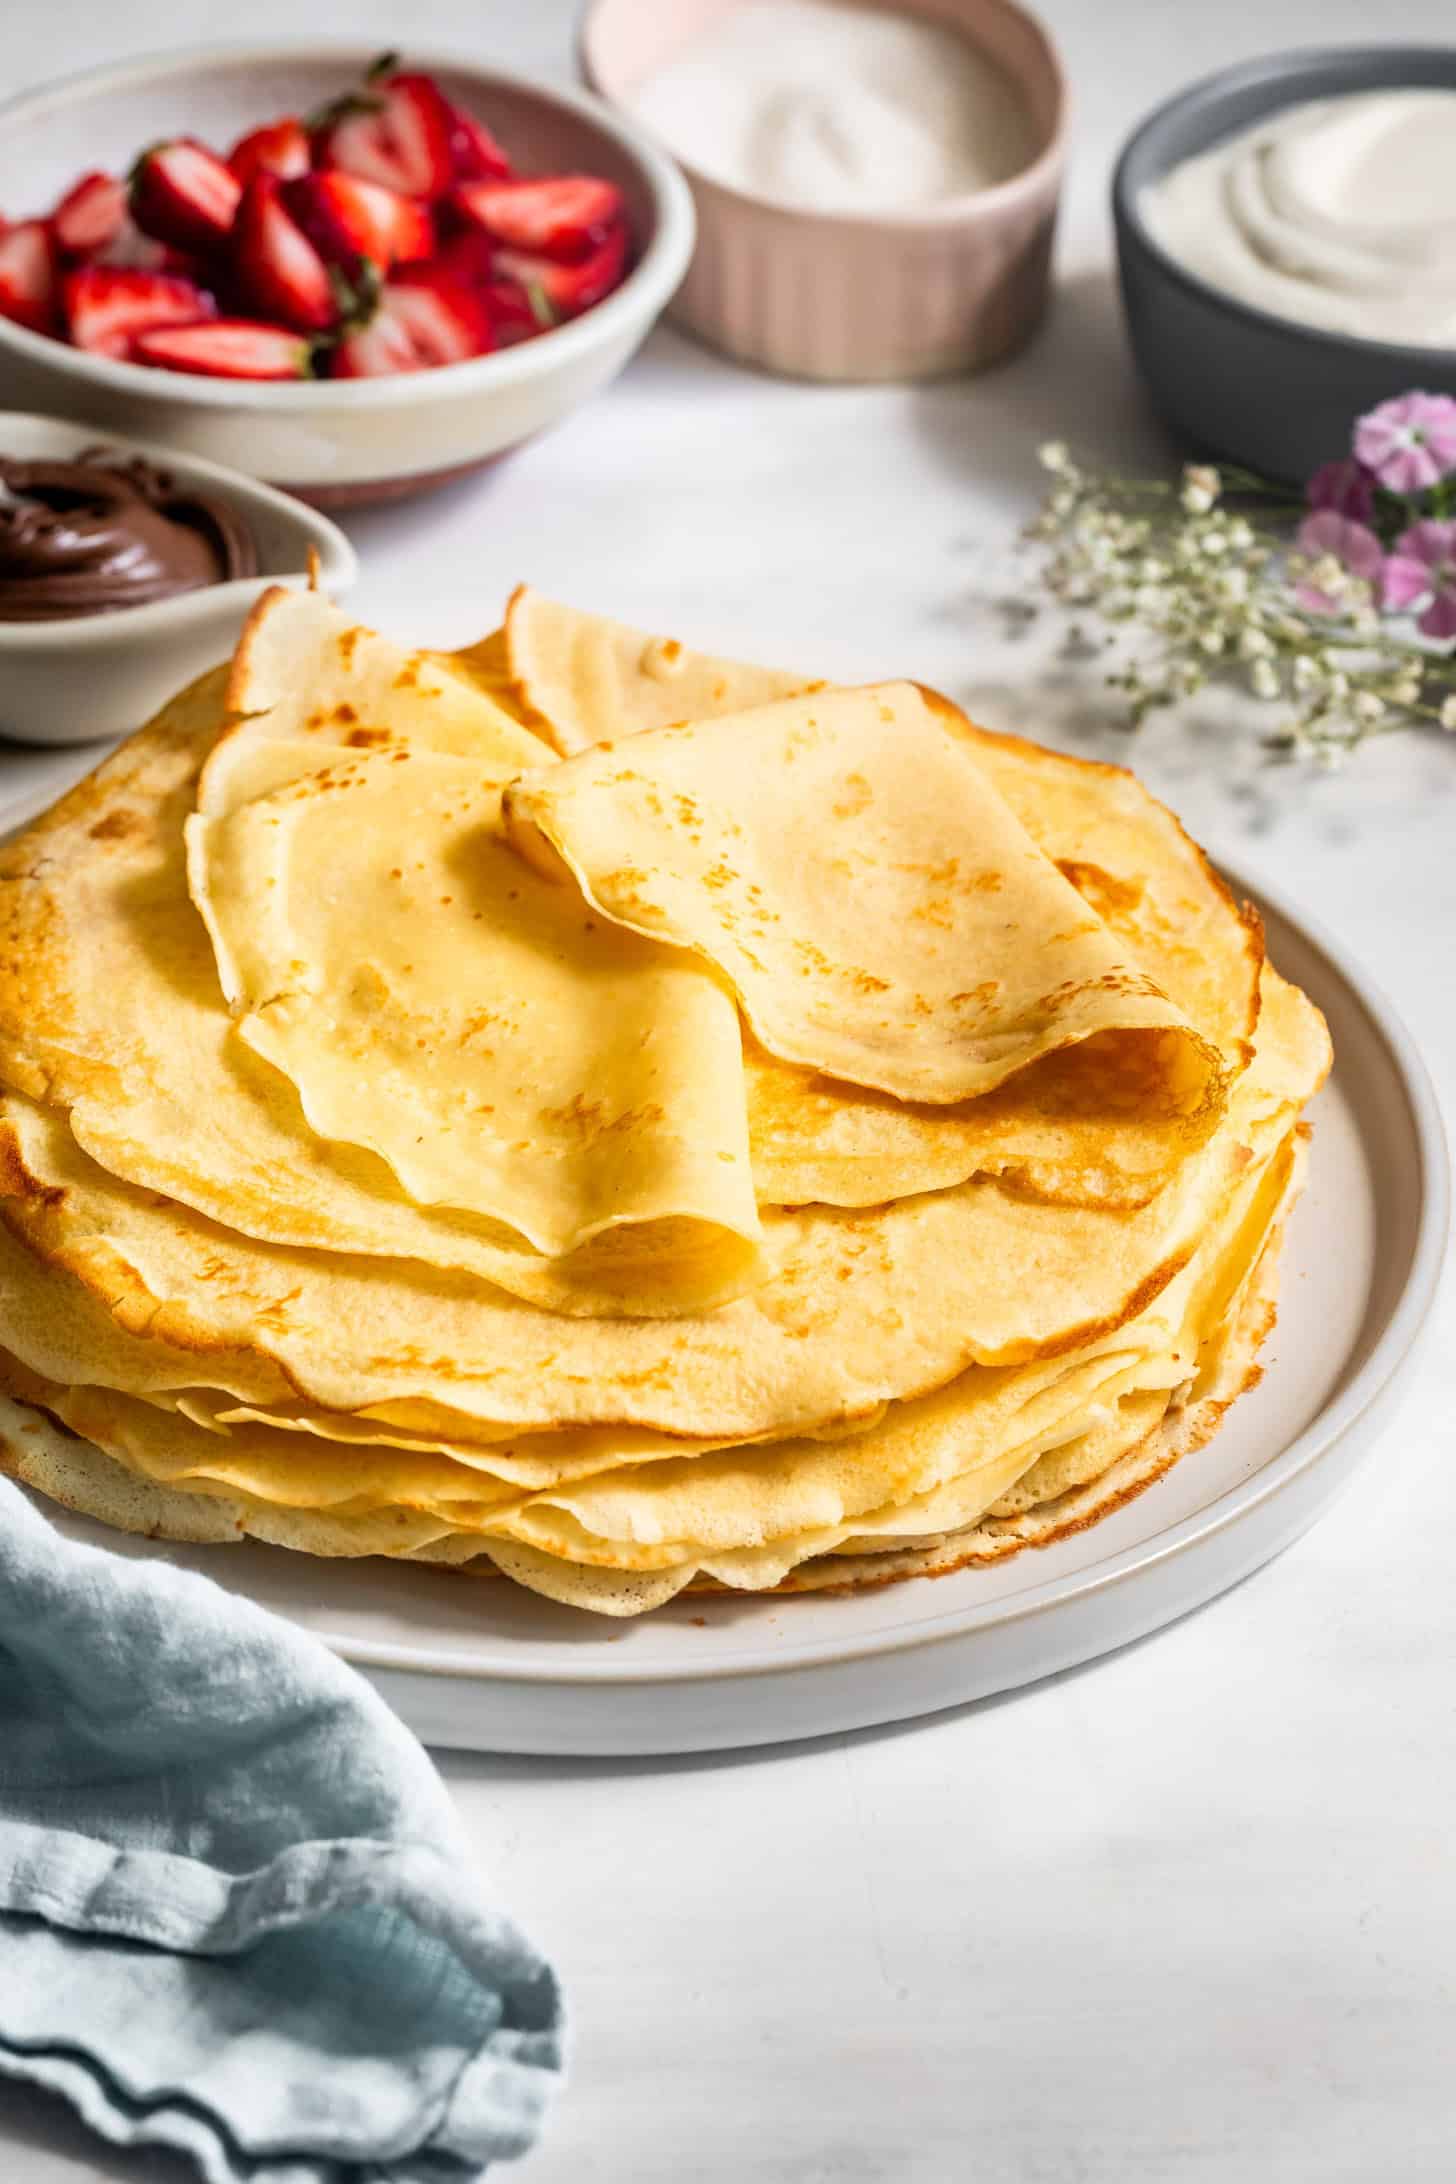
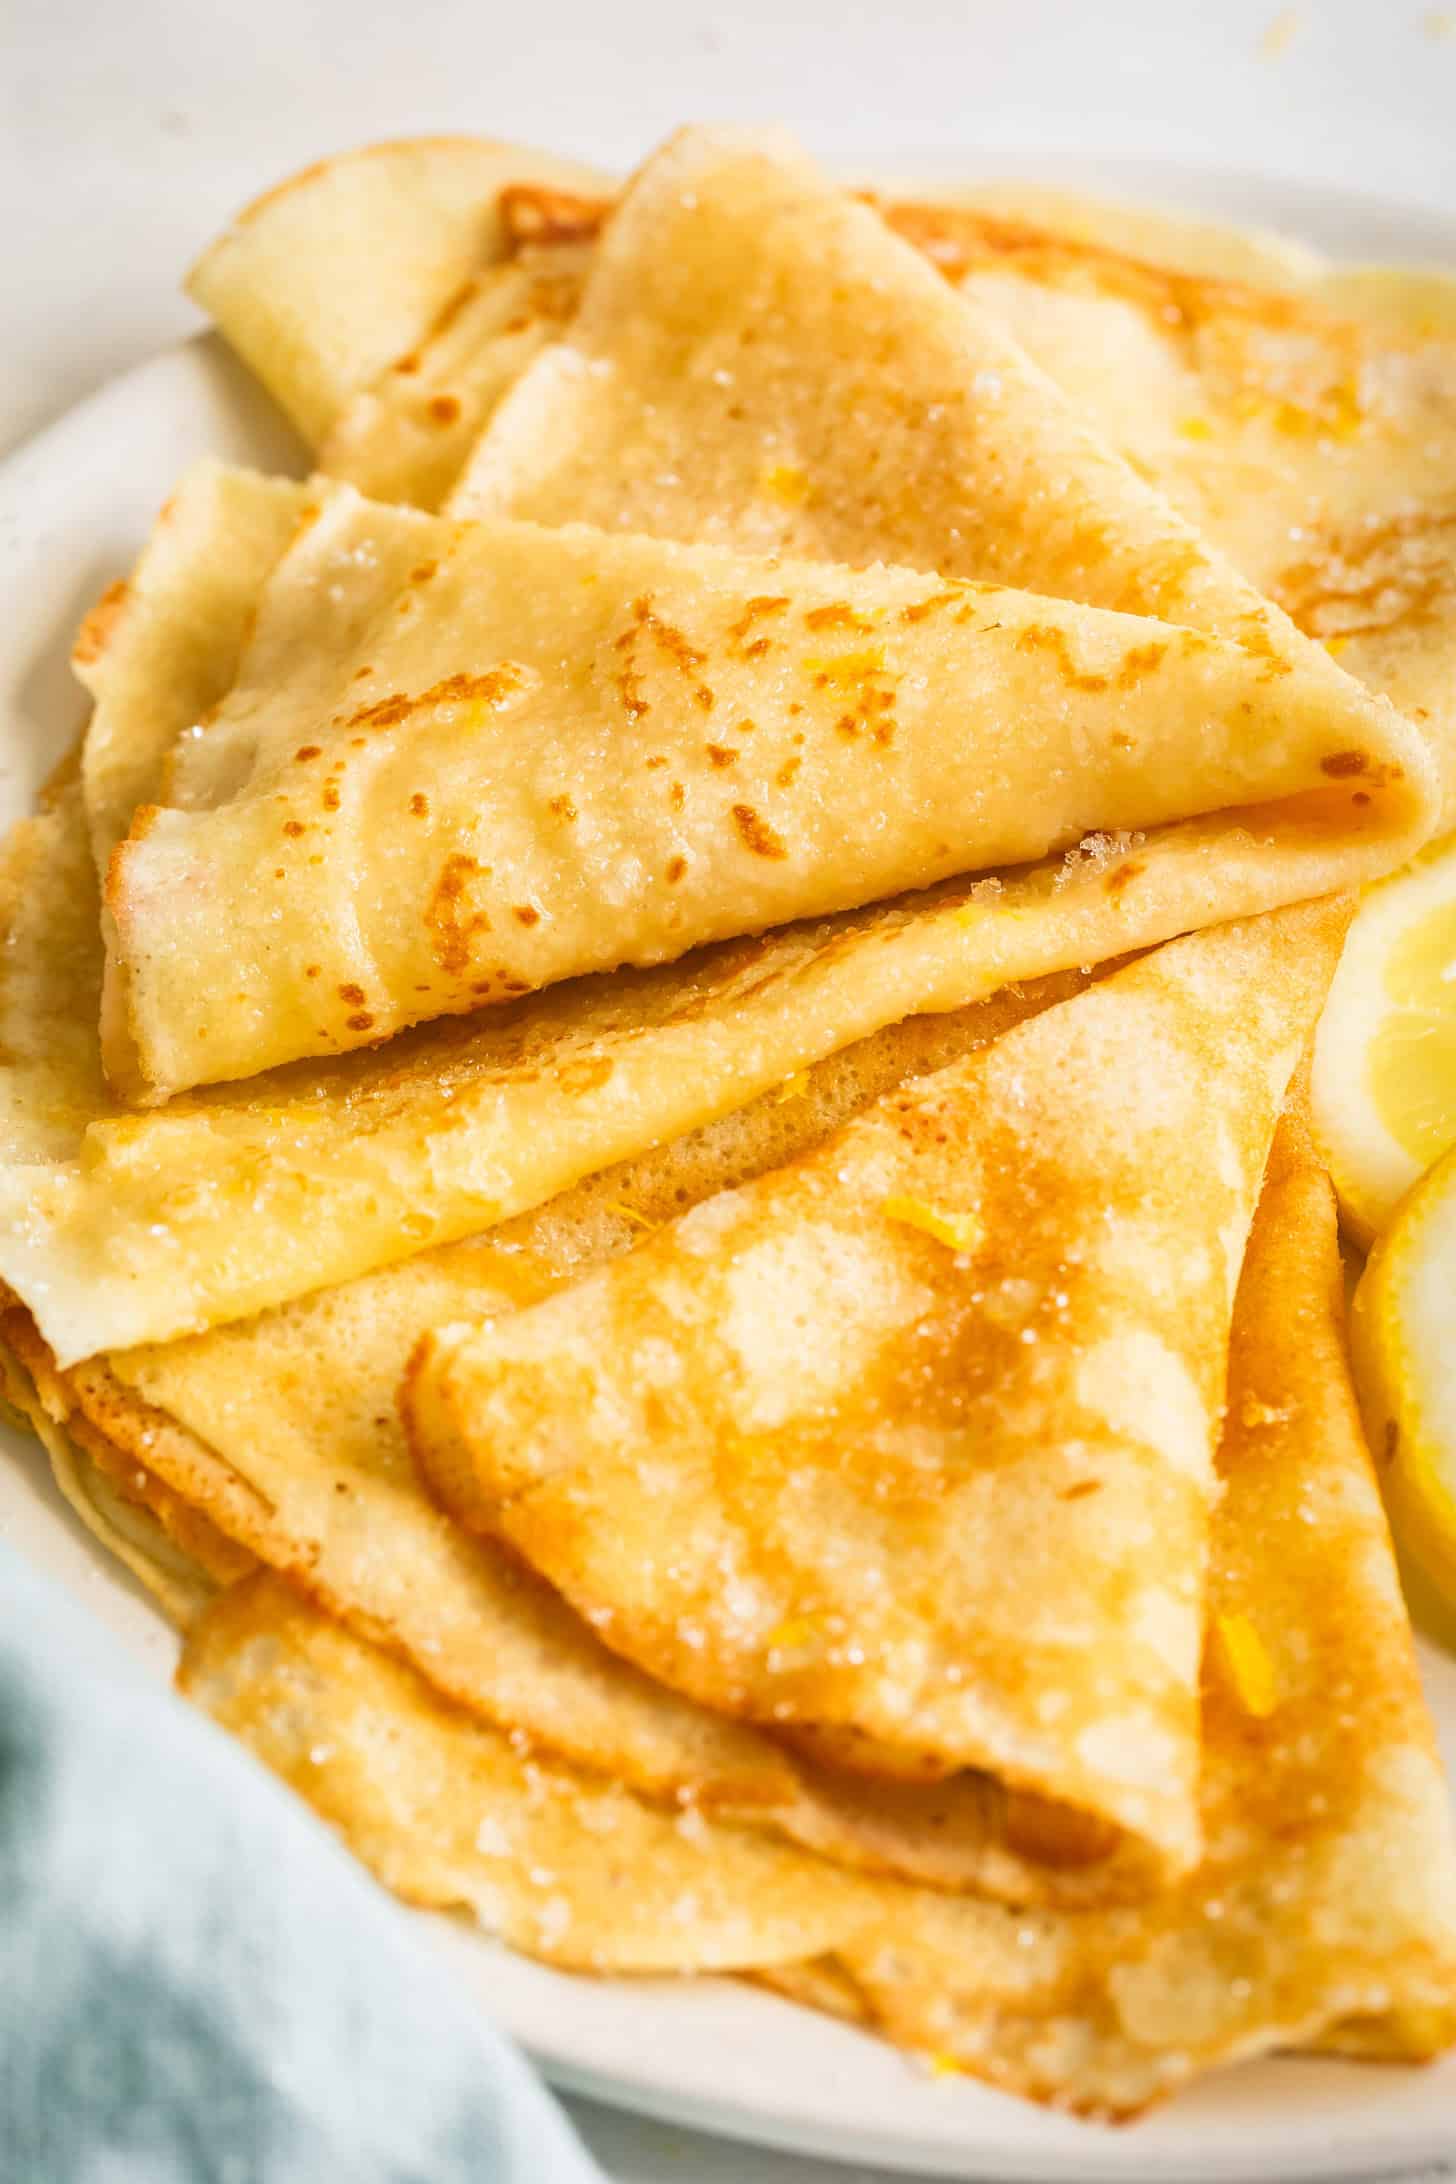
These classic French-style gluten-free crepes are perfectly thin with crisp buttery edges. These delicate crepes can be served with sweet or savory toppings and fillings. They're easy to make with a blender and a skillet!

I have it on good authority that the Mother in your life would like a plate of homemade gluten-free crepes for Mother's Day. Authority = my own mom. Also me. But I find no statistical flaw in extrapolating this data set of 2 to all moms.
I like to use almond flour as the base for these lacy thin and soft crepes that are shockingly even easier than pancakes.
- Taste just like traditional French crepes
- Super easy to make - just a blender and a non-stick skillet!
- Just a few ingredients with endless filling variations
- Can be served sweet or savory
If you've got the time, letting the batter 30 minutes before cooking will allow the flours to soak up the moisture. This process will produce crepes that are less delicate when it comes to flipping, while still thin and lacy in texture.
The flours:
- Super-fine blanched almond flour: Almond flour has a neutral subtly sweet flavor that makes it a perfect base for crepes. If used alone however, almond flour is delicate and brittle, and the crepes would likely tear. That's where sweet rice flour comes in.
- Sweet rice flour: Also called mochiko, sweet rice flour is the same flour used to make chewy mochi. Here, sweet rice flour makes the crepes pliable and sturdy. This flexibility helps to keep the crepes intact when flipping and gives them the little bit of chew you get from traditional crepes.
Recipe

Soft & Lacy Almond Flour Crepes
Equipment
Ingredients
- 1½ cups (360 g) milk, dairy or non-dairy
- 4 large eggs, room temperature
- 170 g (1½ cups) super-fine blanched almond flour
- 70 g (¼ cup + 2 tablespoons) sweet rice flour, also called mochiko; do not substitute white or brown rice flour
- 1½ tablespoons unsalted butter*, melted and cooled, plus more for the pan
- ½ teaspoon kosher salt
- 1½ tablespoons granulated sugar
- 1 teaspoons pure vanilla extract
INSTRUCTIONS
- Preheat oven to 170°F and place a baking rack over a baking sheet inside. You'll use this to keep the crepes warm as you make more.
- Pulse all the crepe ingredients (including the sugar and vanilla, if using) in a blender until smooth. Tip: Put the liquid ingredients in first, so the flour doesn't stick to the bottom.
- Preheat a nonstick crepe pan or 10-inch non-stick pan over medium-low heat until hot, but not smoking. If the pan is too hot, your batter will cook too quickly, making it hard to swirl it into a thin crepe, but if it's not hot enough, your batter won't stick to the pan in a thick enough layer, leaving the outside edge very thin and brittle. Expect to mess up a crepe or two while you get the heat just right for your stove.
- Rub a butter stick on the pan (or melt a tiny dab in the pan) and brush it around the pan with a paper towel to create a very fine layer of butter. You want just enough to keep it from sticking, but not enough that it disrupts your batter.
- With the skillet in one hand, pour ¼ to ⅓ cup of batter into the hot skillet, while simultaneously tilting your wrist to rotate the pan so the batter spreads around the pan. Gently shake the pan to spread the batter into a thin even layer on the bottom of the pan. Set the pan back on the stove and let it cook until the edges slightly curl up and turn golden, while the top is no longer glossy, about 2-3 minutes.
- Use a silicone spatula to lift around the outside edge of the crepe to make sure it hasn't stuck to your pan. Gently grasp and edge of the crepe with your fingertips and quickly flip the crepe (you can also use a large silicone turner spatula to help you flip the crepe if it's too hot for your touch!). Let cook for 1-2 more minutes until it just begins to golden brown. Transfer crepe to the baking sheet in the warm oven while you cook the next crepe(s). Repeat until you've used all the batter.
- Serve warm with your favorite fillings and toppings!
Notes
How to store gluten-free crepes
Let cooked crepes cool completely in a stack, then place the crepes in a sealed plastic freezer bag. Store in the fridge for up to 5 days.
Reheat by placing a single crepe in a dry nonstick skillet for 10 seconds per side. Alternatively, you can reheat in the microwave for 10-15 seconds, but your results will be softer than reheating in the skillet.
Dairy-Free Gluten-Free Crepes
To make dairy-free gluten-free crepes, use non-dairy milk, such as oat milk or almond milk, and use plant butter for the batter and the pan.Nut-Free Gluten-Free Crepes
For nut-free gluten-free crepes, use my gluten-free buckwheat crepes recipe!Troubleshooting
Why are my crepes too thin or too thick?
If your crepes are too thin, either your pan was not hot enough, so the batter did not stick in a thick enough layer as you swirled it around the pan, or your batter was too thin. Blend in an additional tablespoon of almond flour and sweet rice flour until it reaches the desired consistency. If your crepes are too thick and don't spread in an even layer around the pan, then the batter needs just a bit more milk. Add a couple teaspoons of milk at a time, to thin the batter as needed.How do I prevent rips or tears when flipping crepes?
One way to avoid rips and tears when flipping is to let the batter rest 30 minutes, so the flours can soak up the moisture. When cooking, ensure that the first side has cooked long enough and the top is set before attempting to flip. Use a thin silicone turner spatula to carefully release the edges of the crepe around the pan before flipping either with your fingers or the spatula.Why did my crepes burn?
If your crepes burn, then your pan was likely too hot before you poured in the crepe batter, or you cooked them too long. Turn down the heat on your stove and keep a close eye. If I notice my pan getting too hot between crepes, I'll pull it off the burner and wave it in the air a couple of times to cool it down before cooking the second crepe.How to prevent crepes from sticking to the pan?
Grease the skillet with butter and wipe it into a thin layer between each crepe.How to Make Gluten-Free Crepes
The gluten-free crepes are super easy to make, using just a blender and a nonstick skillet.
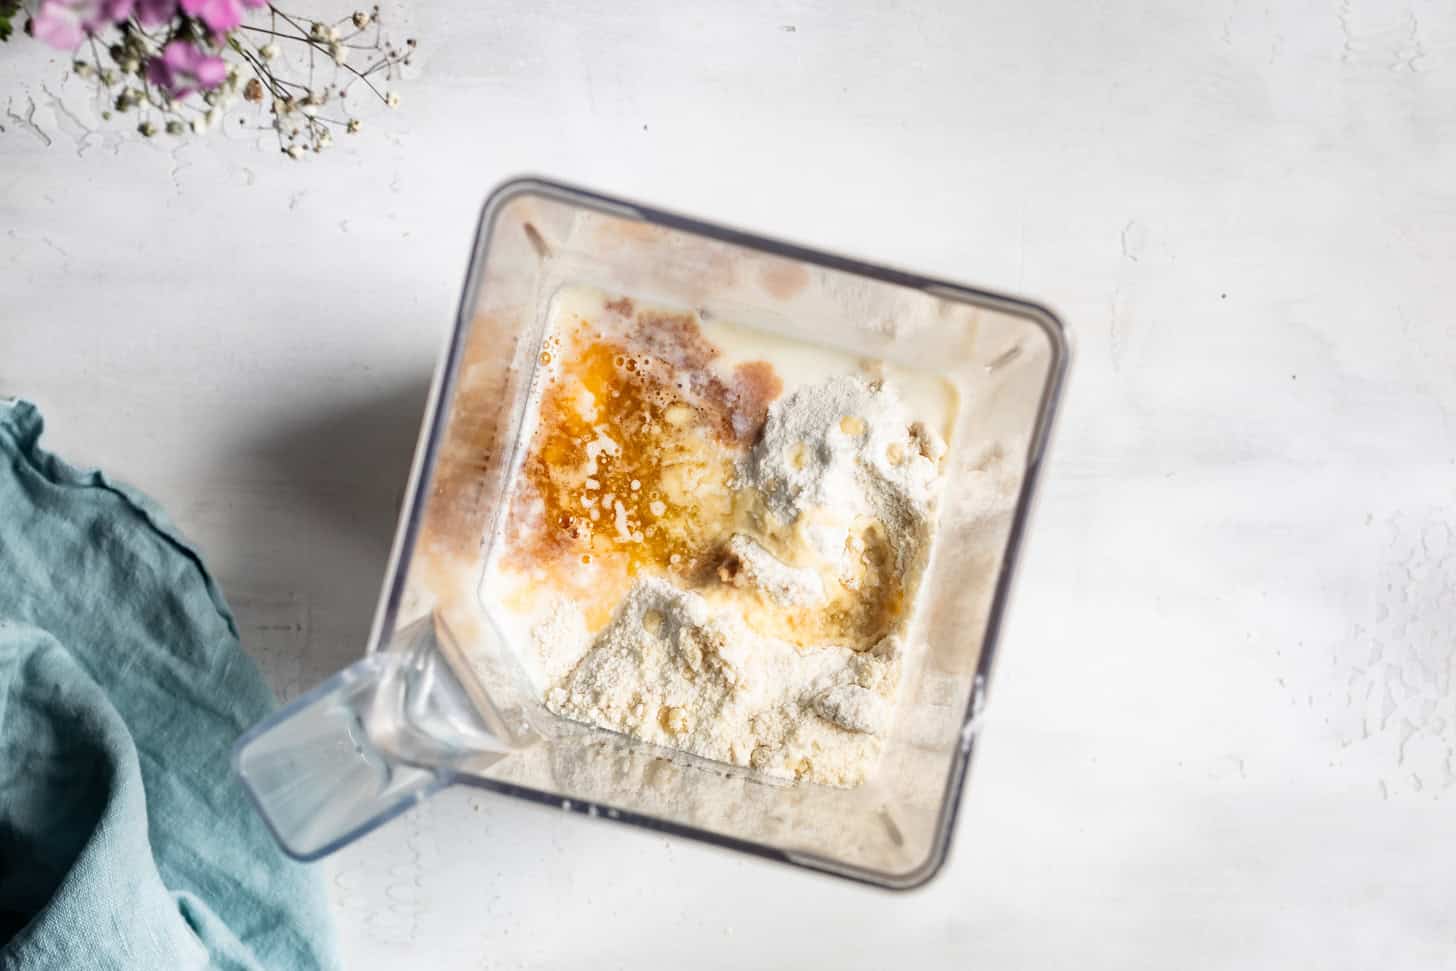
Place all the crepe ingredients (including the sugar and vanilla, if using) into a blender. Tip: Put the liquid ingredients in first, so the flour doesn't stick to the bottom.
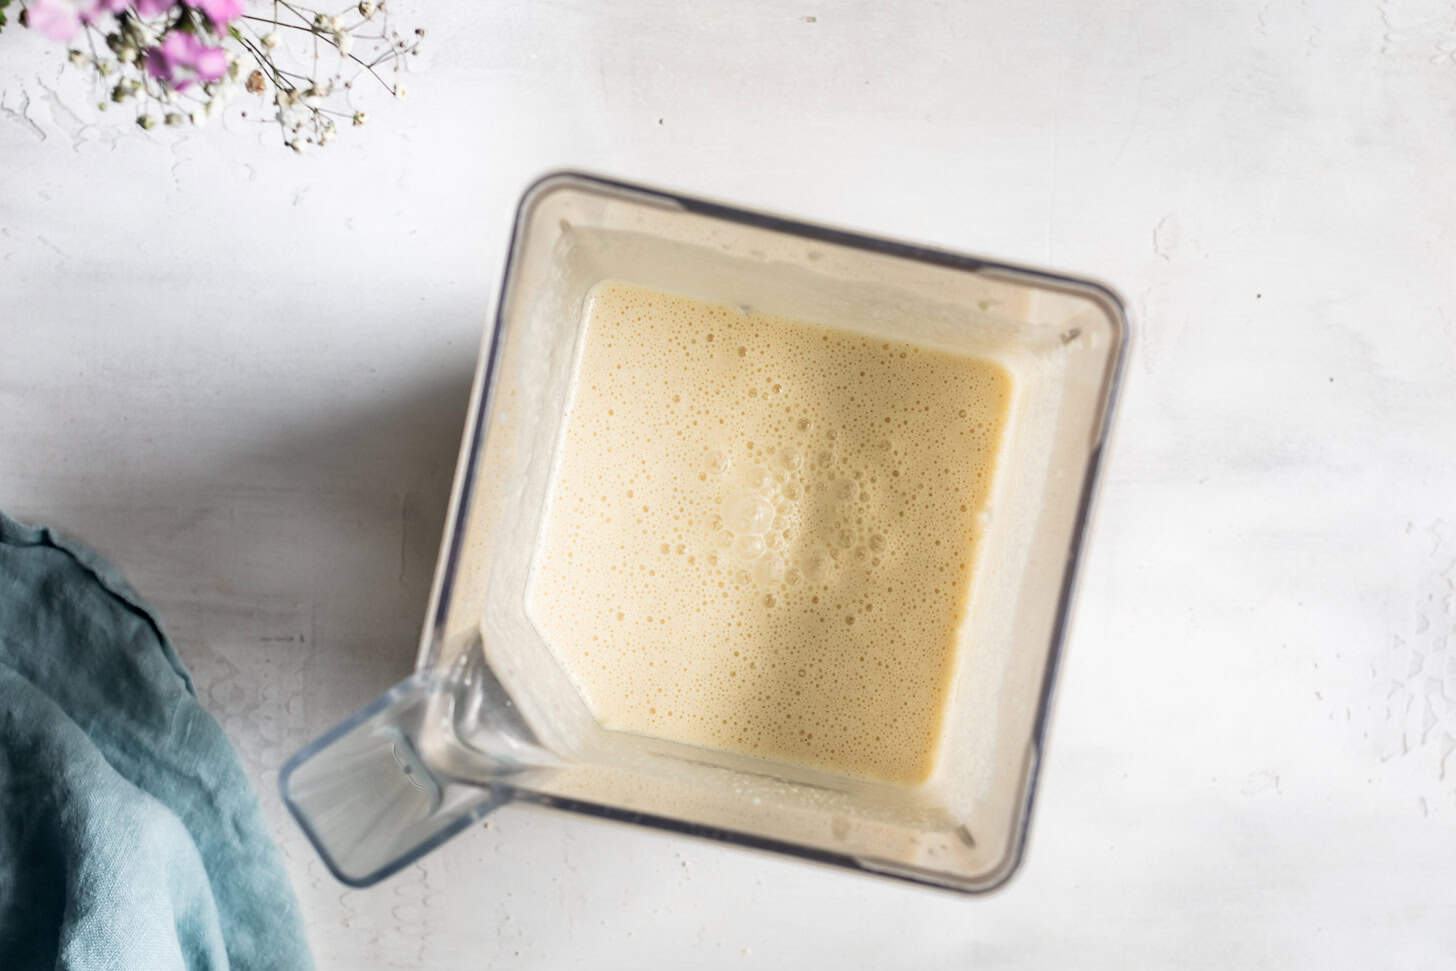
Blend until smooth.
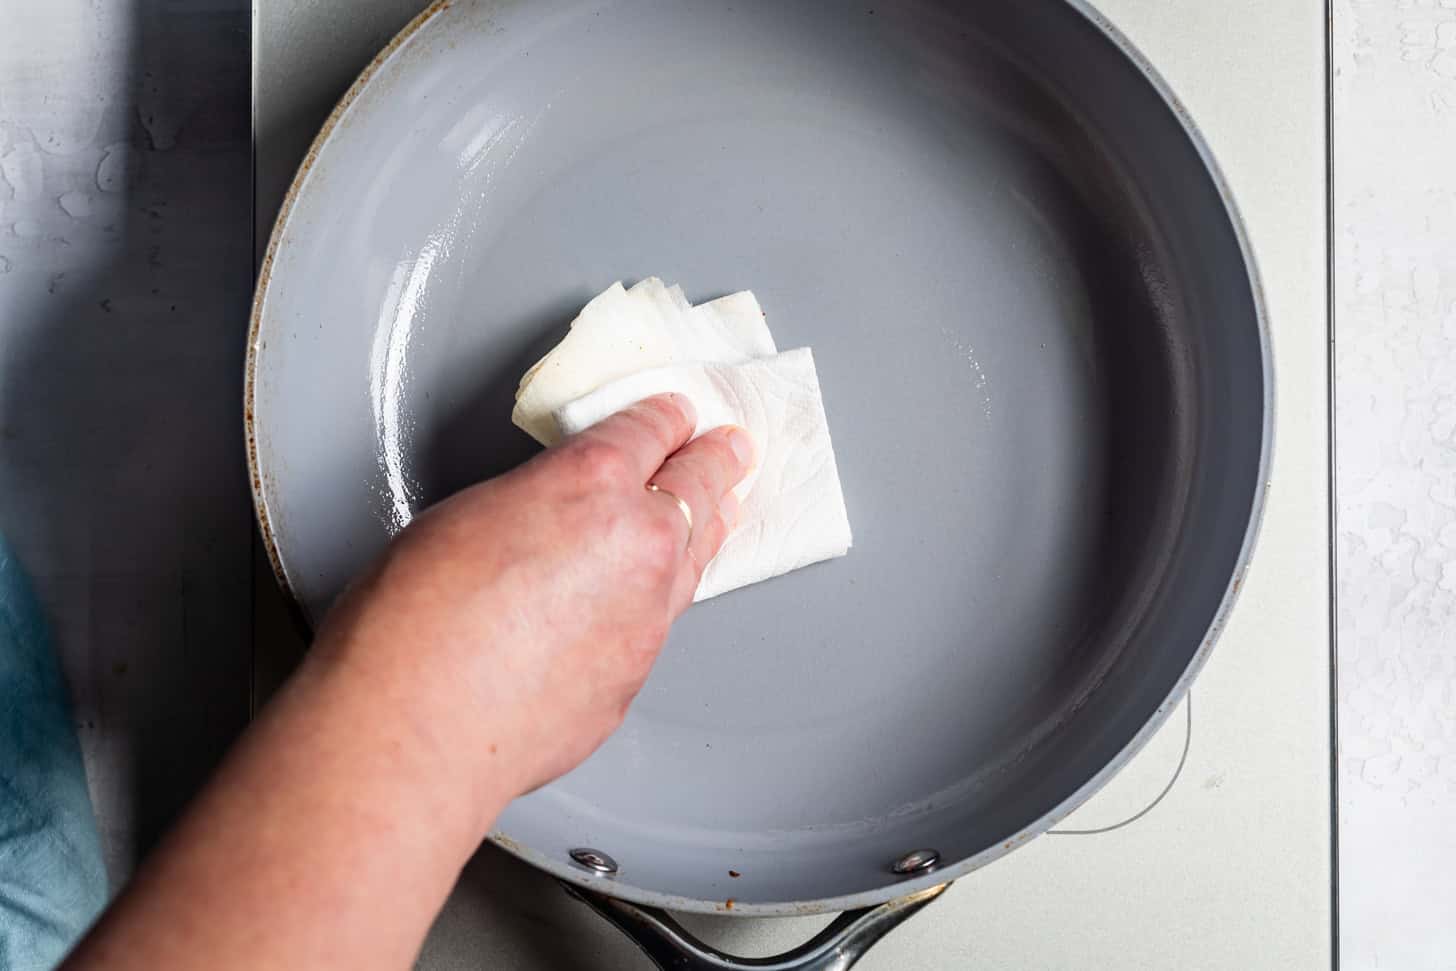
Preheat a pan over medium-low heat. Melt a tiny dab of butter in the pan and brush it around the pan with a paper towel to create a very fine layer of butter.

With the skillet in one hand, pour ¼ to ⅓ cup of batter into the hot skillet, while...
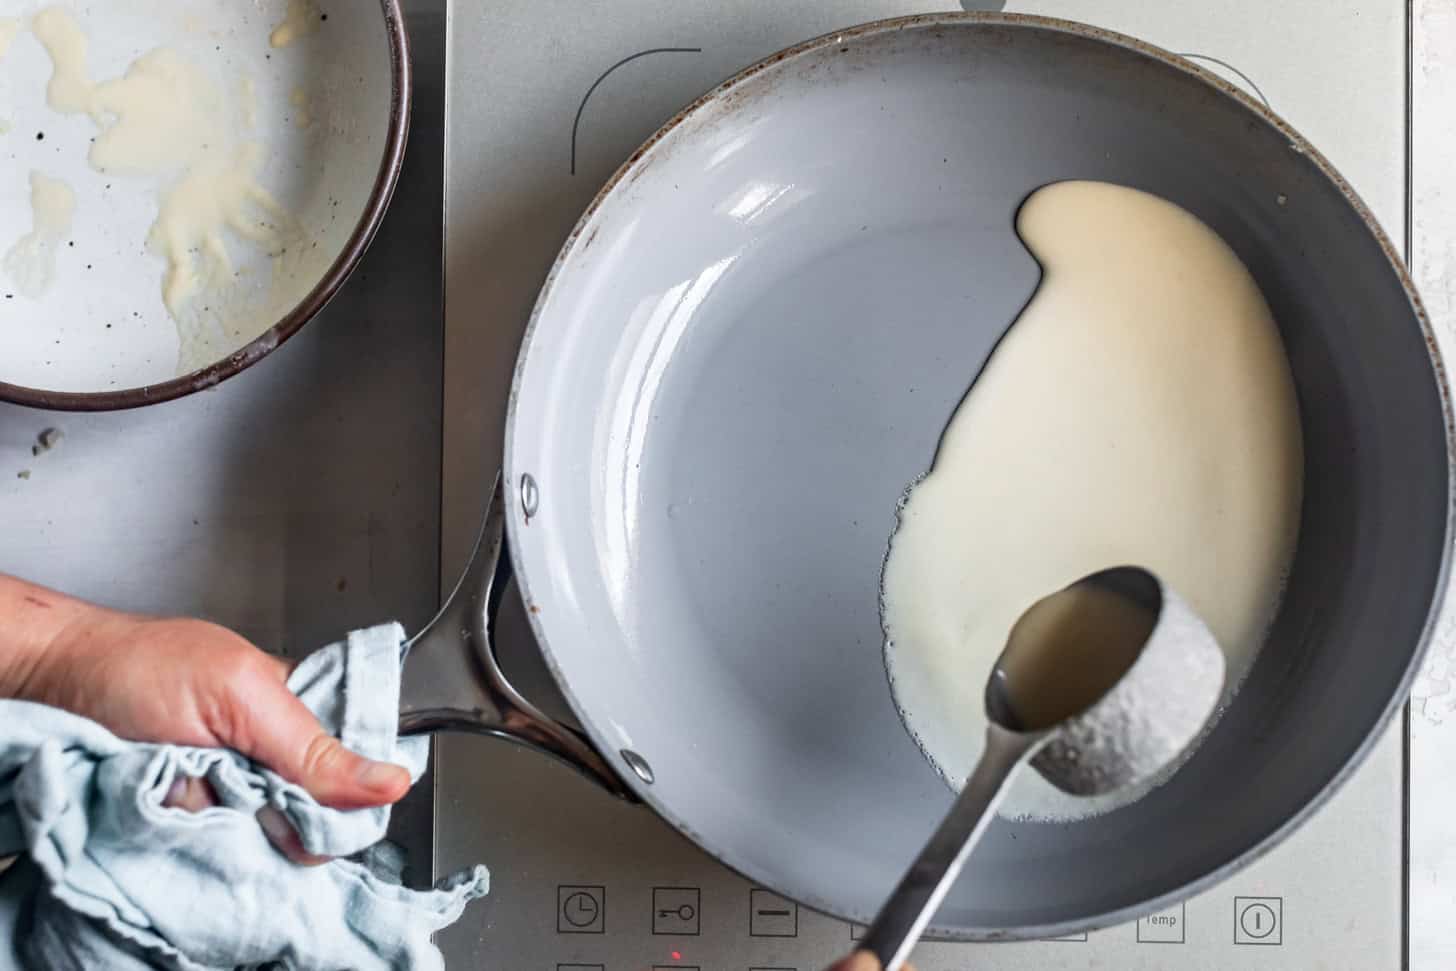
... simultaneously tilting your wrist to rotate the pan....
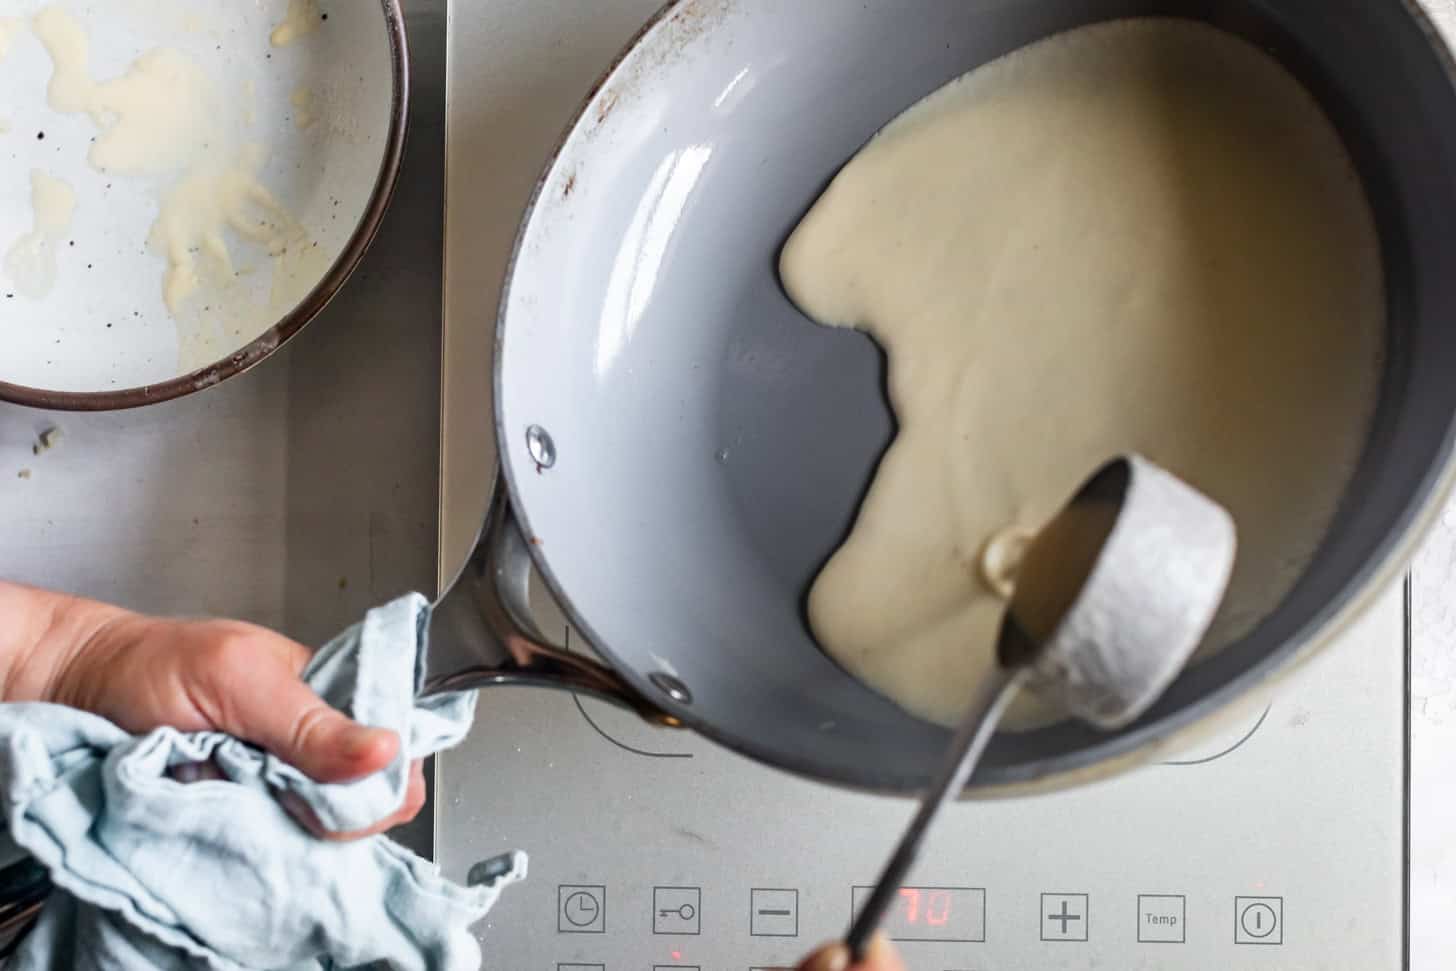
...so the batter spreads around the pan.
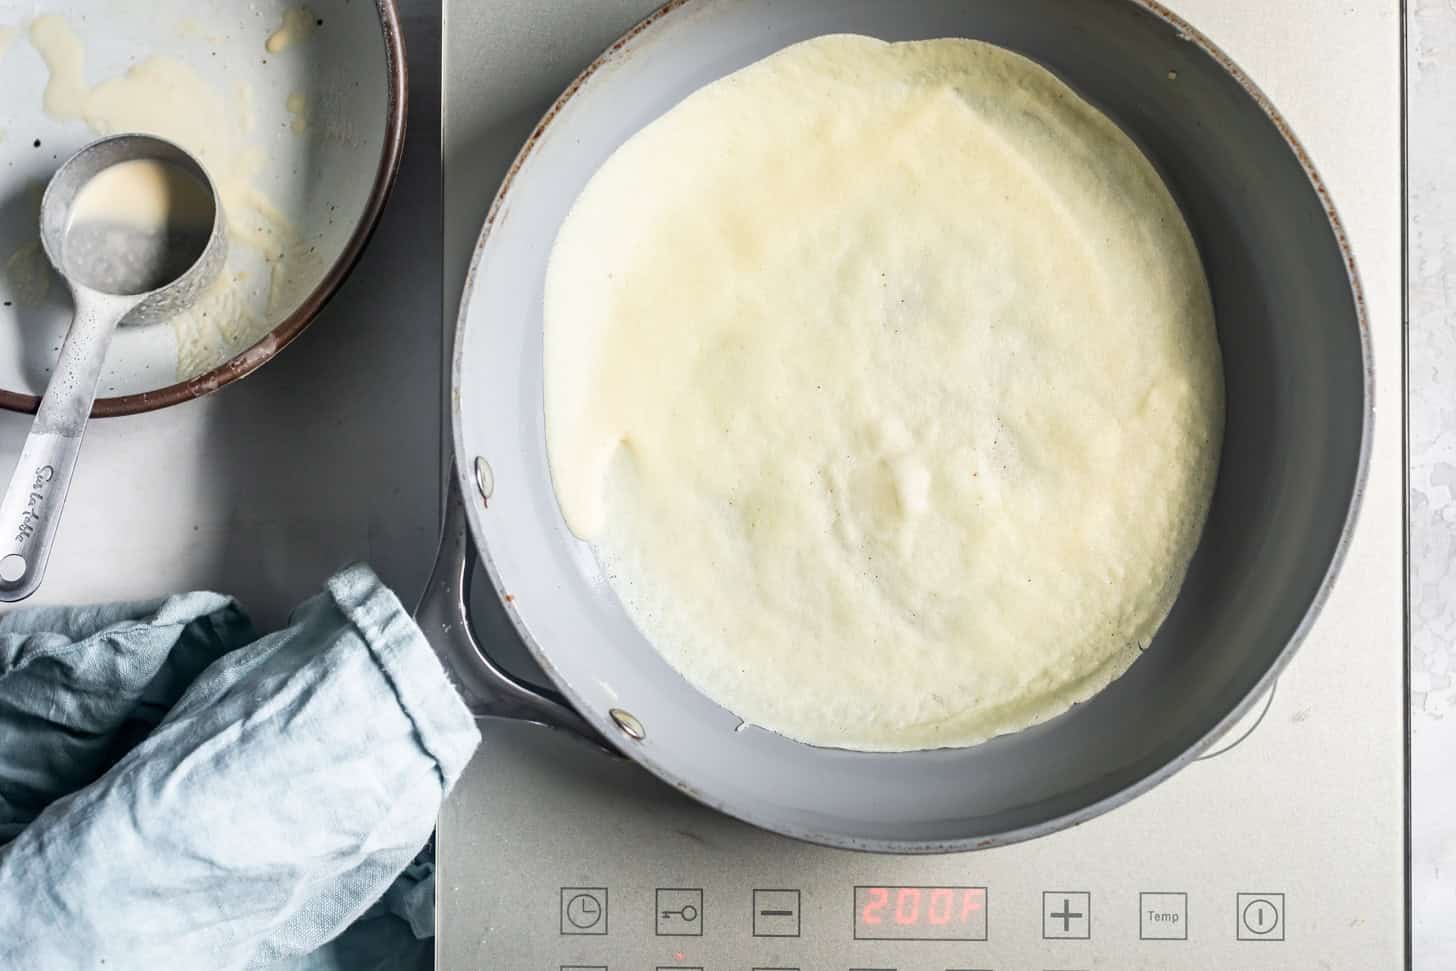
Cook until the edges slightly curl up and turn golden and the top is set, about 2-3 minutes.

Loosen the edges of the crepe with a thin silicone turner spatula.
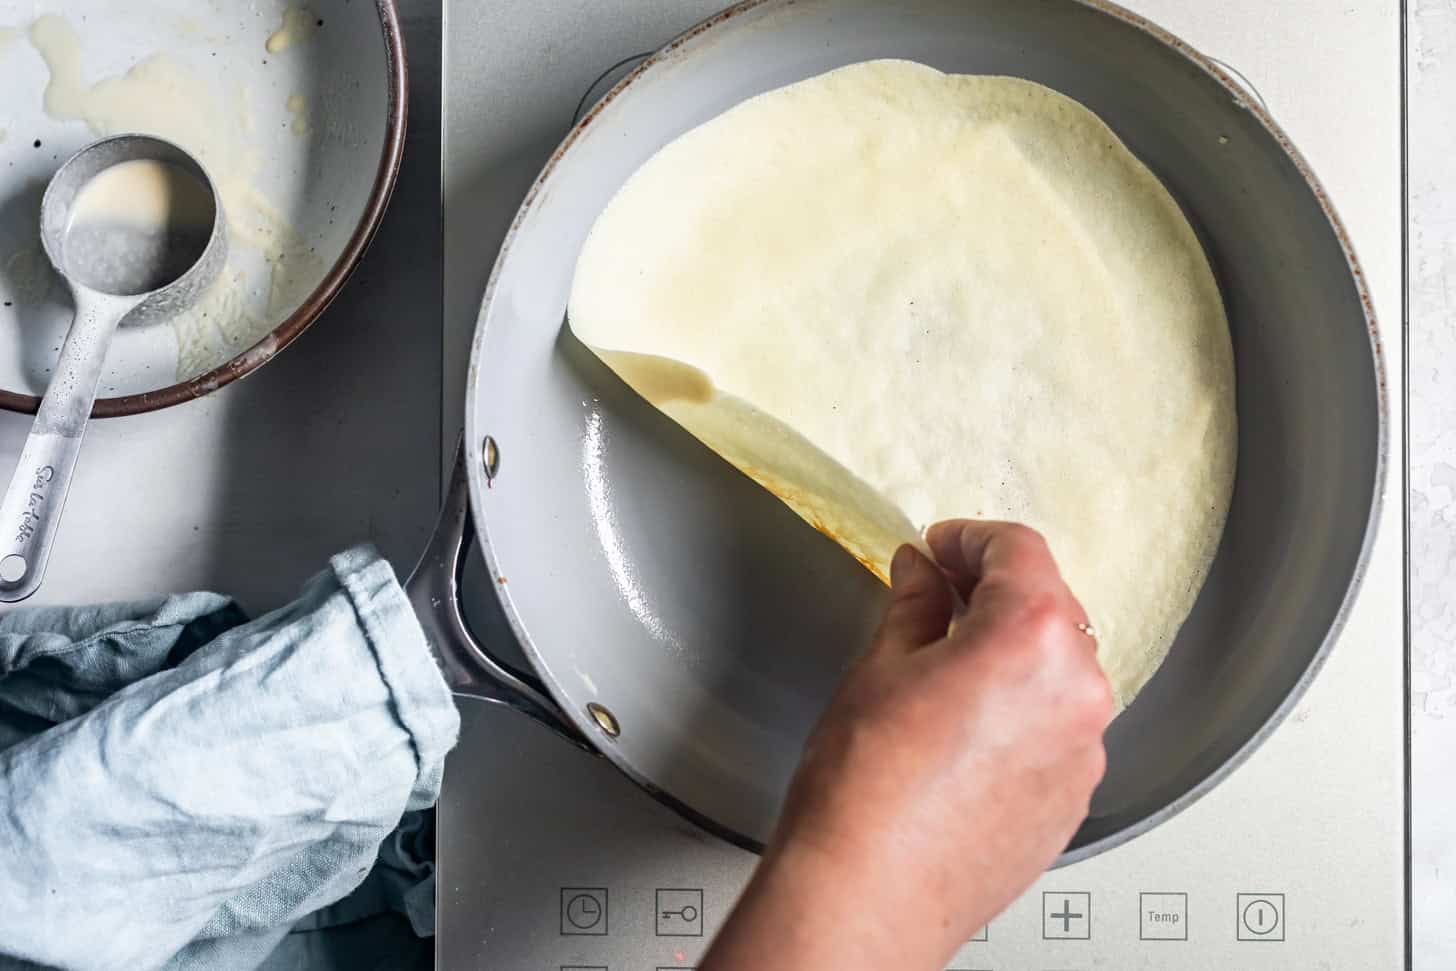
Gently grasp and edge of the crepe with your fingertips and quickly flip the crepe.
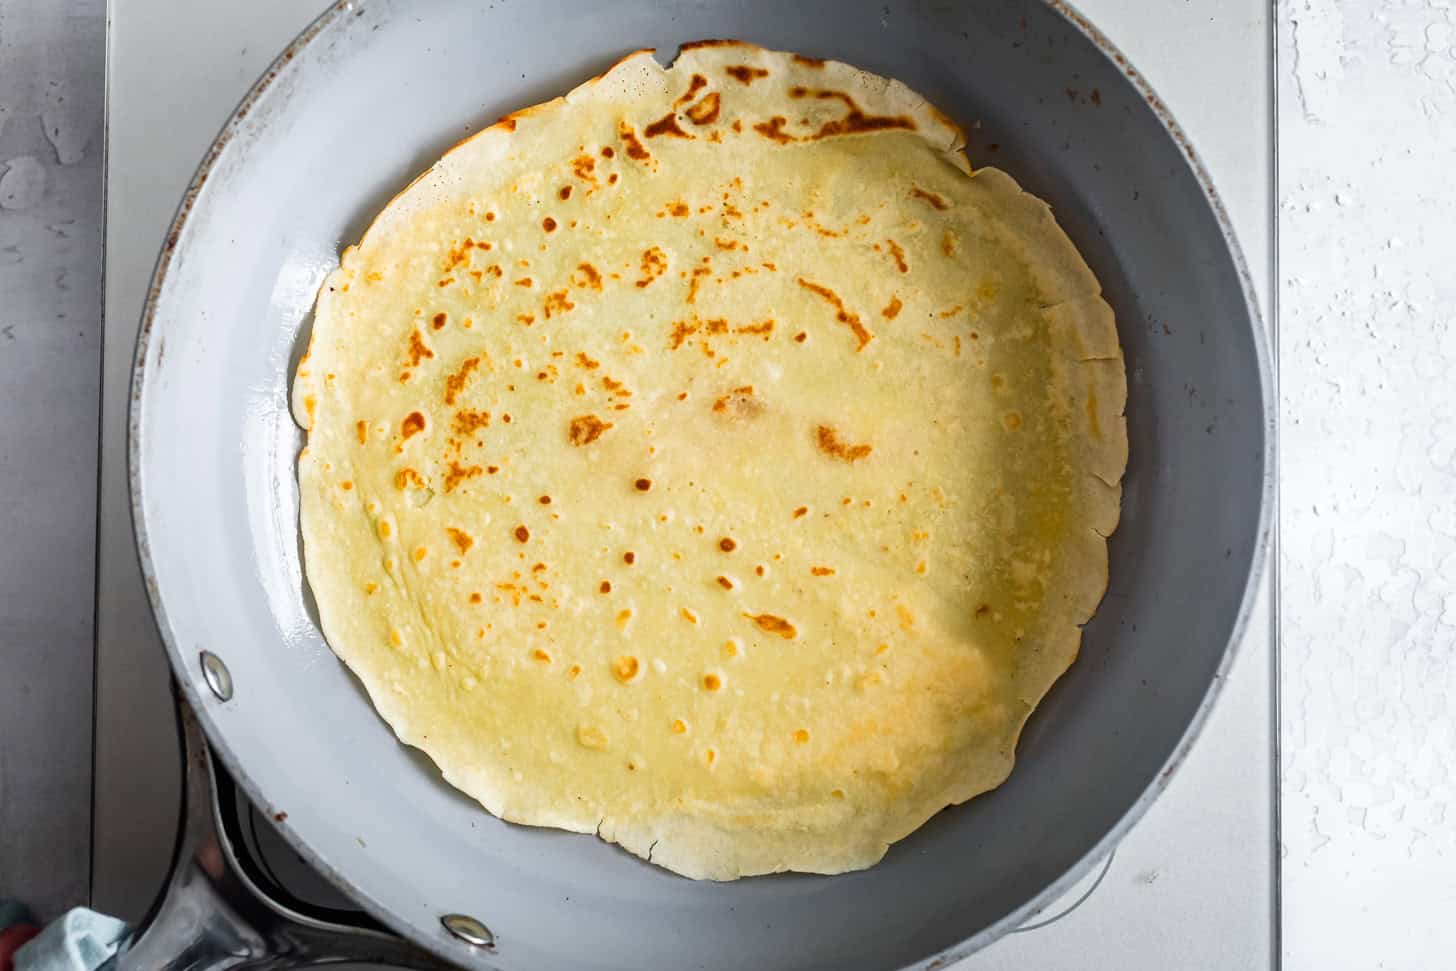
Let cook until the other side is lightly golden brown, 1-2 minutes.

Repeat until you've used all the batter. Serve warm with your favorite fillings and toppings!
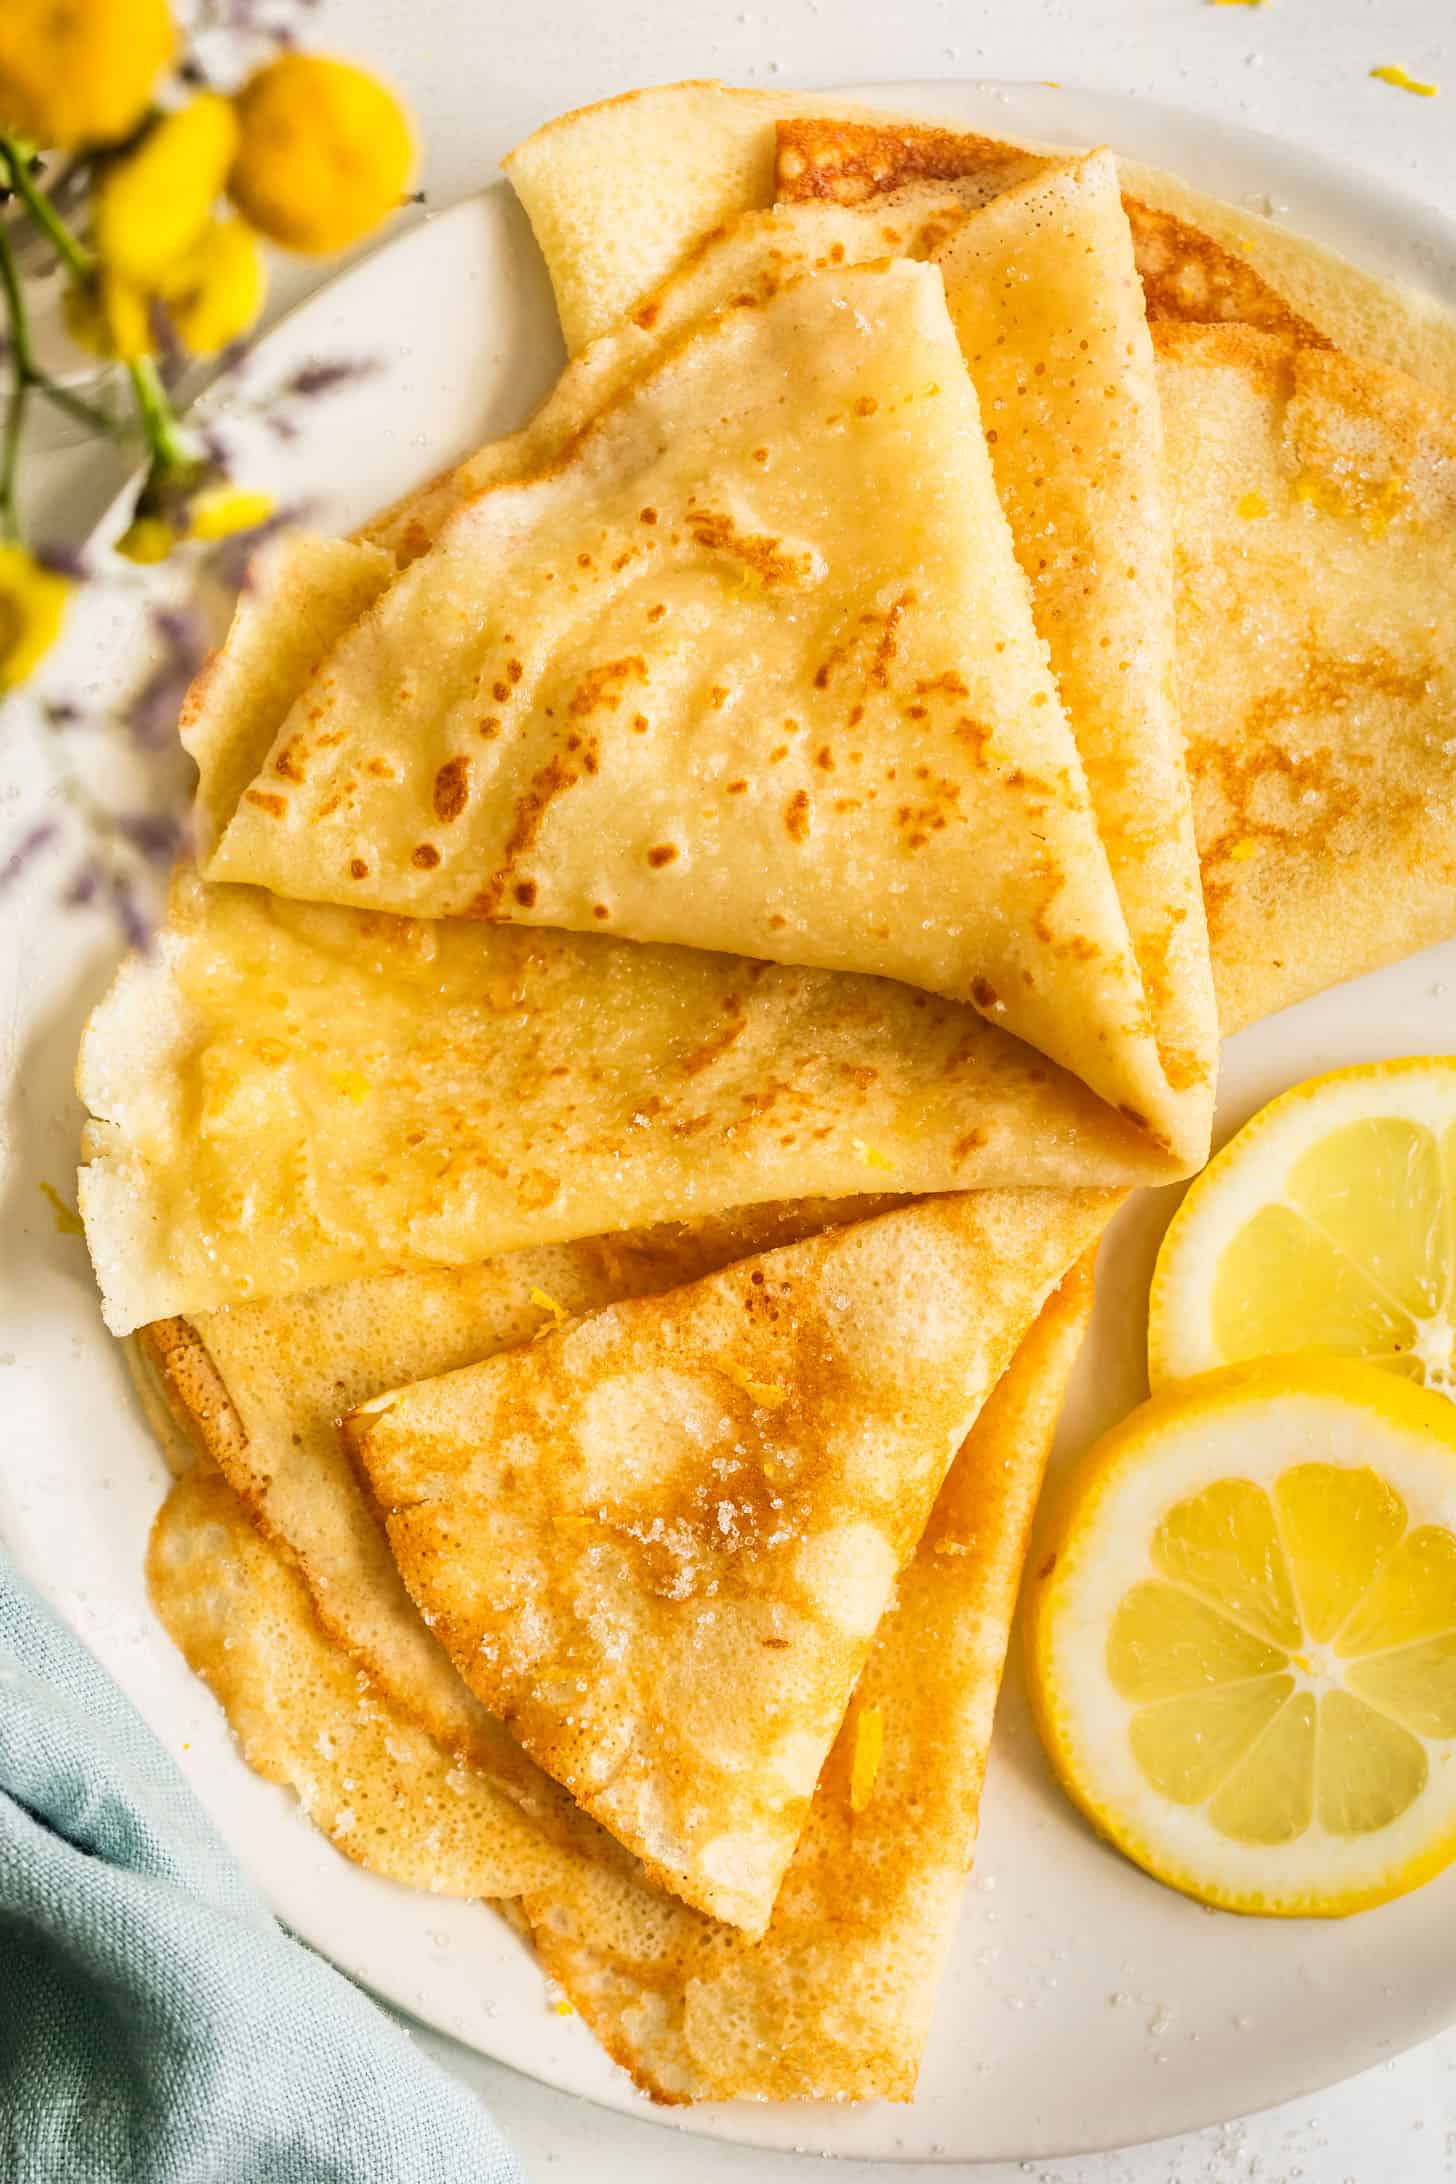
Tip: You know the saying "you always throw away the first pancake"? The same goes for crepes. Expect to mess up the first 1-2 crepes as you figure out the right temperature and batter thickness for your pan and stove - that's okay! Sprinkle some sugar and lemon juice on top and eat the ugly one(s) while you cook the rest.


Filling ideas for Gluten-Free Crepes
From savory to sweet, I've got you covered with delicious combinations to elevate your crepe game.
Sweet Crepes
- Lemon and sugar
- 5-minute lemon cream cheese icing with fresh berries
- Whipped cream, whipped coconut cream, or vanilla bean creme fraiche and fresh berries: Macerate sliced strawberries in a bit of sugar to get a bit of strawberry syrup for drizzling!
- Nutella and strawberries
- Peanut butter and sliced bananas
- Cream cheese filling with caramel and candied nuts
- White chocolate ganache
- Roasted cherries, chocolate, and whipped cream
- Brie and caramelized honey
Savory Crepes
- Gruyere or parmesan, prosciutto or ham, and a soft egg
- Ham and cheddar cheese
- Goat cheese, grilled nectarines, arugula, and prosciutto
- Cooked spinach, mushrooms, and cheese
See this gluten-free crepe cake idea from my archives - make as is with matcha crepes, or use these plain almond flour crepes!


Nova -
May we know what fillings went into your savory grilled peach crepe? It looks delicious!
Sarah @ Snixy Kitchen -
Hi! The one you saw on Instagram?
Toppings:
1 nectarine, thinly sliced
2 cups Plenty baby arugula
2 teaspoons fresh lemon juice
2 oz prosciutto
1 oz goat cheese
Honey
Grill the nectarine slices and toss arugula with lemon juice.
Make the crepes (as above)
Fill the warm crepes with crumbled goat cheese, grilled nectarines, arugula, and prosciutto. Fold and serve with a drizzle of honey.
Ethel -
Made these for my daughter in law as an early Mother’s Day brunch. She’s gluten free and she loved them!
Thomas -
This recipe is so good. Need more!
Samantha -
This recipe worked exactly as written! Thin crisp crepes that are pliable.