
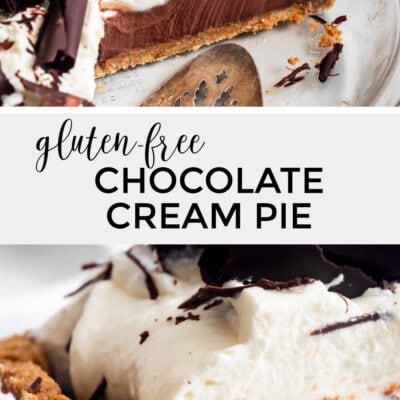
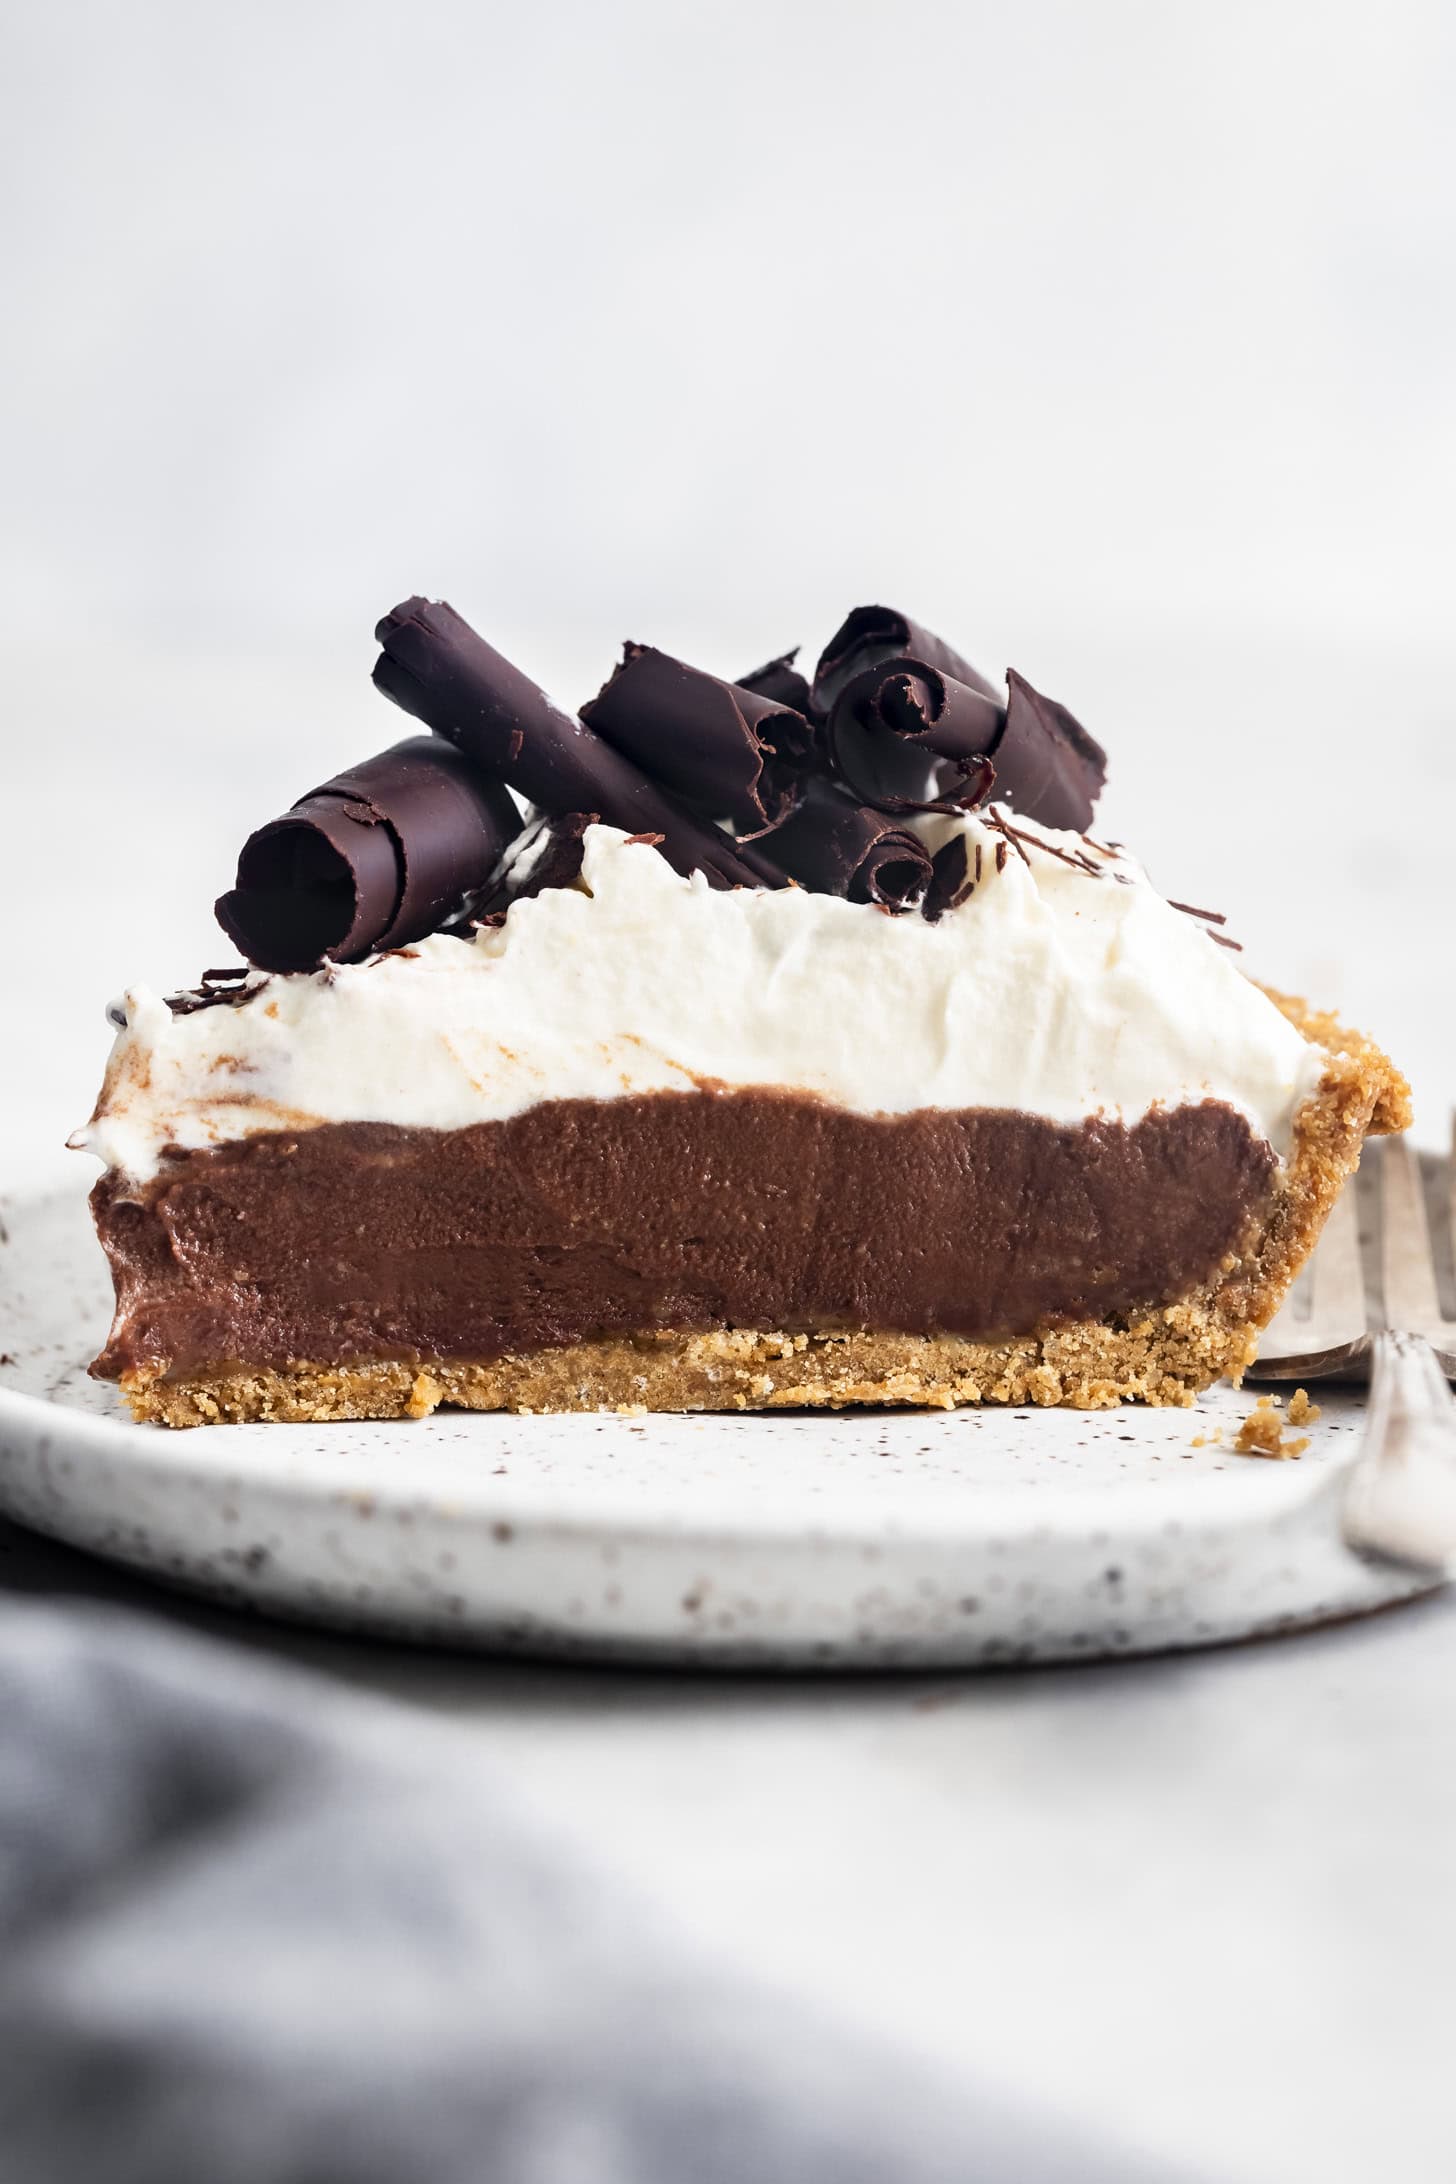
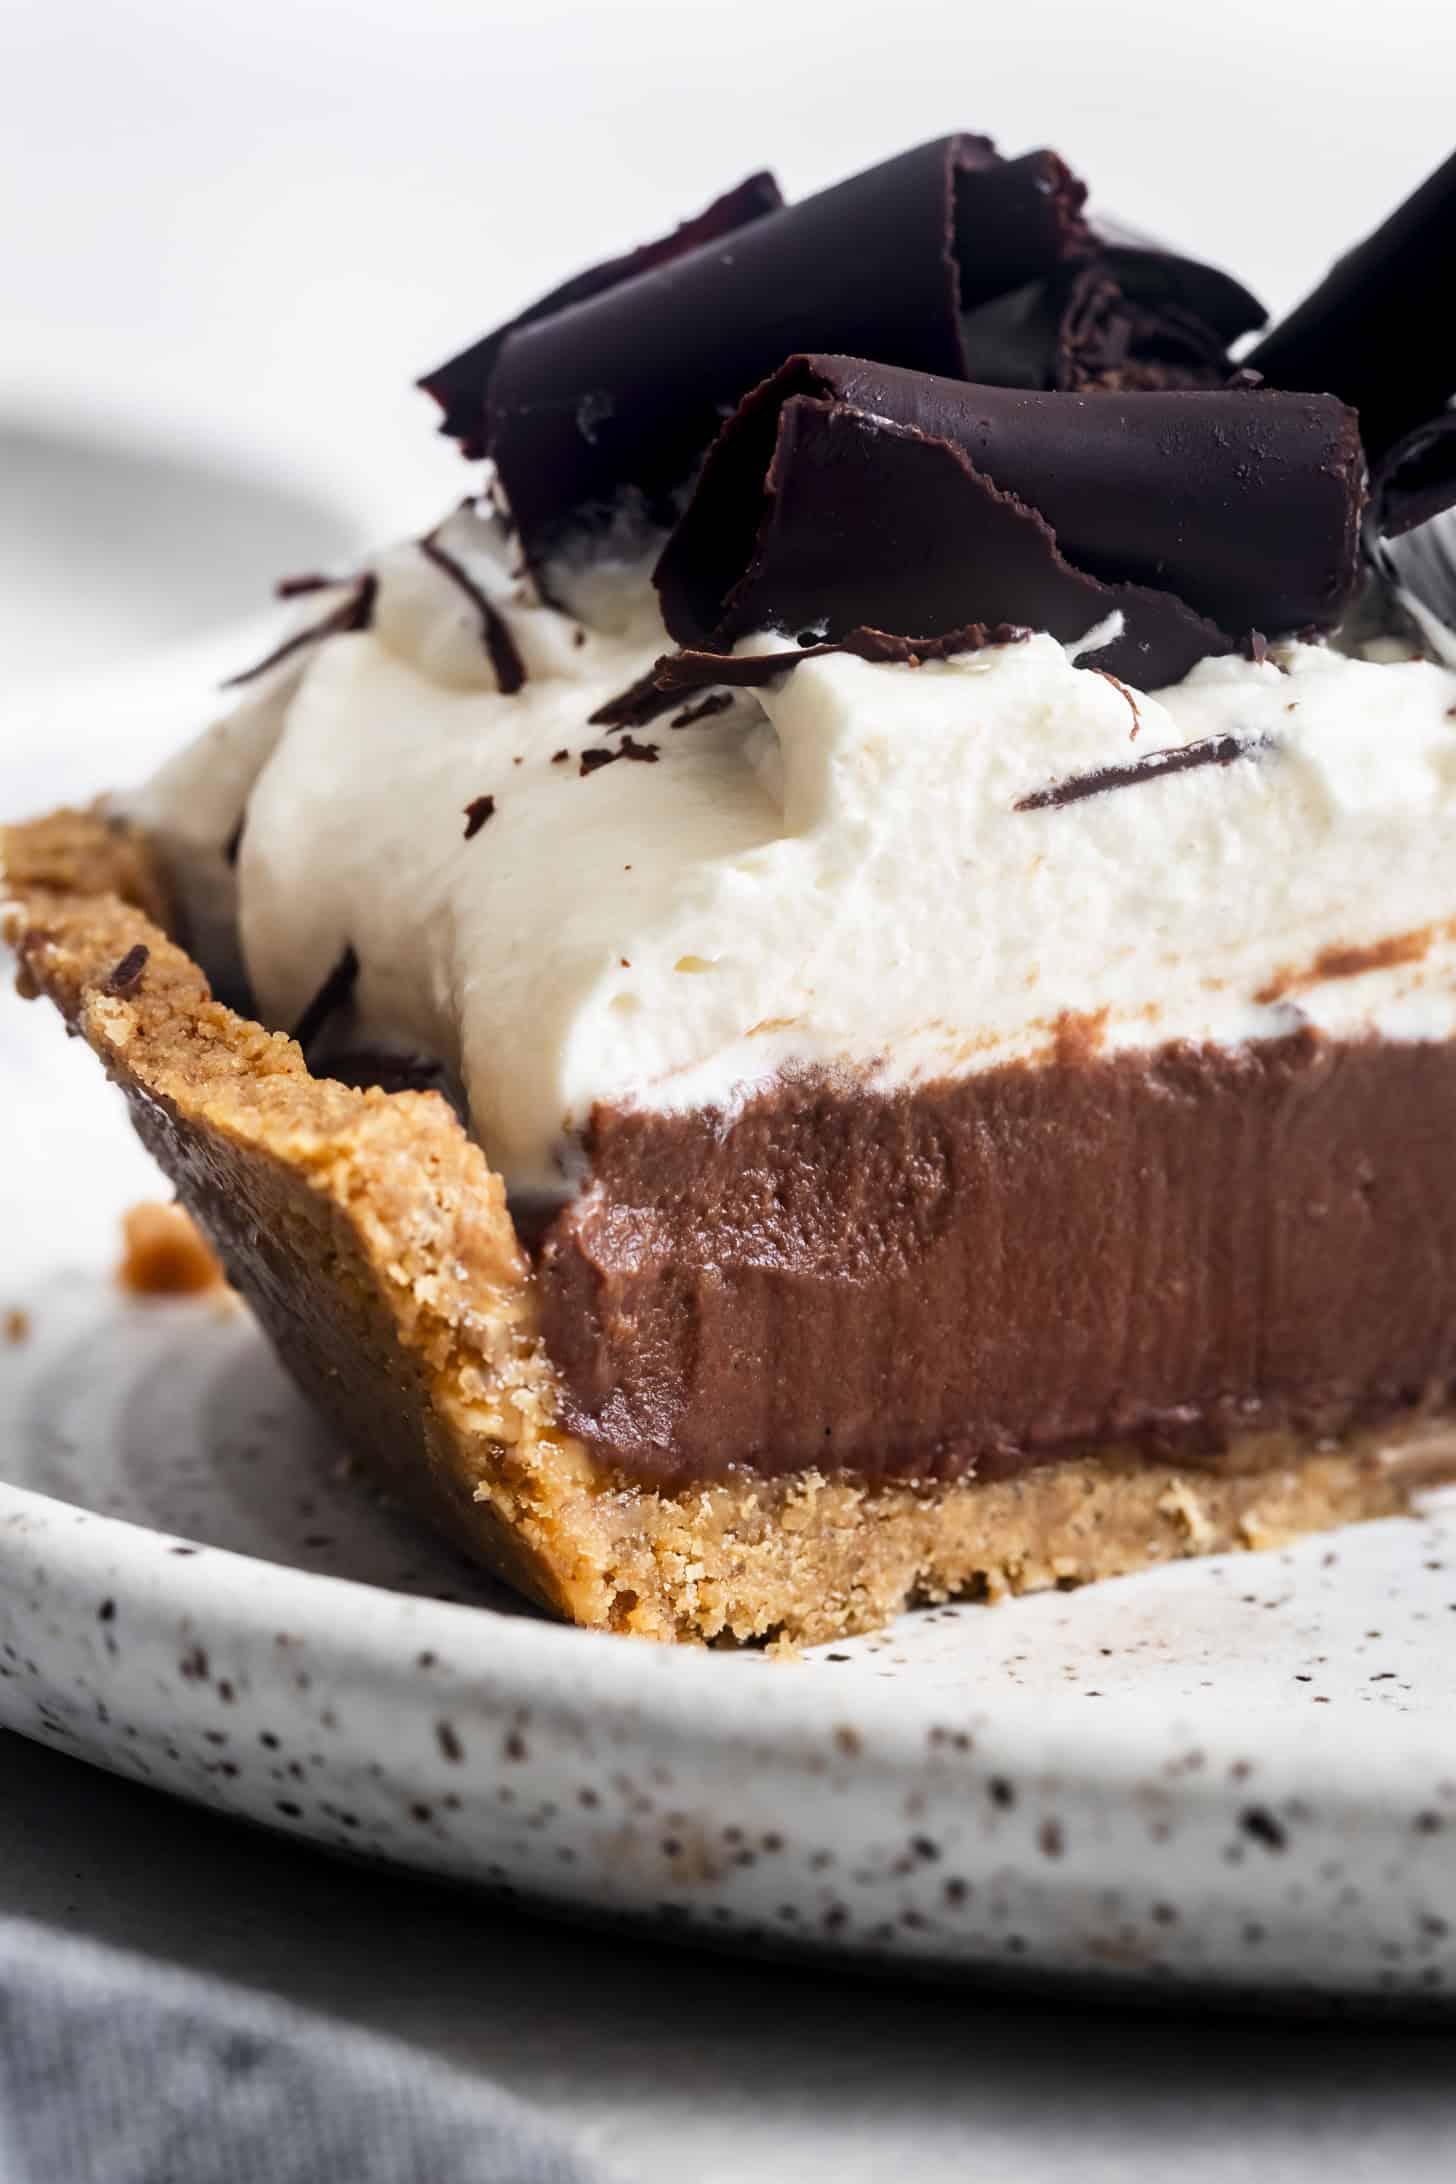
This simple gluten-free chocolate cream pie is smooth, velvety, and rich without being overly sweet. The stovetop chocolate pudding filling is made with bittersweet chocolate and sets up beautifully in a snappy gluten-free graham cracker crust, with either quick-bake and no-bake crust options. It's easy to make ahead, up to three days in advance, and then finished with soft pillows of whipped cream and chocolate curls for the ultimate dessert.
This silky gluten-free chocolate cream pie has main character energy.
She shows up at the party looking effortless: cool, composed, casually stunning in a graham cracker crust. And before long, everyone is whispering about her, asking "Who brought that pie?" This pie doesn't just attend the party...she is the party.
Let me introduce you to your unassumingly popular summer potluck date. Creamy chocolate pudding and whipped cream clouds nestled into a super-easy gluten-free graham cracker crust that I made with my gluten-free graham crackers, or you can totally use store-bought!
The pie is nearly no-bake. The crust only needs a few minutes in the oven to get nice and crisp so it holds the chocolate filling without getting soggy. But if you'd rather skip the oven, you can use a no-bake crust instead. The chocolate cream filling comes together quickly on the stovetop and chills beautifully, so you can make the pie a day or two in advance. Just wait to add the whipped cream until shortly before serving to keep it fresh and fluffy.
While testing, I was determined to make sure this pie stayed rich and chocolatey without becoming a sugar bomb. So I made it indulgent and chocolate-forward, but not overly sweet.
Ingredient Testing Notes for Creamy Chocolate Pie That Slices Perfectly
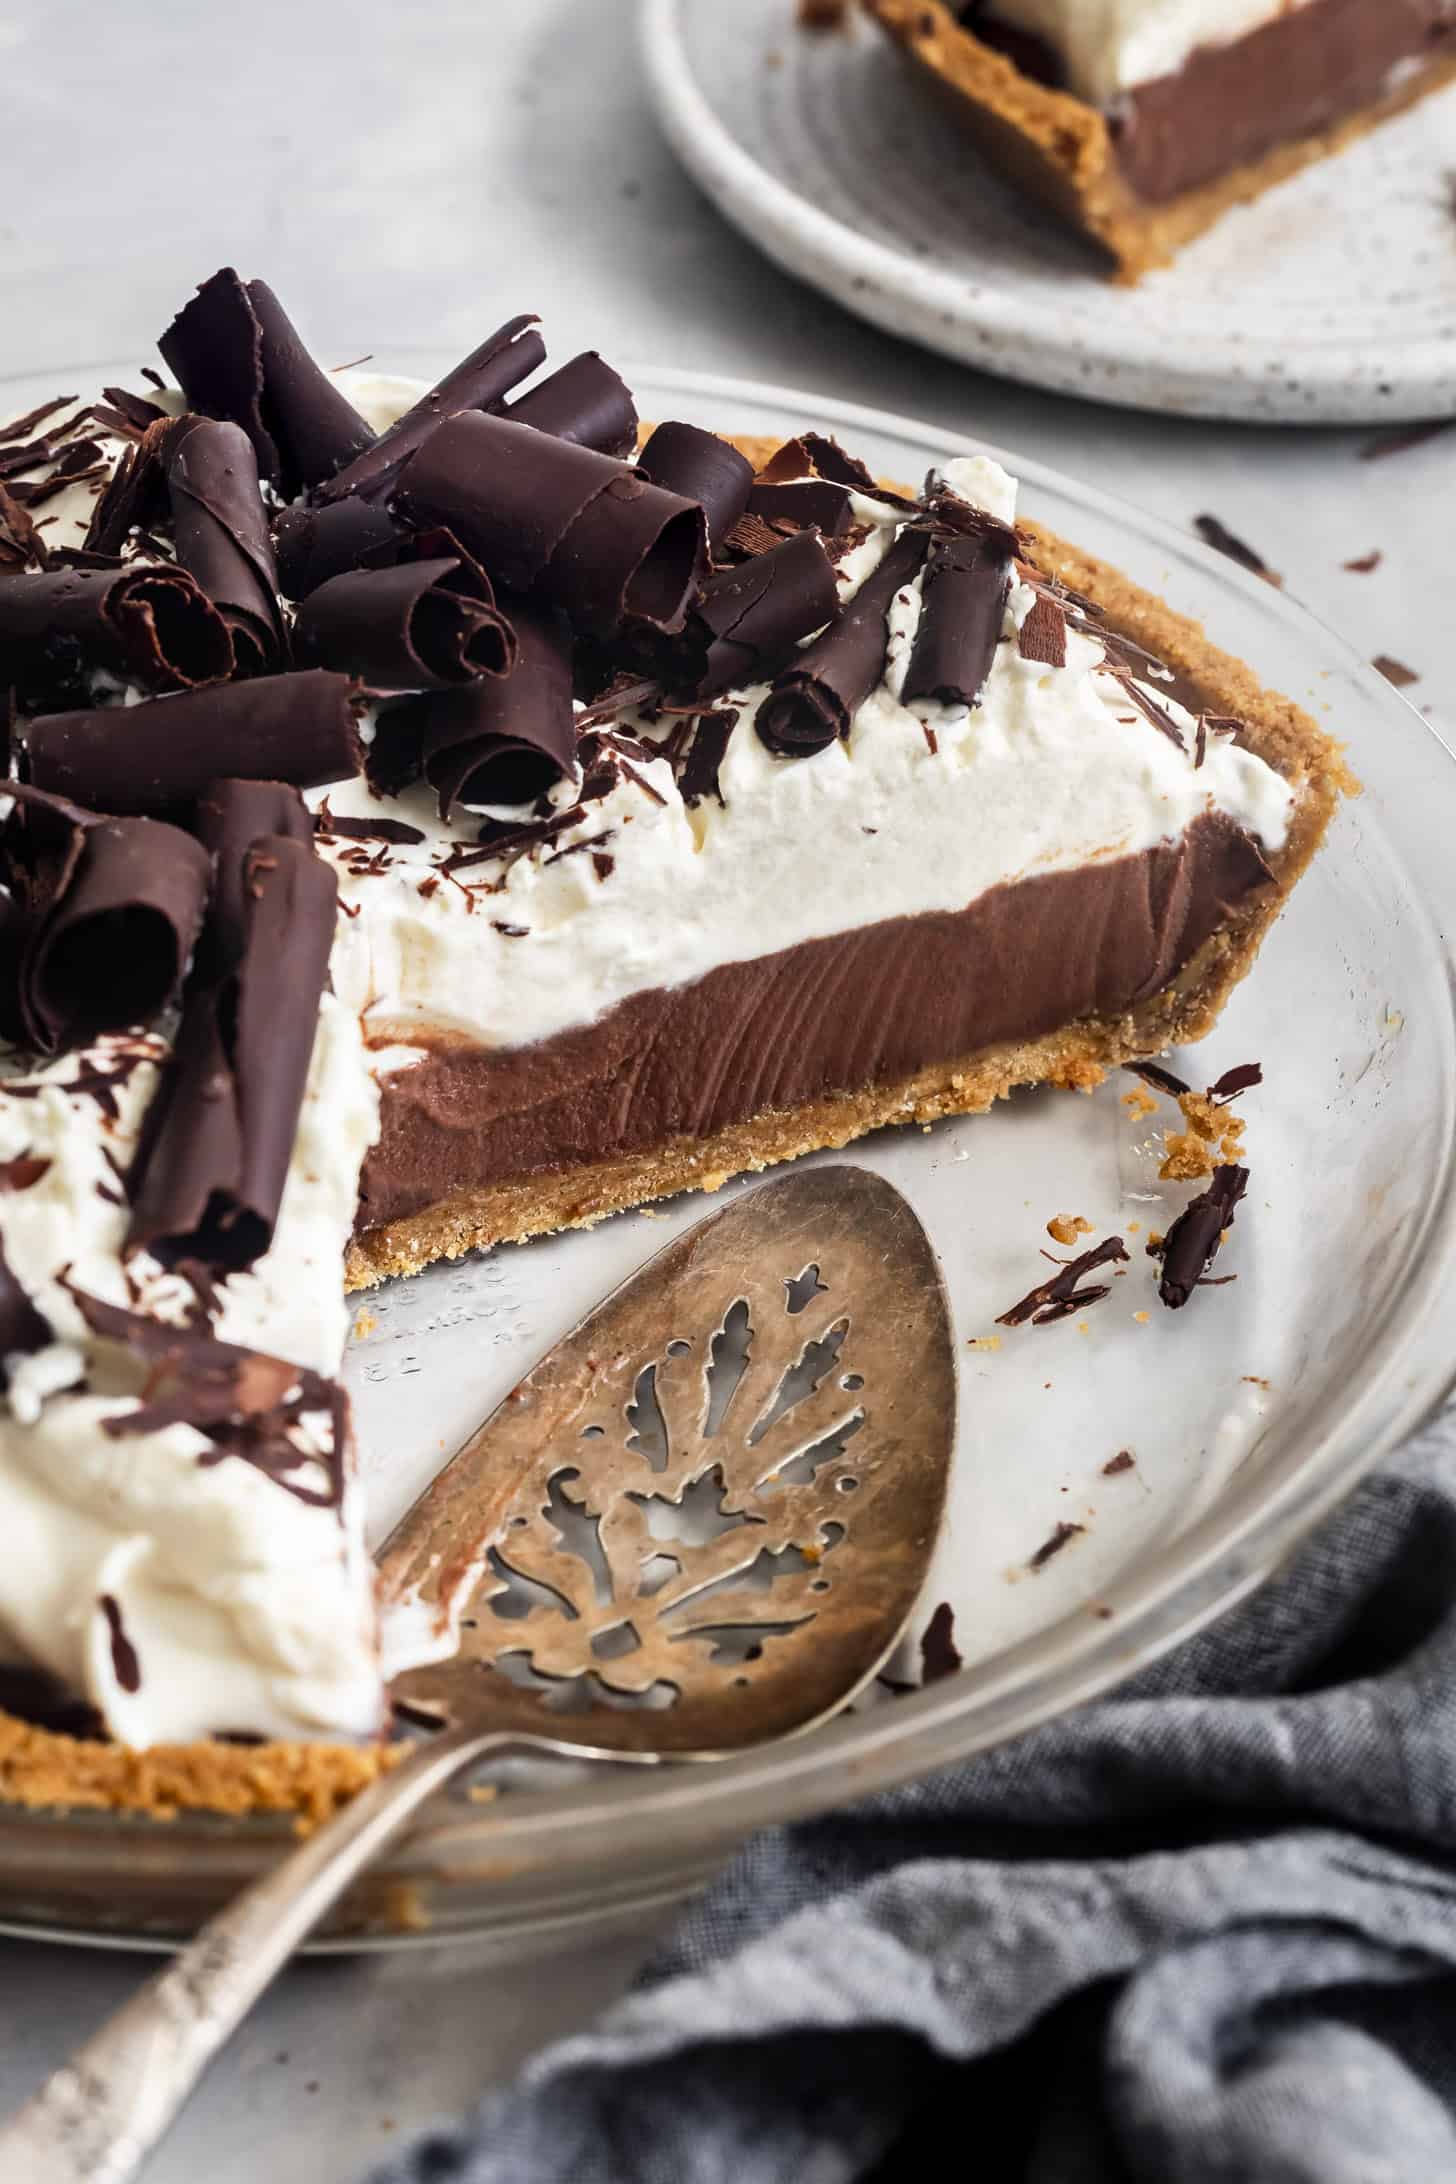
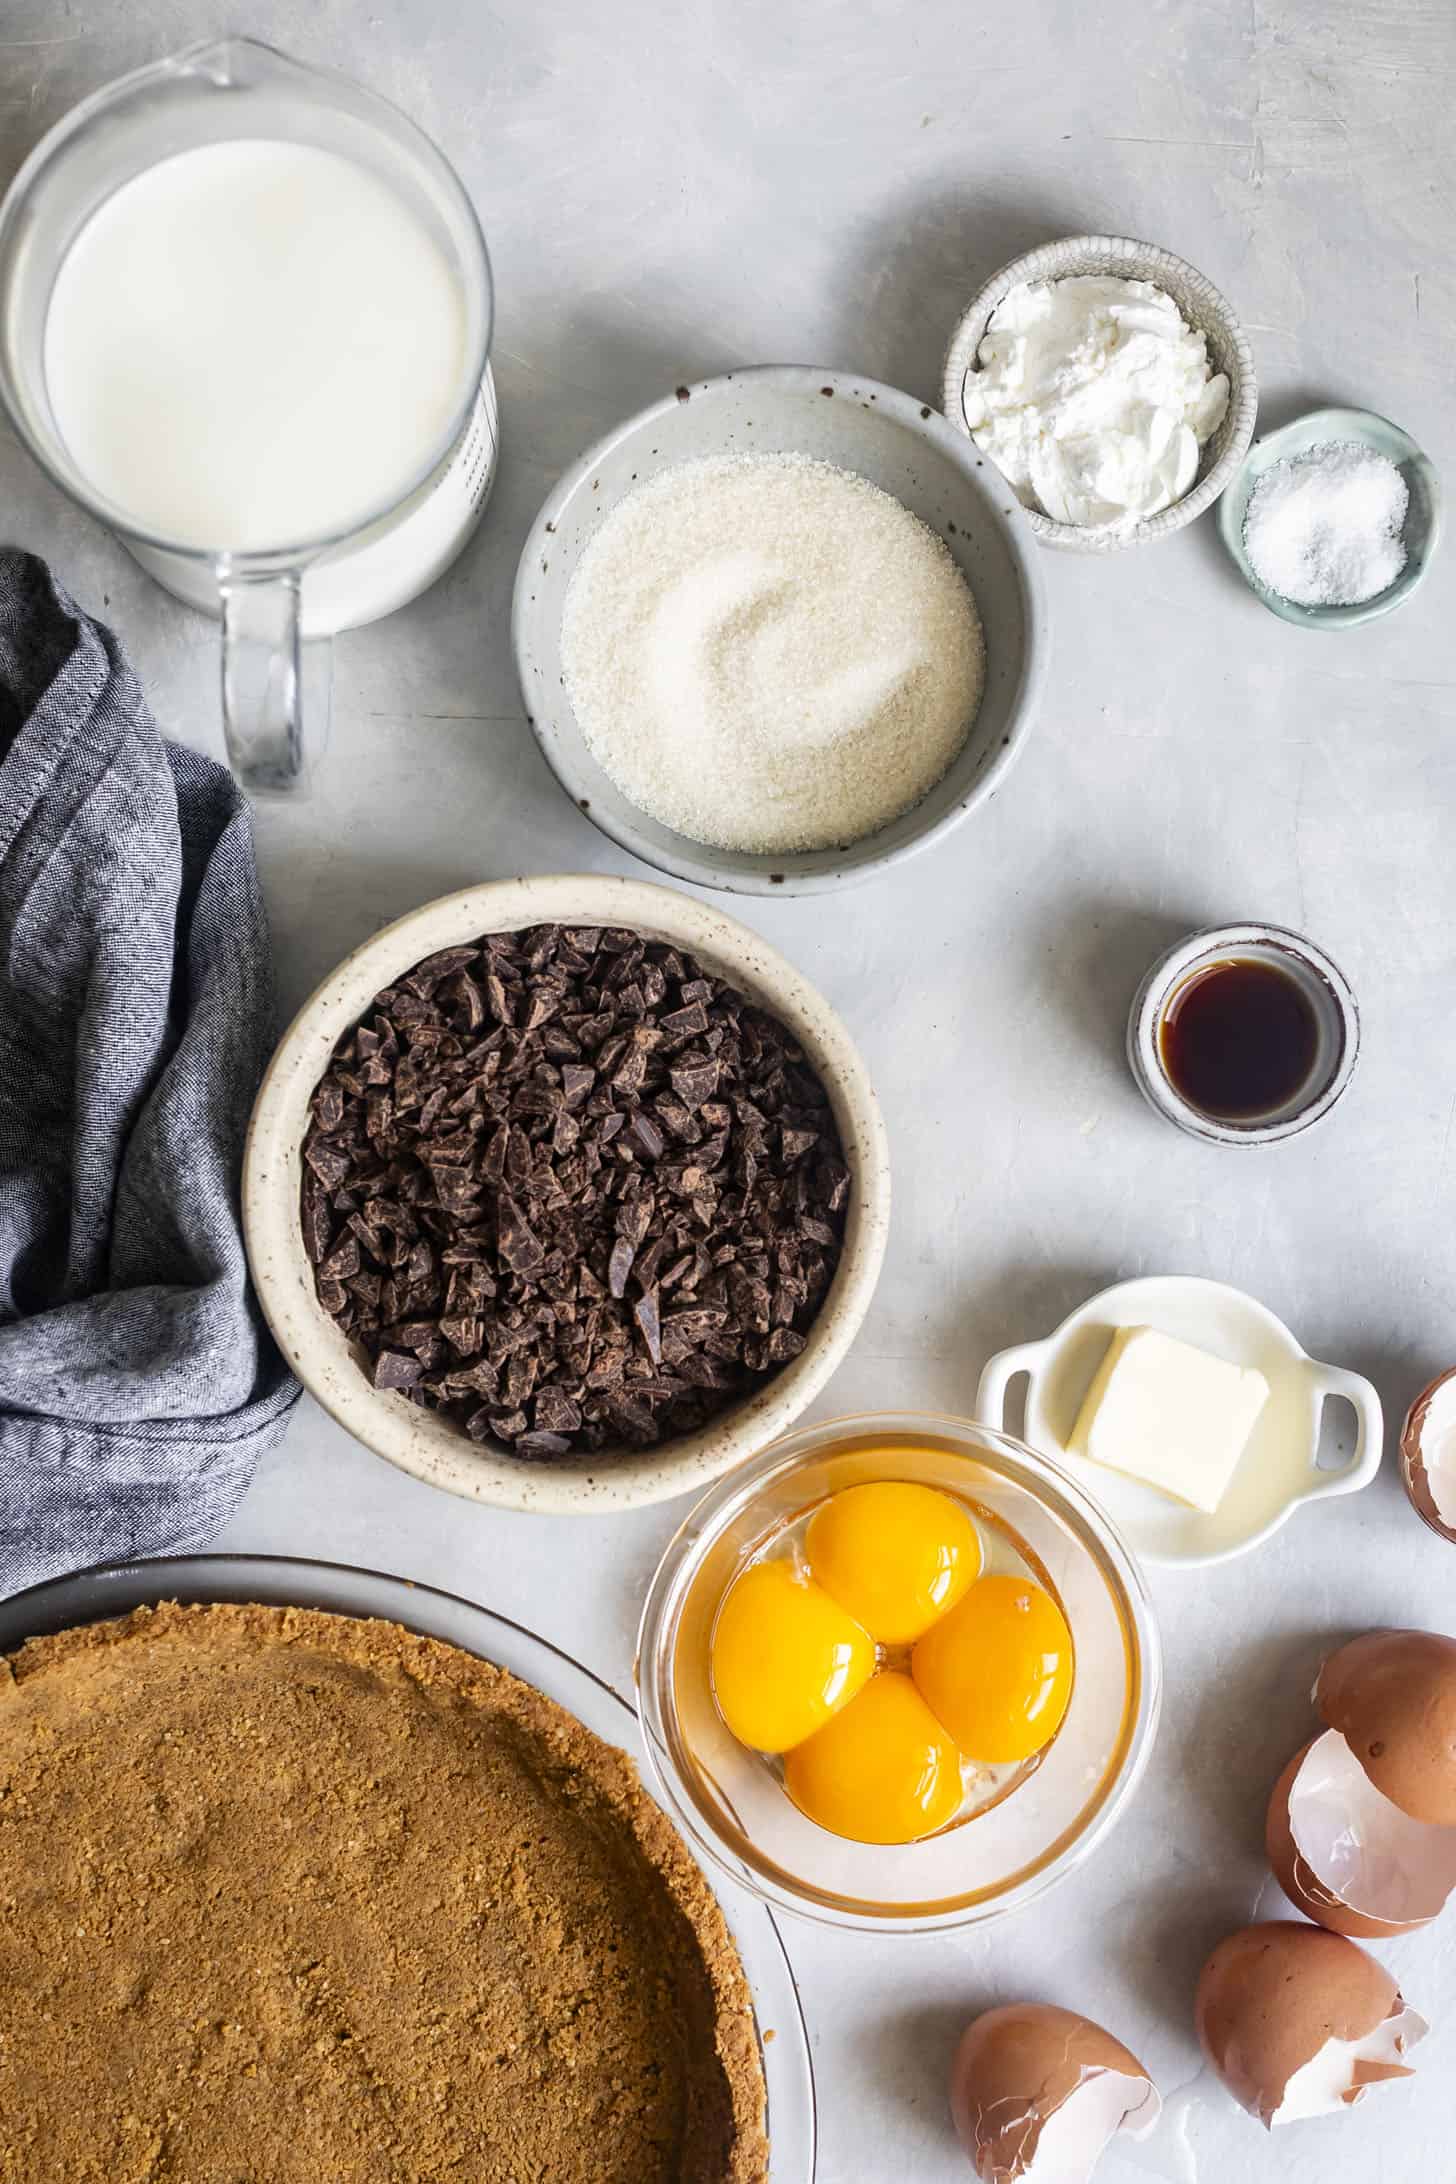
The key to a great chocolate cream pie is a crust that doesn't crumble under the knife and a filling that is firm enough to hold its shape when sliced. You'll get that result with my tried and true recipe and these important ingredient notes:
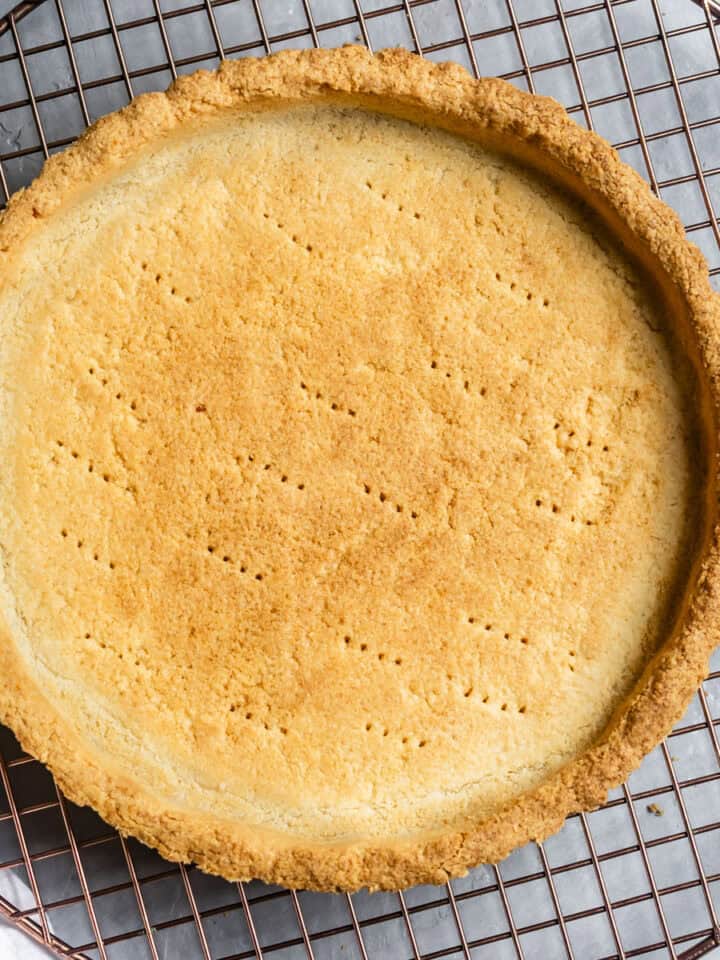
- Gluten-free graham cracker crust: Even when making a no-bake pie like this, I opt to blind bake my gluten-free graham cracker crust and let it cool before filling. With a quick 8-minute bake, it sets more firmly, cuts more cleanly, and lifts out of the pan with fewer crumbs. That said, if it's just too hot to turn on the oven, you can go the no-bake route. Just be sure to chill the crust until firm before filling (speed it up in the freezer!).
- Bittersweet chocolate: During testing, I found that using bittersweet chocolate instead of semisweet helps keep the pie rich and balanced rather than cloyingly sweet. Finely chop the chocolate so the warm custard melts it thoroughly.
- Cornstarch: I use cornstarch to thicken the pudding and help it set into clean, sliceable layers once chilled.
- Egg yolks: Egg yolks add richness and help thicken the filling so it sets up creamy but firm, giving it a velvety texture and more complex flavor than cornstarch alone. Without egg yolks, the filling would be less silky and flavorful, and wouldn't hold together as well when sliced. Hint: It's much easier to separate cold egg yolks - room temperature yolks are more fragile and prone to breaking.
- Whole milk: I use whole milk for creaminess and richness. I found that lower-fat milks just didn't have the same result.
Making Chocolate Curls or Shards
Melt about ¼ cup bittersweet chocolate in a double boiler or heatproof bowl over simmering water. Spread it as thinly as you can on the back of a baking sheet using an offset spatula and chill for about 5 minutes until just set (or 7 to 8 minutes if making shards). Holding a bench scraper firmly against the pan at a 45-degree angle, scrape off 1-inch-wide strips to form curls. If the chocolate is too cold, it will crumble into shards rather than curling (which are still beautiful for decorating!). If it's too warm, it will scrape off in limp clumps instead of curling, so chill it for another minute and try again.
Chill chocolate curls on a plate for a few minutes before sprinkling them over the pie.
Recipe
Easy, Silky Gluten-Free Chocolate Cream Pie
Ingredients
- 1 9-inch graham cracker crust, homemade or store-bought, gluten-free if needed
- 6 ounces high-quality bittersweet chocolate, 60-70% bar, wafers, or chips, finely chopped
- 1½ tablespoons unsalted butter
- 1 teaspoon pure vanilla extract
- 75 g (¼ cup + 2 tablespoons ) granulated sugar
- 2½ tablespoons cornstarch
- ½ teaspoon kosher salt
- 2 cups whole milk
- 4 large egg yolks
- 1 cup heavy whipping cream
- 3 tablespoons granulated sugar
- 1½ teaspoon pure vanilla extract
INSTRUCTIONS
- Prepare and cool the graham cracker crust, as directed, in a 9-inch pie pan. I recommend the blind-baked version versus the no-bake version, but both will work!
- Prepare the chocolate cream filling. Place chopped chocolate, butter, and vanilla in a medium bowl and set a fine mesh sieve over top.
- Whisk sugar, cornstarch, and salt together in a medium saucepan. Add milk and egg yolks, whisking until completely smooth. Bring to a simmer over medium-low heat, whisking constantly, about 4-5 min. After it bubbles continue cooking for 1½ minutes, whisking, until pudding is thickened to the texture of thin yogurt.
- Run the custard through the sieve set over the chocolate. Let sit for 2 minutes, then stir until completely melted and smooth.
- Pour chocolate pudding into the cooled crust and smooth with an offset spatula. Chill until firm and ready to serve, at least 2 hours or up to 2 days. (cover with plastic wrap if storing for more than a few hours).
- While the pie chills, make chocolate curls or shards if desired. See above.
- When ready to serve, prepare the whipped cream. Whip the heavy cream and vanilla in the bowl of a stand mixer or a medium bowl with an hand mixer for about 30 seconds. With the mixing running, slowly add the sugar, mixing just until soft peaks form, about 2 minutes. Take care not to over-whip. Spread the whipped cream over the pie, top with chocolate curls, shards, or shavings, and serve chilled.
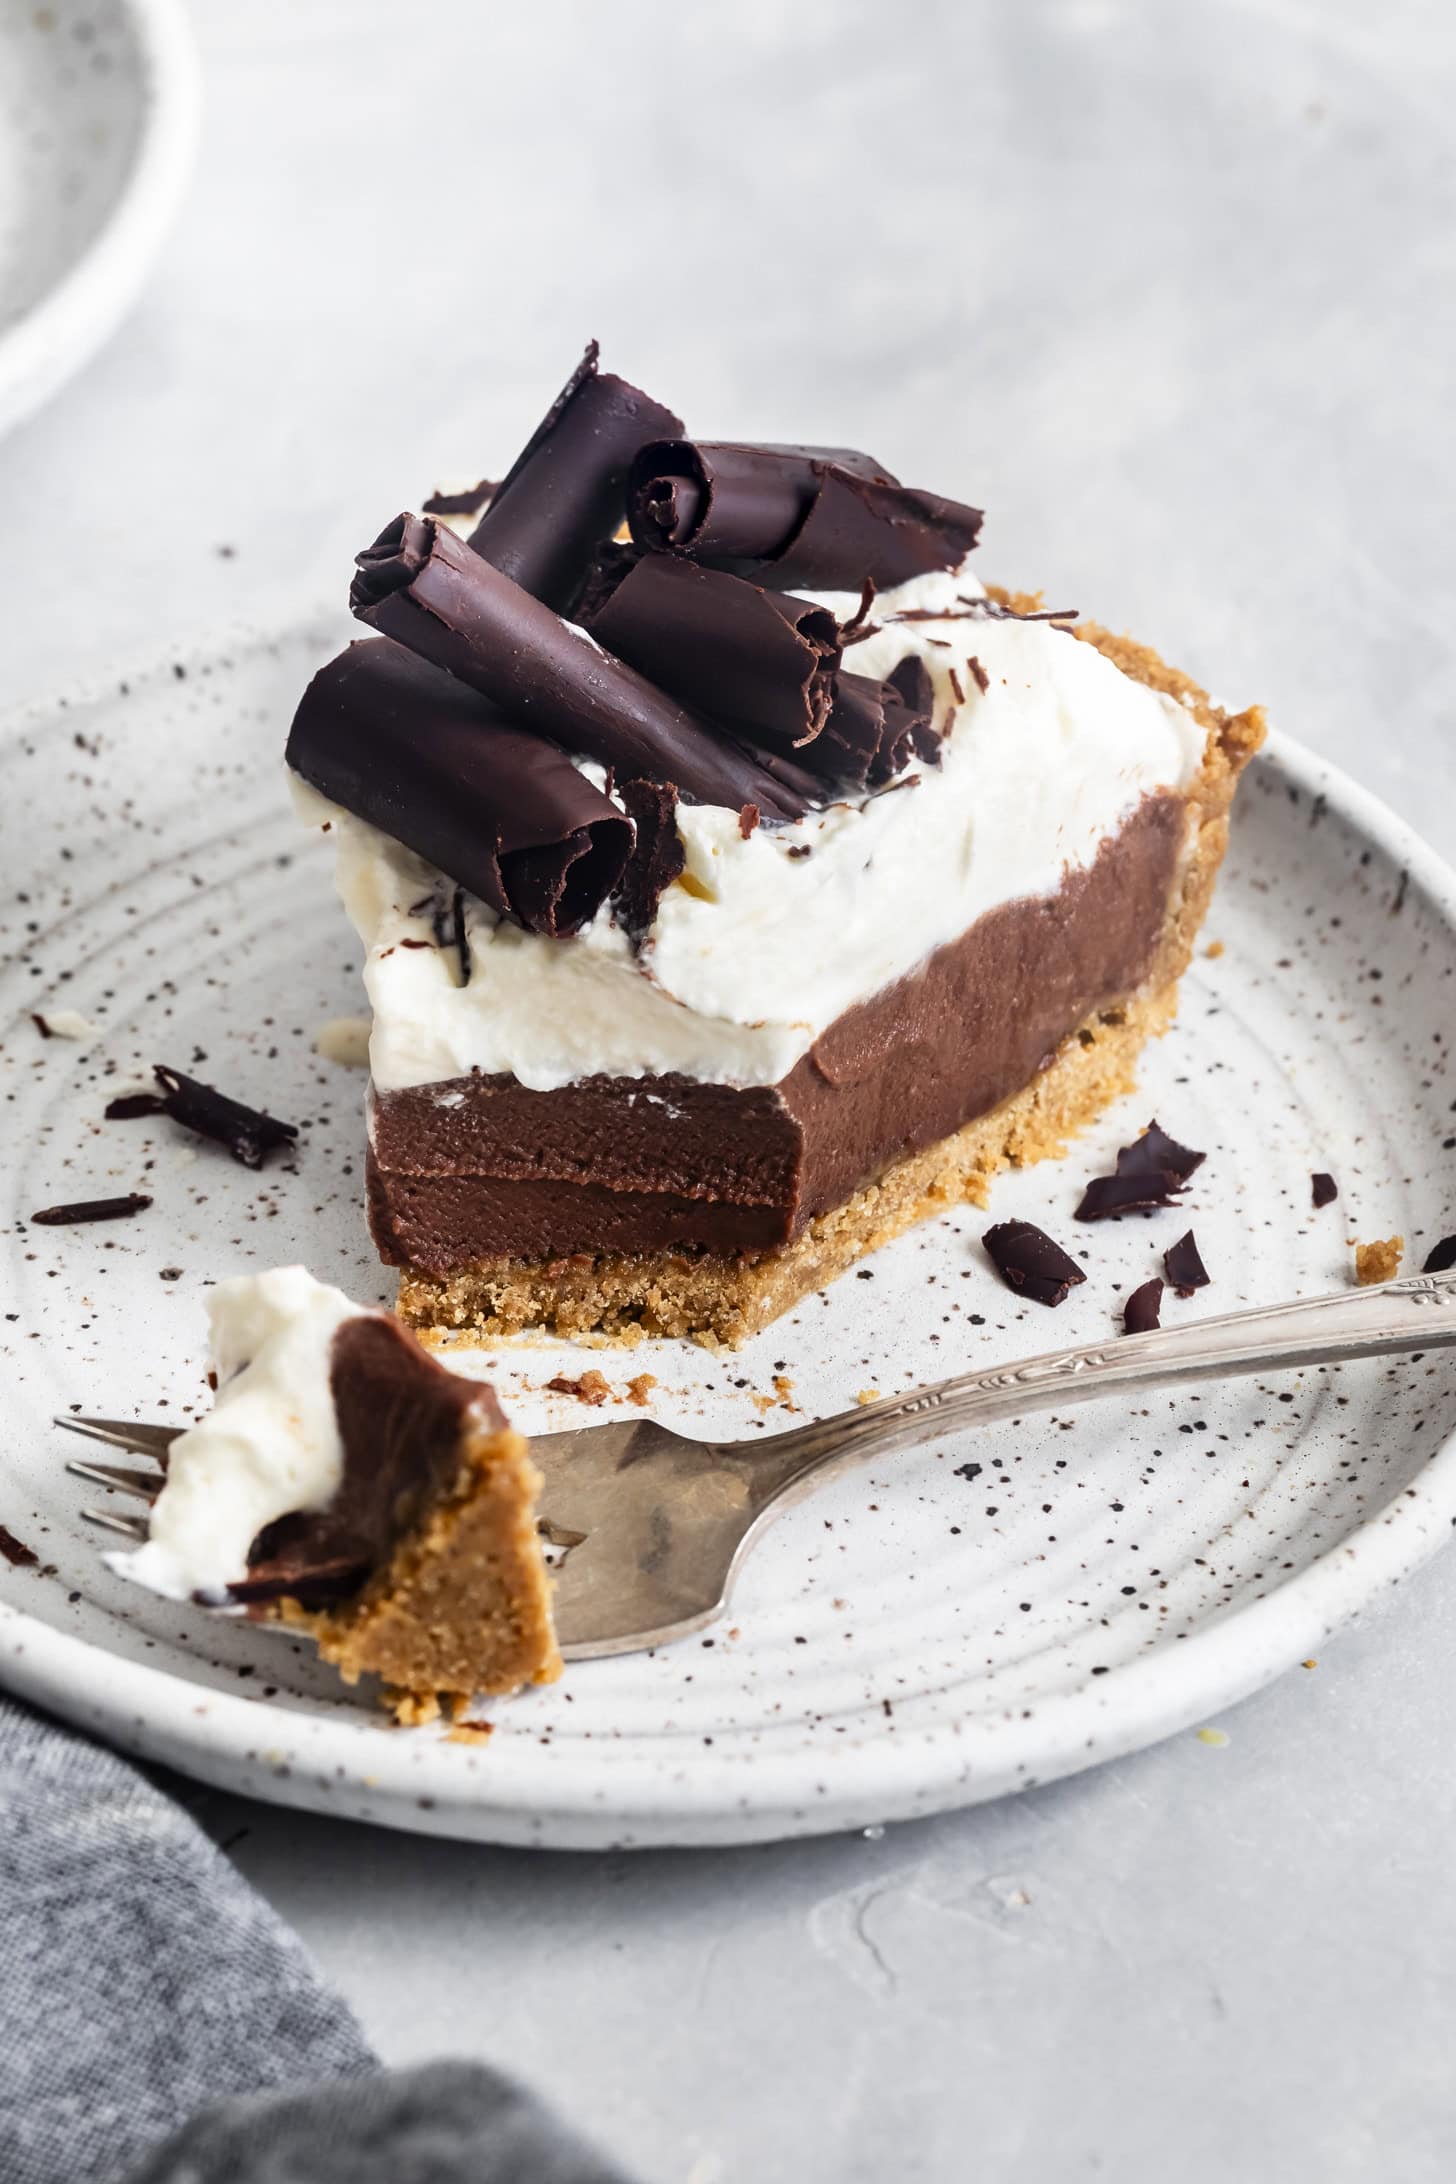
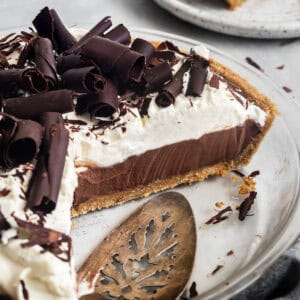
- To make clean slices, I recommend wiping off the knife between each cut.
Video
Notes
Make ahead
- Graham Cracker Crust: You can make the crust up to 3 days in advance, storing it in the fridge - either baked or unbaked - covered in plastic wrap. For longer storage, wrap it tightly in plastic wrap and freeze it for up to 3 months. Thaw a frozen crust at room temperature before filling.
- Chocolate Cream Filled Crust: Make the pie up to the step of pouring the chocolate cream into the crust and store it, covered in plastic wrap, for up to 2 days before topping with whipped cream.
Storage
Due to the whipped cream, this pie is best eaten the same day it's made. Over time, the whipped cream may begin to weep, which can eventually make the crust soggy. That being said, we definitely still store and eat leftovers in our house! Place 2-3 toothpicks on top and loosely cover it with plastic wrap before storing for up to 2 days in the fridge.Dairy-Free Option
- Crust: Use dairy-free butter in the crust as instructed in the recipe.
- Chocolate Cream: Replace whole milk with full-fat canned coconut milk.
- Whipped Cream: Make coconut whipped cream.
Did you make this recipe? Please leave a review and rating to let me and others know how you liked it!
Making This No-Fuss Silky Gluten-Free Chocolate Cream Pie
The lowest fuss pie there is! Start with a pre-baked or chilled no-bake gluten-free graham cracker crust - homemade or store-bought, then follow these simple steps!
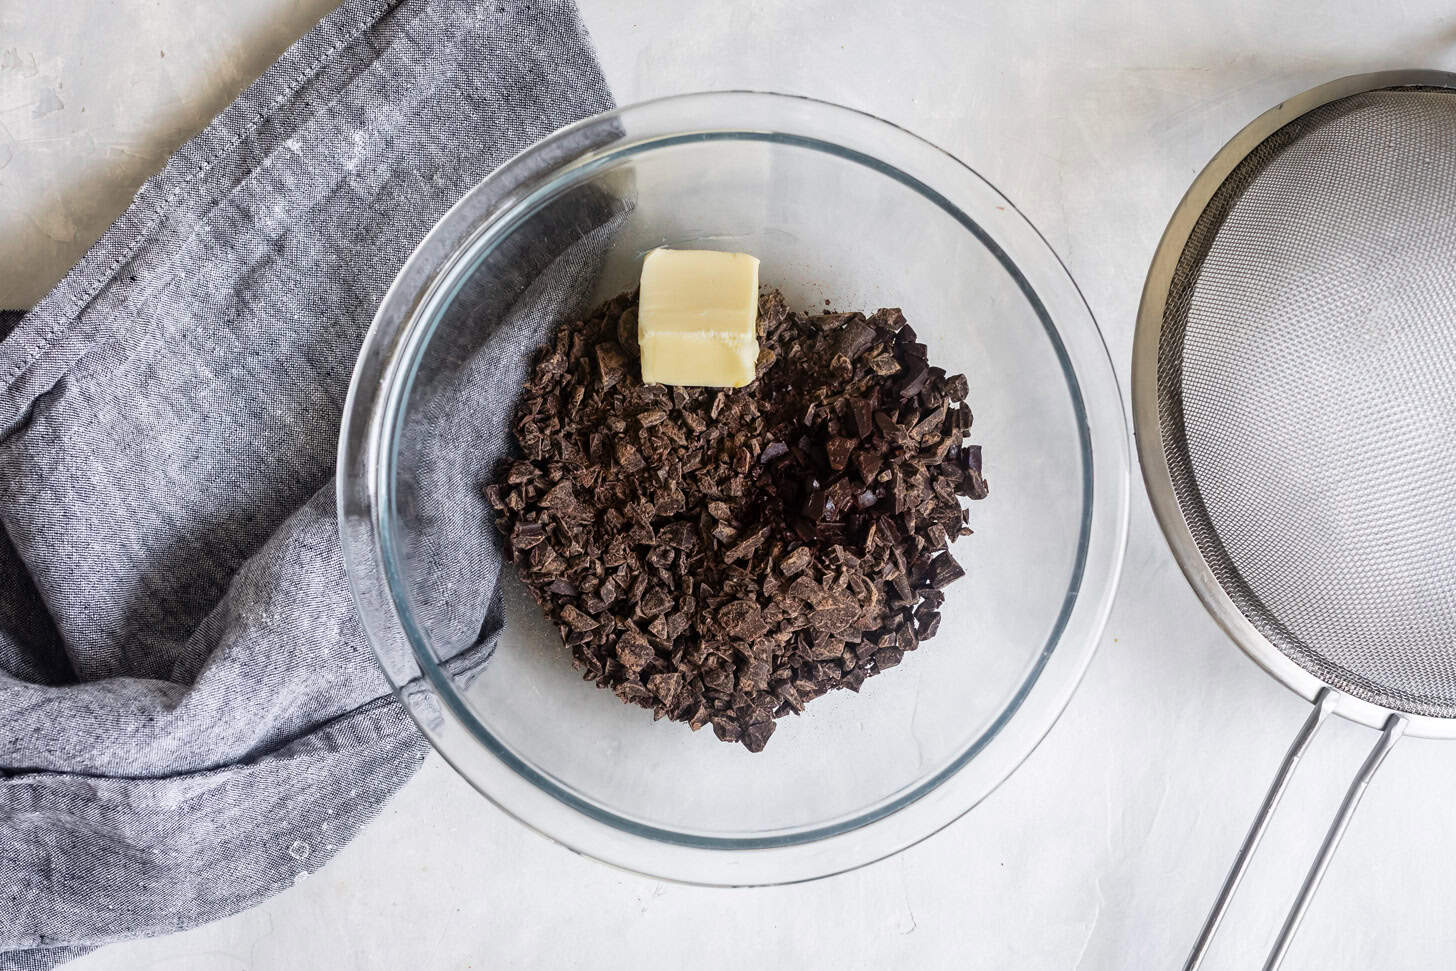
Place chopped chocolate, vanilla, and butter in a heat-proof bowl with a fine mesh sieve over the top. Set aside.
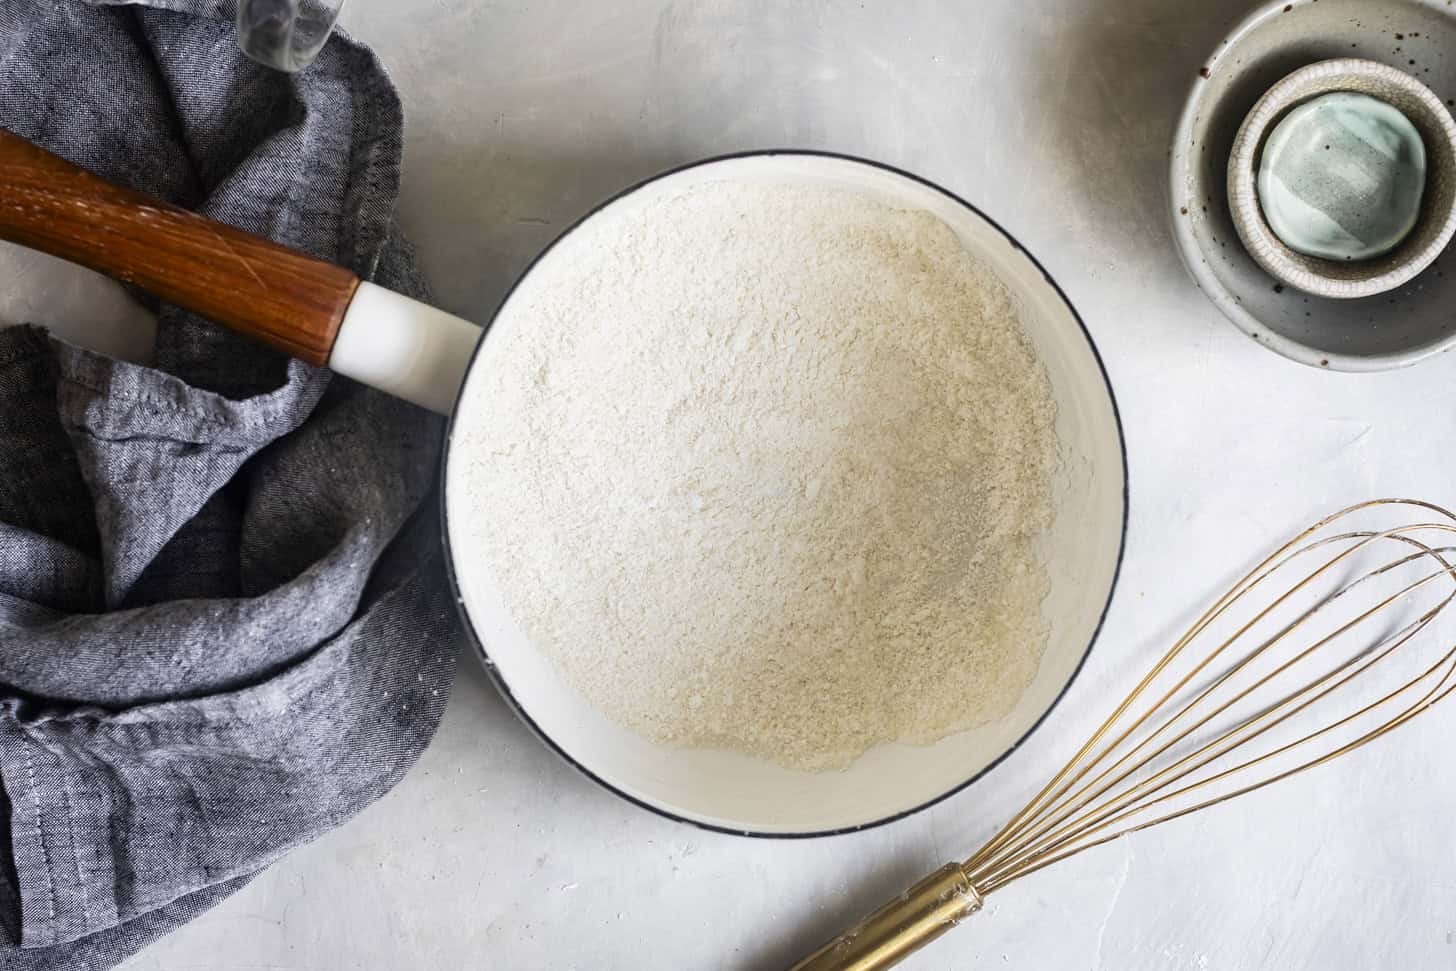
Whisk together the sugar, cornstarch, and salt to prevent clumping.
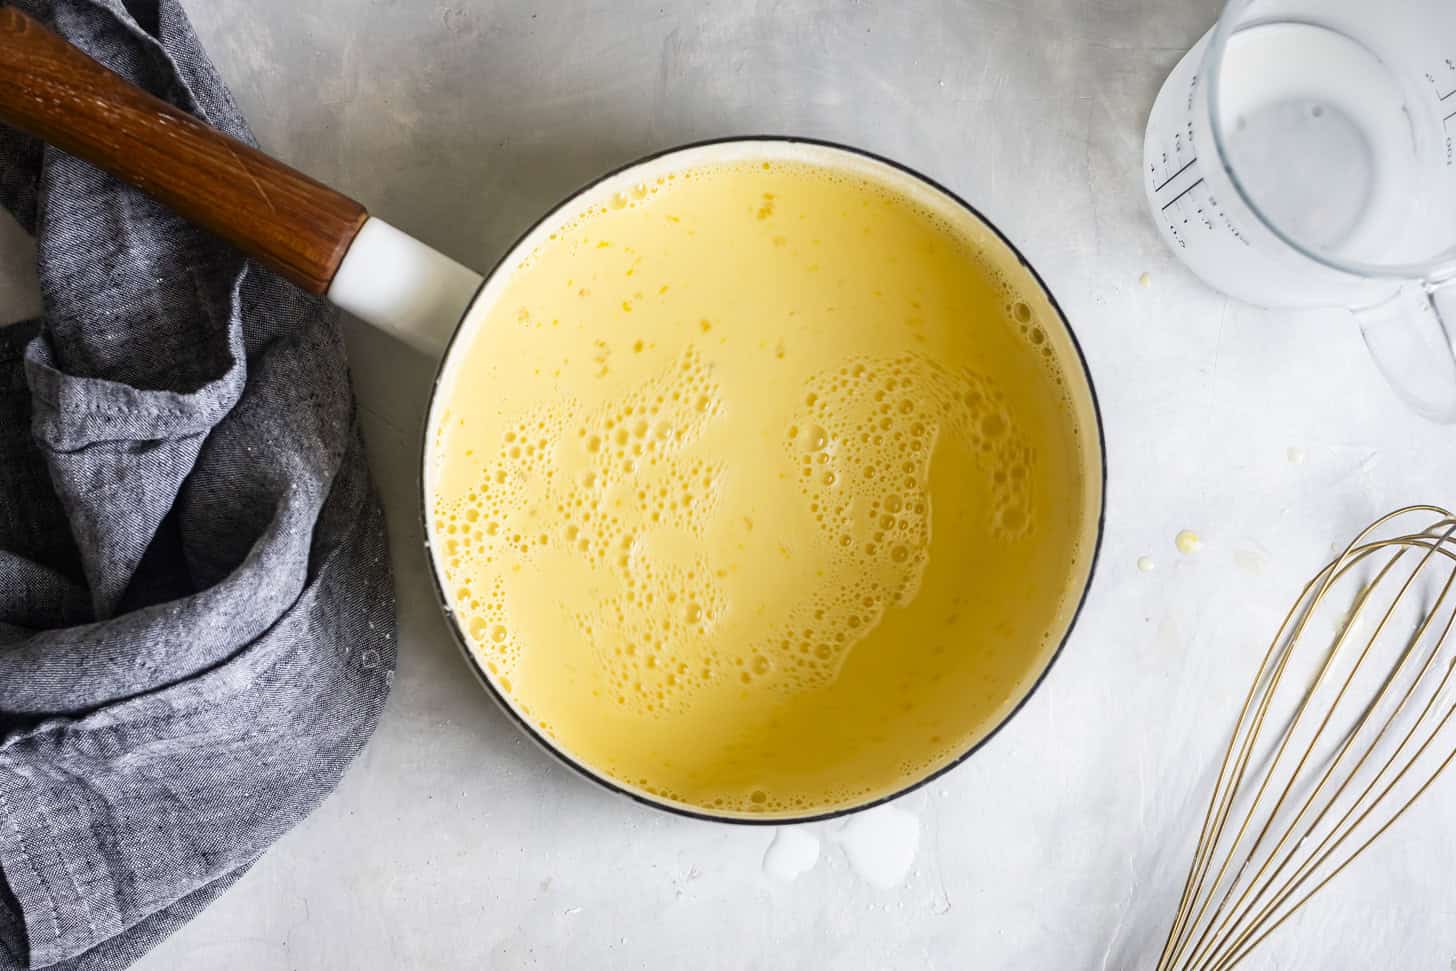
Whisk in the milk and egg yolks until smooth.

Simmer the pudding, whisking constantly until it bubbles. Cook for 1½ minutes longer, until thickened to the texture of thin yogurt.
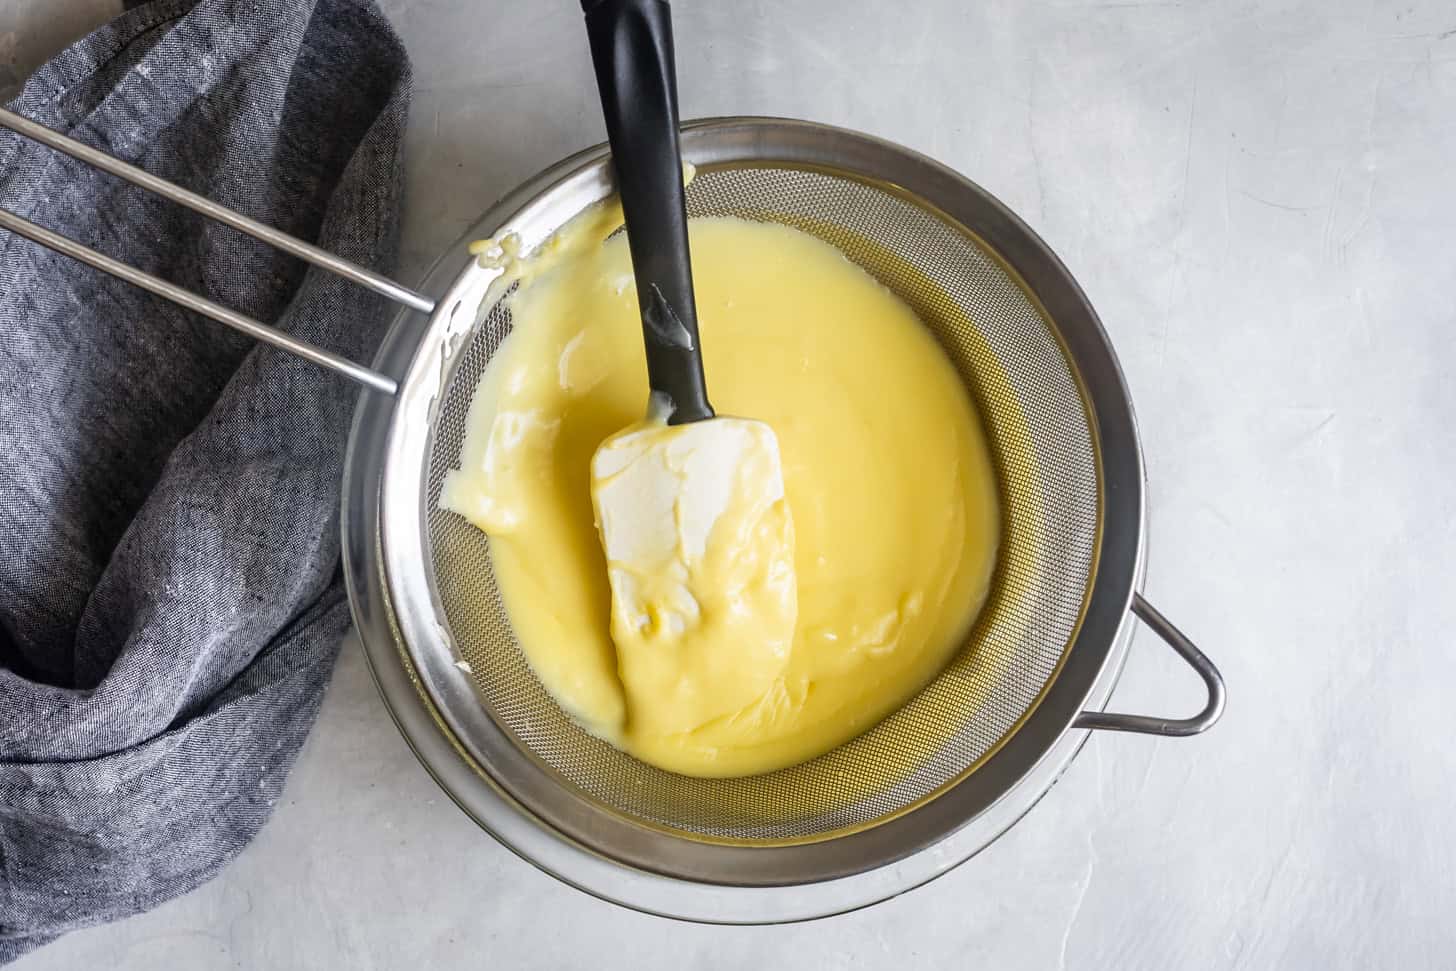
Pour and press the pudding through the sieve over the chocolate.
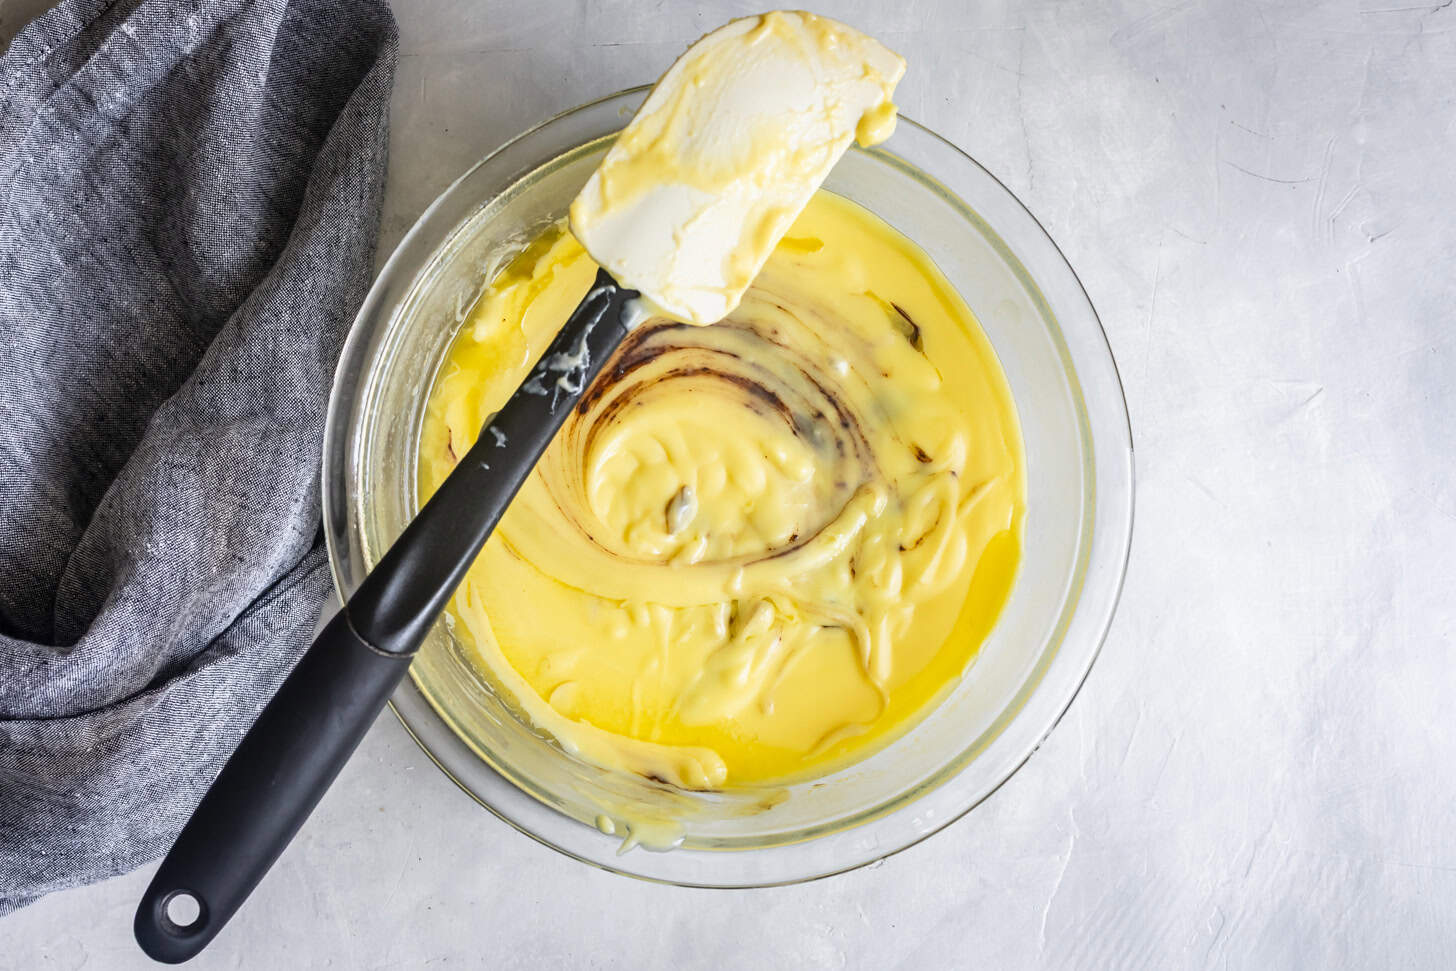
Let sit for 2 minutes to melt the butter and chocolate.
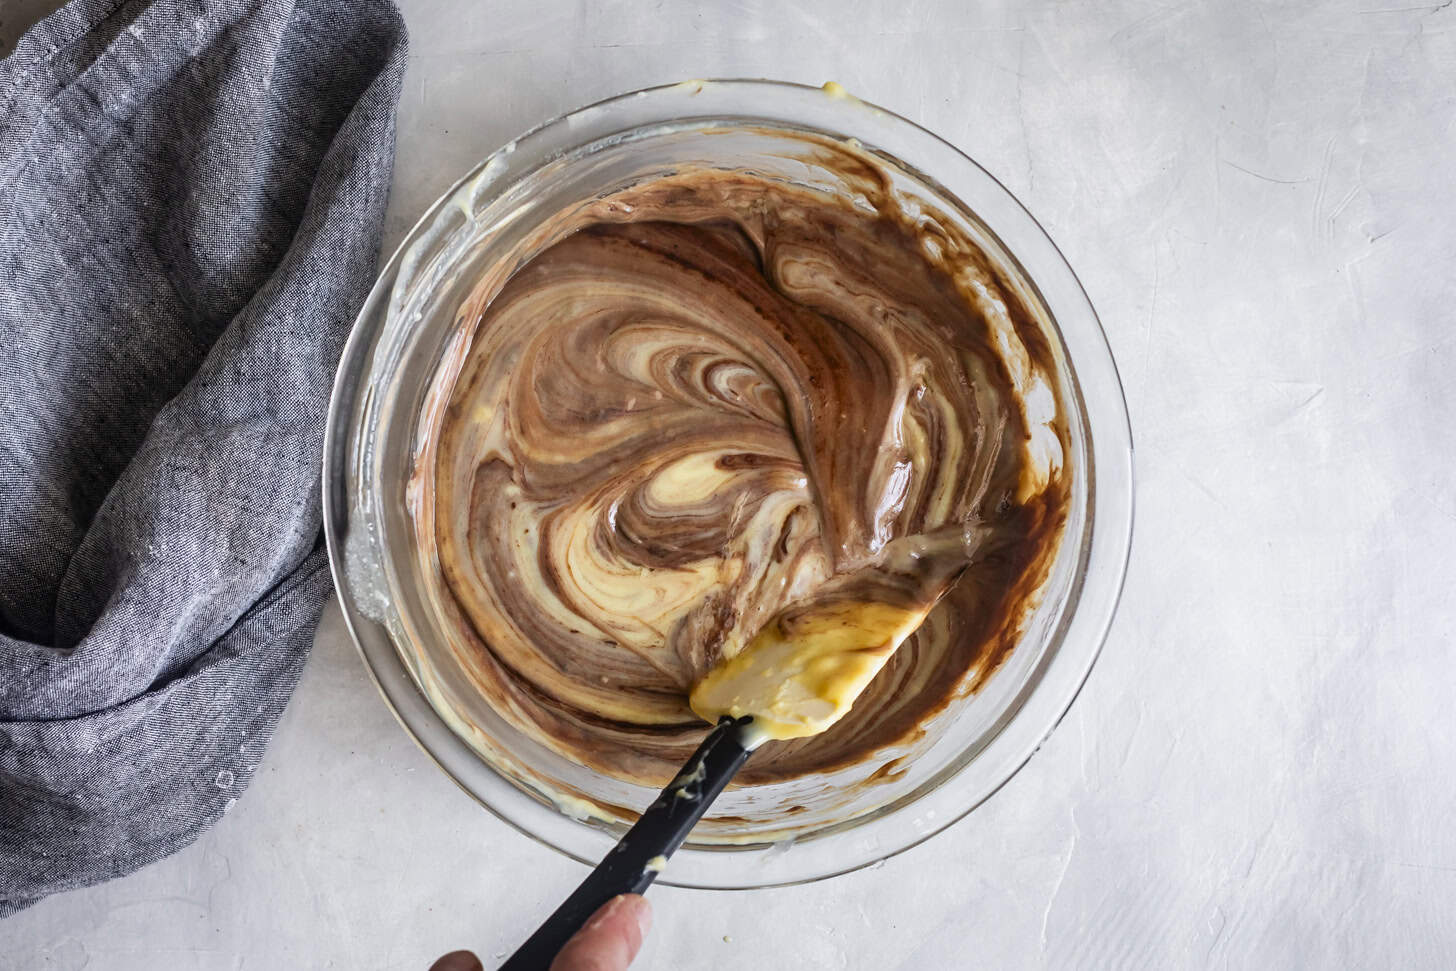
Stir until completely melted...
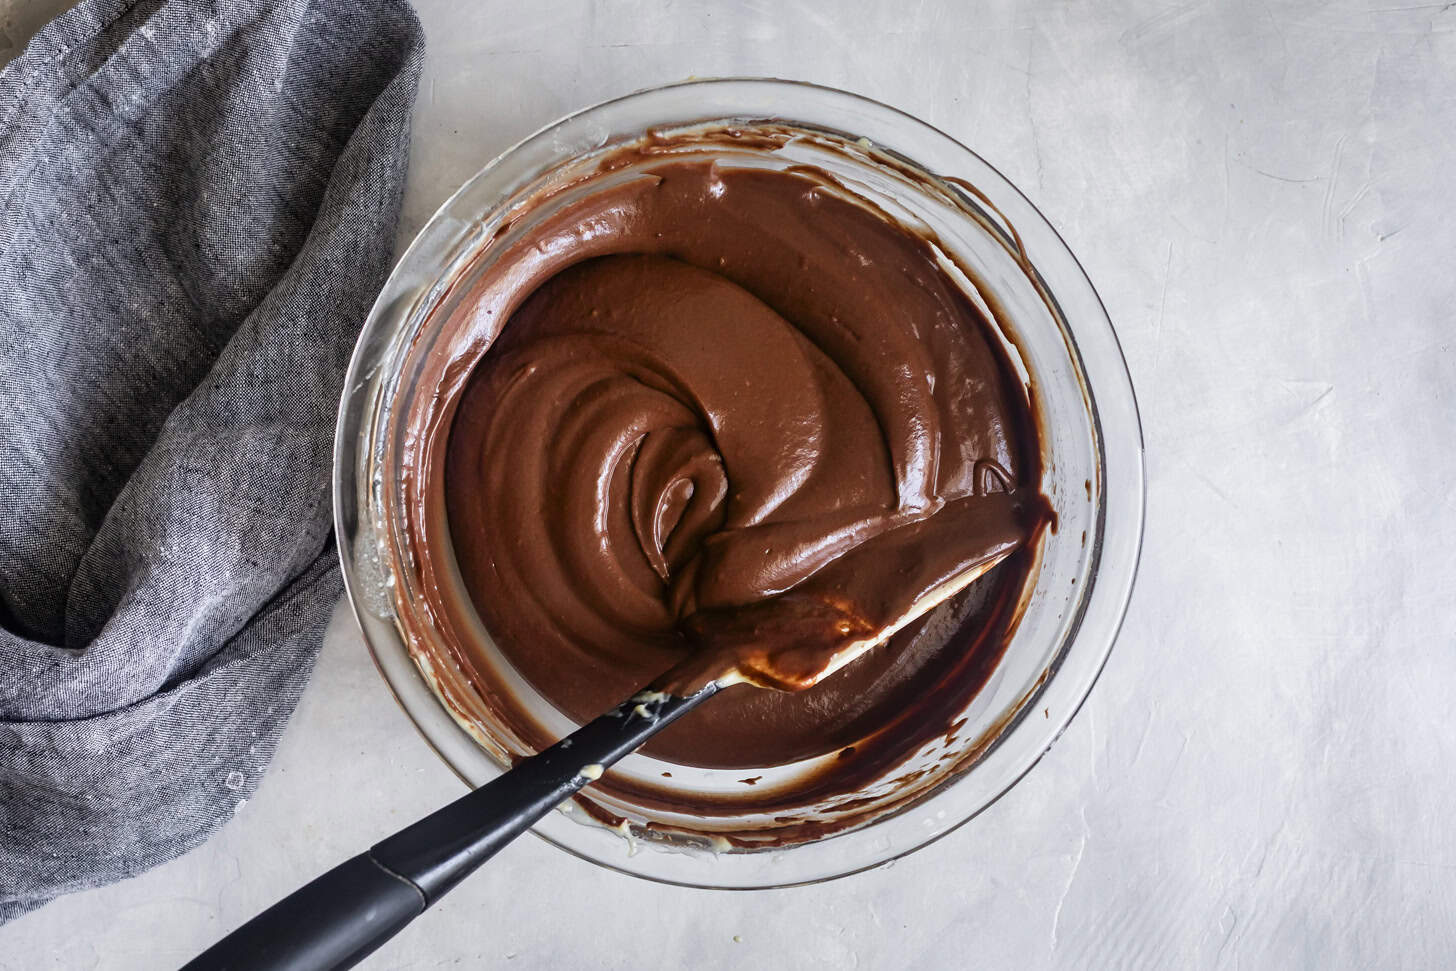
...and smooth. Look at her...she's a beaut!
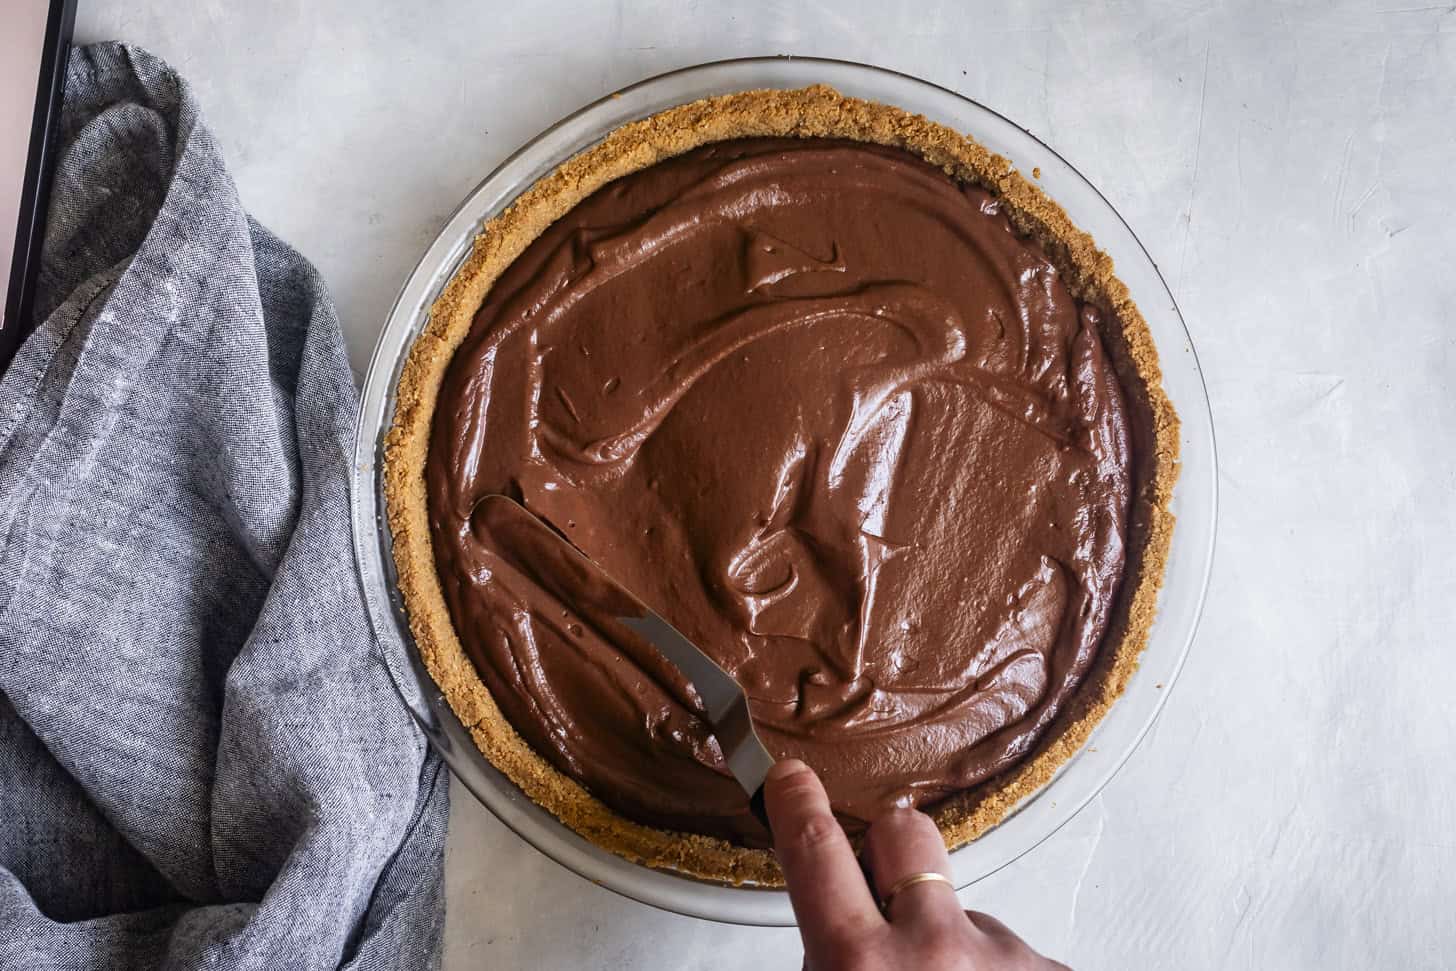
Spread into an even layer in the prepared and cooled graham cracker crust and chill for at least 2 hours before serving.
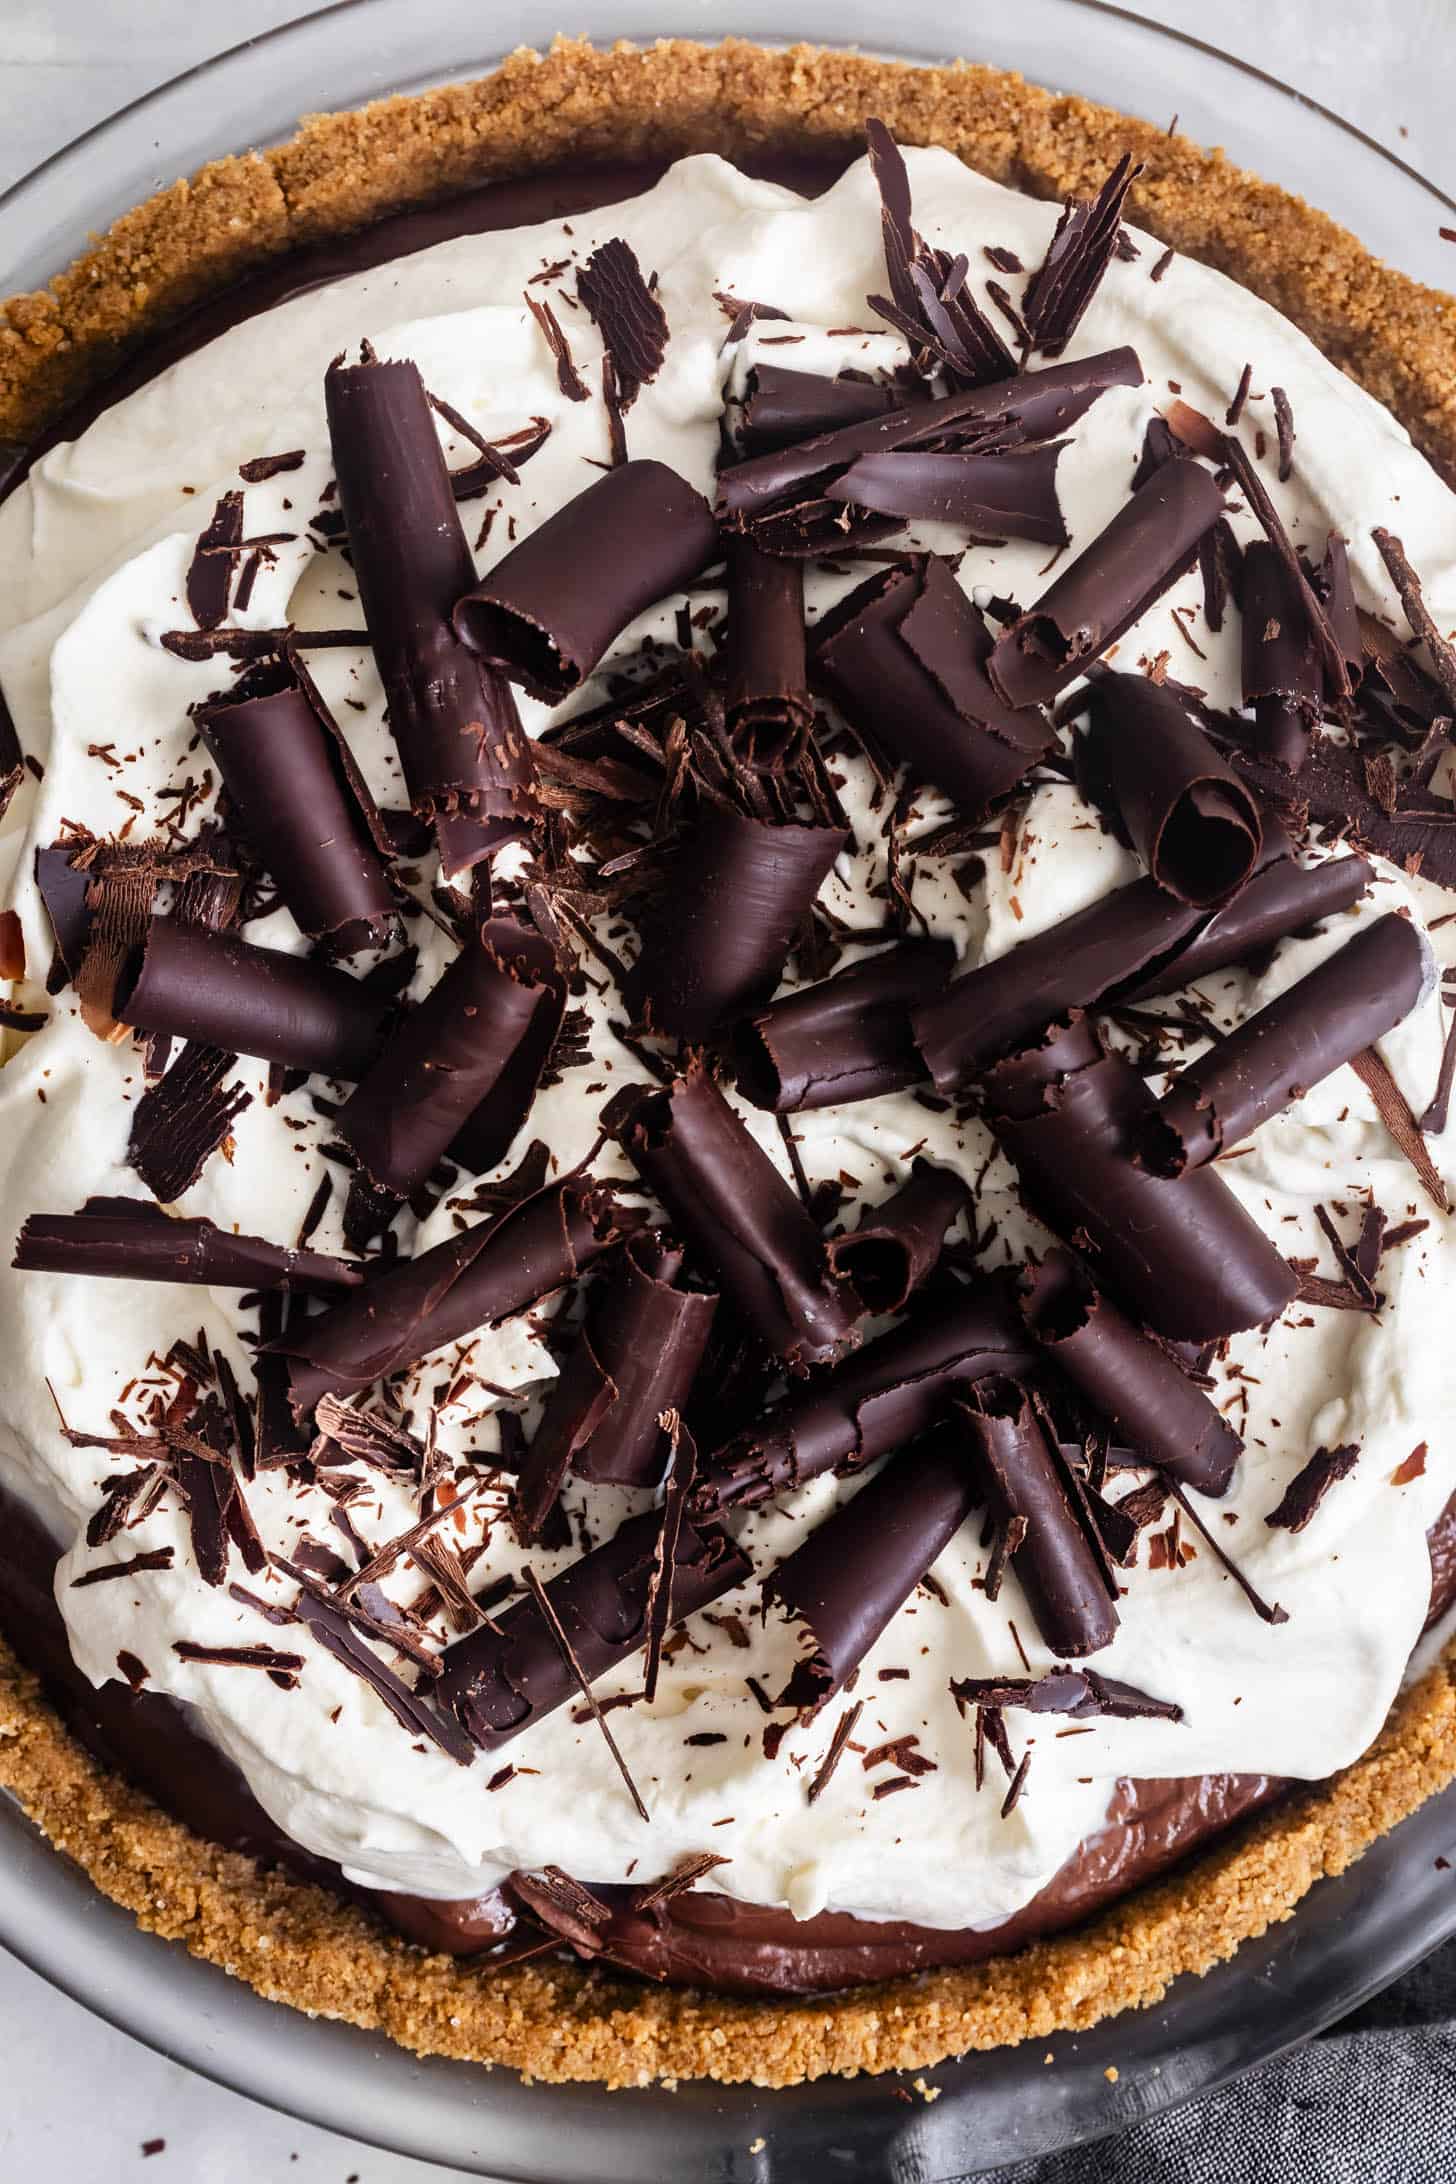
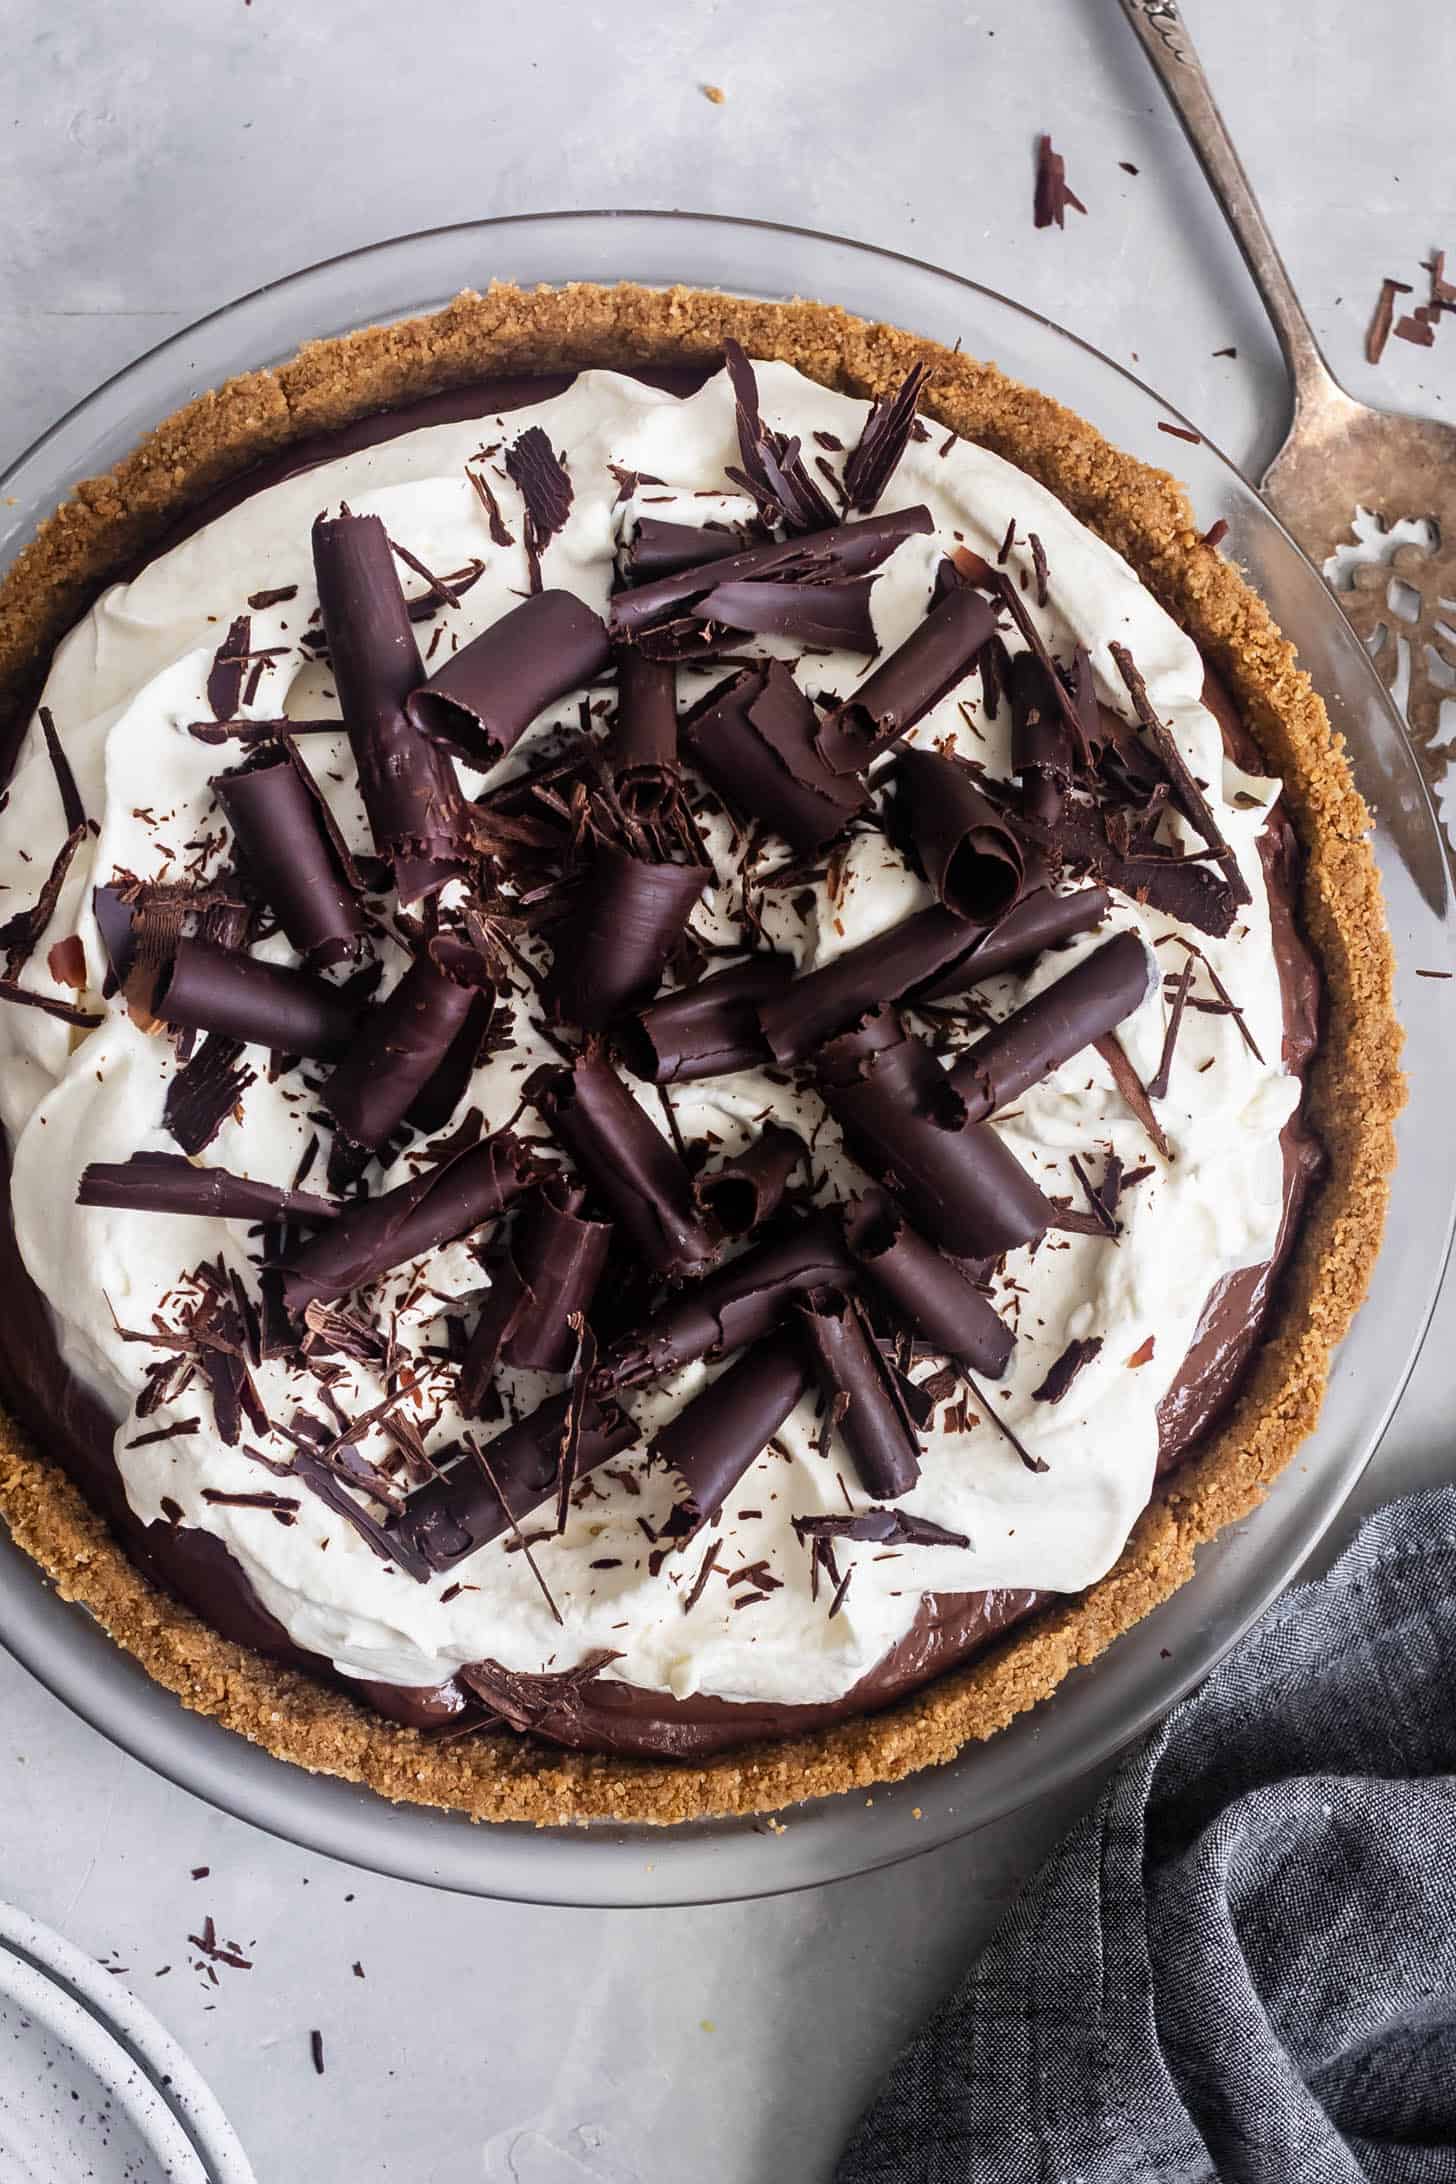
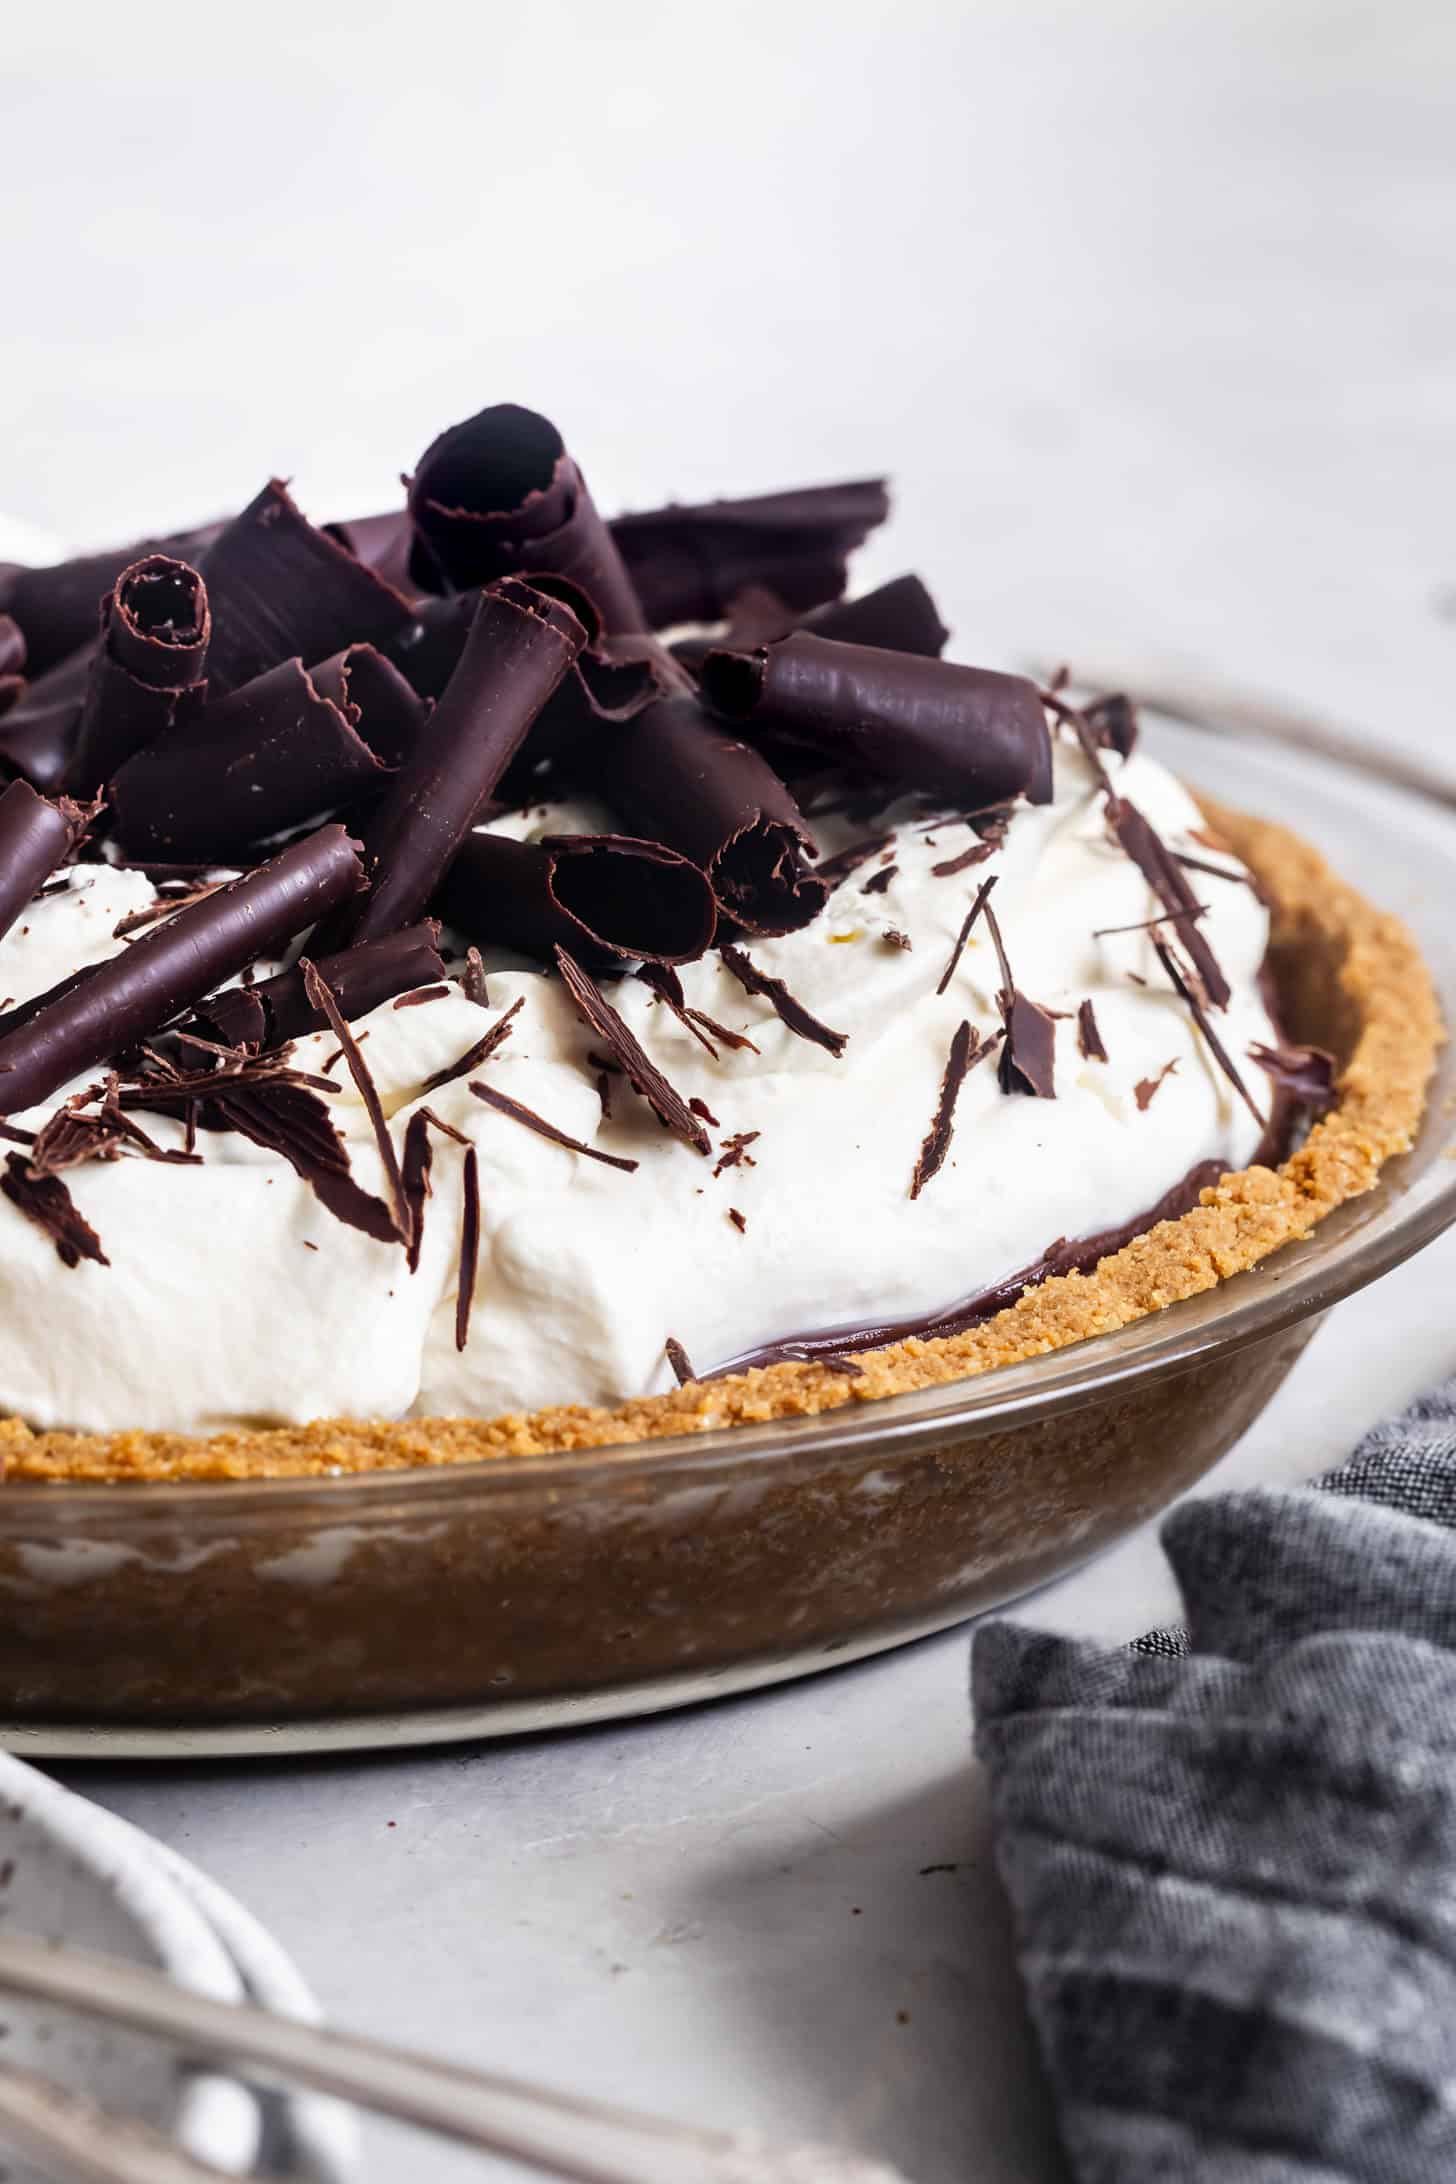
When ready to serve, top with whipped cream and chocolate curls!

Debbie -
I absolutely loved the pie! It came together so well as noted in the recipe. It was definitely worth the time. It goes in the recipe file with my favorites!
Amanda -
Excellent! Went perfectly with my gluten free pecan crust