

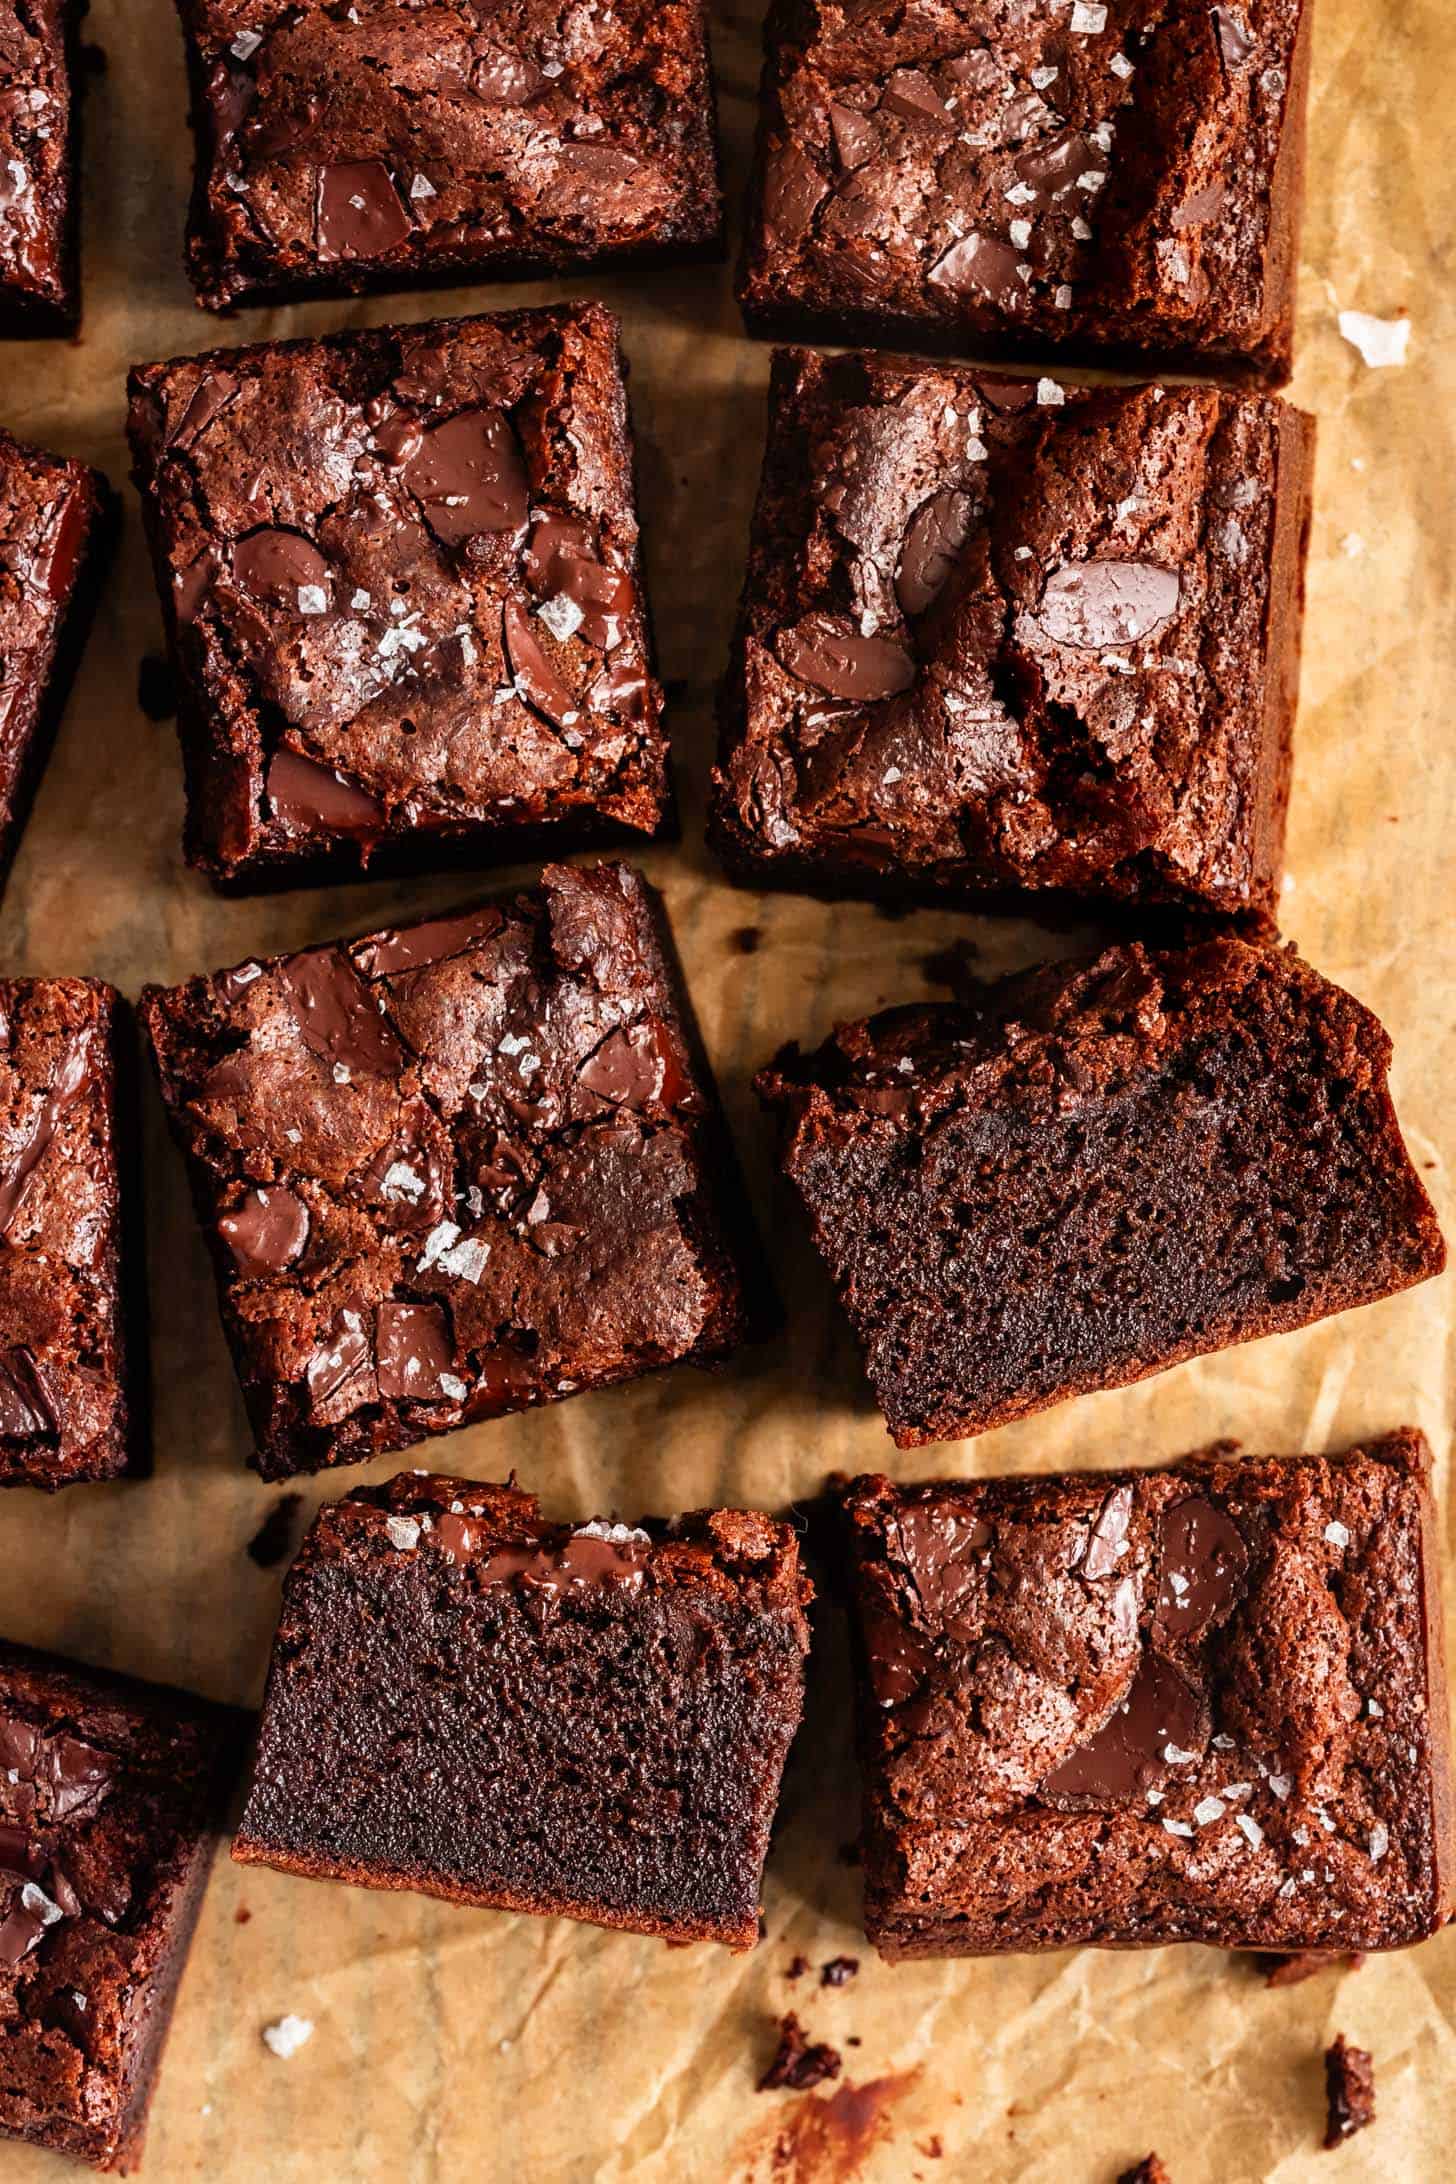
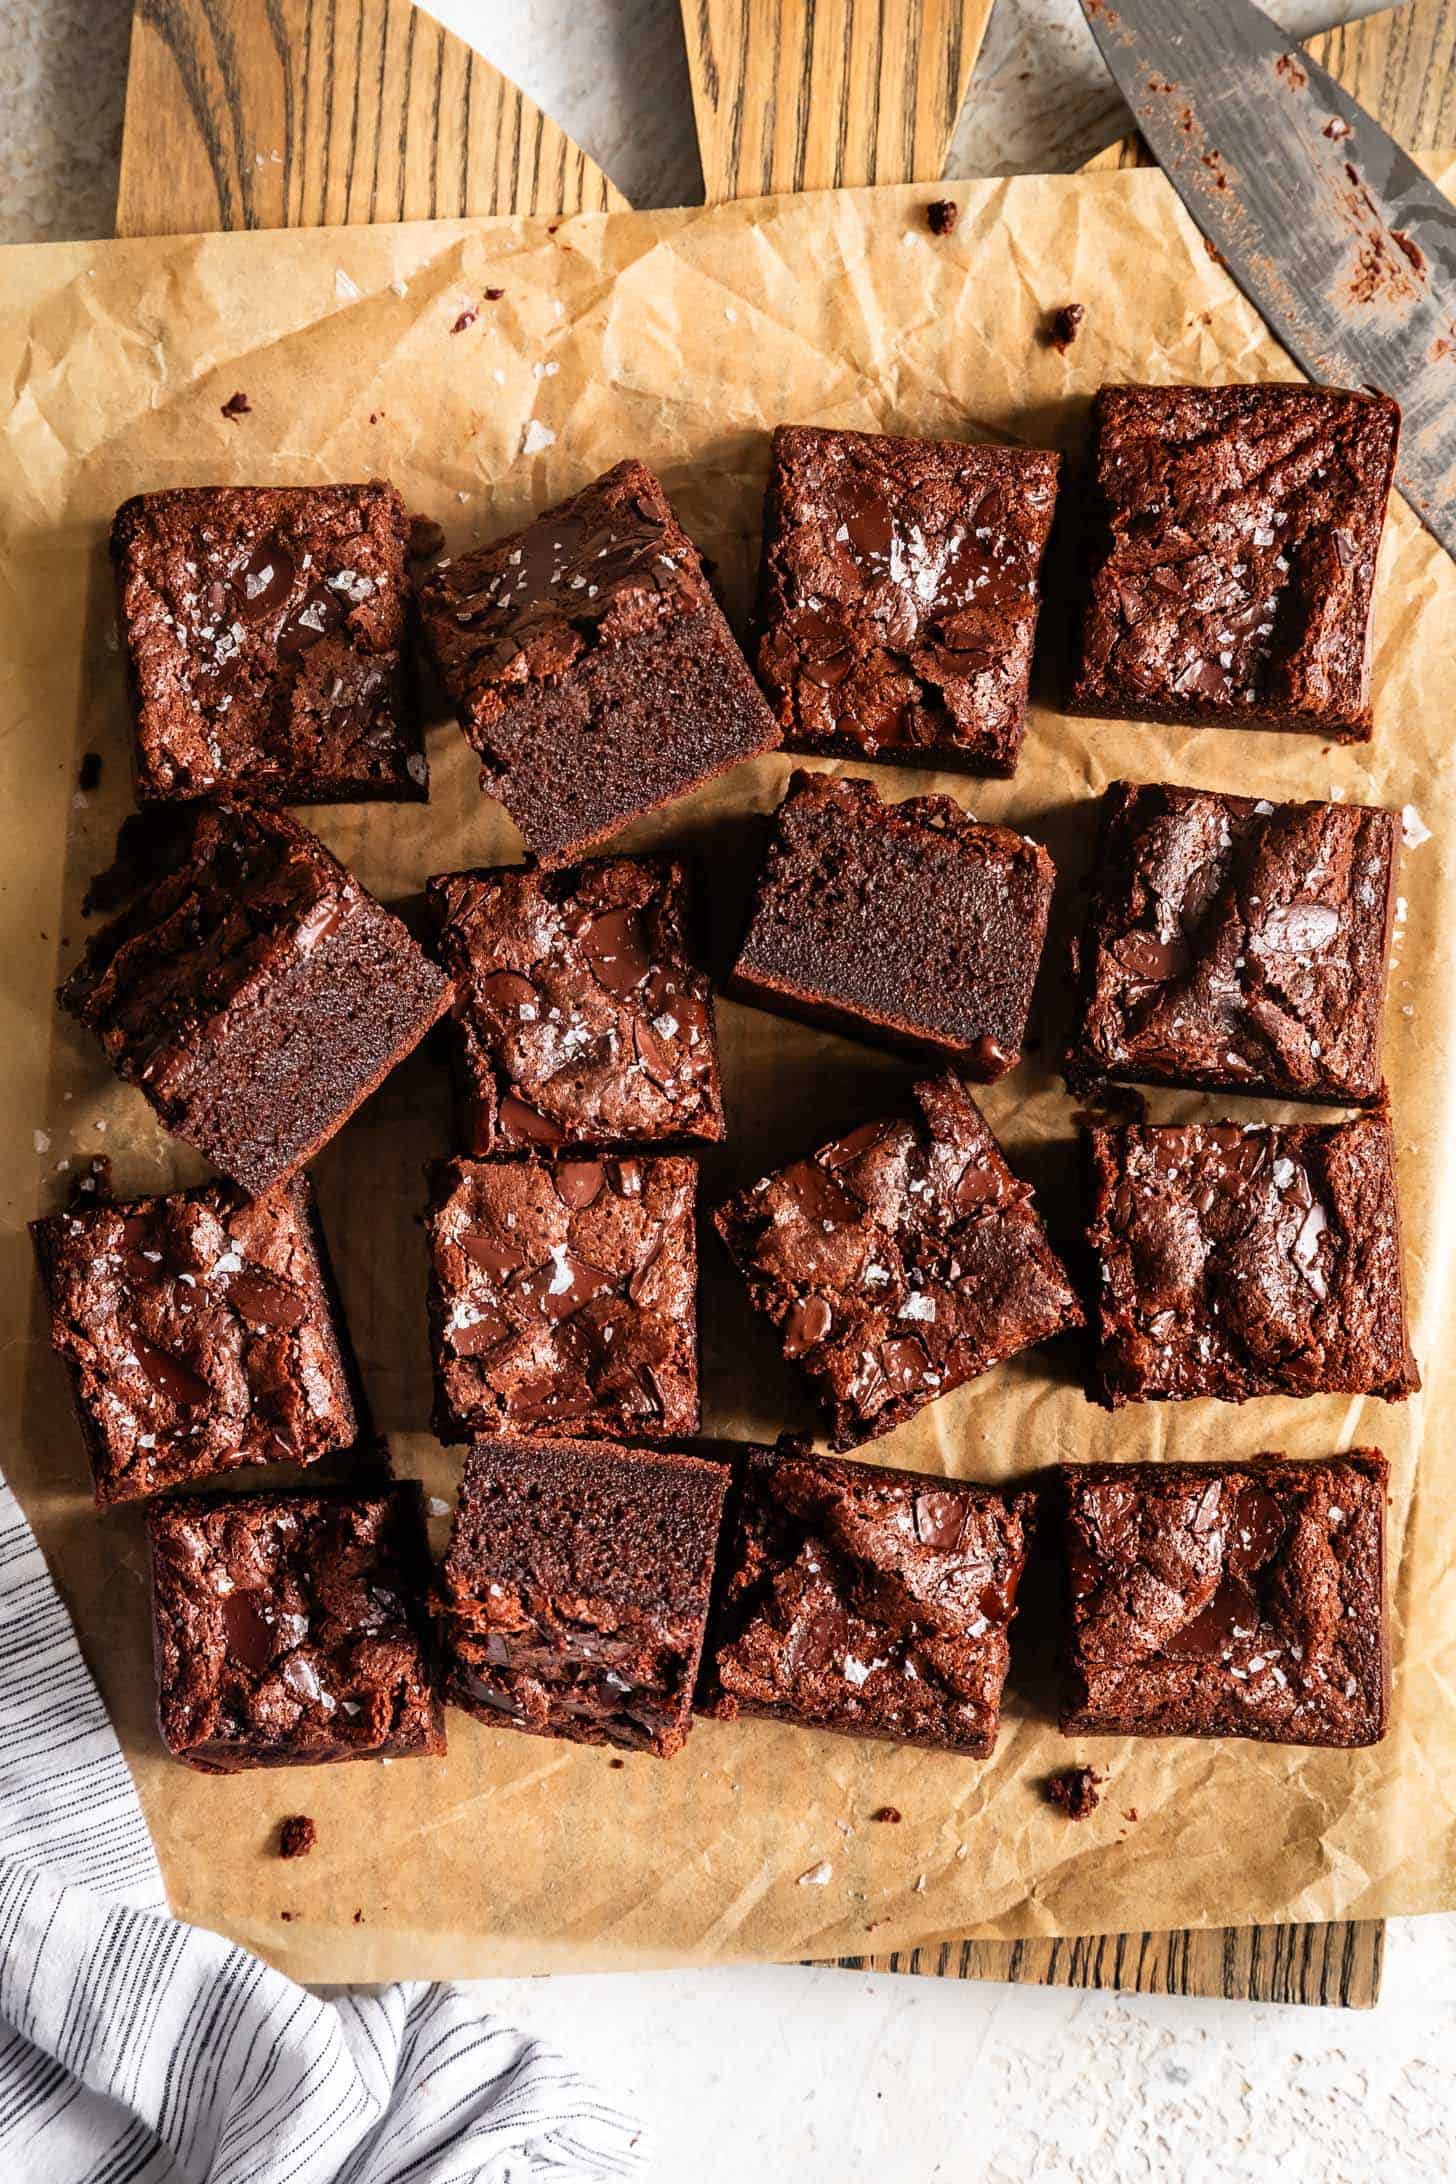
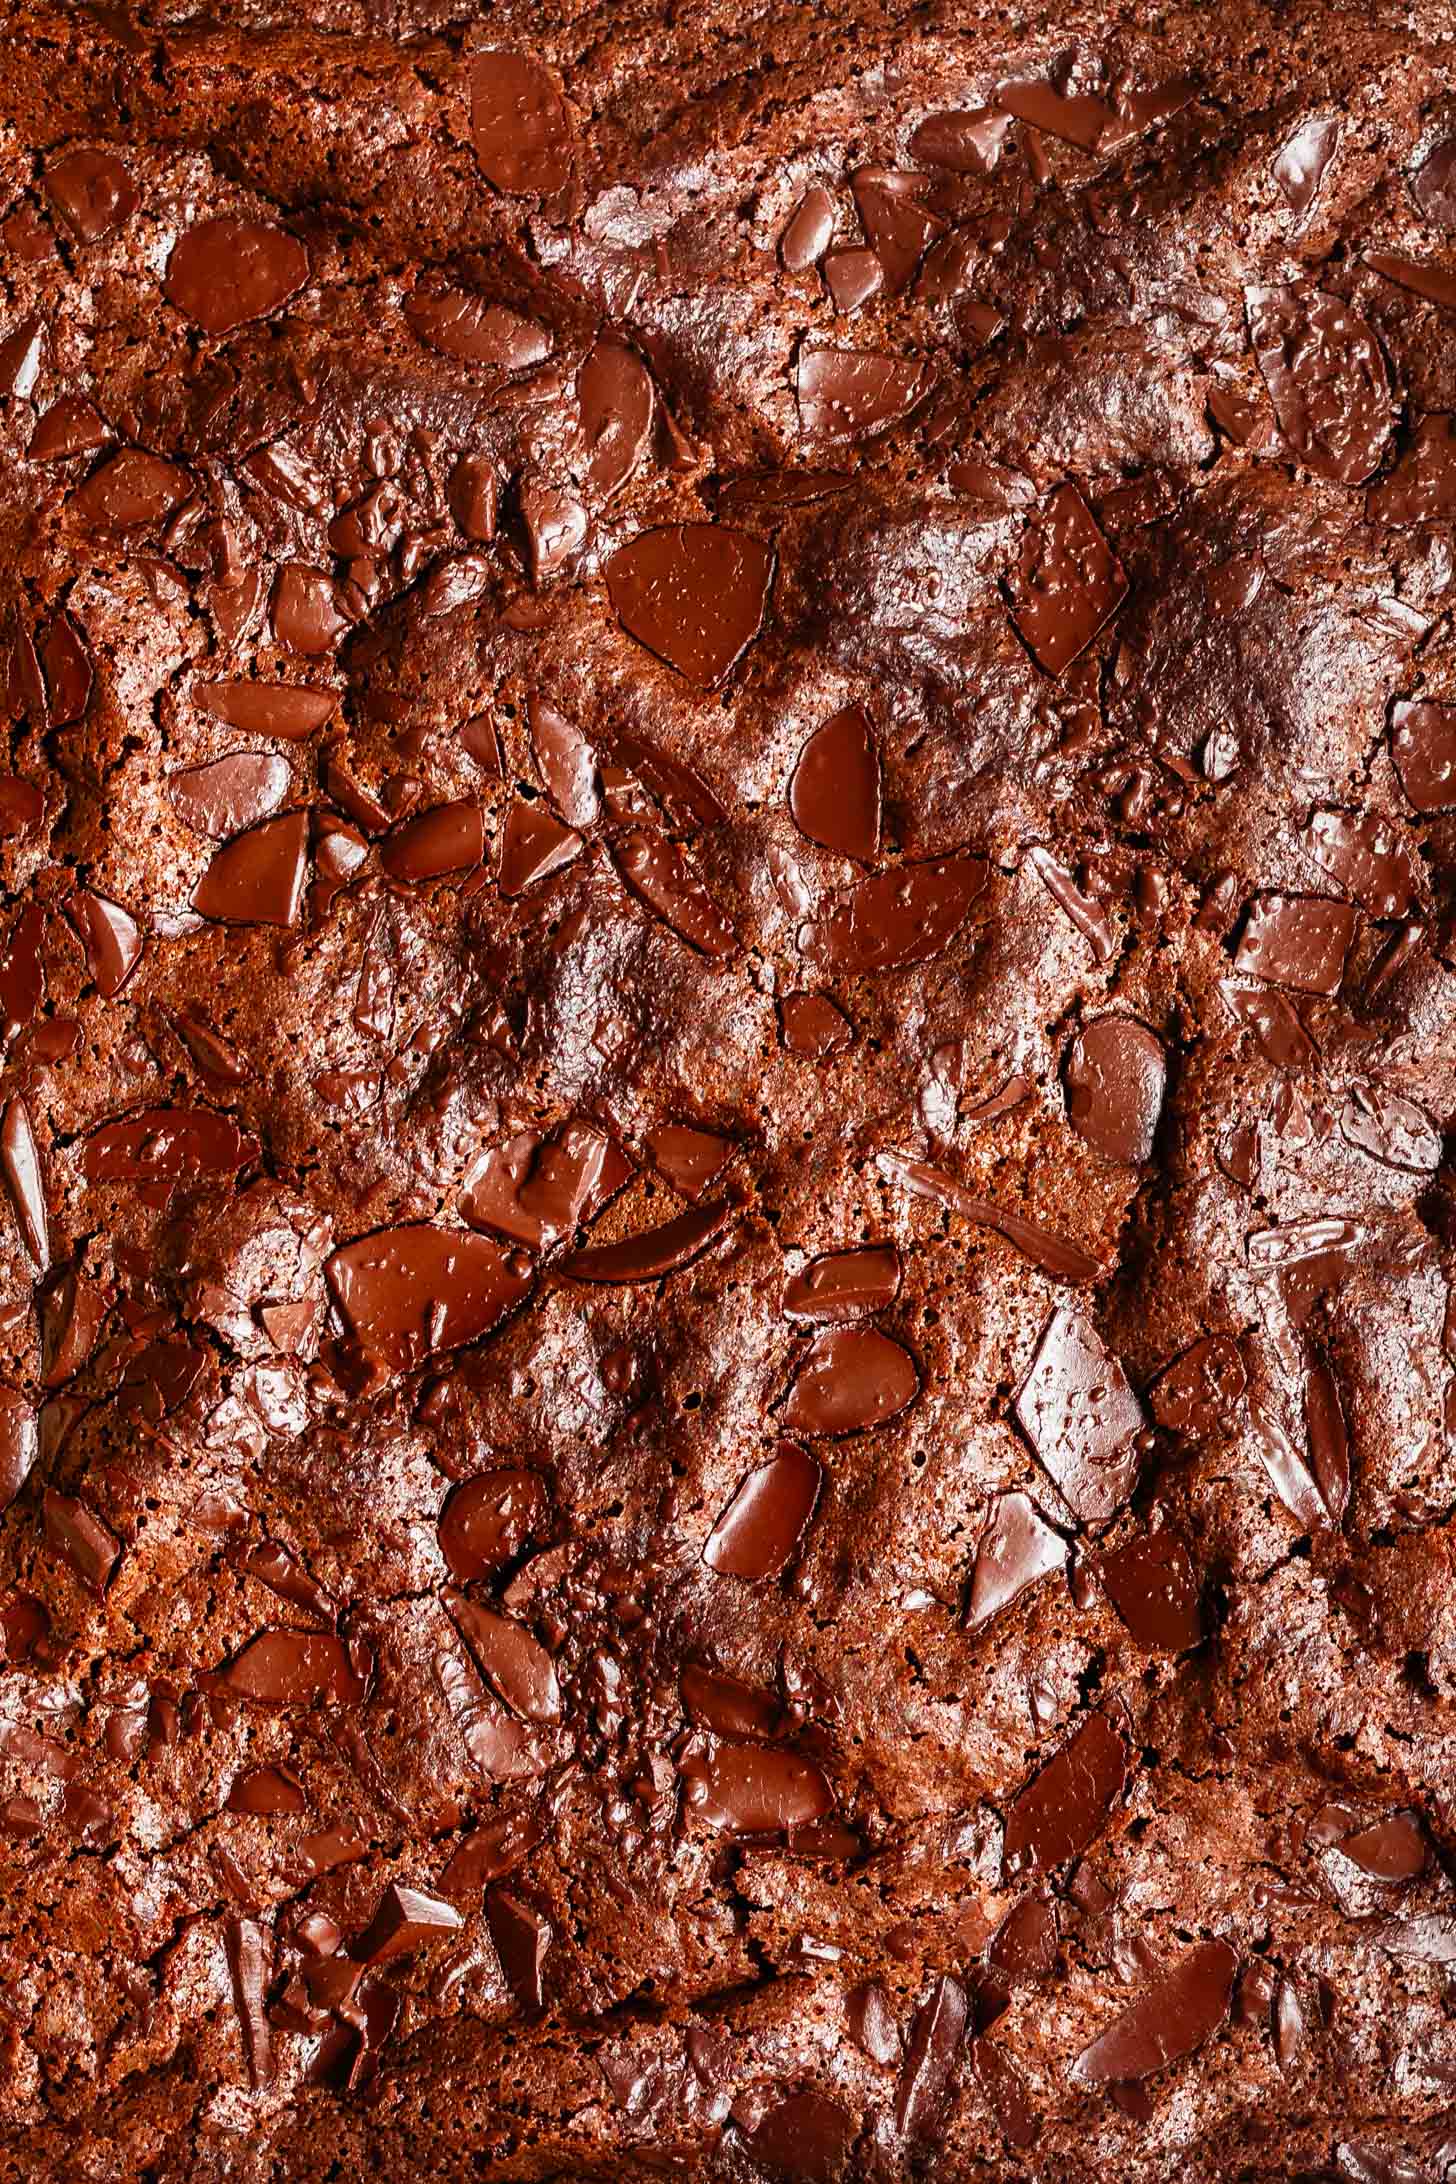
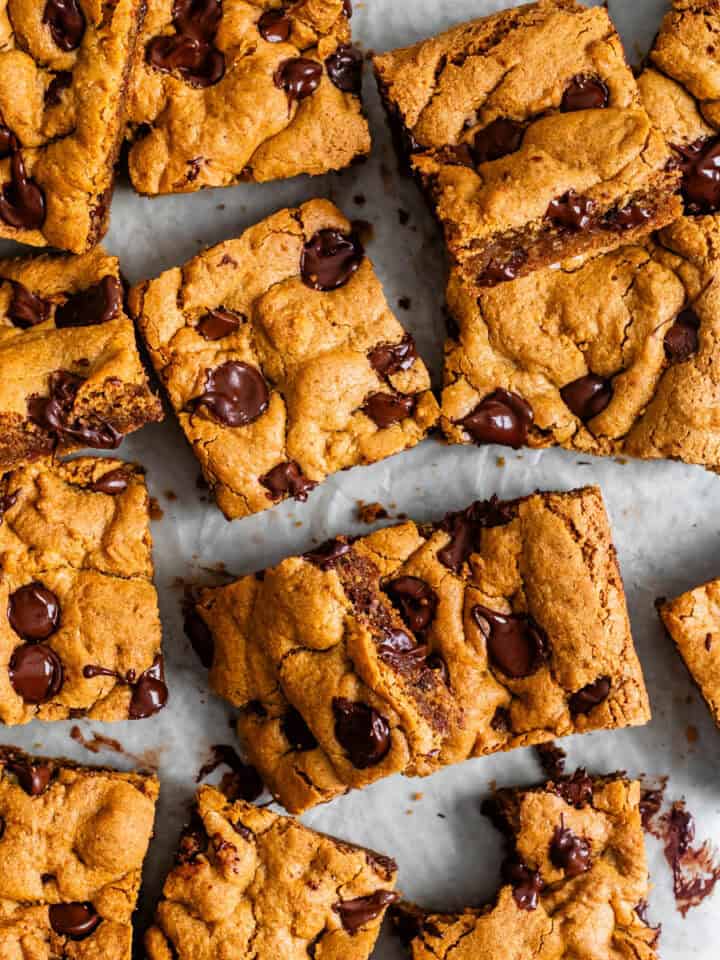
As a mash-up between brownies and mochi, these dark chocolate mochi brownies have a crisp, crackly top and an ultra-chewy center. They bring the deep, rich flavor of a classic fudgy brownie together with the stretchy, signature texture of mochi, all in one bite. Made with sweet rice flour, they're naturally gluten-free and come together super quickly with just one flour. These brownies are deeply chocolatey, just sweet enough, and full of that bouncy, chewy texture mochi lovers crave.
Once you catch the mochi bug, it's hard to shake. It starts innocently enough with ultra-chewy mochi pancakes for breakfast, but once that stretchy texture hooks you, there's no turning back. Before you know it, you're baking these dark chocolate mochi brownies for dessert. They're the perfect fudgy twist on everything I love about mochi. No regrets.
These mochi brownies really are the best of both worlds: the crisp, crackly top and slightly fudgy center of classic brownies, mixed with the chewy, stretchy signature texture of Hawaiian butter mochi. I tested and tweaked this recipe over a dozen times to determine the precise ratio of mochiko, cocoa powder, and milk that creates an ultra-chewy mochi brownie that is neither cakey nor dense.
They also happen to be gluten-free, and the recipe's as simple as it gets with just one flour. Just don't expect a classic brownie - these have that chewy mochi magic going on.
Why These Brownies Will Be Your New Obsession
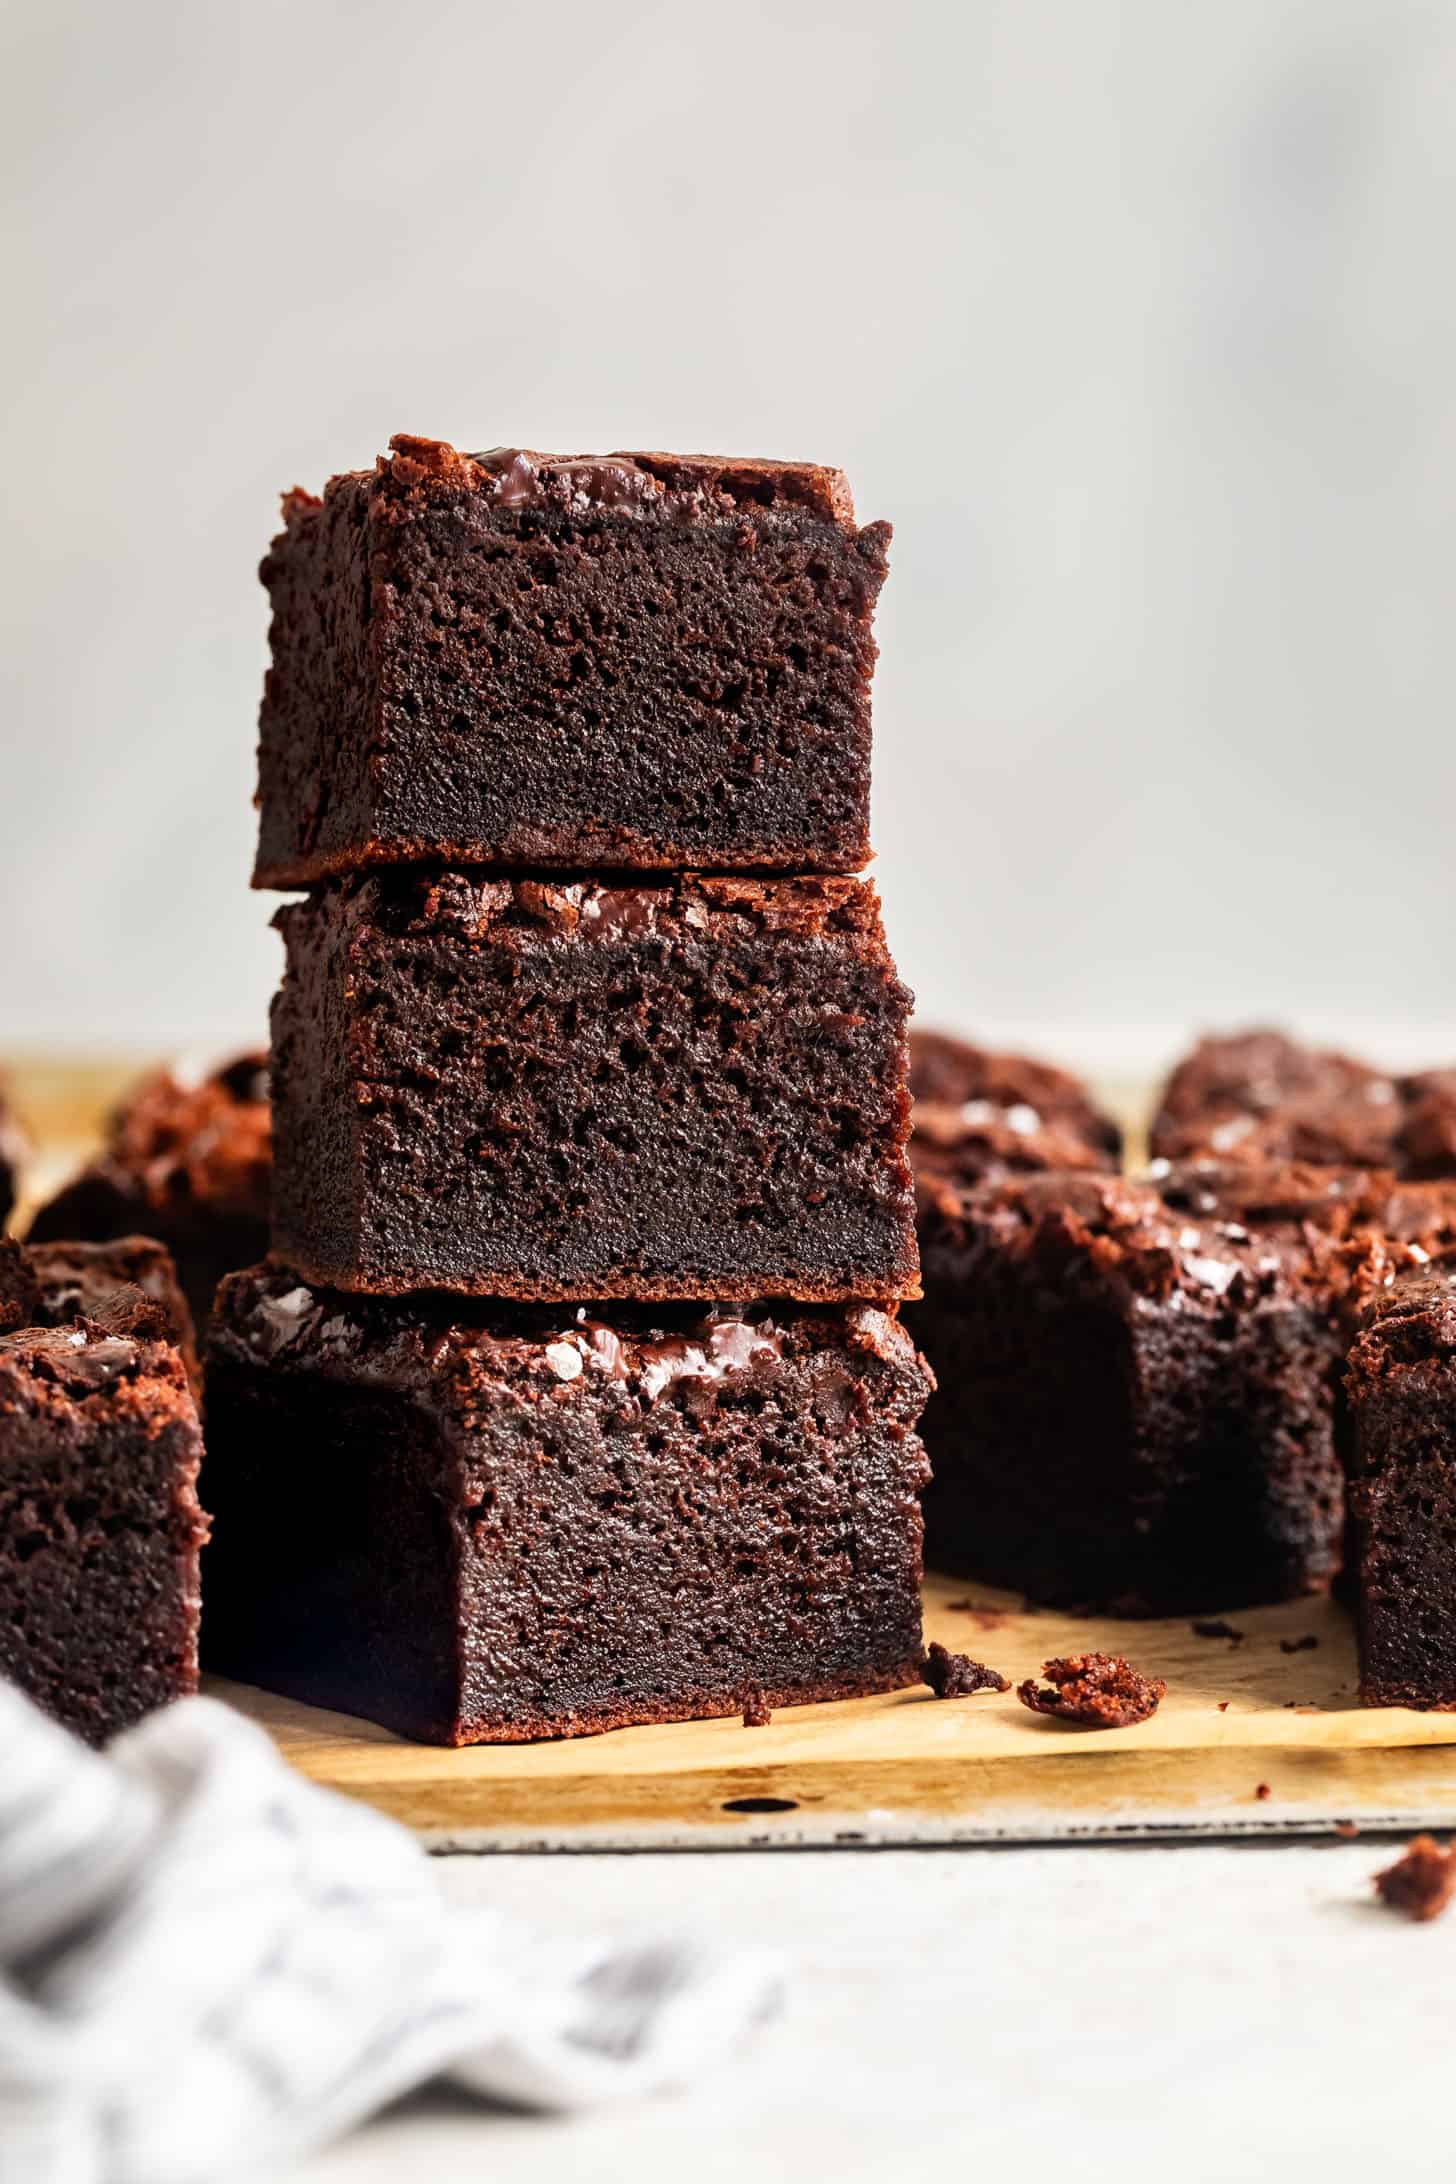
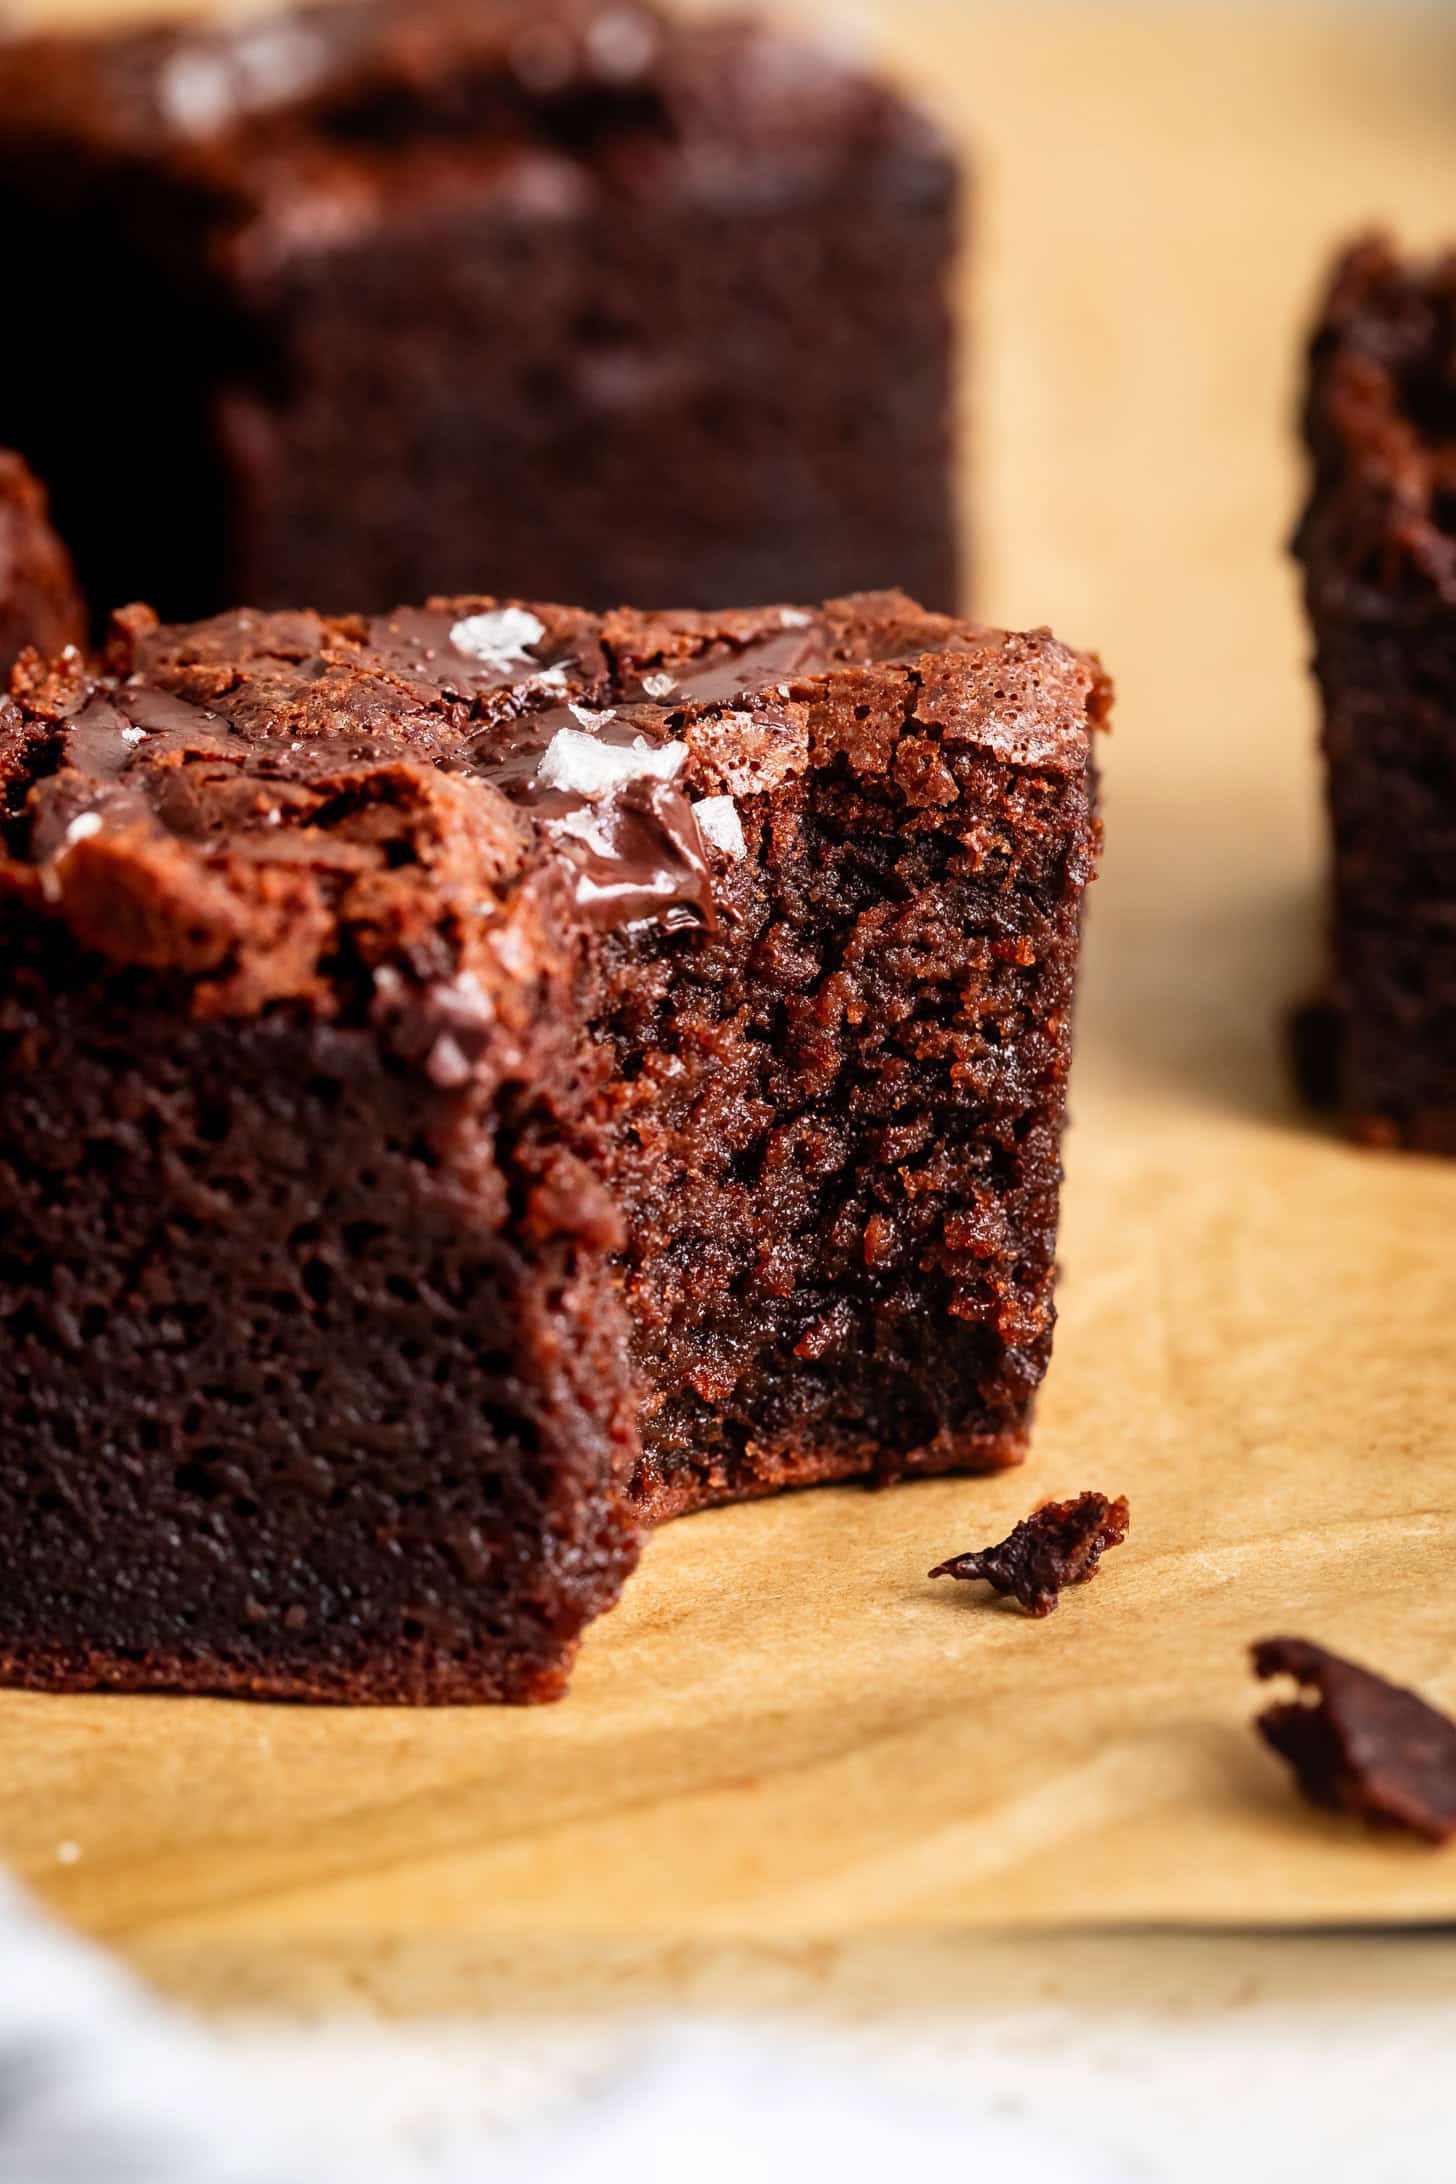
- That Chewy-Fudgy Texture Combo: The center is ultra-chewy thanks to mochiko, but still rich and slightly fudgy with the crisp, crackly top. Basically, the best of both dessert worlds: signature mochi texture and brownie flavor.
- Super Simple and Naturally Gluten-Free: Made with only mochiko (sweet rice flour) and all the classic brownie ingredients, they're naturally gluten-free with no special flour blends, and super easy to whip up without any complicated steps
- Chocolate Lover's Dream: With deep, rich chocolate flavor in every bite, and melted gooey chocolate on top, these brownies are packed with flavor.
After over a decade of making mochi, from glazed mochi donuts to crispy cheesy savory mochi waffles, these brownies are the latest chewy recipe to join my mochi family. If you're like me, once you make them, you'll put mochiko on subscription.
What Gives These Brownies Their Unique Chew & Deep Flavor
I learned from my many tests that creating the just-right texture, while infusing loads of chocolate flavor, requires a delicate balance of ingredients.
- Bittersweet chocolate: To get a rich chocolate flavor without making the brownies cakey, I use a combination of melted bittersweet chocolate and cocoa powder. For extra gooeyness, I also sprinkle chopped chocolate on top before baking.I use Guittard bittersweet baking wafers and have found that chocolate chips are too dense for the runny batter and sink to the bottom.
- Mochiko: Also called sweet rice flour or glutinous rice flour, mochiko is the flour used to make mochi, and thus is the VIP ingredient in these mochi brownies. Made from sticky rice, mochiko creates the stretchy, chewy texture of mochi. Do NOT substitute white rice flour or brown rice flour - they will not work! I recommend Koda Farms Mochiko. If you use a different brand, be sure to measure by weight.
- Cocoa powder: Your brownies are only as good as the cocoa powder used. I recommend a high-quality dutch-processed cocoa powder to create deep, dark chocolate brownies with rich flavor.
- Unsalted butter: Browned for extra toasty flavor, pour the melted butter over the sugars and chocolate to melt them into the batter, helping to create the crackly top. Plant butter works too!
- Espresso powder: While optional, I find that adding espresso powder amps up the chocolate flavor, making it deeper and richer without giving them a coffee flavor.
- Milk: While in classic brownies, milk tends to make them cakier, it is absolutely essential for bringing out the chewiness of the mochiko. Mochiko loves liquid. Feel free to sub a high-fat non-dairy milk!
Secret to Crackly Topped Mochi Brownies
In my many tests, I found some key steps to achieving that ultra-chewy classic mochi, but with the crackly tops of classic brownies.
Using melted chocolate and melted sugar helps create that shiny top we all love about brownies. Once you add the eggs to the batter, mix it well on high, for a few minutes. This will help create a thin meringue layer that rises to the top and bakes into that shiny, crackly crust!
Bonus tip: Measure your ingredients by weight. Small variations in the cocoa powder, mochiko, or milk can make a difference in achieving that crackly top.
Recipe
Rich & Chewy Mochi Brownies
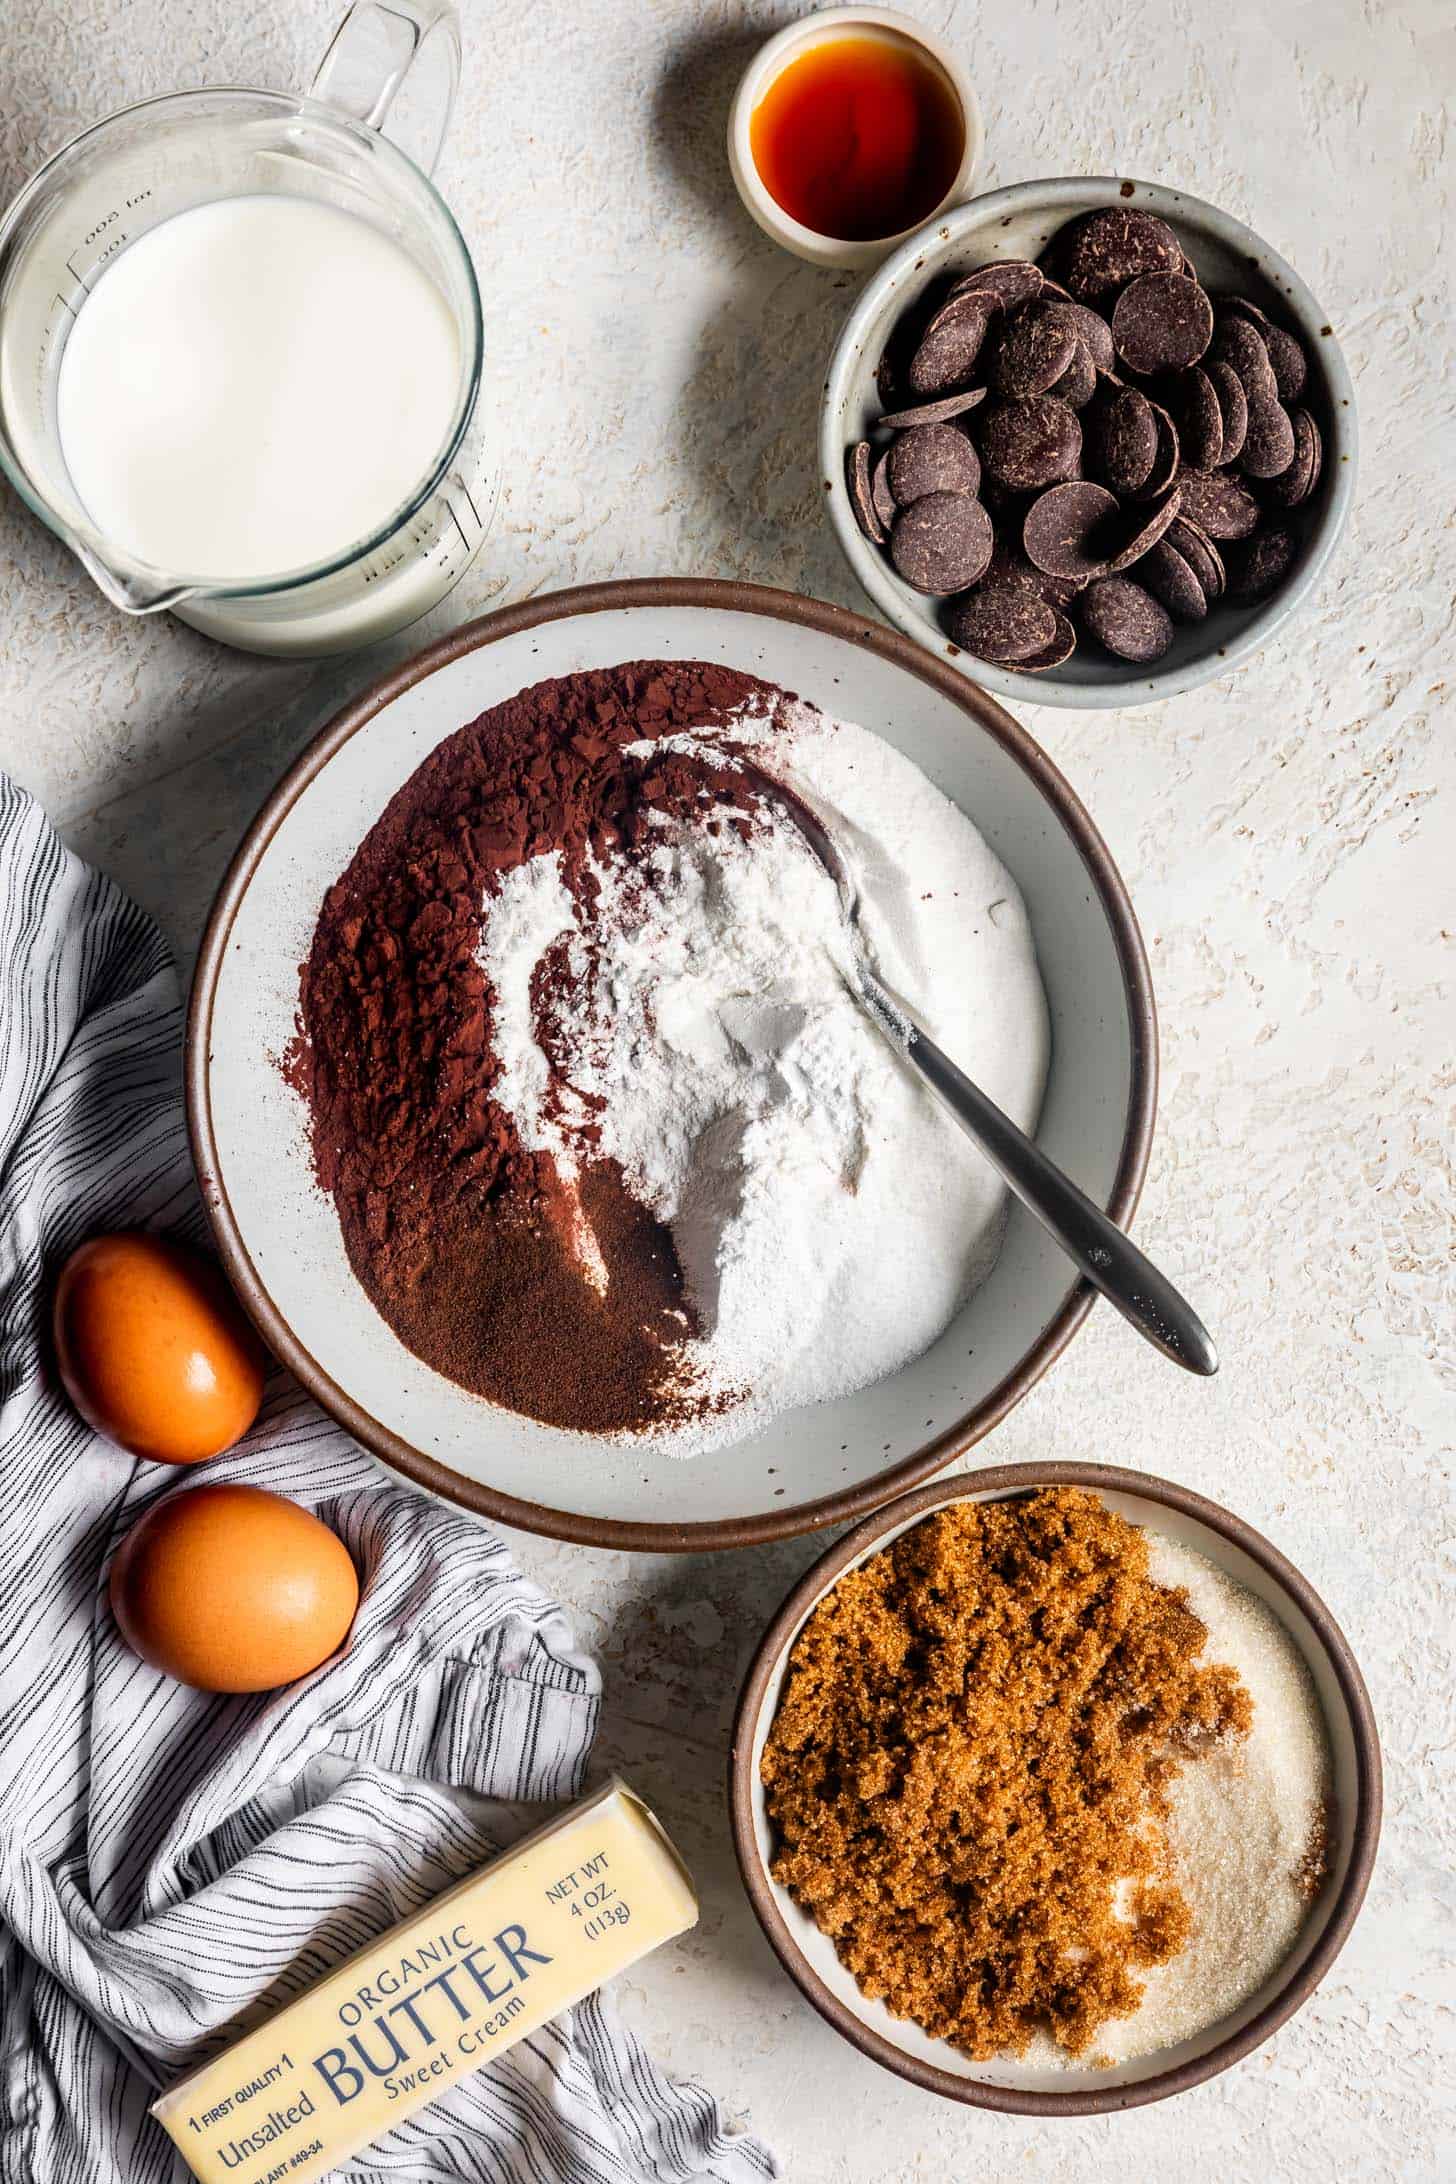
Ingredients
- 100 g (½ cup) dark brown sugar, preferrably organic
- 100 g (½ cup) granulated sugar
- 4 oz bittersweet chocolate, chopped and divided, I recommend Guittard Bittersweet Chocolate Baking Wafers or Bars
- ½ cup (4 ounces) unsalted butter
- 200 g (1¼ cups) mochiko sweet rice flour, Koda Farms Brand
- 36 g (⅓ cup) cocoa powder, I recommend dutch-processed
- 1¾ teaspoons baking powder
- 1 teaspoon espresso powder
- ½ teaspoon kosher salt
- 2 large eggs, room temperature
- 1½ cups (360 g) whole milk
- 1 teaspoon pure vanilla extract
INSTRUCTIONS
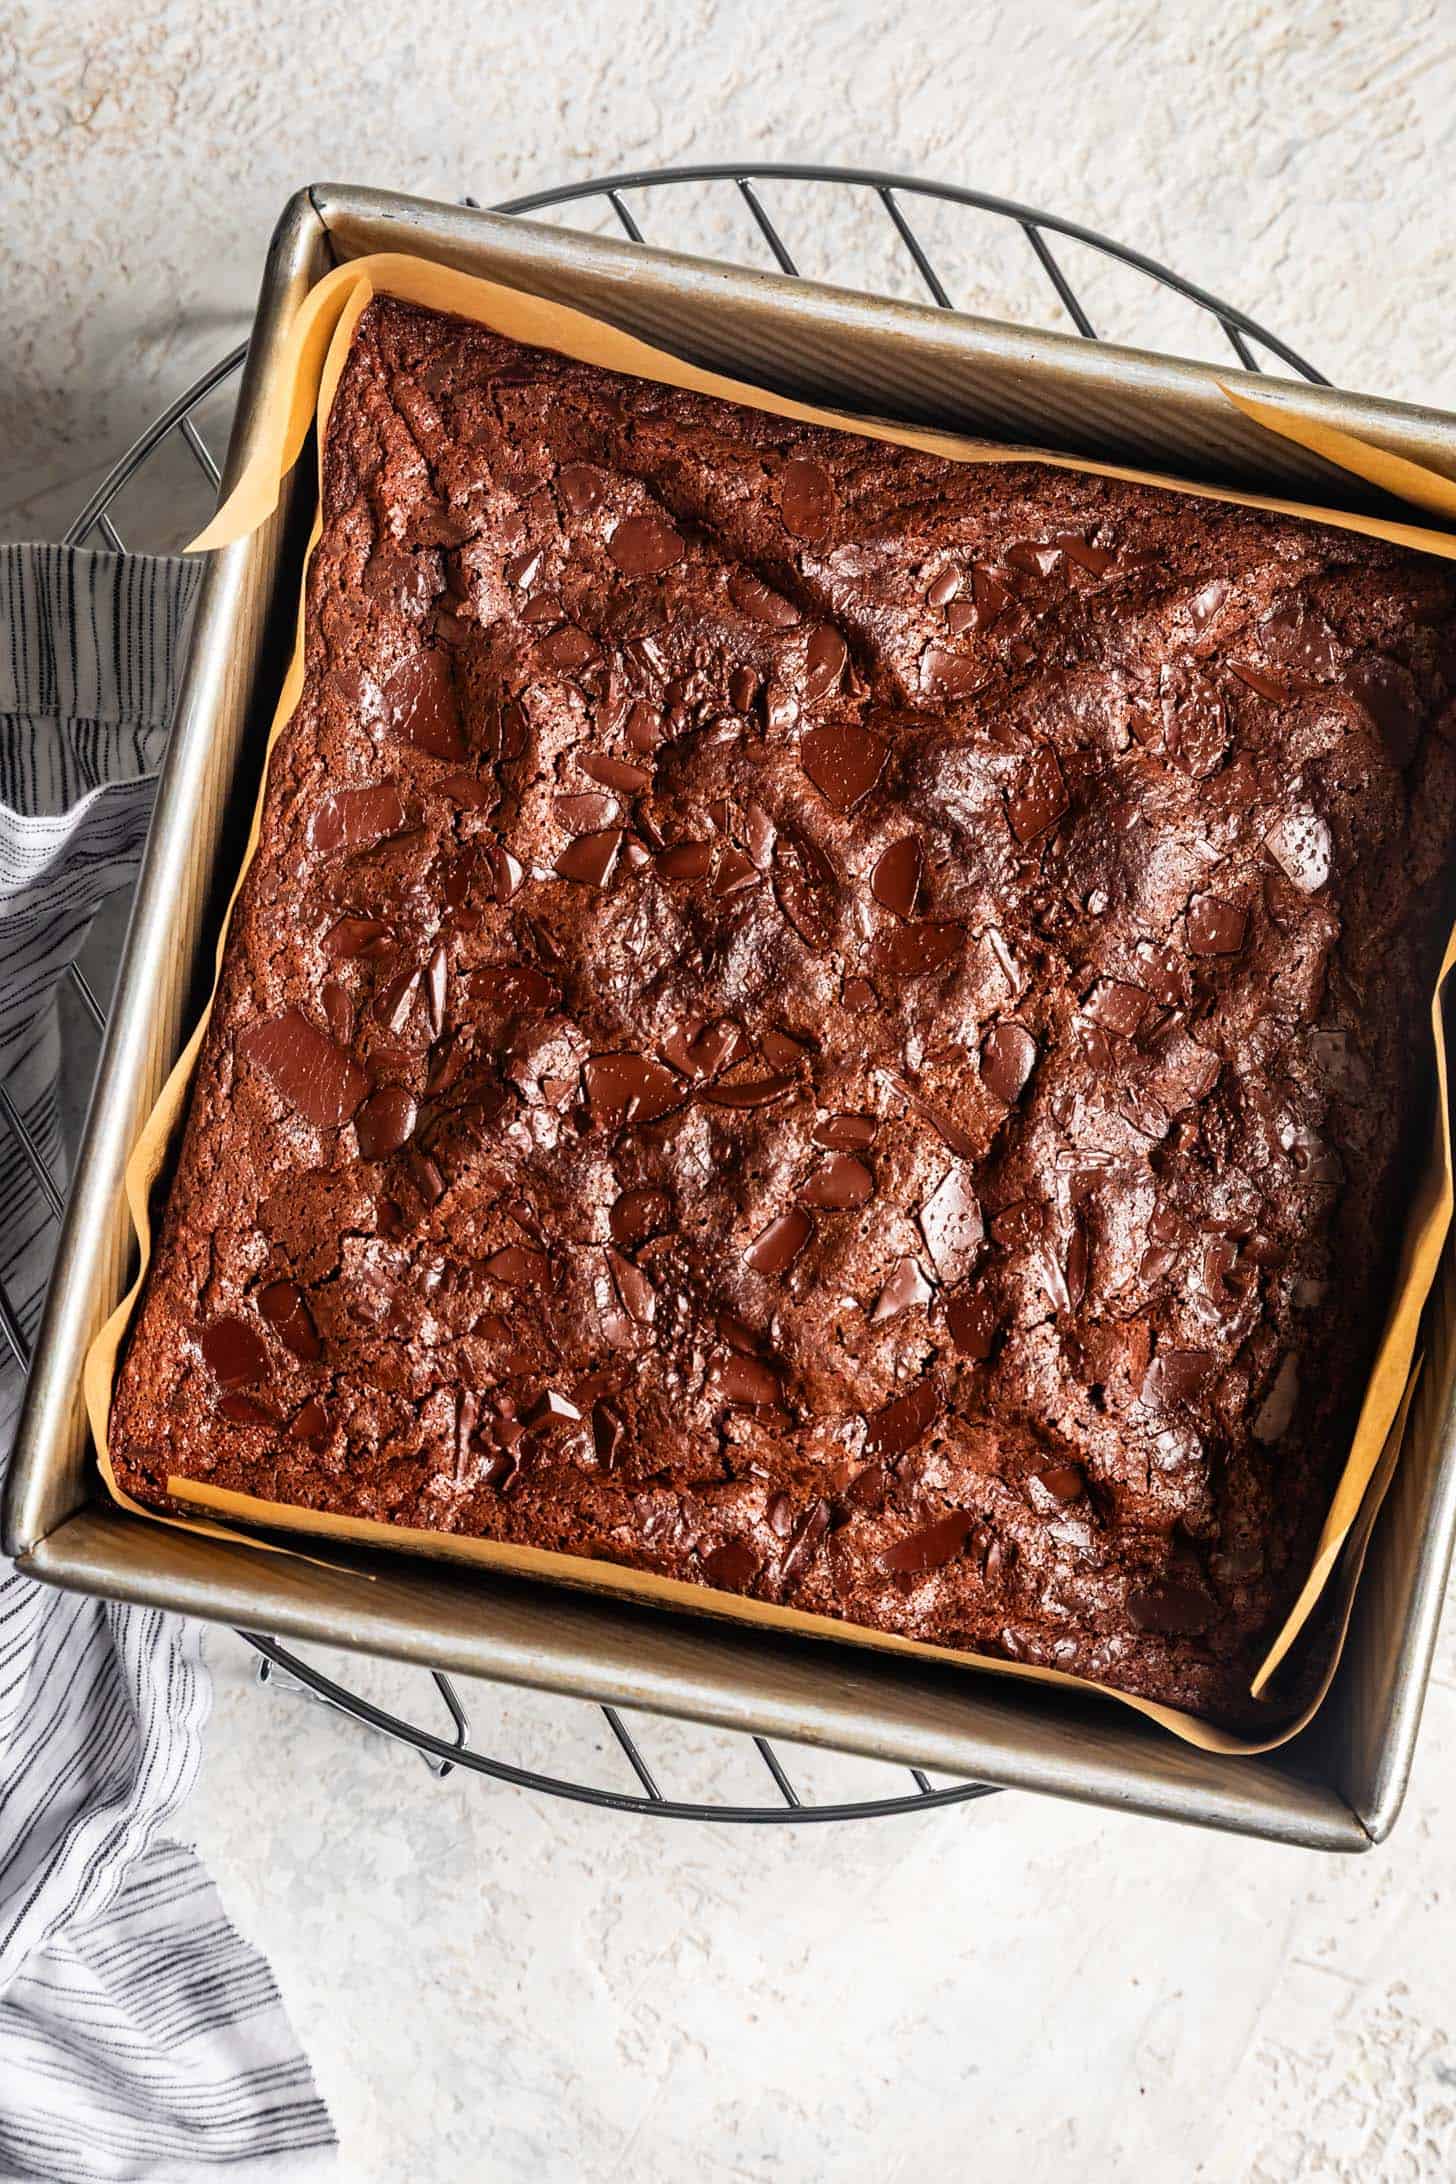
- Preheat oven to 350°F and line and 8x8 metal baking pan with parchment paper.
- Place the sugars and 2 ounces of the chopped chocolate into the bowl of a stand mixer fitted with the whisk attachment or in a large mixing bowl with a hand mixer or whisk.
- Brown the butter in a small saucepan over medium heat, cooking until the butter foams and browns, but does not burn. Pour the browned butter over the sugar and chocolate into the mixing bowl. Let sit for 2-3 minutes to melt the chocolate, then whisk until smooth. Let cool for 5 minutes.
- Meanwhile, sift together the mochiko, cocoa powder, baking powder, espresso powder, and salt in a medium bowl and set aside.
- With the mixer on low, add the eggs one at a time to the cooled butter-chocolate mixture, mixing well after each addition and scraping down the sides as needed. Mix on medium-high for 2-3 minutes (you can do this with a mixer or by hand with a whisk). Mixing the egg in well at this step will help create crackly tops.
- With the mixer on low, whisk in the dry ingredients in two batches, alternating with the milk and vanilla, scraping down the sides as needed. Mix until just combined.
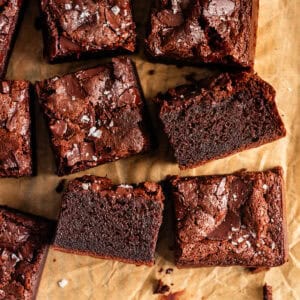
- Pour the batter into the prepared baking pan and sprinkle the top with the remaining 2 ounces of chopped chocolate. Bake for 45 minutes. Remove the pan from the oven and let cool completely before cutting. *Cutting clean slices of sticky mochi:Mochi is sticky and thus hard to slice into tidy squares. While deliciously tempting to cut into warm brownies, ber sure to let them cool to room temperature before slicing into squares, wiping off the knife between cuts.
Video
Notes
Dairy-Free Mochi Brownies
To make these mochi brownie dairy-free, just replace the browned butter with melted plant butter and the milk with a non-dairy milk, such as full-fat oat milk or canned coconut milk.Storage
Store completely cooled mochi in an airtight container at room temperature for about 3 days. The crisp top will become softer over time, so if you're just storing overnight, I do not seal the lid, but rather keep it resting over the container. This will keep the top crisp overnight.Did you make this recipe? Please leave a review and rating to let me and others know how you liked it!
How to Make Rich Chewy Mochi Brownies
I make these in a stand mixer for ease, but you can easily make them in a mixing bowl with a hand mixer or a whisk!
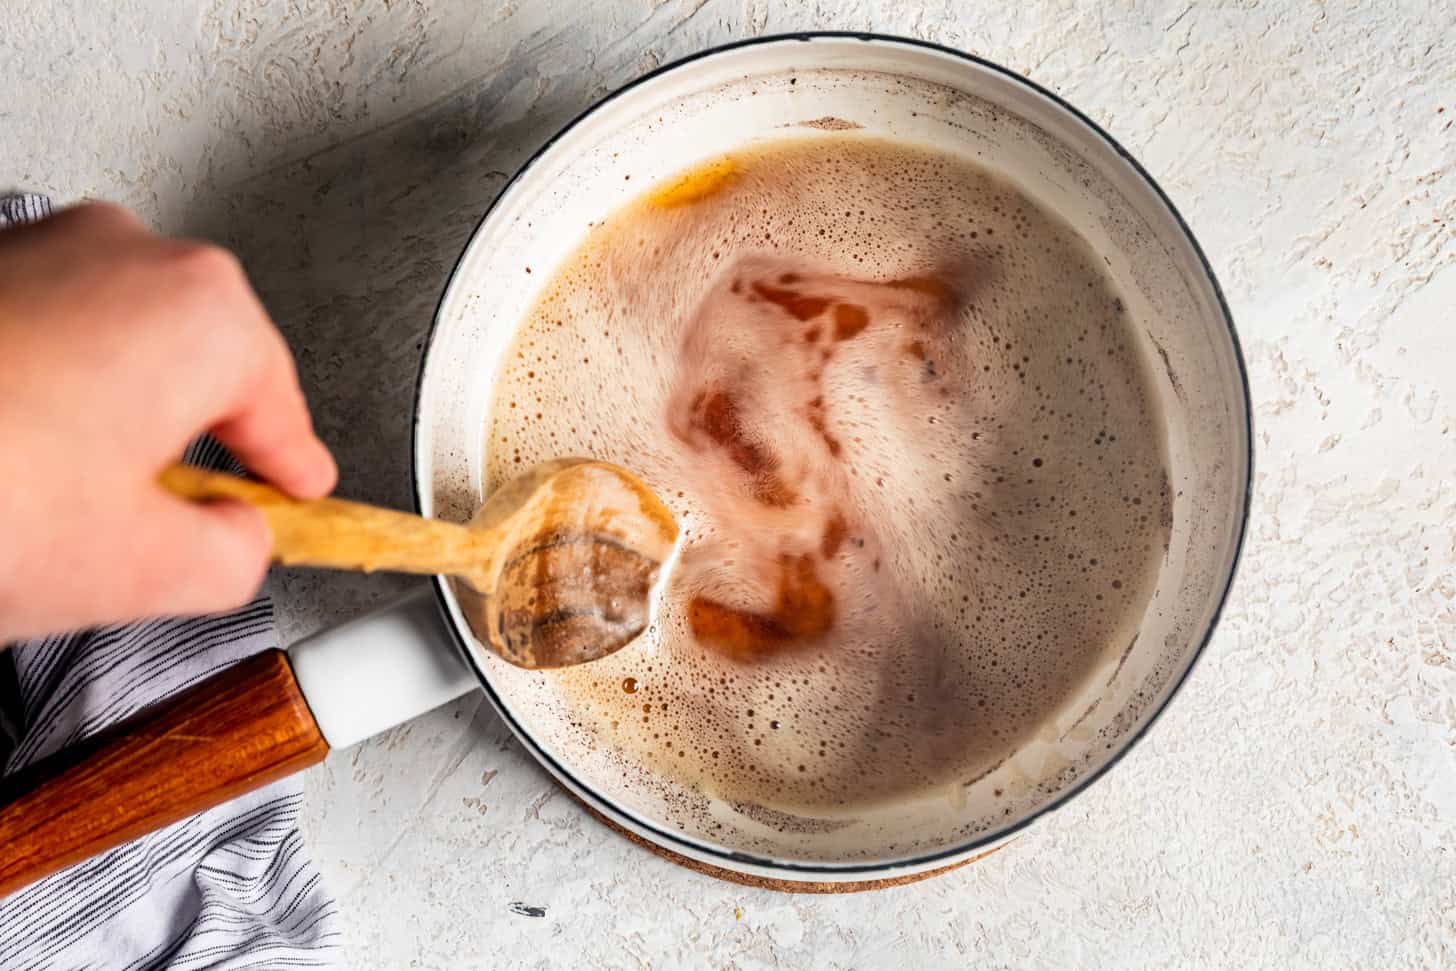
Brown the butter until it foams and turns golden brown.
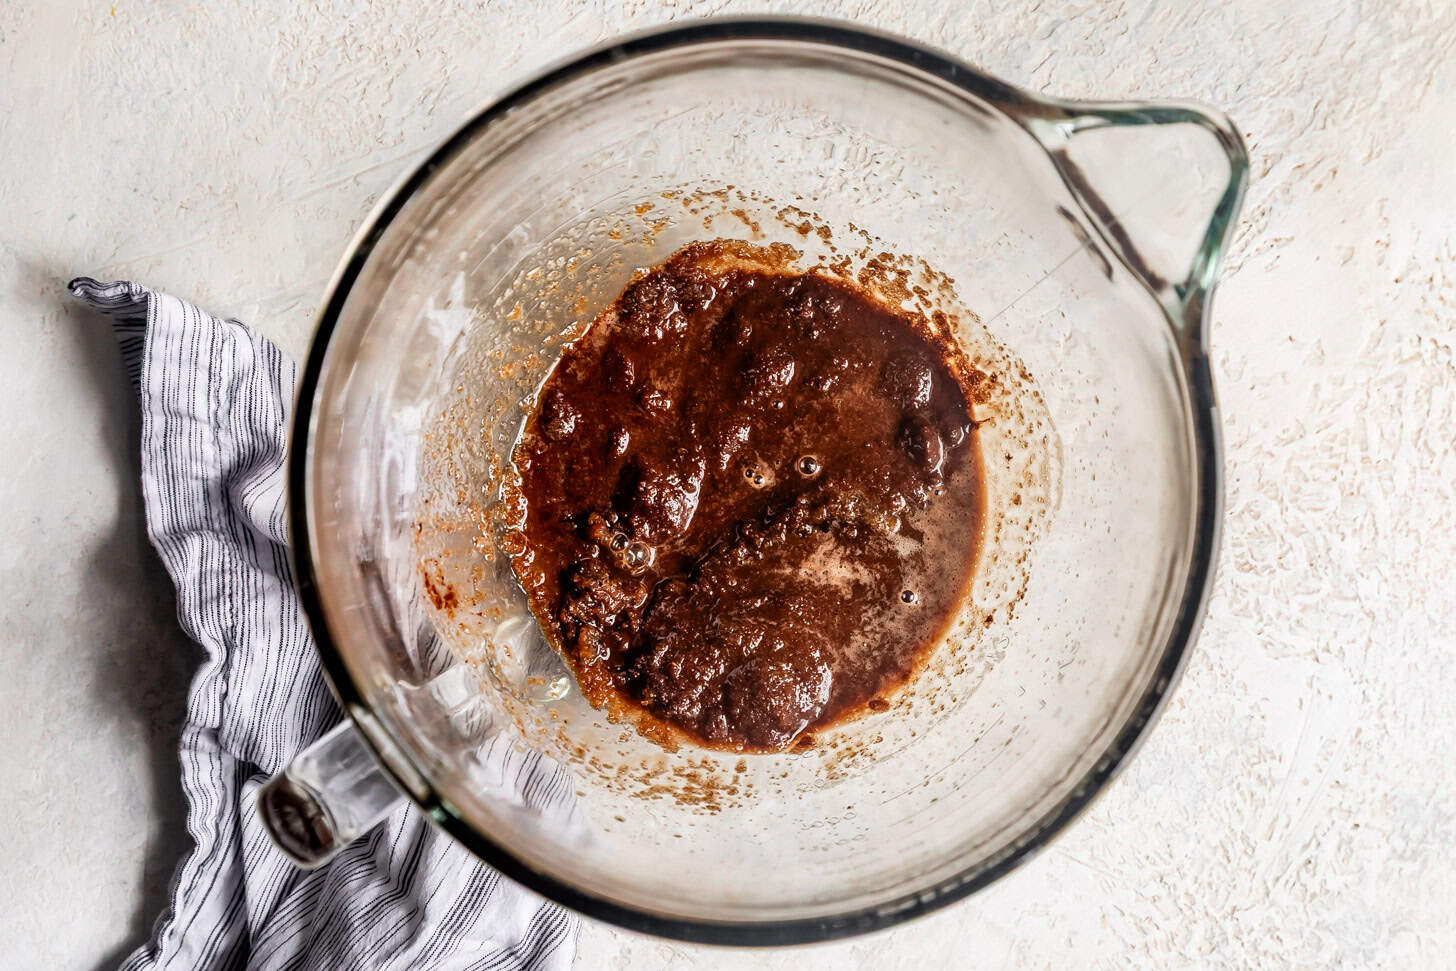
Pour the butter over the sugars and half of the chocolate, and let sit until the chocolate melts.
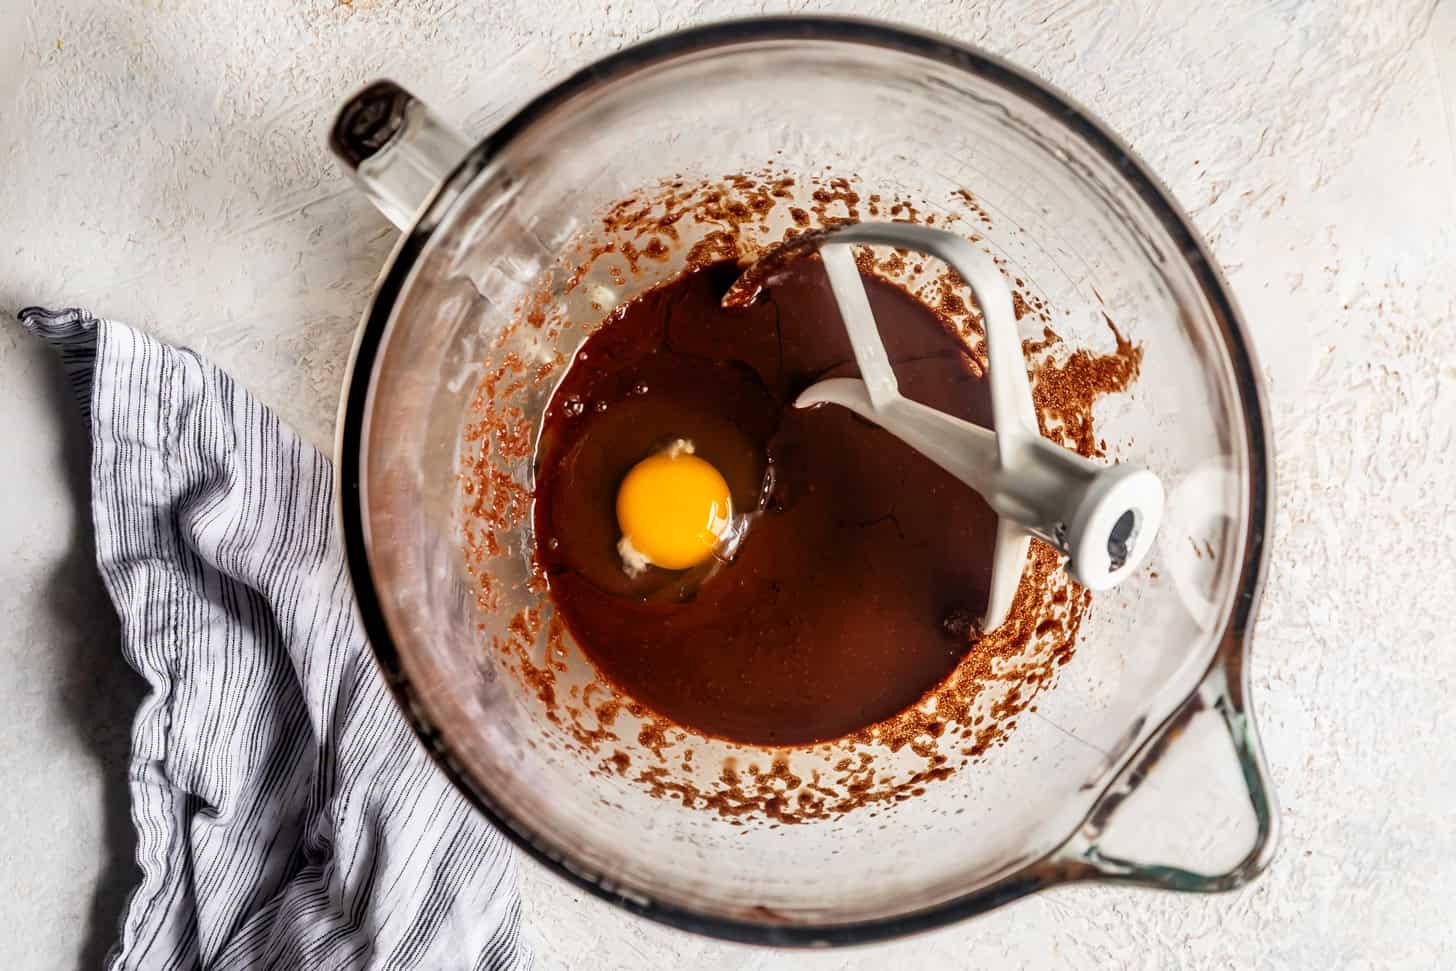
Mix in the eggs, one at a time. MIX WELL AT THIS STEP to create crackly tops.
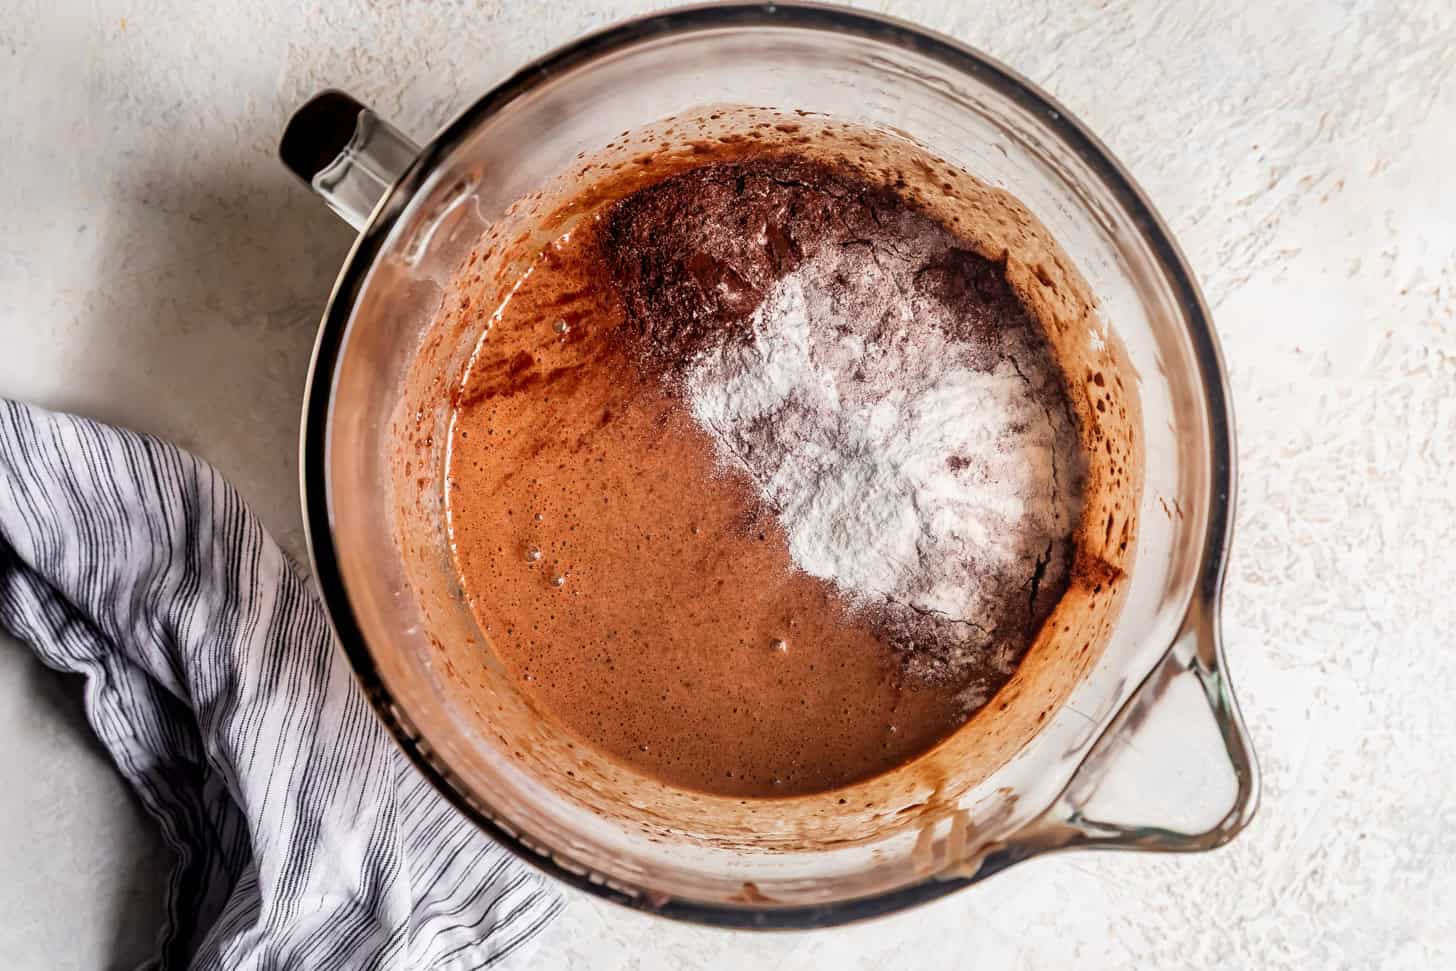
Add the sifted dry ingredients in two parts, alternating with the milk.

Mix until just combined and smooth.
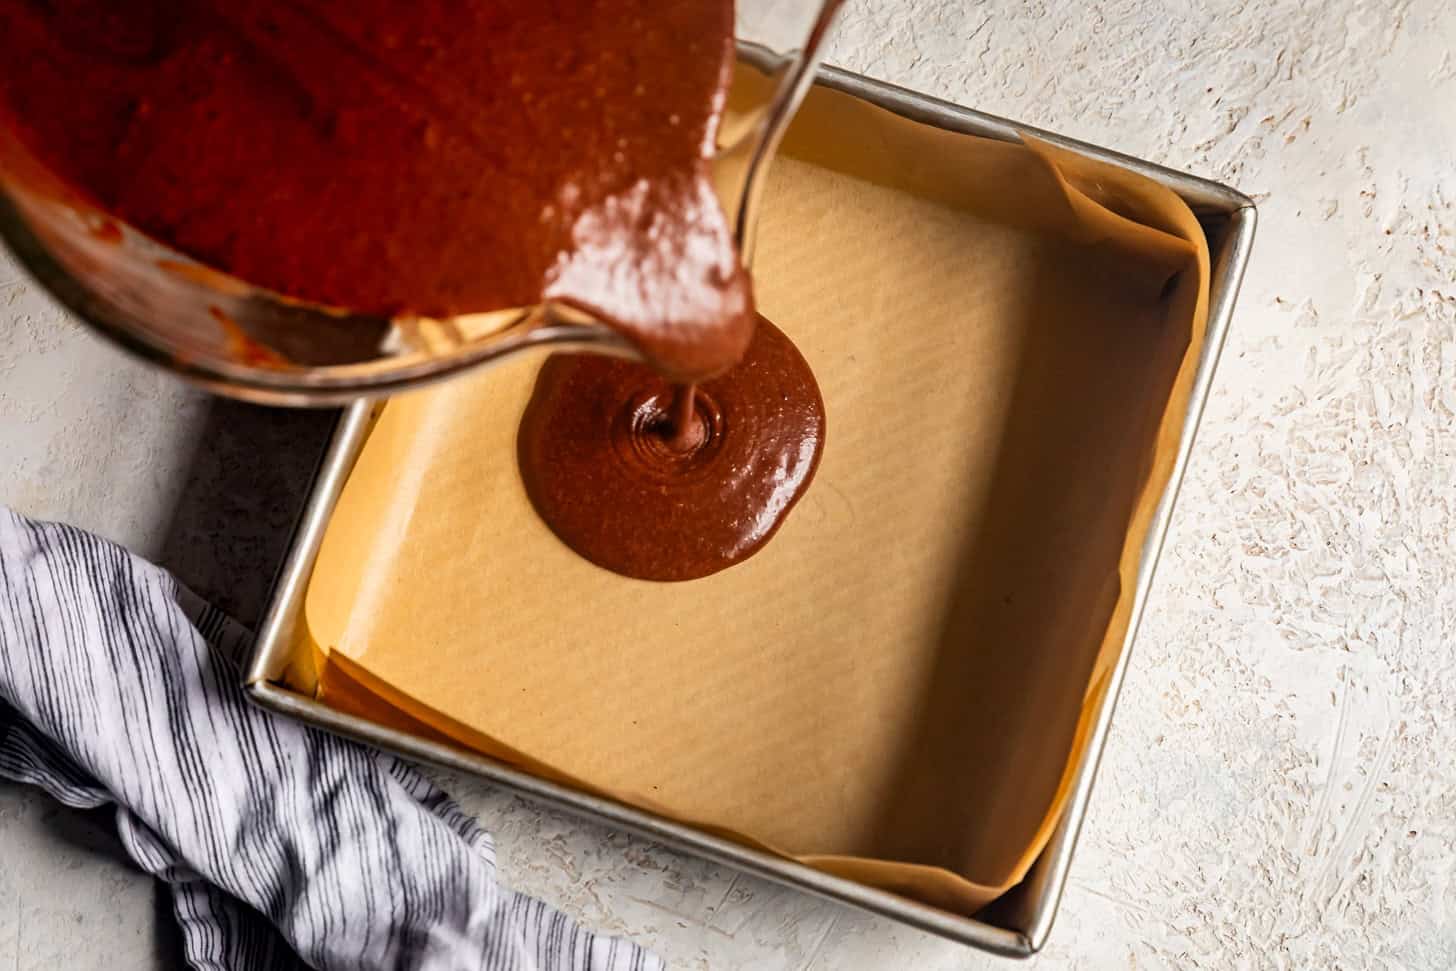
Pour the batter into a parchment-lined baking sheet.
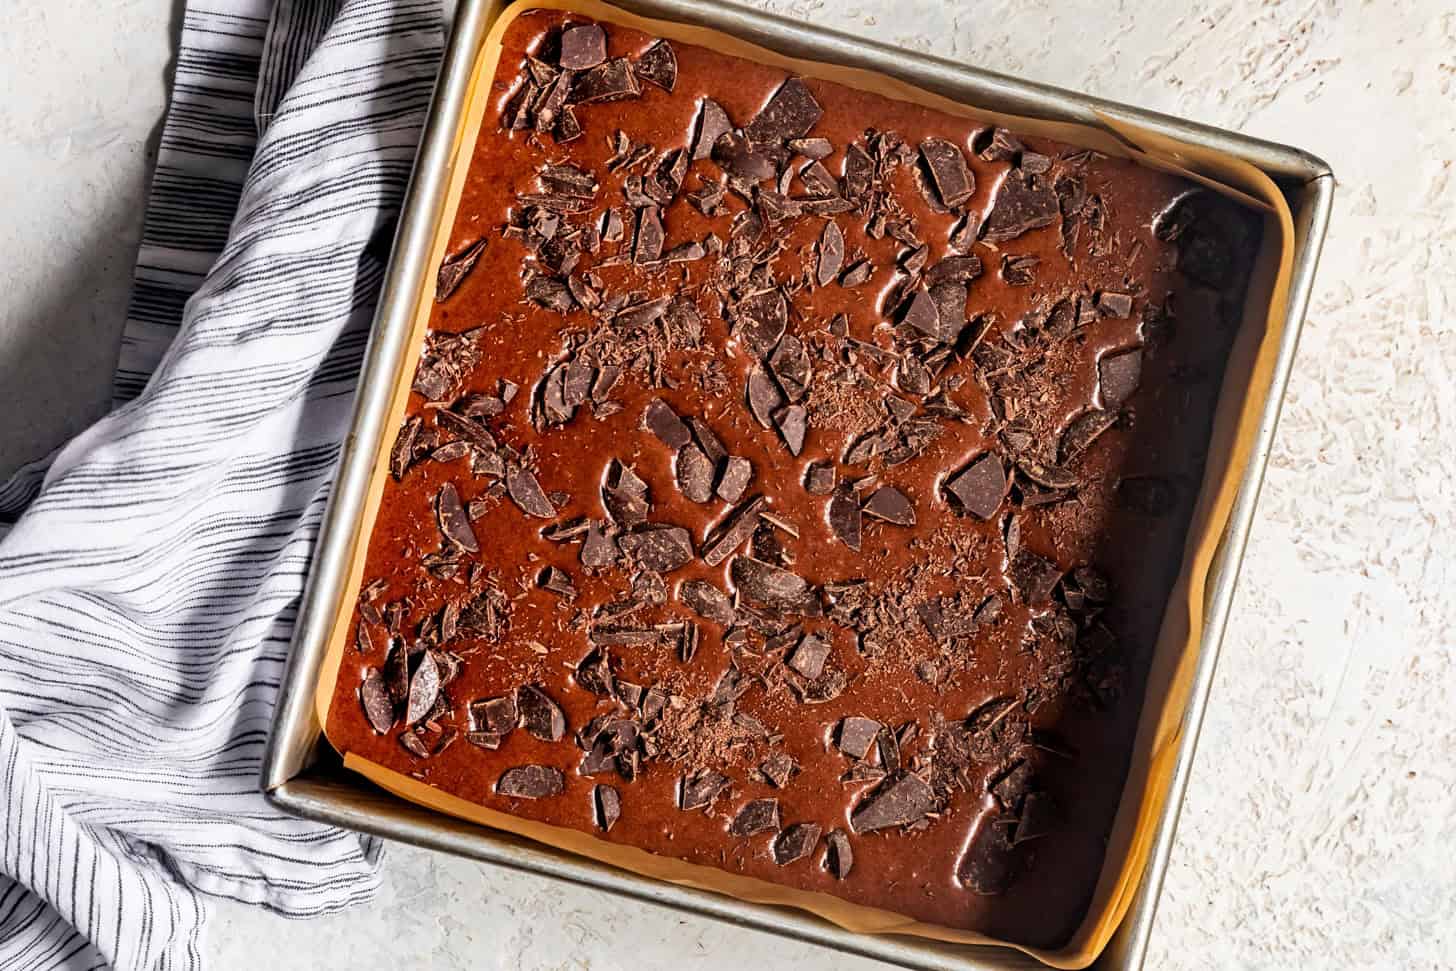
Sprinkle the remaining chopped chocolate over the top and bake!

Mary Charters -
Can these be made with 2% milk and sugar substitute such as Swerve or Monkfruit?
Sarah Menanix -
I'm so sorry for the delay - I didn't realize I stopped getting notifications for comments! 2% should work! I don't have any experience with sugar substitutes though, so I wouldn't be able to advise on that.
Luanna -
This cake I absolutely AMAZING 🤩 and the texture is so perfect 🤩 I put a bit extra cocoa powder in and next time I make it I will double the amount in the recipe to make it more intense in flavor to balance out the sweetness better 😁
Sarah Menanix -
I’m so glad you loved them! I’ve tested them with more cocoa powder as well and I will give you this info just so you know how it will affect the outcome: the more cocoa powder you add, the cakier and less mochi-like they’ll become.
Taaryn -
Tried this recipe for the first time today, and it was a huge hit! My MIL and FIL are gluten free and I wanted to make them something they would be able to enjoy too. The texture is a cross between and marshmallow and a pavlova. Will be making this again as I am already being hounded make everyone there own batch