

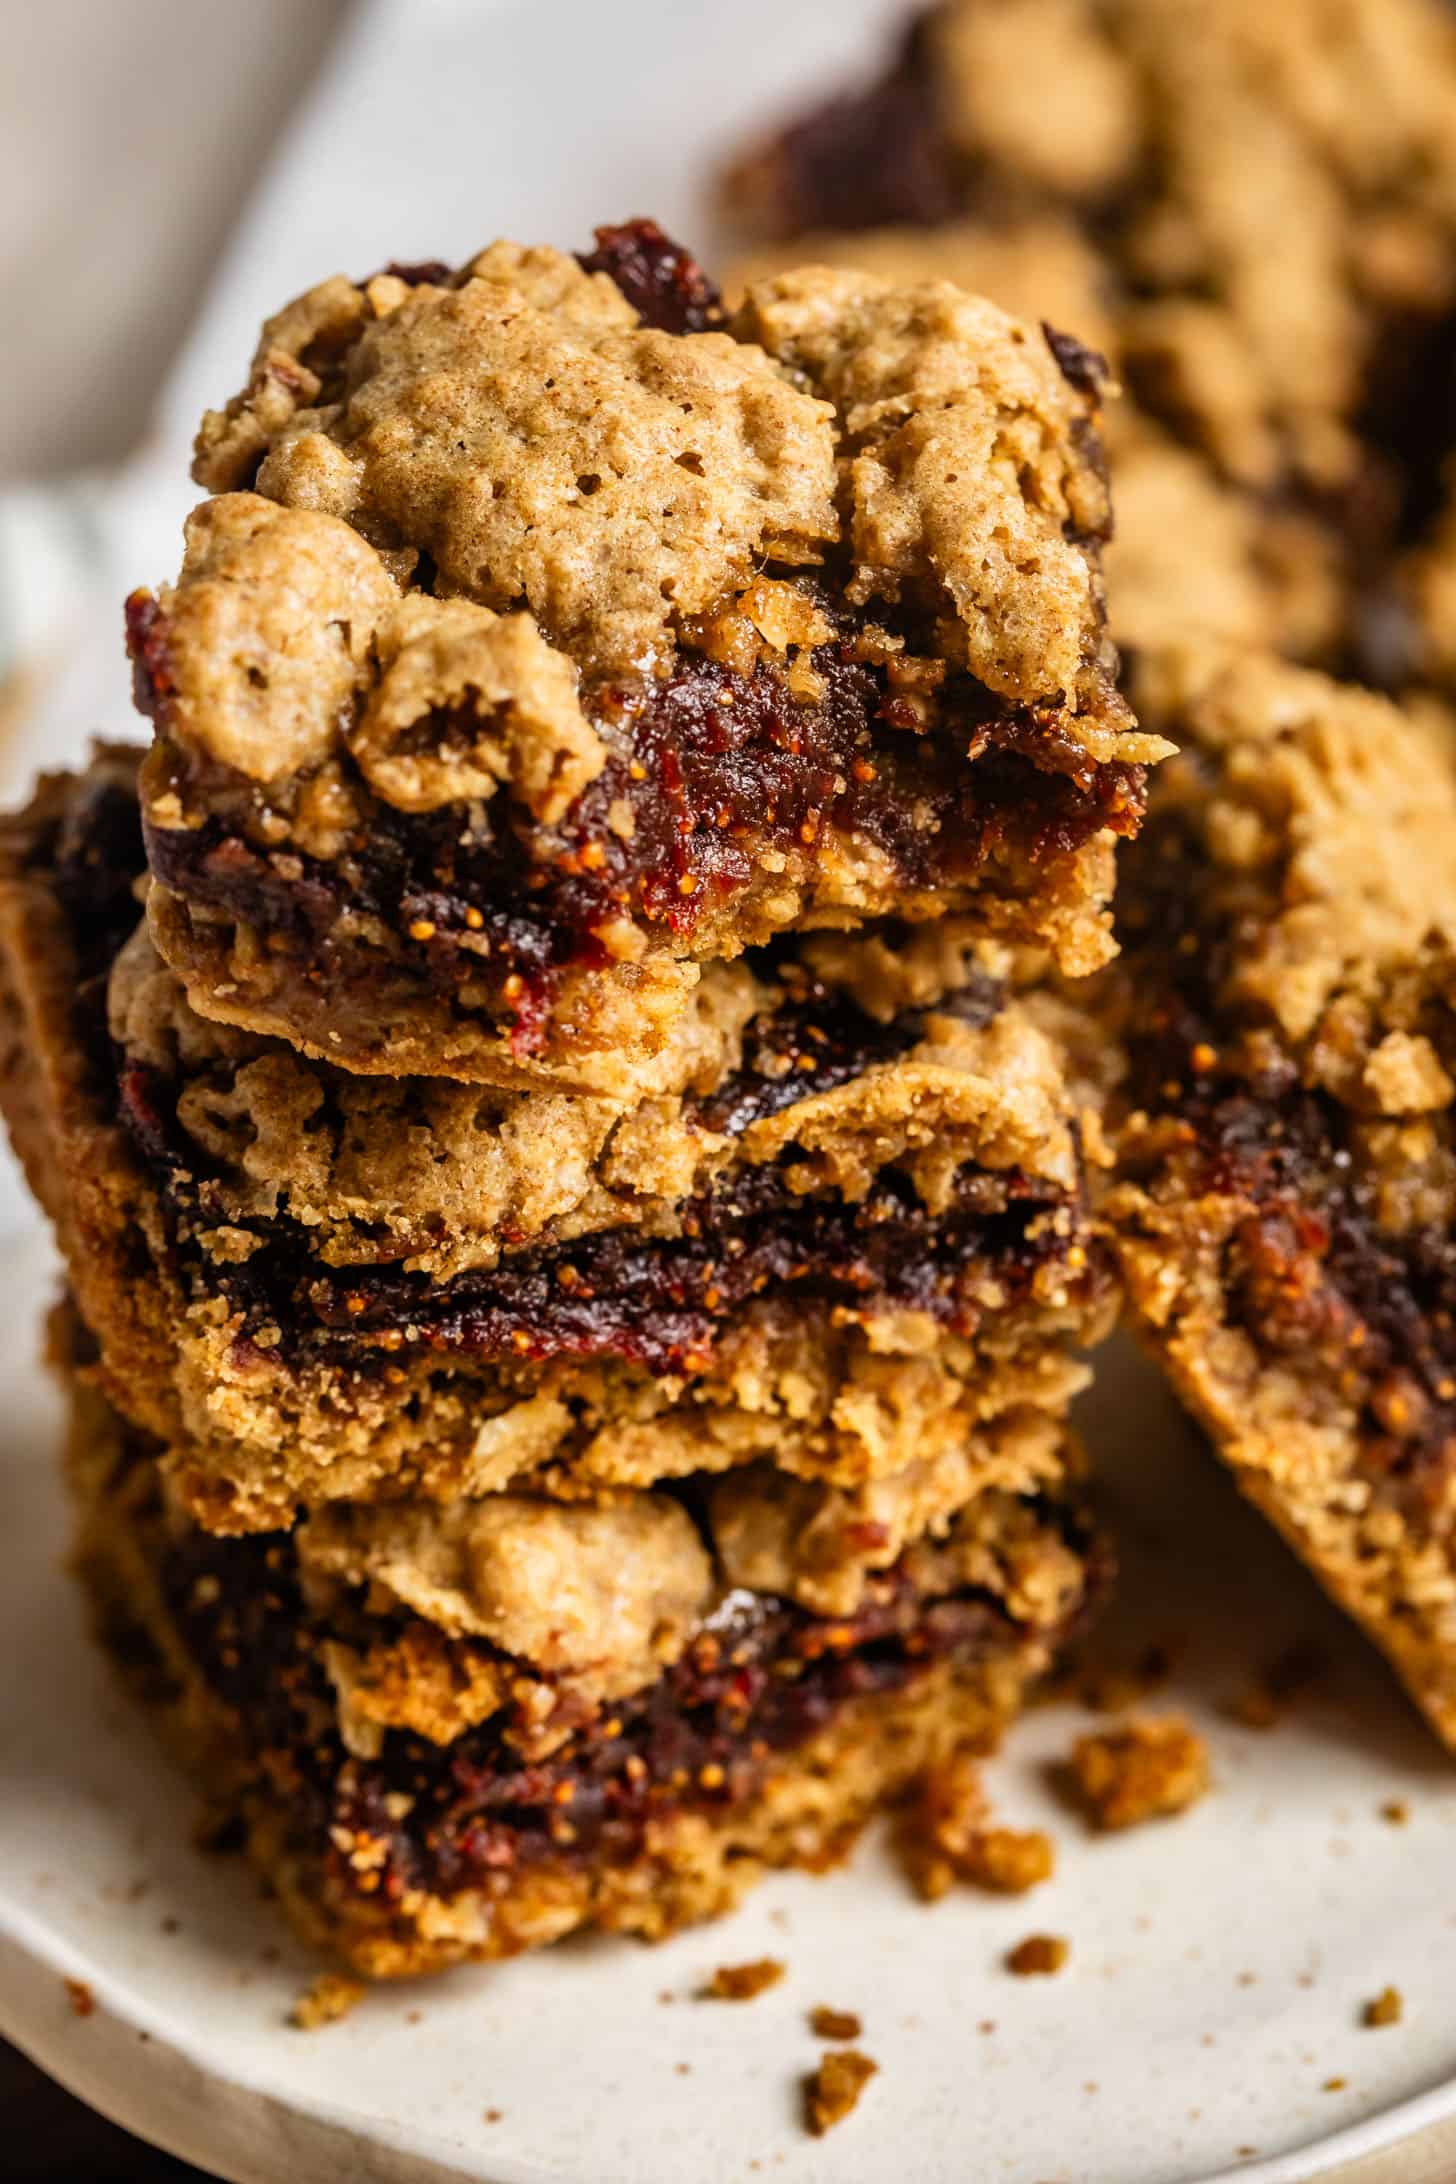
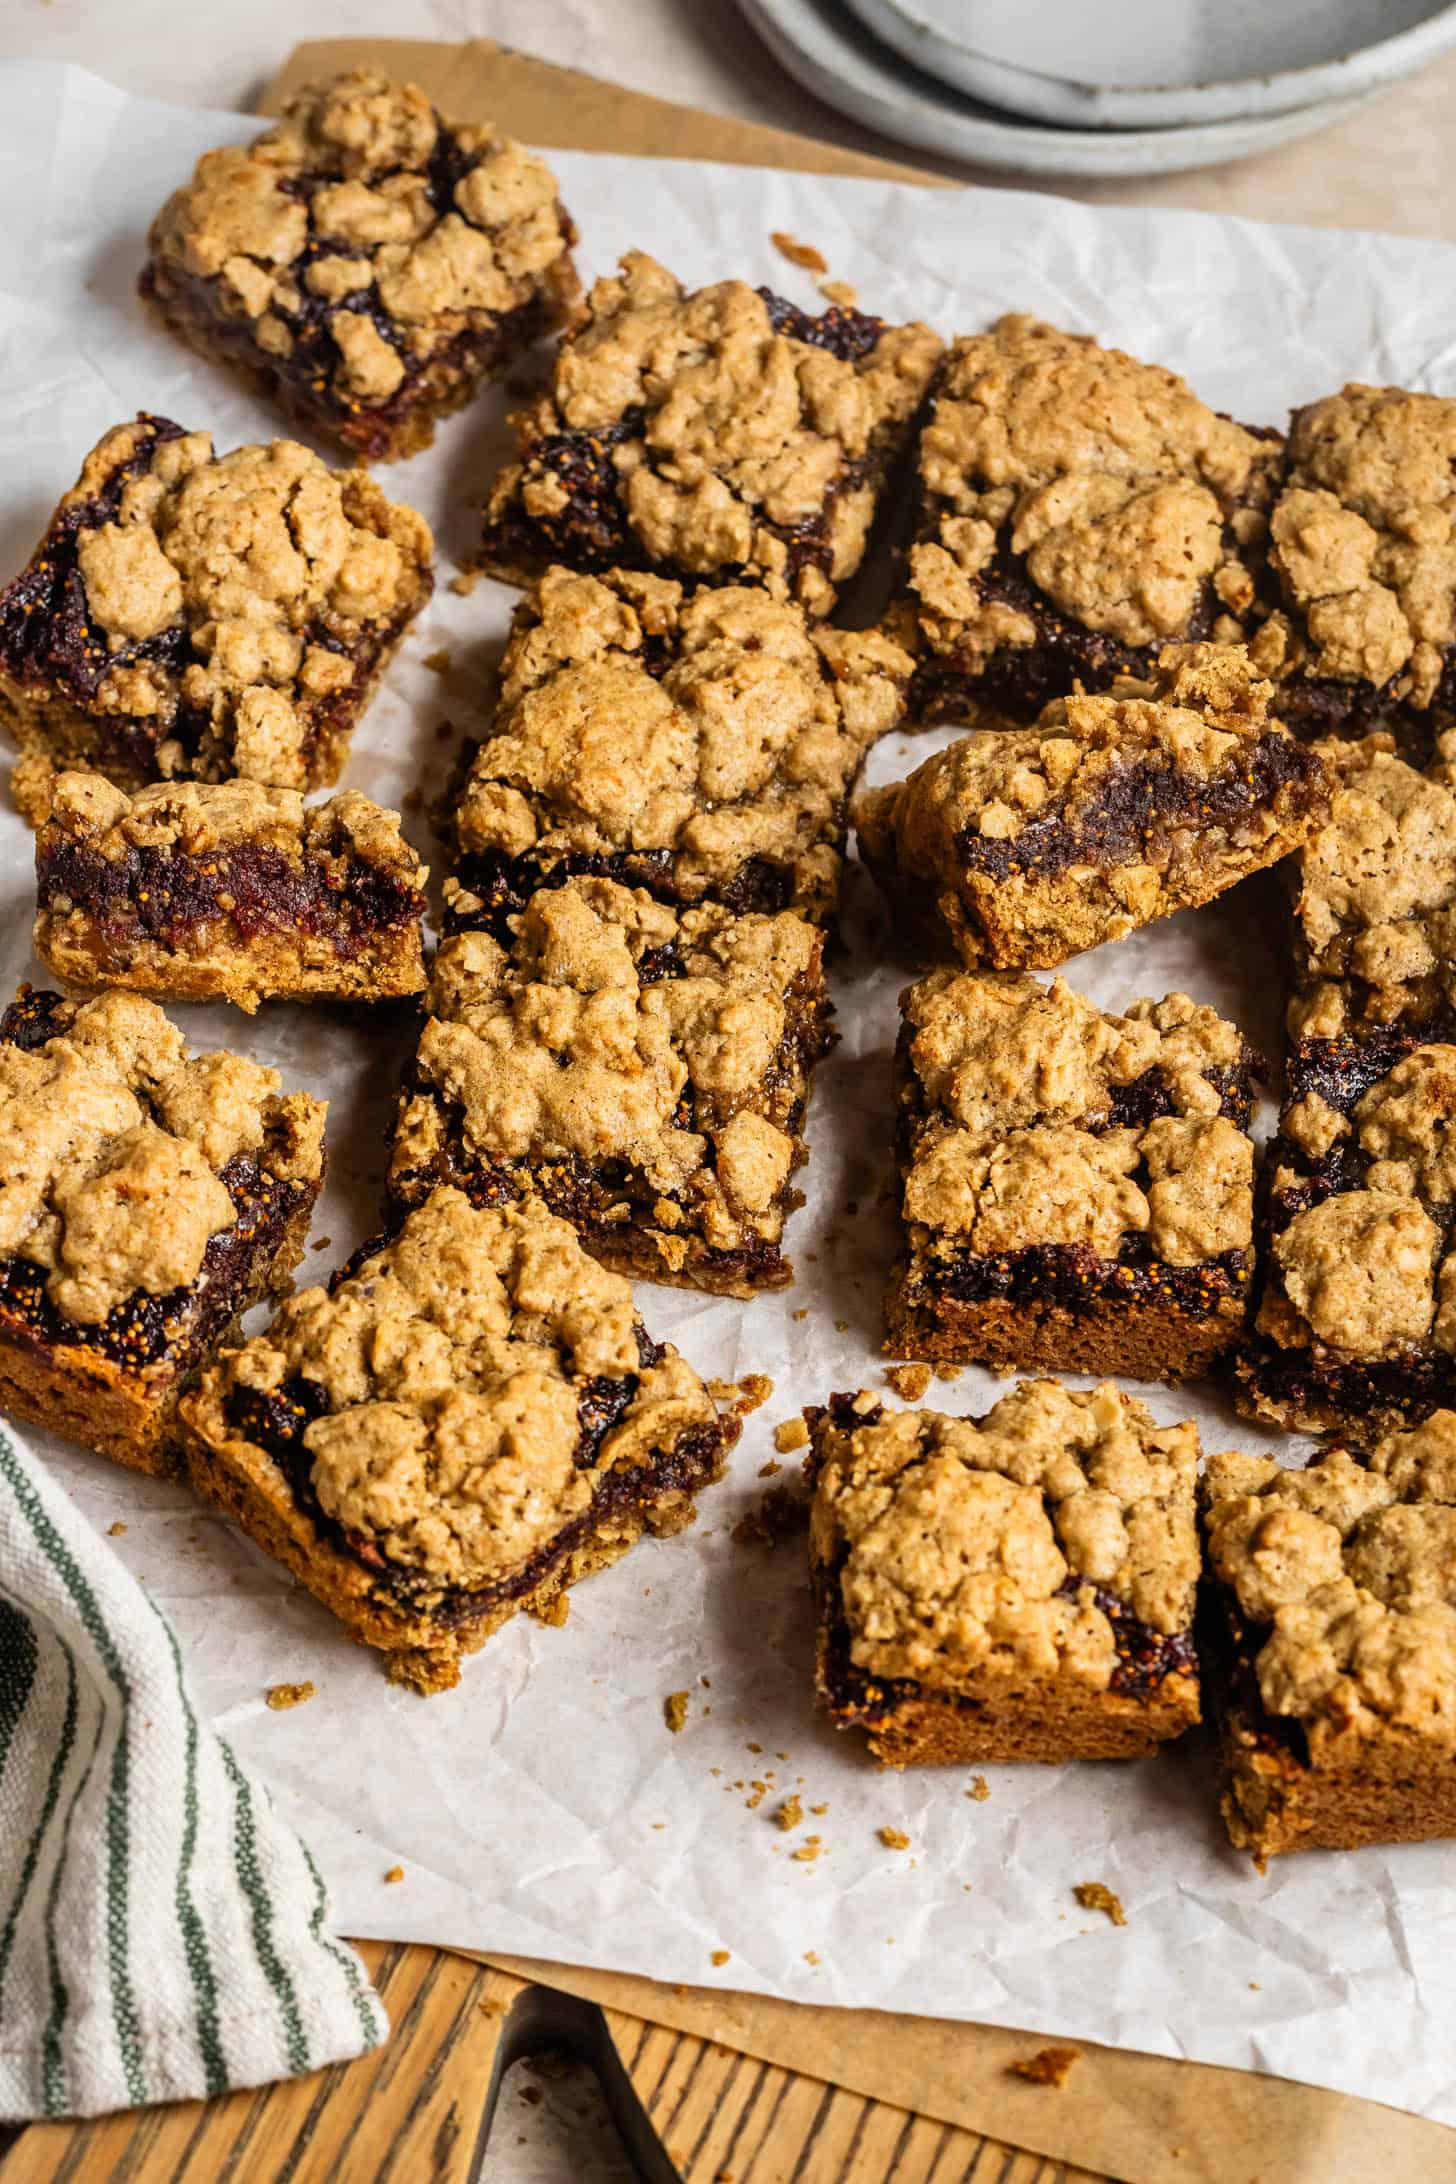
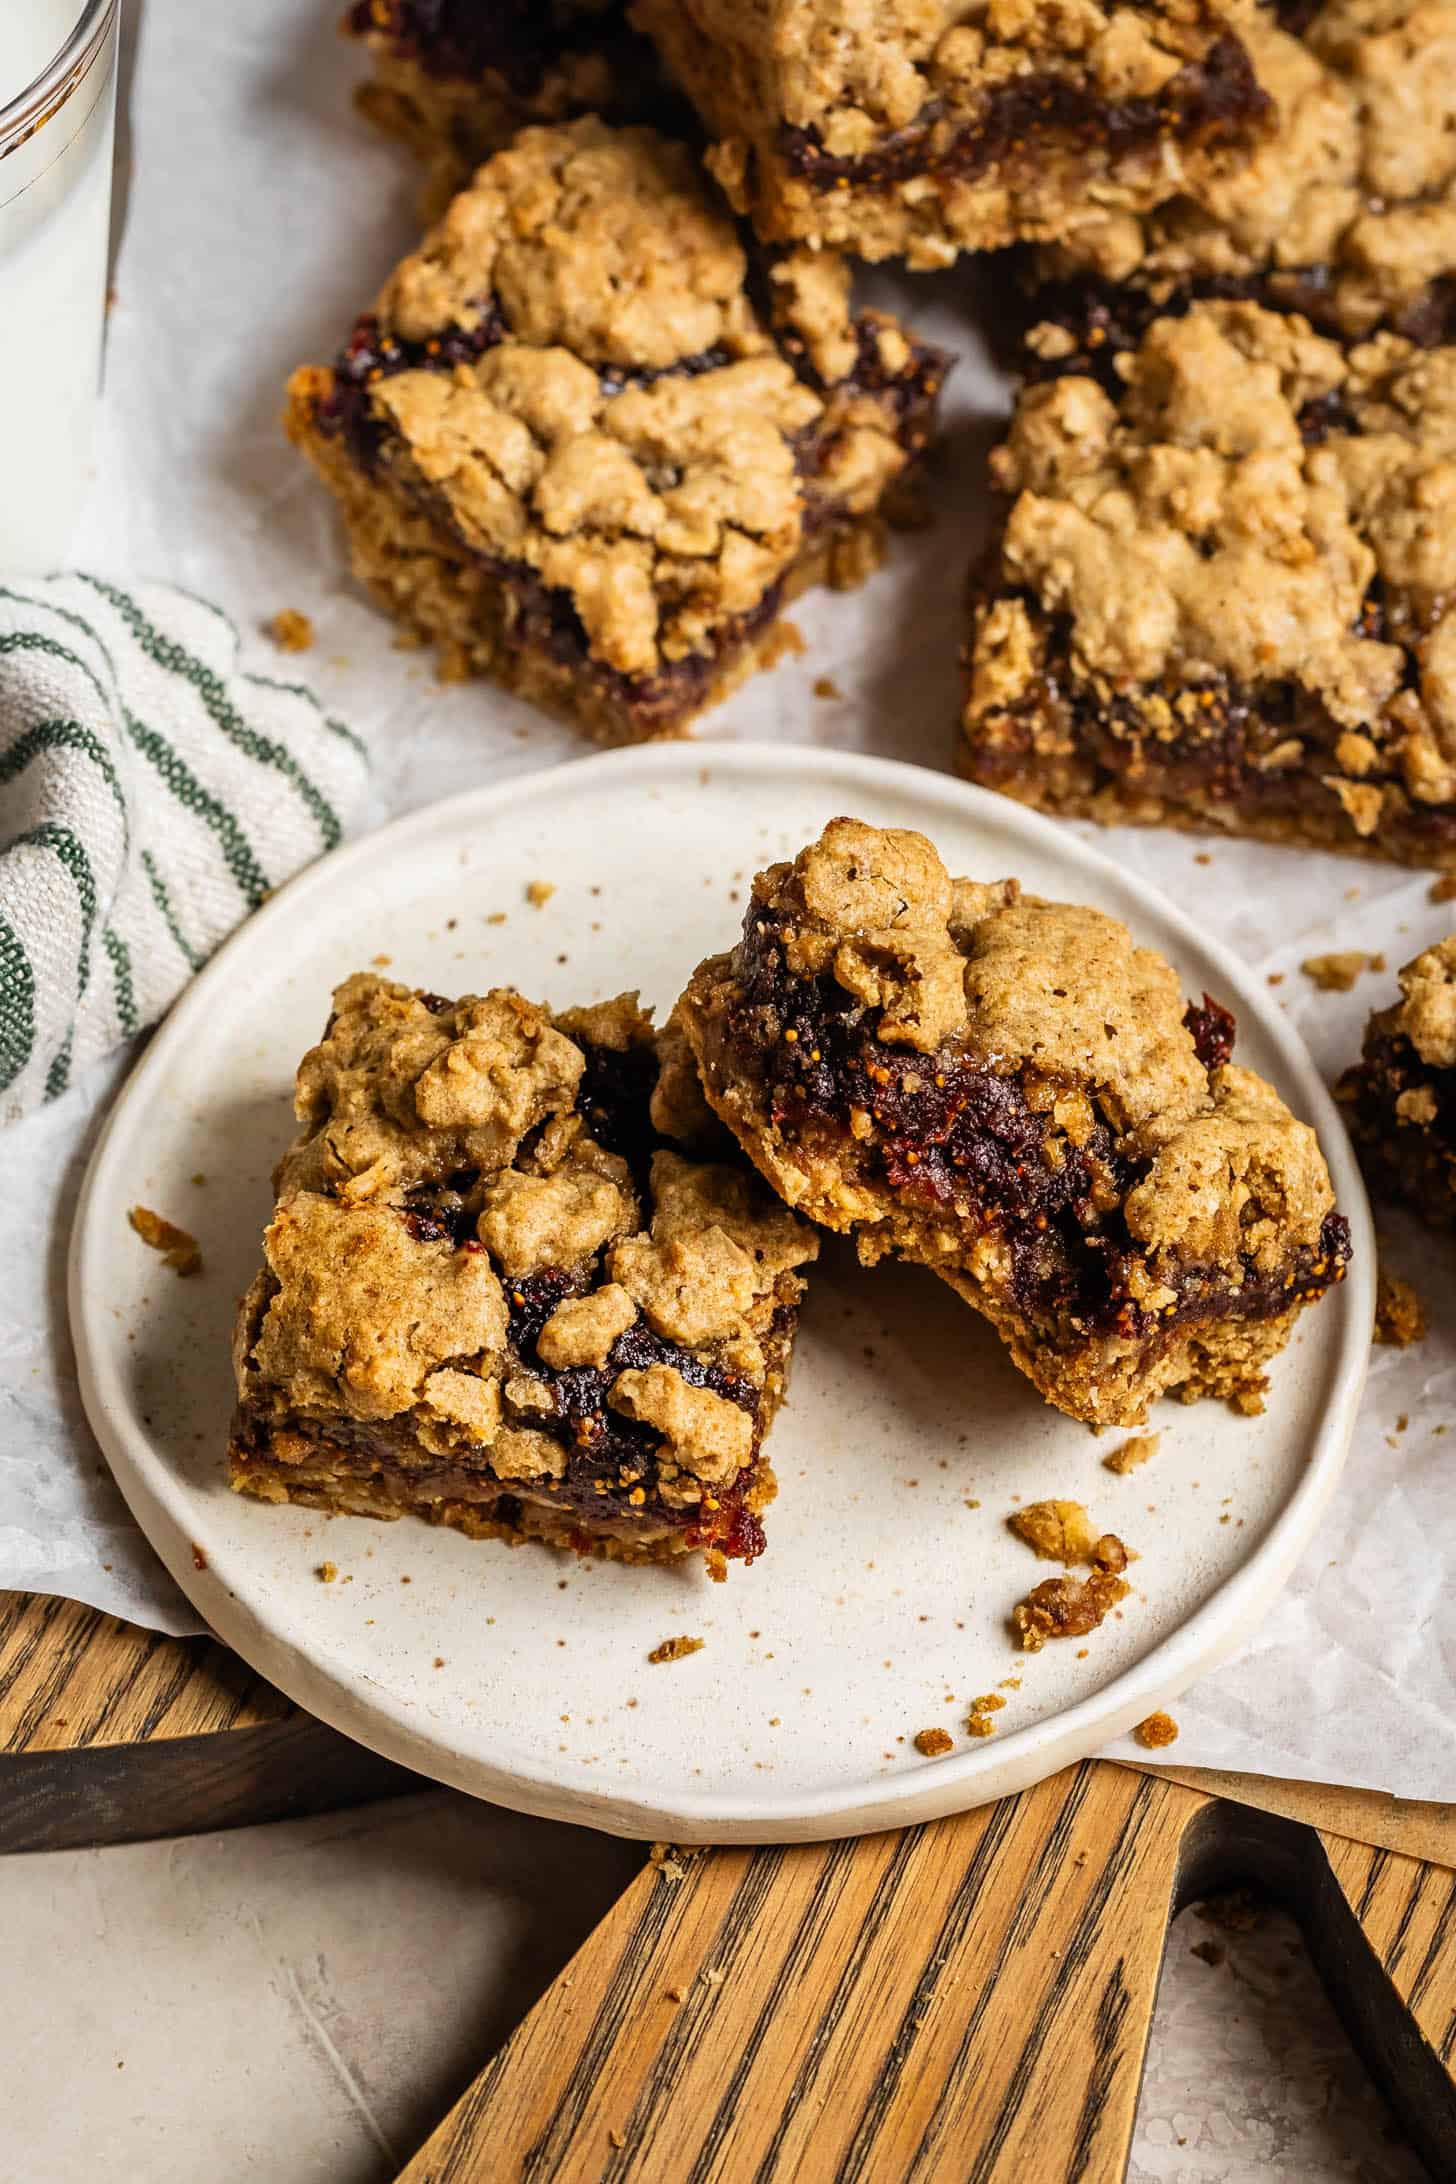
Crisp and chewy gluten-free fig bars with an oatmeal crumb topping. These bars are wholesome while tasting like a decadent dessert! They're safe for school lunches or snacks and freeze beautifully!
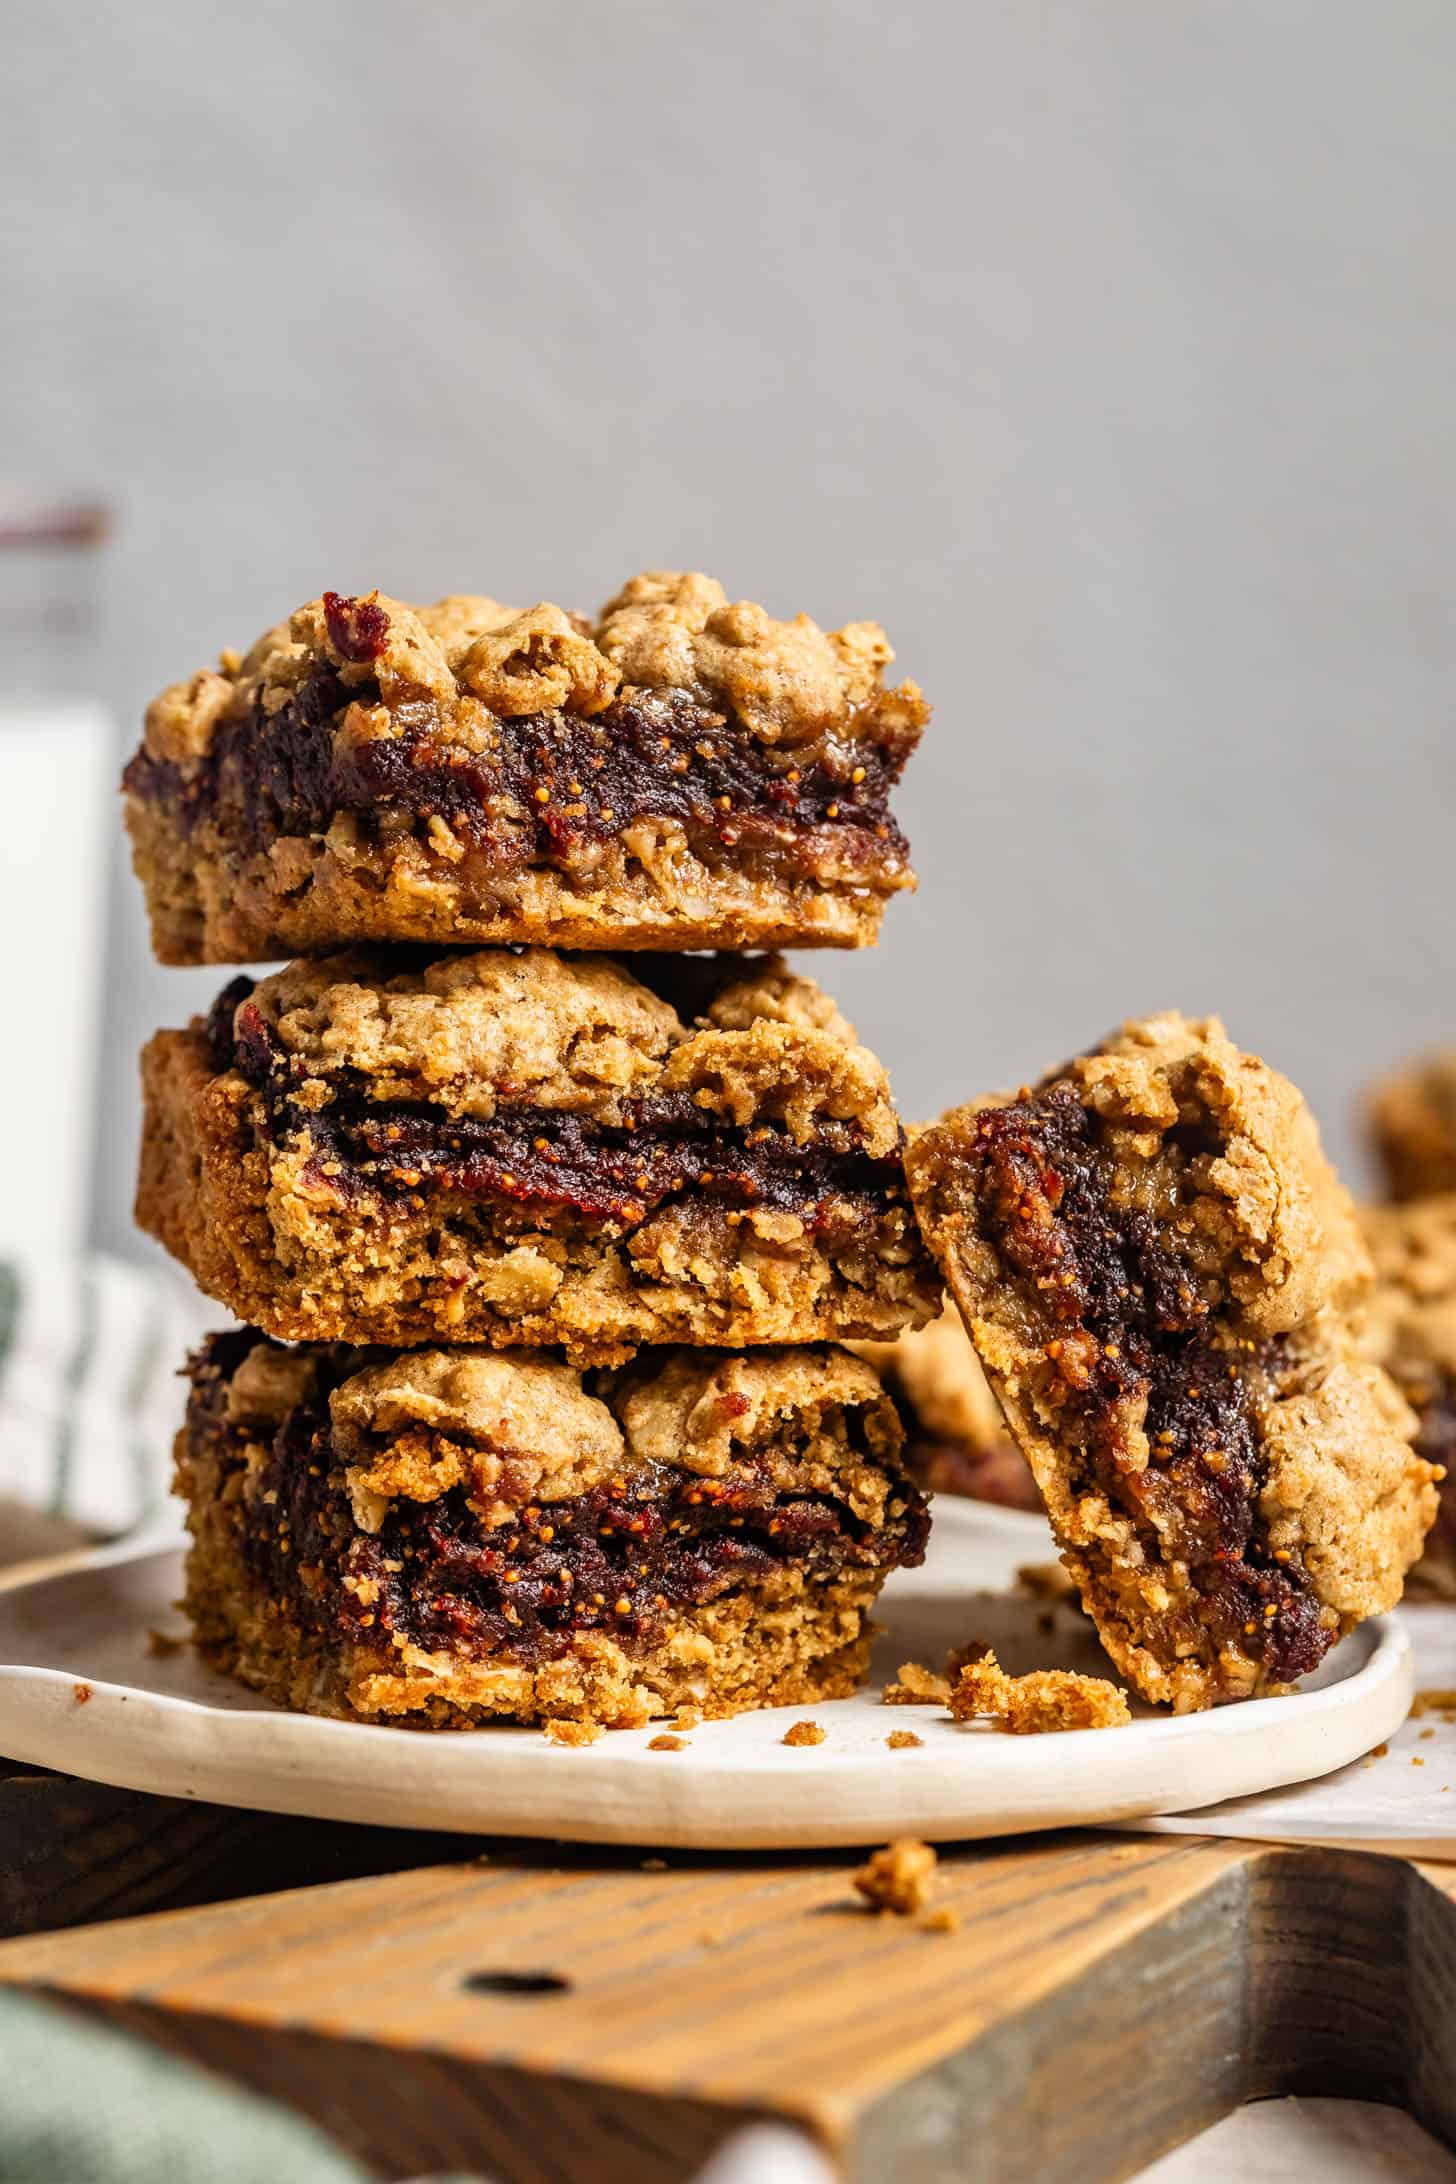
Looking for a wholesome sweet treat that's perfect for school lunches? These gluten-free fig bars are nut-free, chewy, and lightly sweetened with figs, brown sugar, and maple syrup. The layers of a hearty oat crust, gooey fig filling, and golden crumb topping make these bars a hit with both kids and adults.
Bonus: these bars freeze beautifully! We've been making big batches and storing them in the freezer for quick snacks.
This recipe is like a cross between these nut-free gluten-free breakfast oatmeal jam bars and a fig newton. Is it a dessert? Is it breakfast? Yes. Both.
Why you'll love these fig bars
- Nut-free: Made without any nut flour, so they're school-friendly.
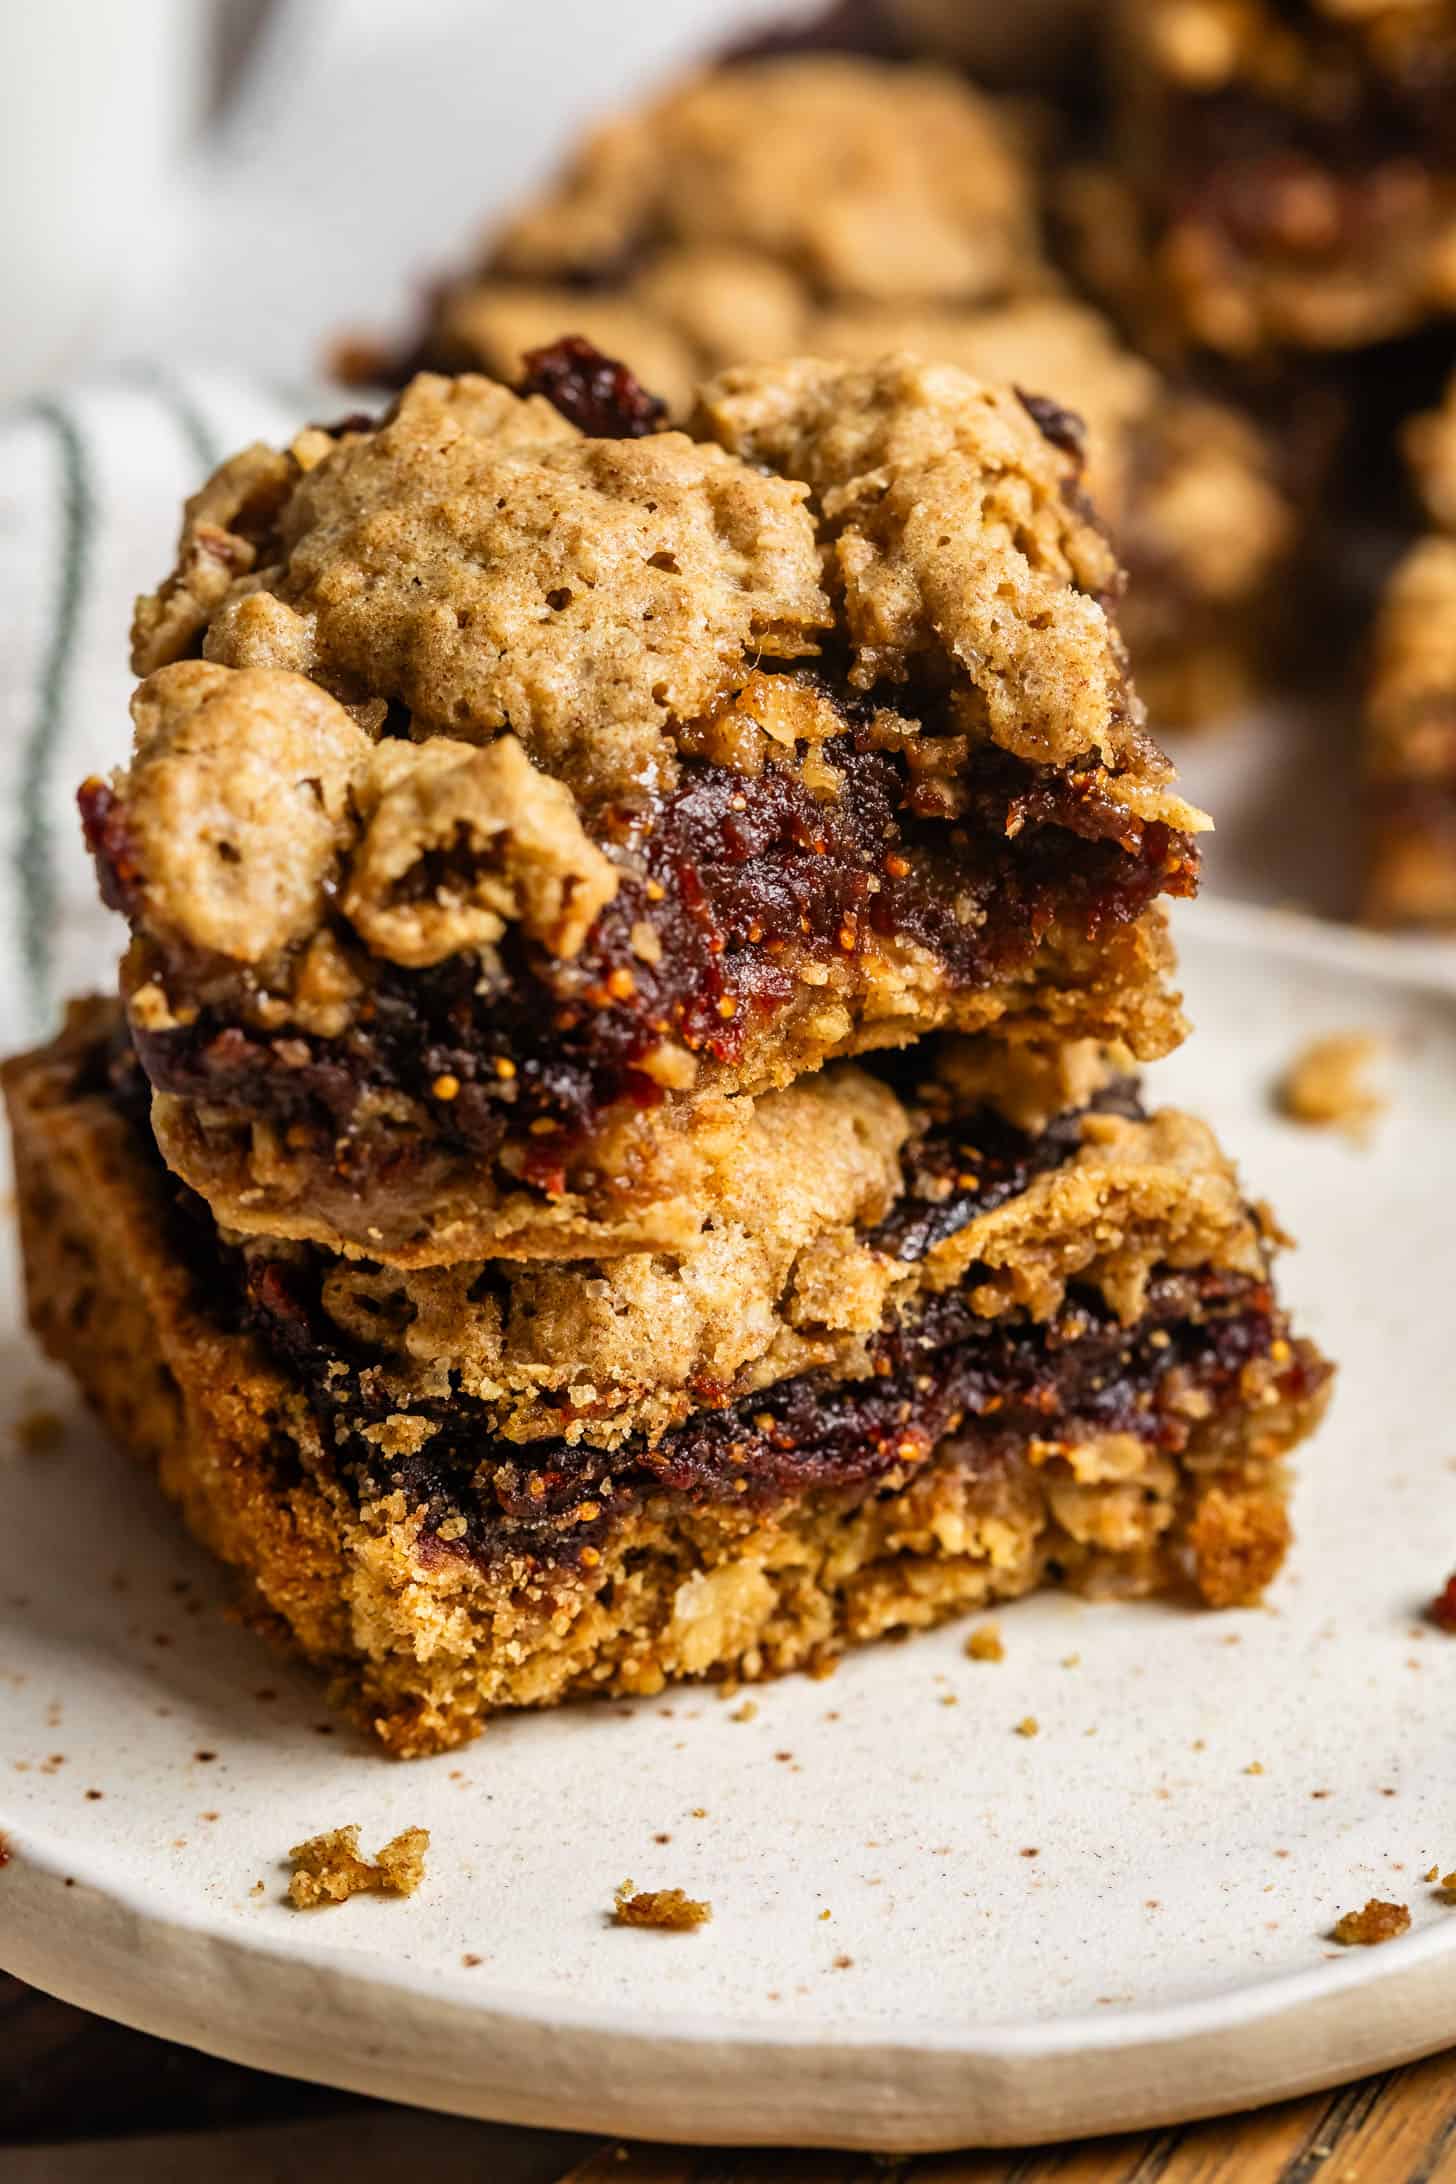
- Super chewy: A satisfyingly chewy texture, thanks to the tender fig filling.
- Hearty and wholesome: Made with a blend of gluten-free oats, teff flour, and sweet rice flour, for a soft chewy texture that's super flavorful.
- A balance of flavors: Brown sugar and maple syrup provide a deep, complex sweetness that complements the figs perfectly.
- Lightly sweetened: A balance of just a hint of brown sugar and maple syrup enhances the figs' natural sweetness. Most of the sweetness comes from the filling!
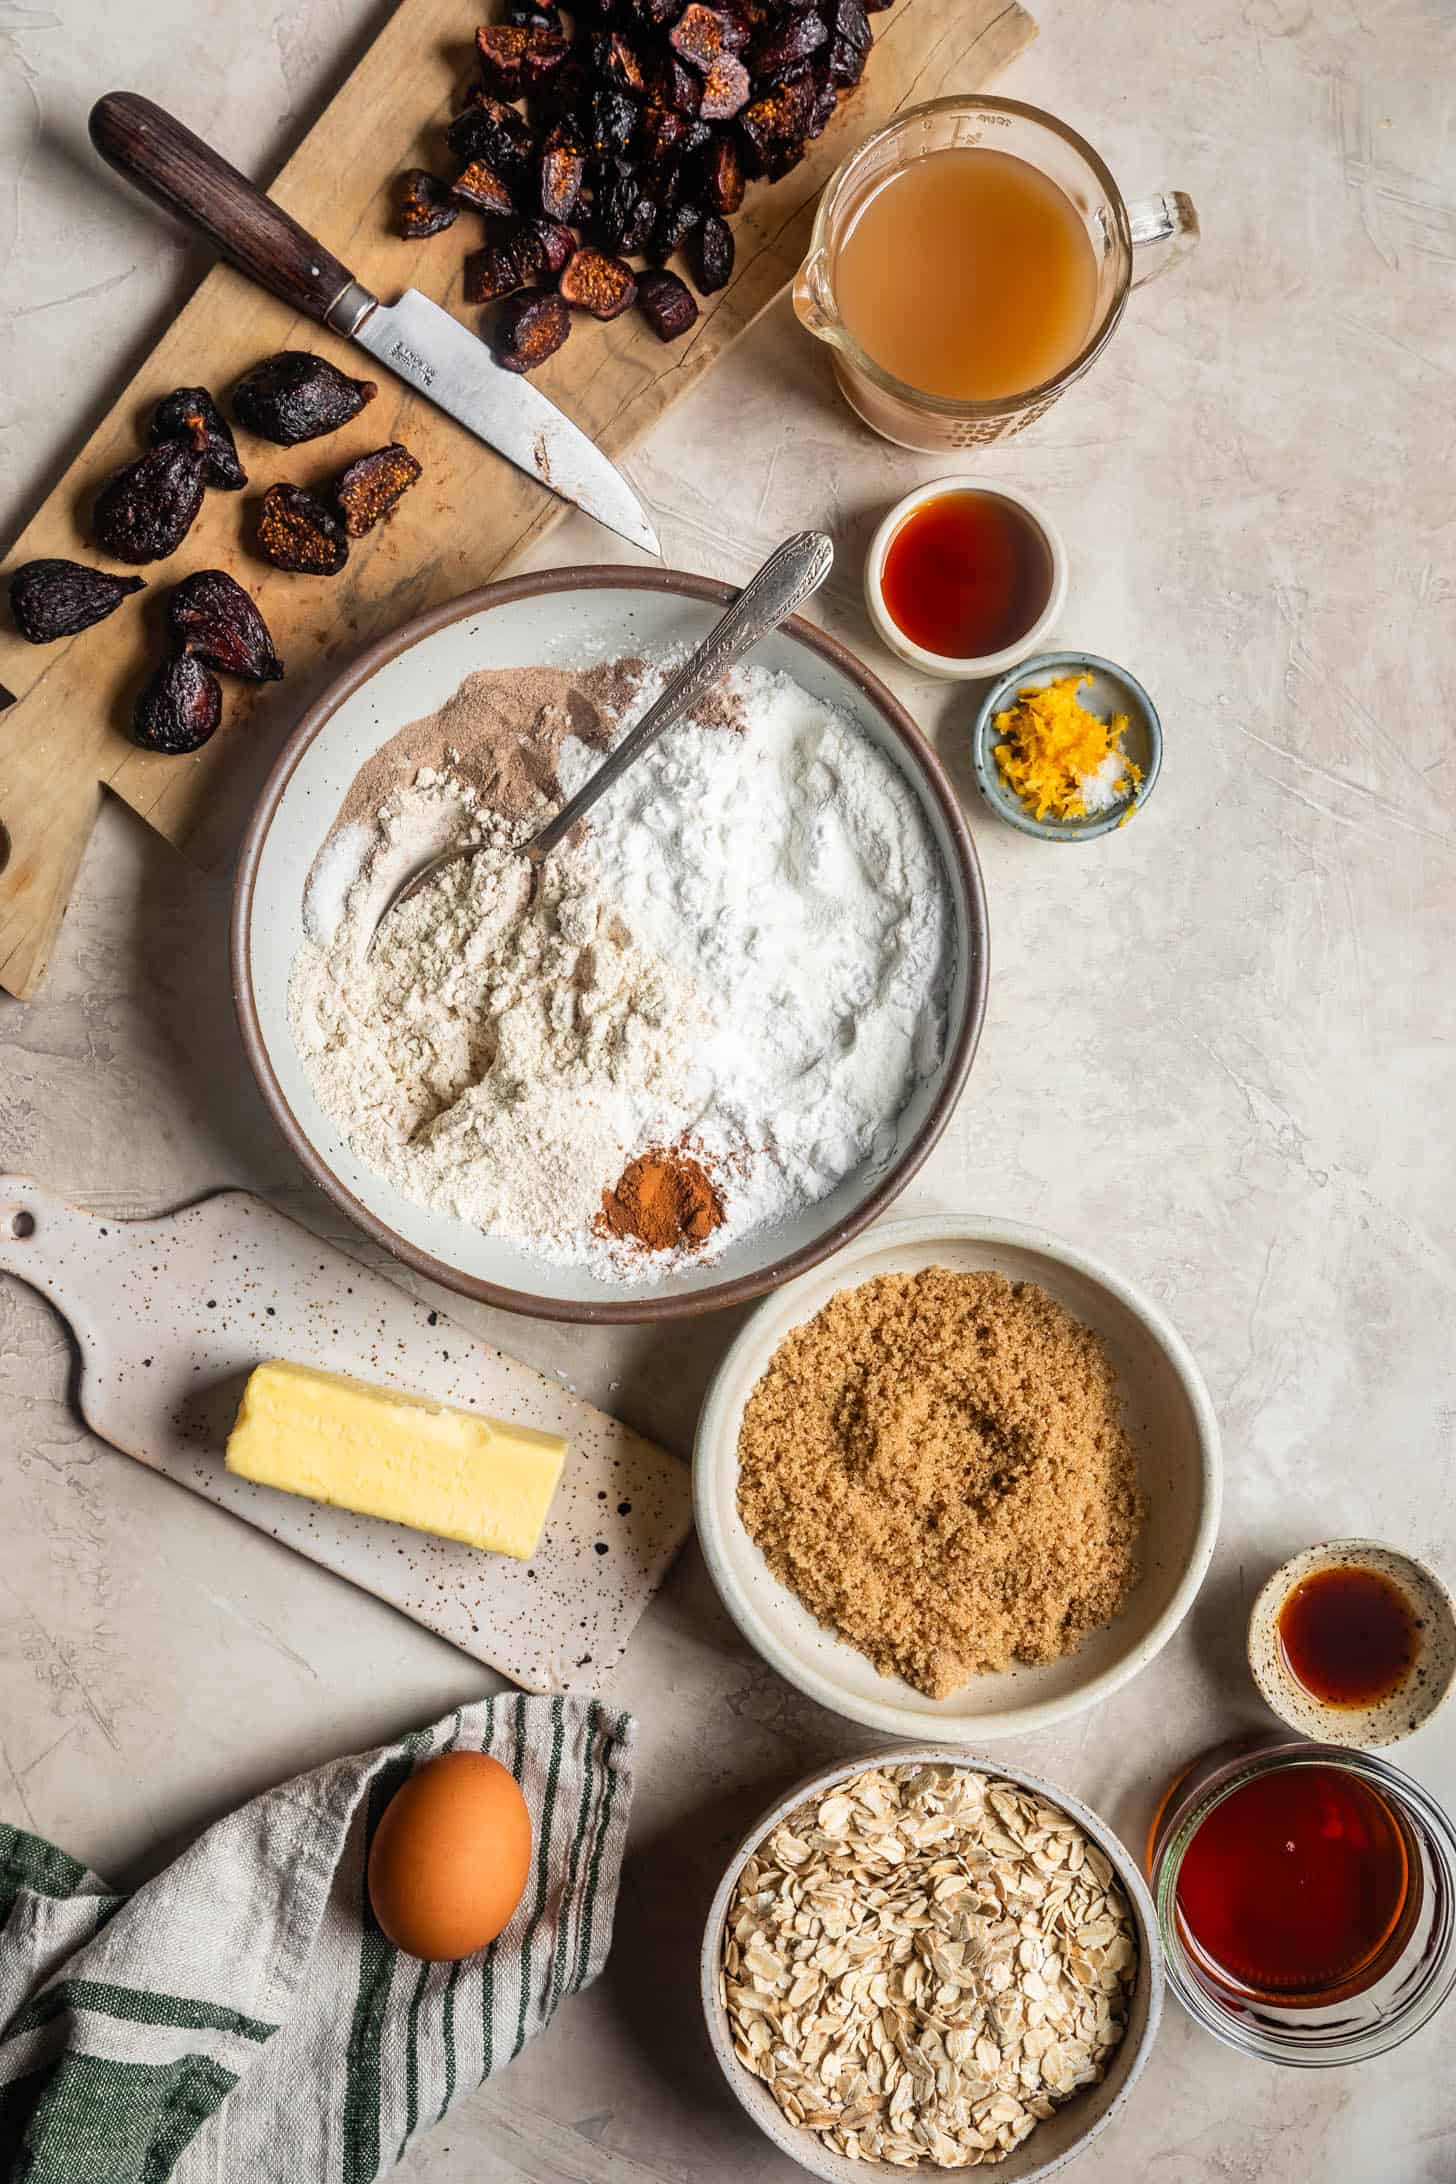
The magic of these gluten-free oatmeal fig crumb bars lies in their simple yet flavorful ingredients. The crust and crumb topping is made with a wholesome mix of gluten-free oat flour, teff flour, sweet rice flour, and loads of gluten-free oats, which creates a perfectly tender yet slightly crisp cookie.
The chewy fig filling, simmered in apple juice, adds natural sweetness and a jam-like texture that perfectly complements the oat layers.
Fig Jam Filling
This fig "jam" is super easy to make, but if you're short on time, you can substitute 8 ounces of store-bought fig jam or fig butter.
- Dried mission figs: I recommend supple ones, like sun-maid. If your figs are hard and more dried out add ⅓ cup water when simmering to get them soft enough to blend into jam.
- Apple juice or white grape juice: Either will work to add just a little more sweetness to the jam.
- Finely grated lemon zest: The lemon zest enhances the flavor of the jam with just a bit of citrus without overpowering.
Recipe
Soft, Homemade Gluten-Free Fig Bars
Ingredients
- 8 ounces (1½ cups) dried mission figs,, chopped
- ⅔ cup apple juice, or white grape juice
- 1 teaspoon finely grated lemon zest
- 1 teaspoon pure vanilla extract
- Pinch kosher salt
- ½ cup (60 g) gluten-free oat flour
- ¼ cup (37 g) teff flour
- ½ cup (56 g) Bob's Red Mill tapioca flour
- ¼ cup (40 g) sweet rice flour, also called mochiko; do not substitute white or brown rice flour
- 1¼ cups (137 g) gluten-free old fashioned rolled oats
- ¾ teaspoon baking soda
- ½ teaspoon ground cinnamon
- ¼ teaspoon kosher salt
- 6 tablespoons (85 g) unsalted butter, softened
- ½ cup (100 g) light brown sugar
- ¼ cup (80 g) pure maple syrup
- 1 large egg, room temperature
- 1 teaspoon pure vanilla extract
INSTRUCTIONS
- Simmer figs, apple juice, lemon zest, and salt in a small saucepan over medium-low heat for 5-8 min until most of the liquid has been absorbed and the figs are very soft. Transfer the figs to a food processor or blender. Add the vanilla and blend until it reaches a smooth jam-like consistency.
- In a stand mixer fitted with the paddle attachment or in a large mixing bowl, whisk together all the dry ingredients, including the sugar. Using the paddle attachment of a stand mixer, a hand mixer, or a silicone spatula, mix in the butter, egg, maple syrup, and vanilla until it is uniformly combined and forms a soft dough.
- Freeze the baking pan and reserved dough until solid, about 15-20 minutes. Dollop the fig jam over the frozen crust and spread it into an even layer. Clump the reserved dough over the top evenly and chill while you preheat the oven to 350°F.
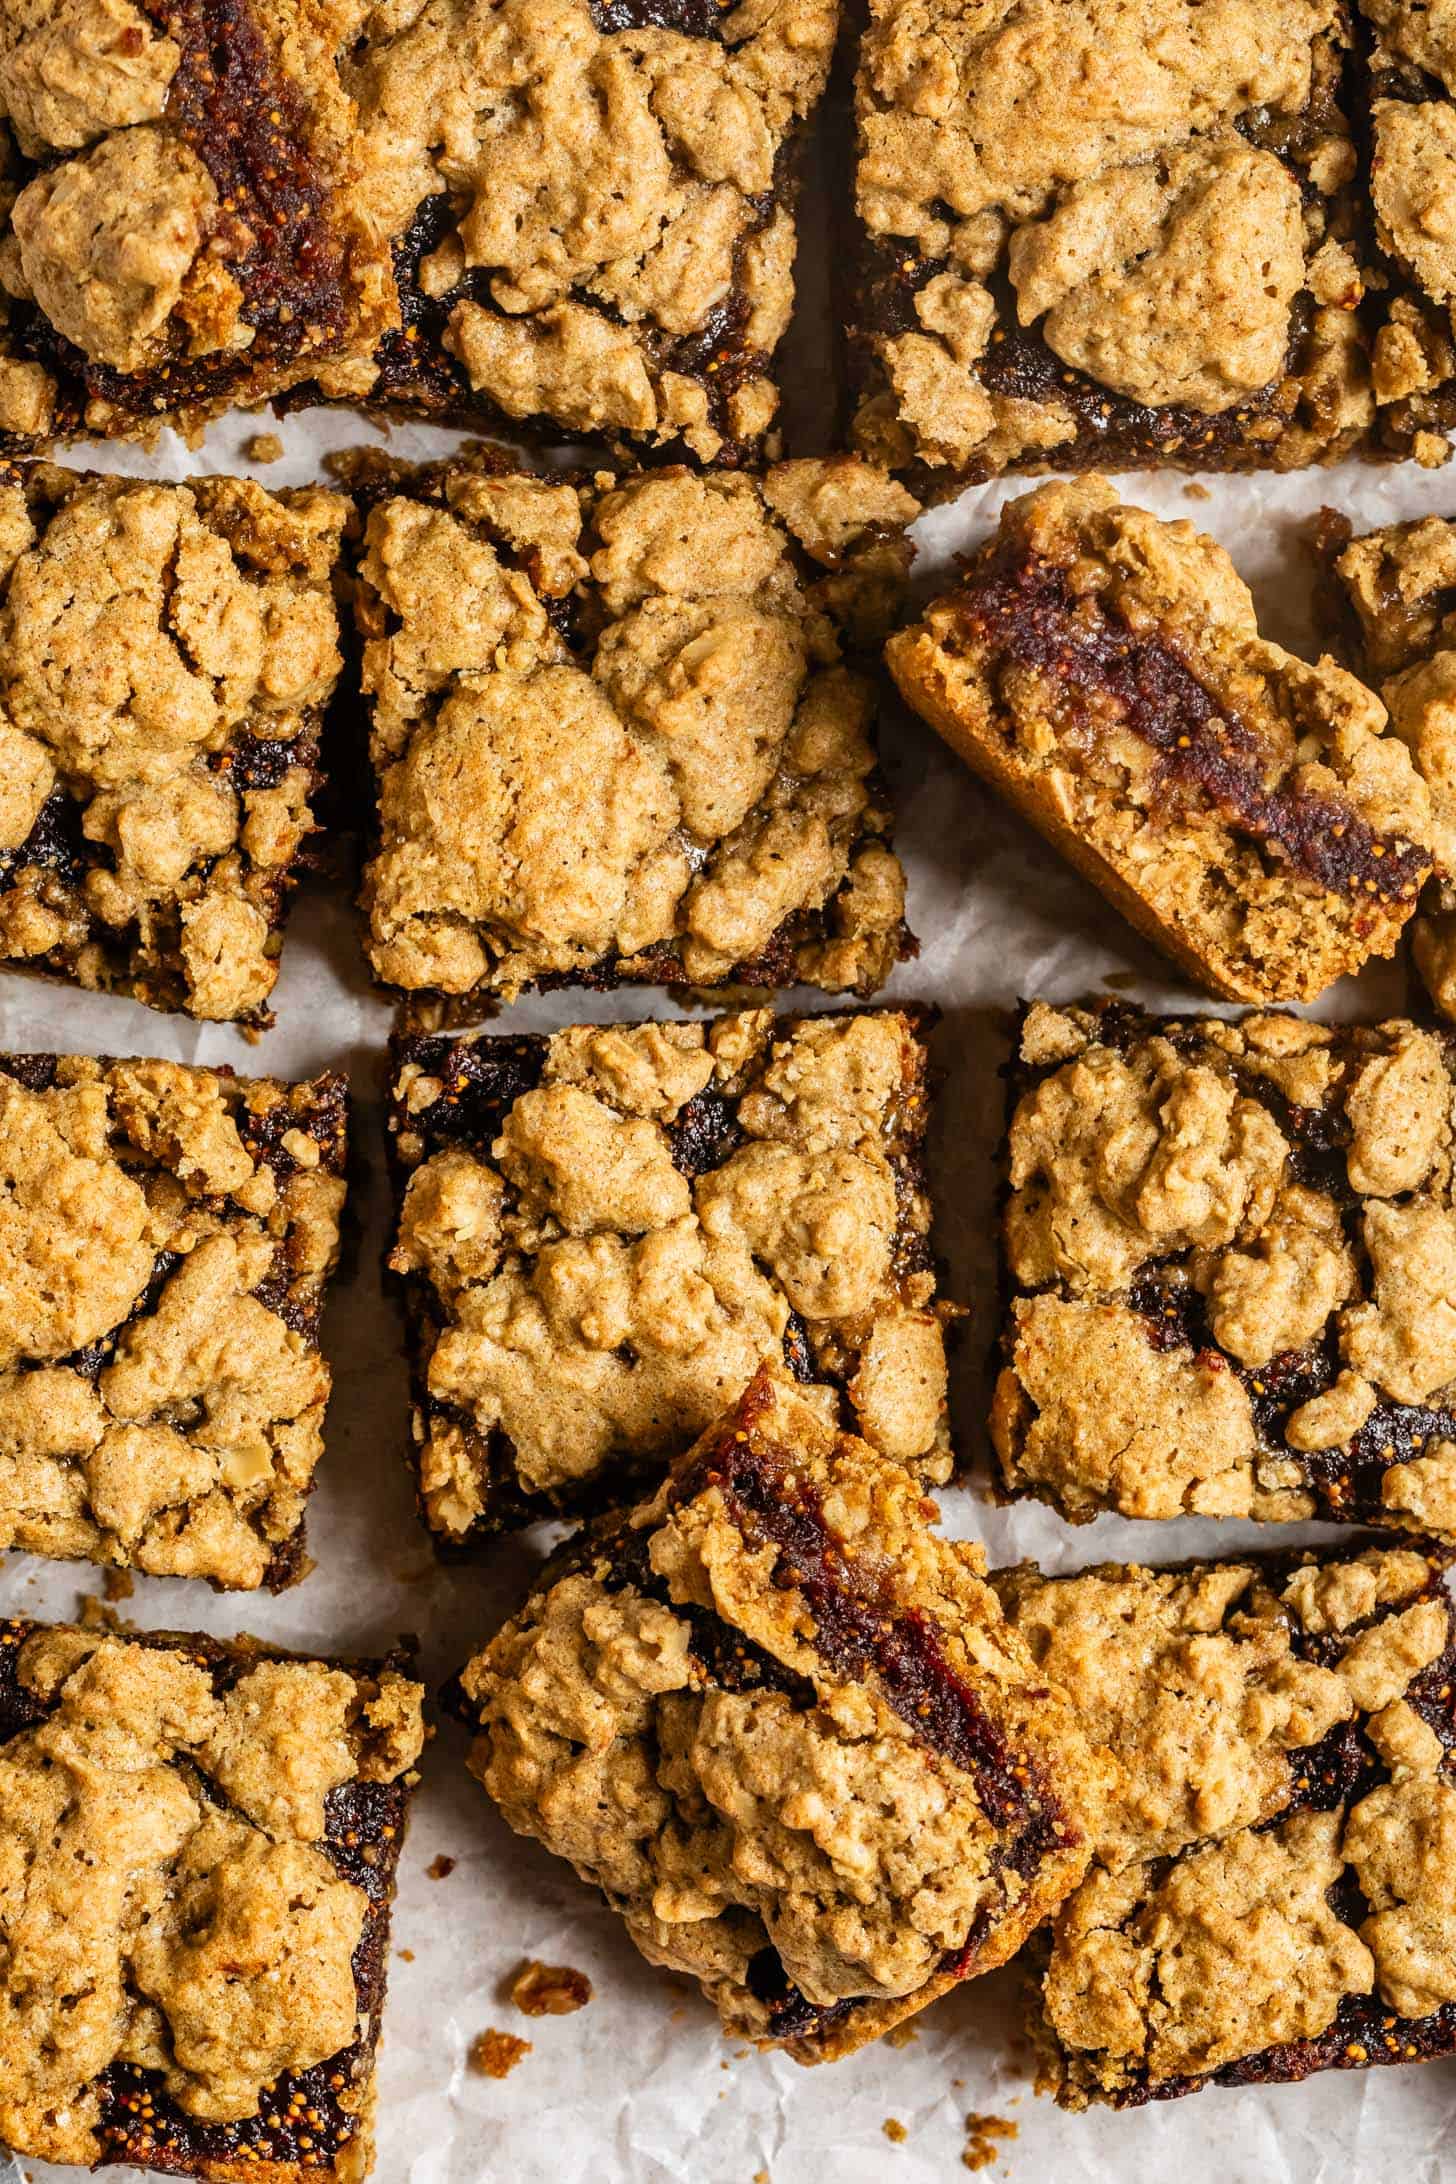
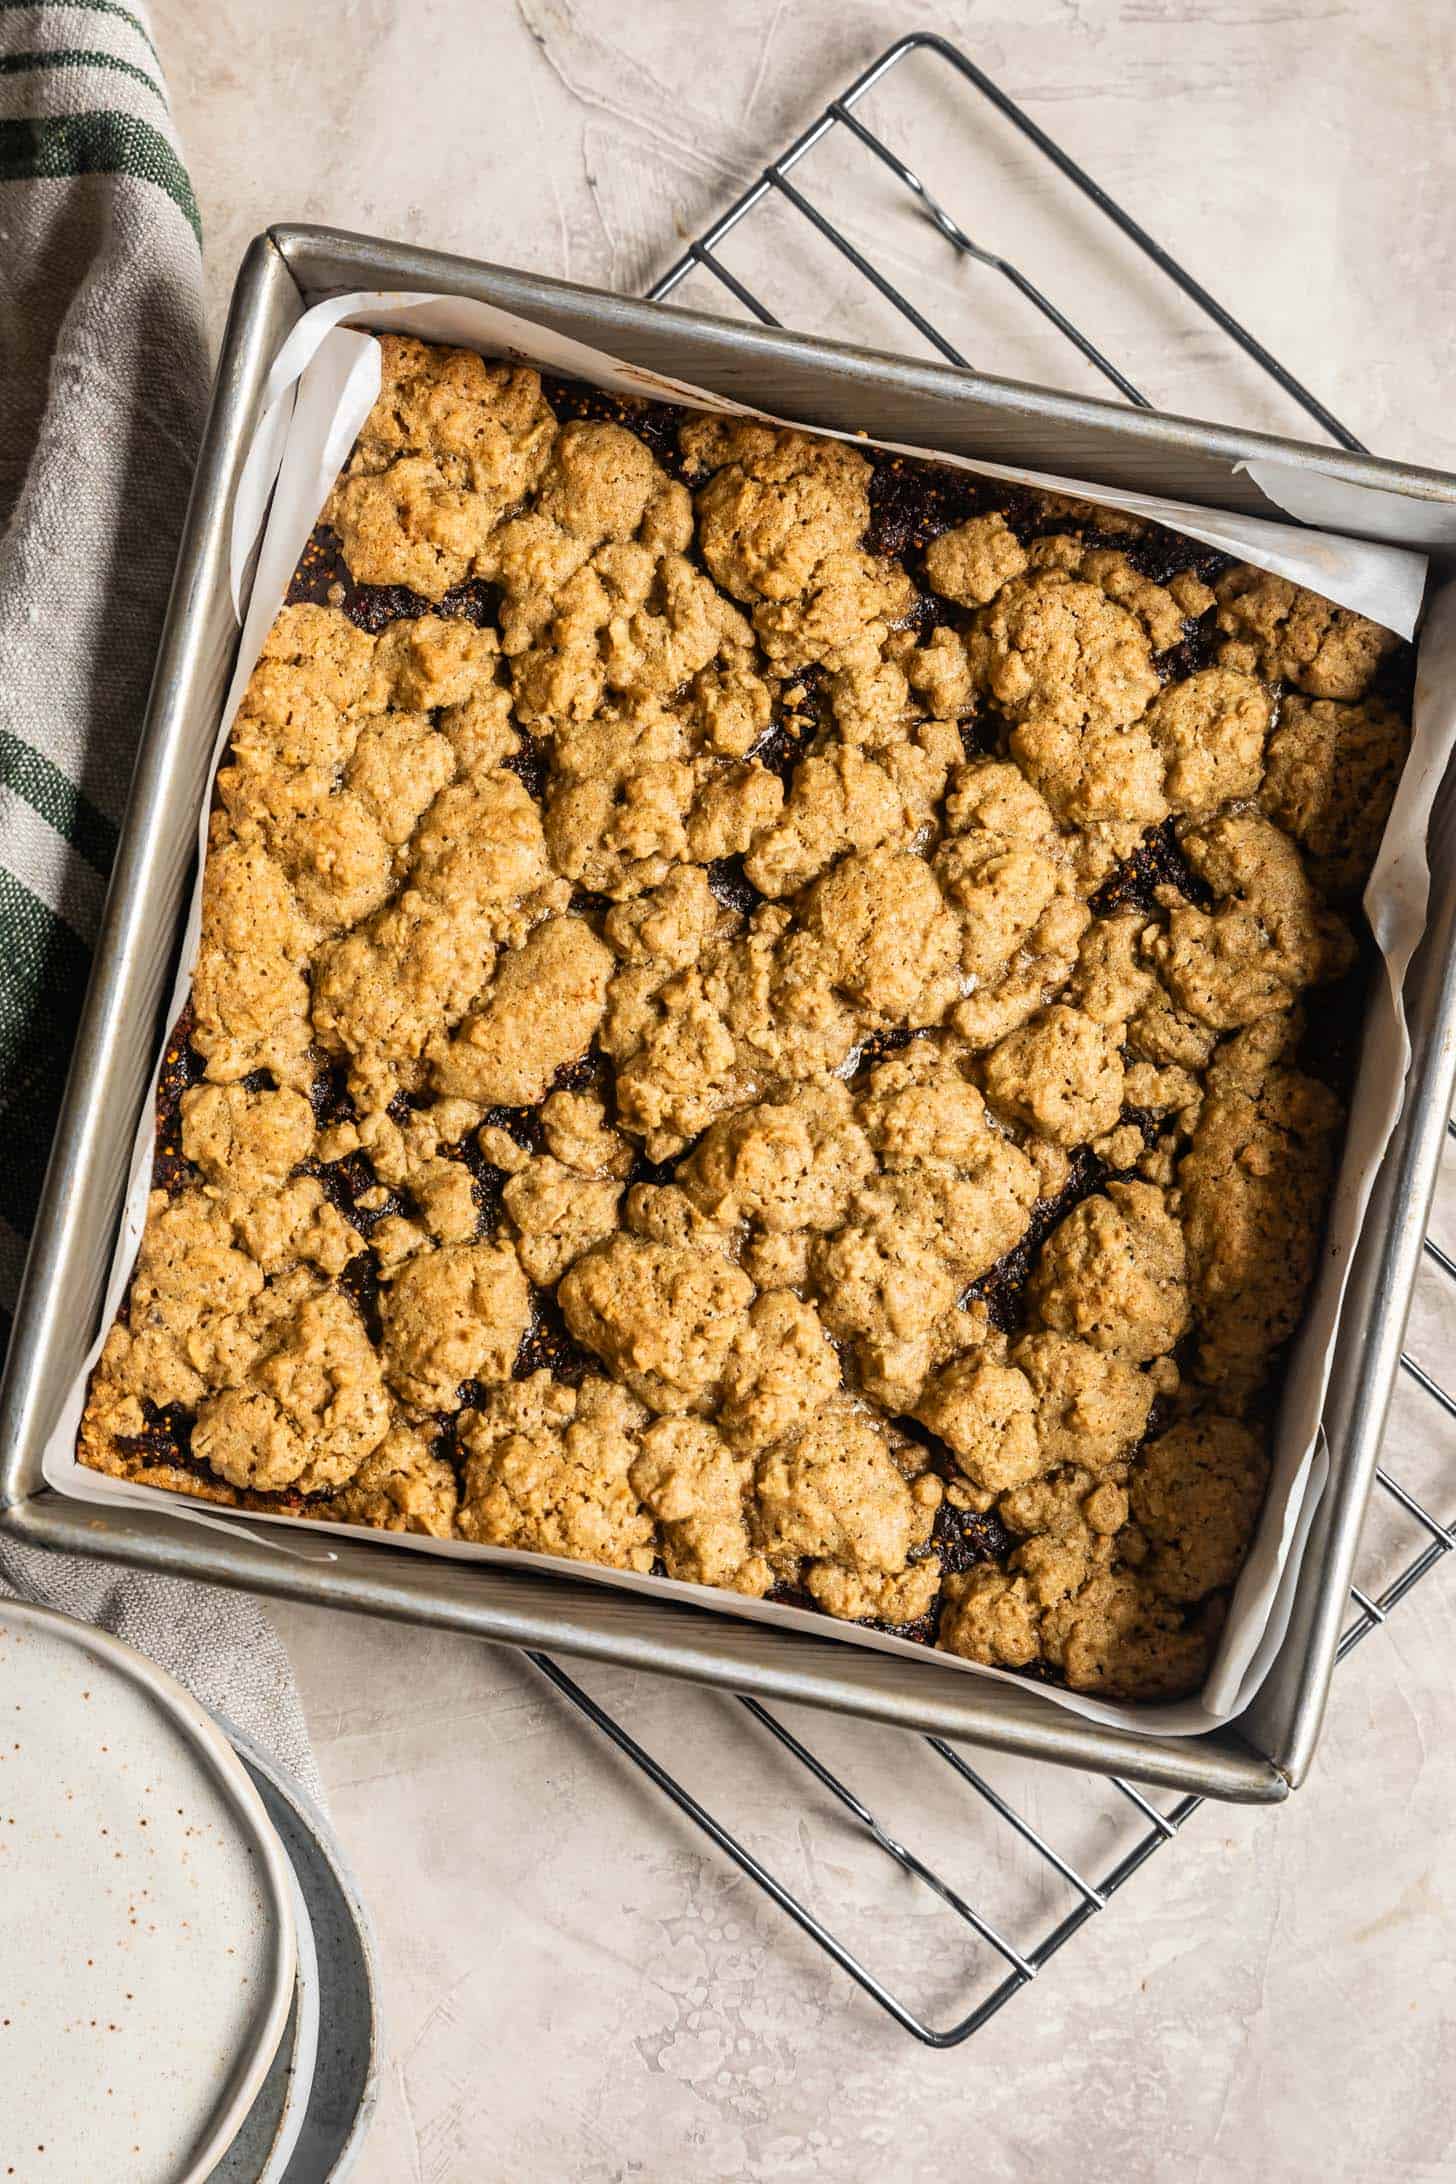
- Bake for 24-26 minutes, until the edges of the dough clumps look just golden brown, but parts of the center still look gooey and underbaked. Take care not to overbake these bars, or they'll lose their chewy texture and become dry. The heat from the pan will continue baking the bars and the oats will continue to soak up moisture as they cool, so the crumb topping should be just firm to the touch, but slightly underbaked around the edges of the crumbs. You're looking for crisp but CHEWY.
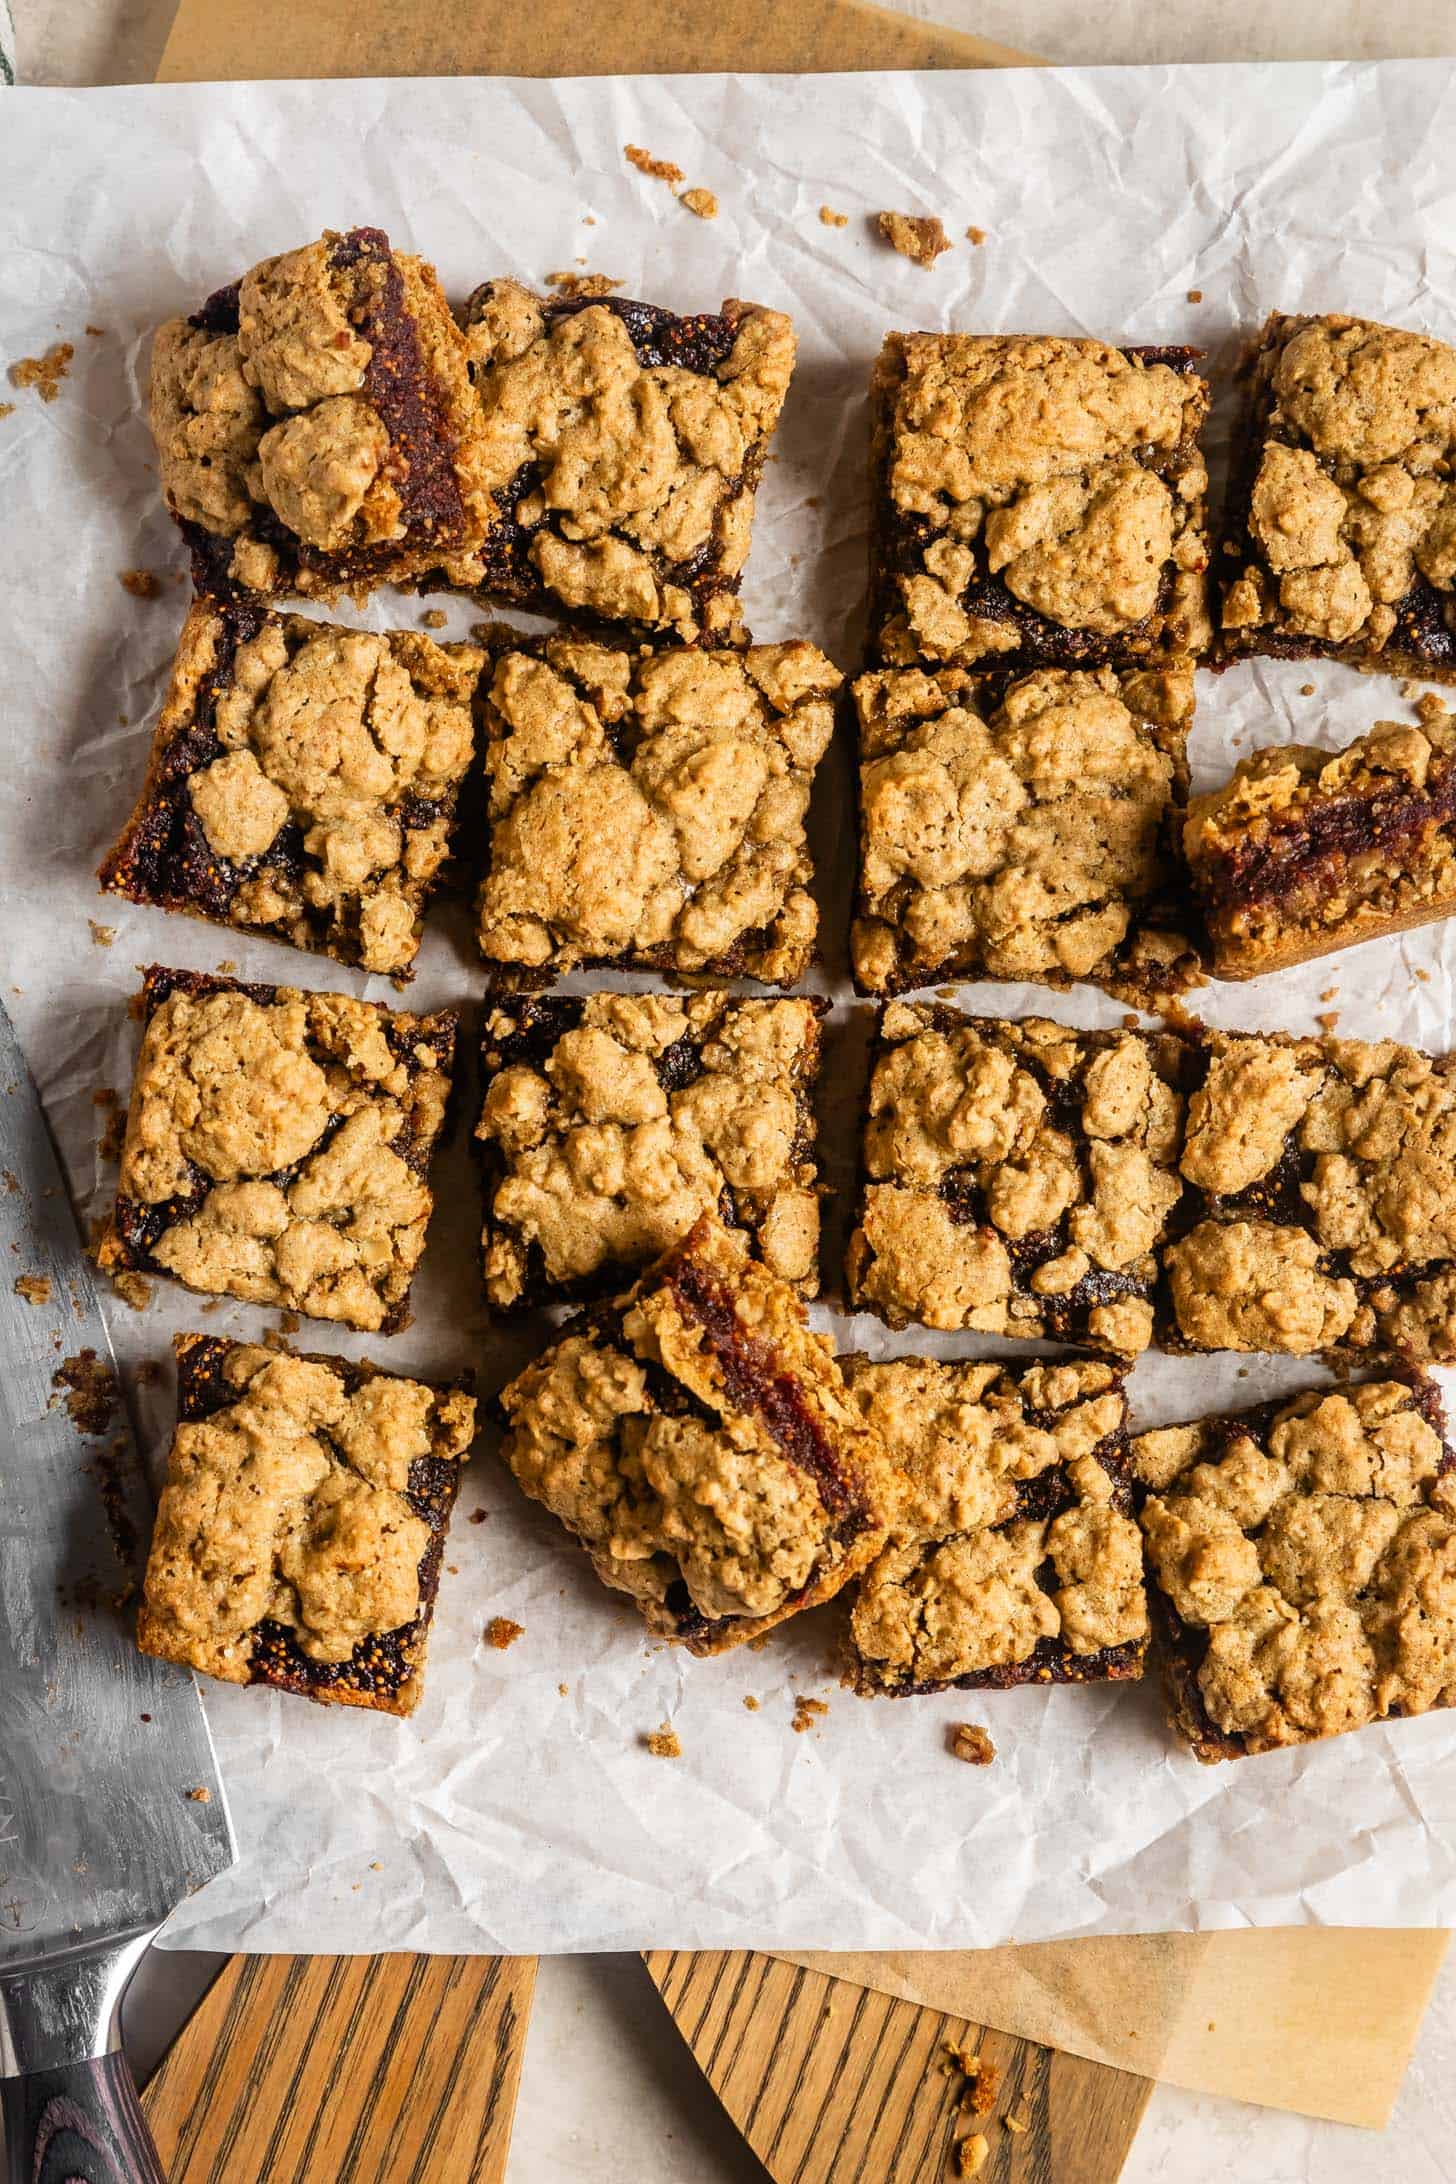
- Remove from oven and let cool completely on a wire rack before using the parchment paper to lift the bars from the pan. Cut into bars and serve!
Video
Notes
Store-Bought Jam
You can skip the filling and replace it with 8 ounces of store-bought fig jam, fig preserves, or fig butter (I tested it with Trader Joe's fig butter and it was delicious!)Dairy-Free
For dairy-free, use refined coconut oil or dairy-free plant butter in place of the butter.How to Store Baked Fig Bars
Store fully baked bars in an airtight container for up to 3 days. For longer storage, put them in an airtight container or freezer bag and freeze for up to 3 months. Let them thaw at room temperature before eating. When packing in school lunch, I place a frozen bar in the lunchbox in the morning, and it's defrosted by snack time!How to Make Gluten-Free Oatmeal Fig Bars
Start by making the fig "jam," which is just dried figs simmered in juice until soft, then blended into a paste. If you don't have a food processor or blender or you simply want to make it quicker, you can sub 8 ounces of store-bought fig jam or fig butter.
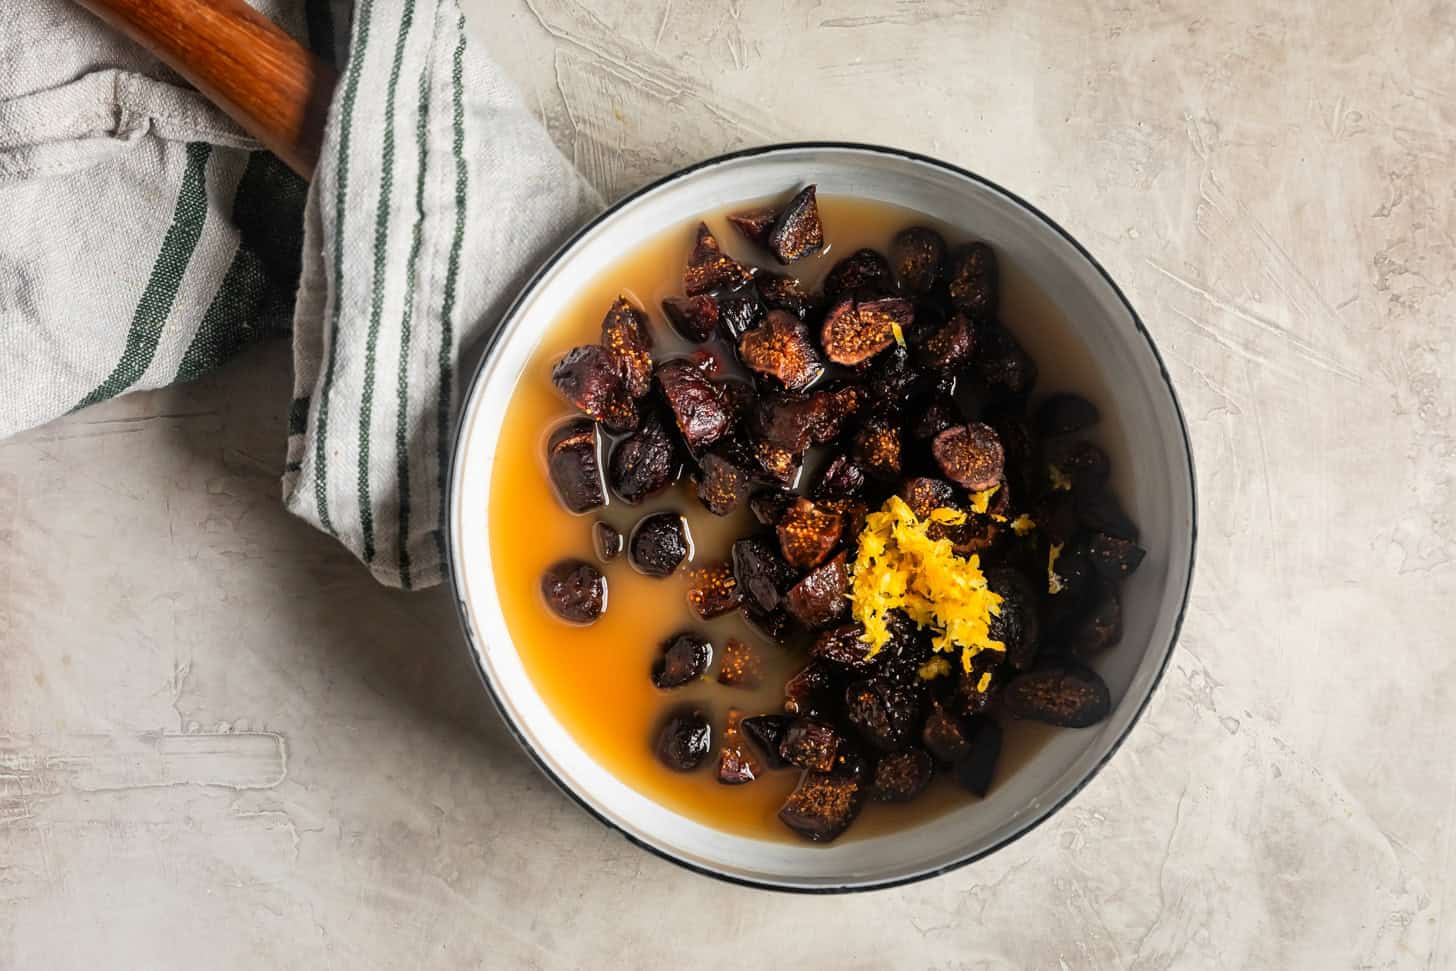
Simmer figs, apple juice, lemon zest, and salt in a small saucepan over medium-low heat for 5-8 min until most of the liquid has been absorbed and the figs are very soft.
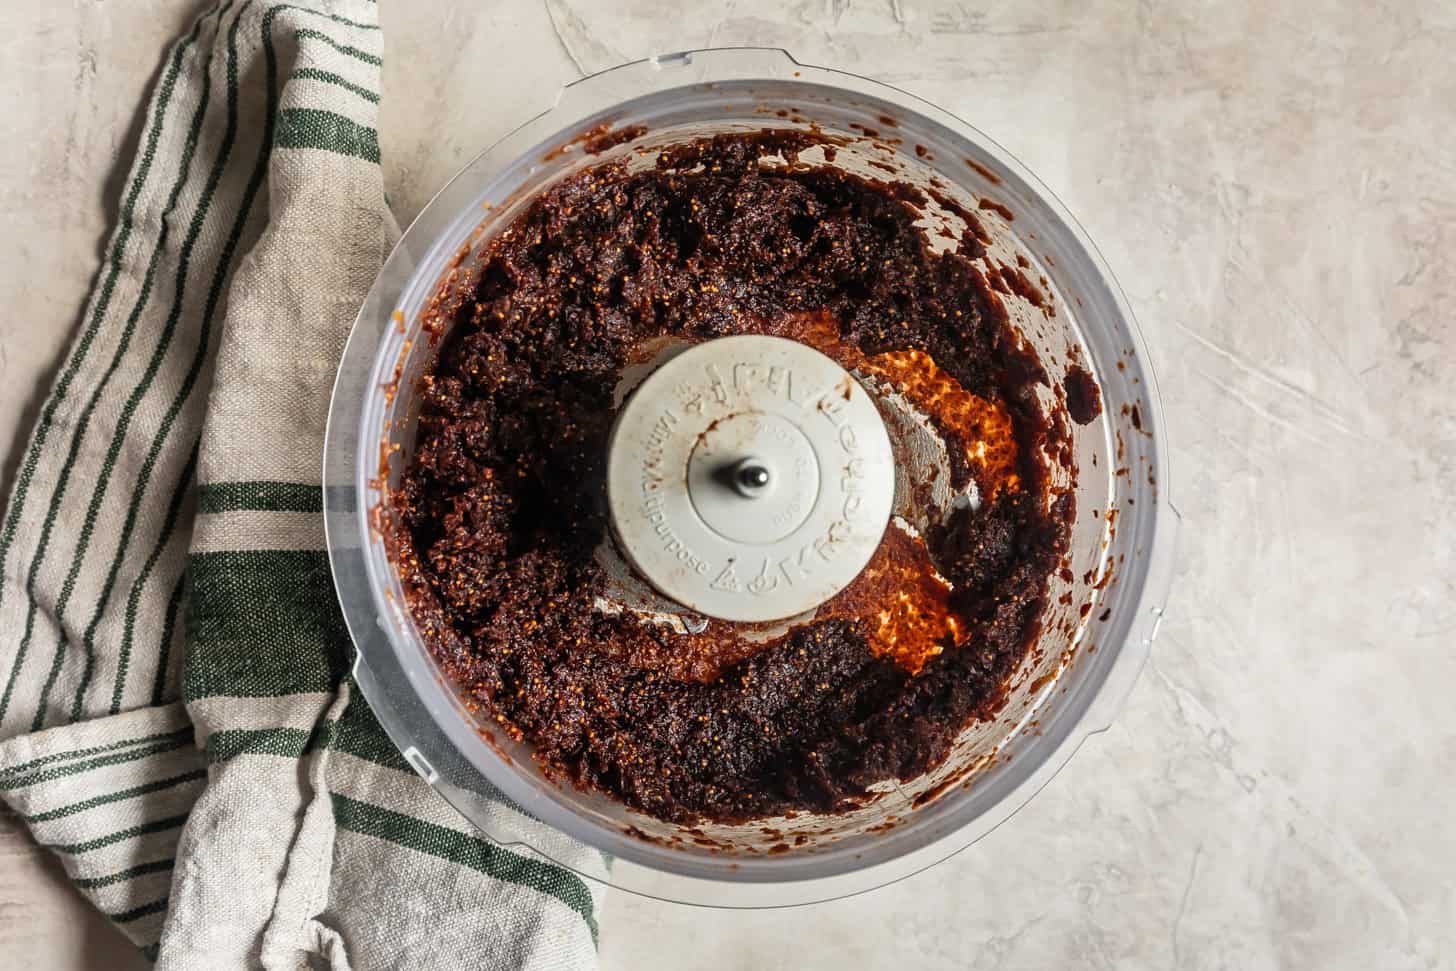
Transfer the figs to a food processor or blender. Add the vanilla and blend until it reaches a smooth jam-like consistency. Let cool.
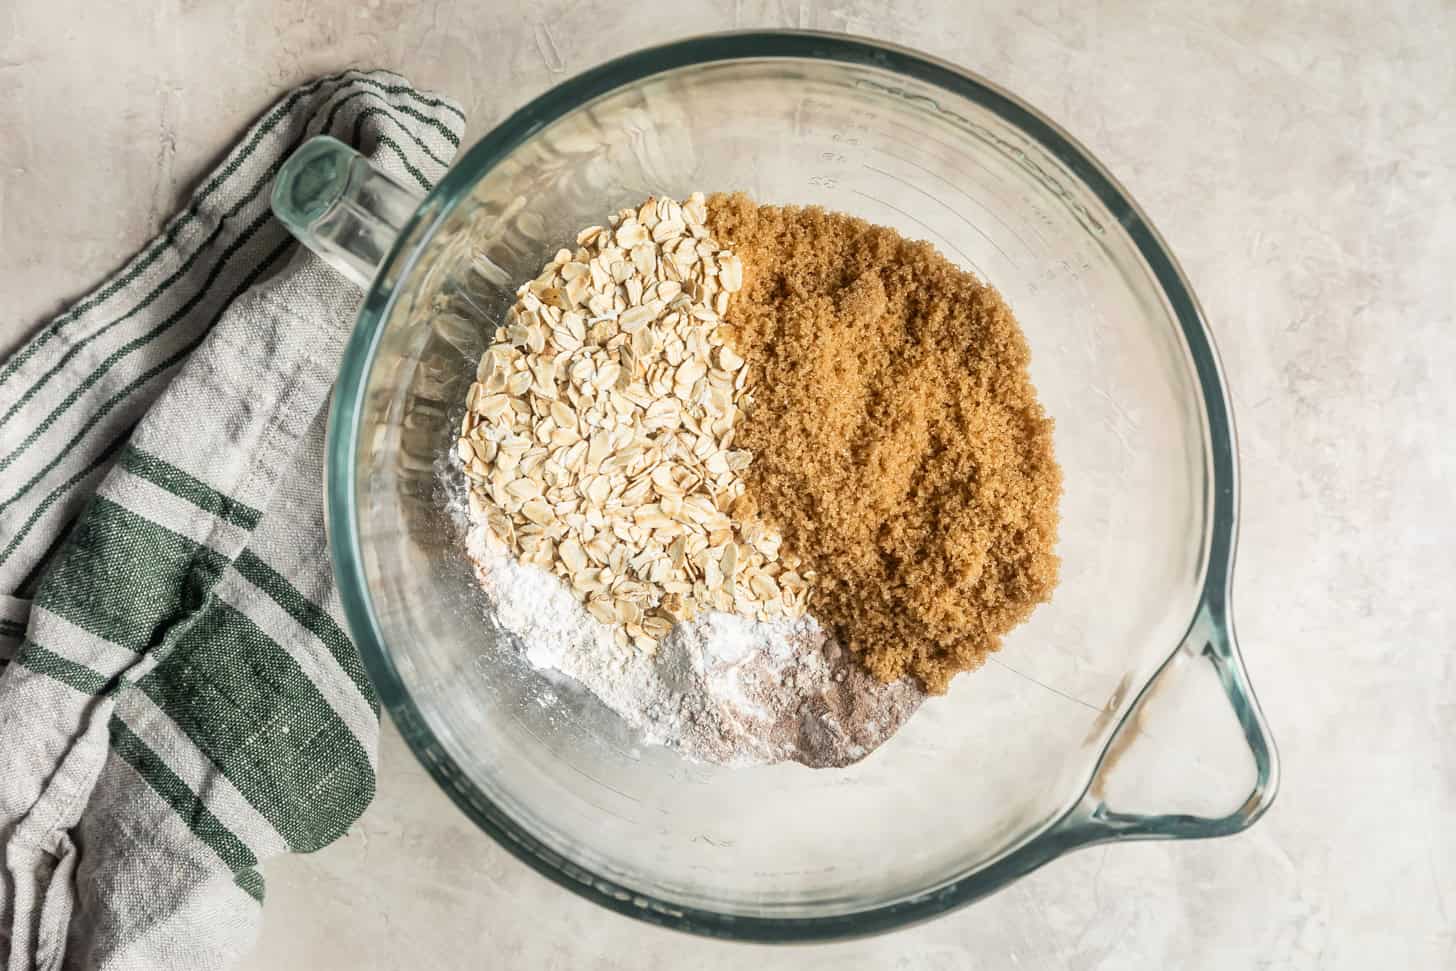
In a stand mixer fitted with the paddle attachment or in a large mixing bowl, whisk together all the dry ingredients, including the sugar.
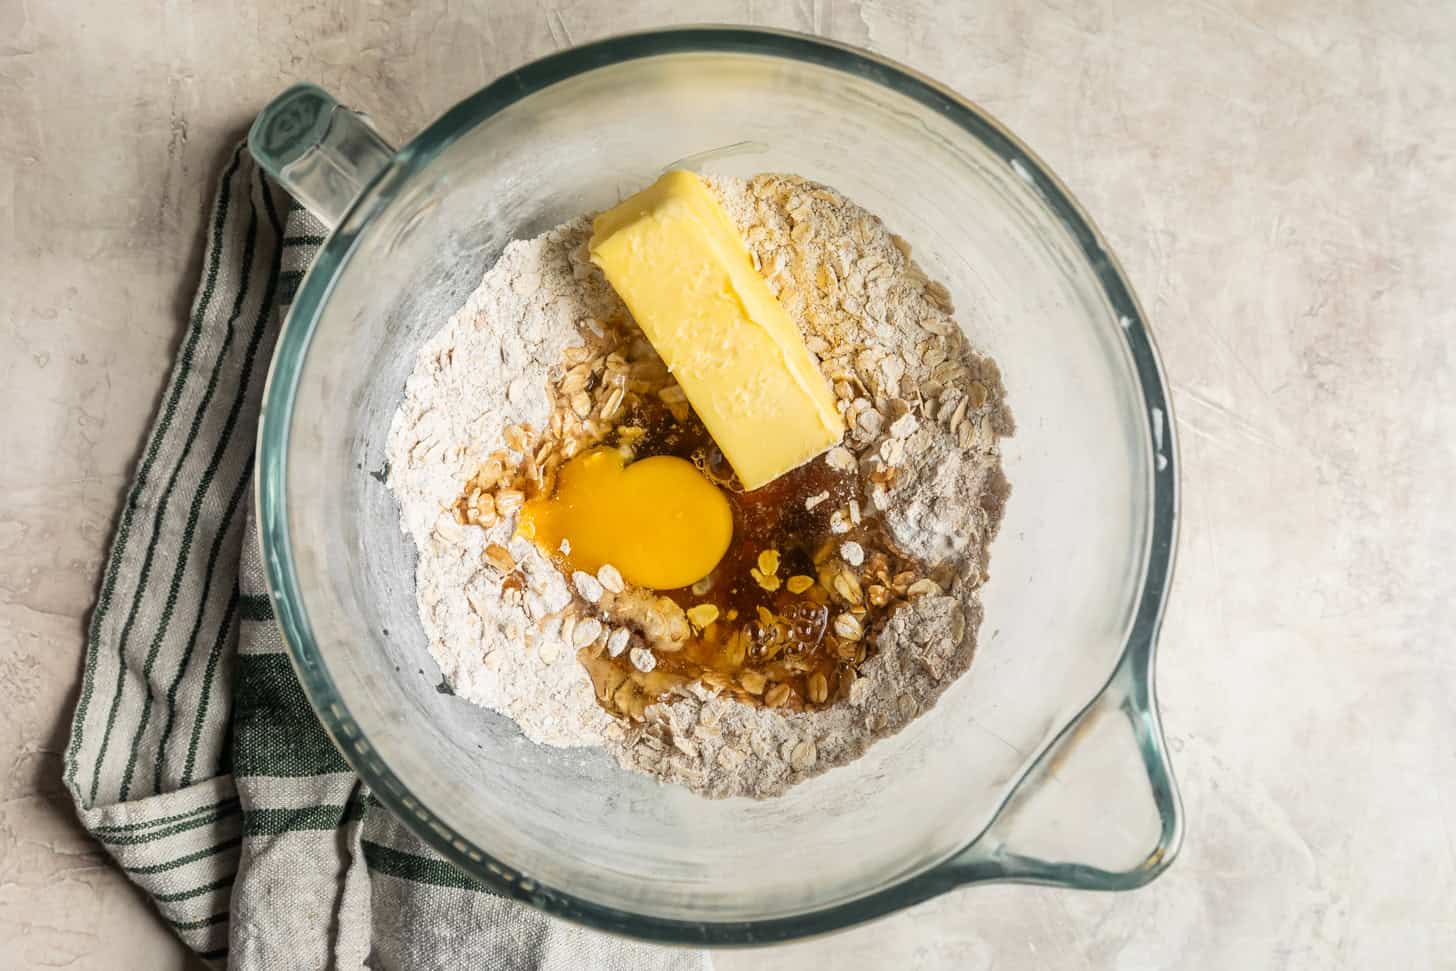
Add the softened butter, egg, maple syrup, and vanilla.

Using the paddle attachment of a stand mixer, a hand mixer, or a silicone spatula, mix until it is uniformly combined and forms a soft dough.
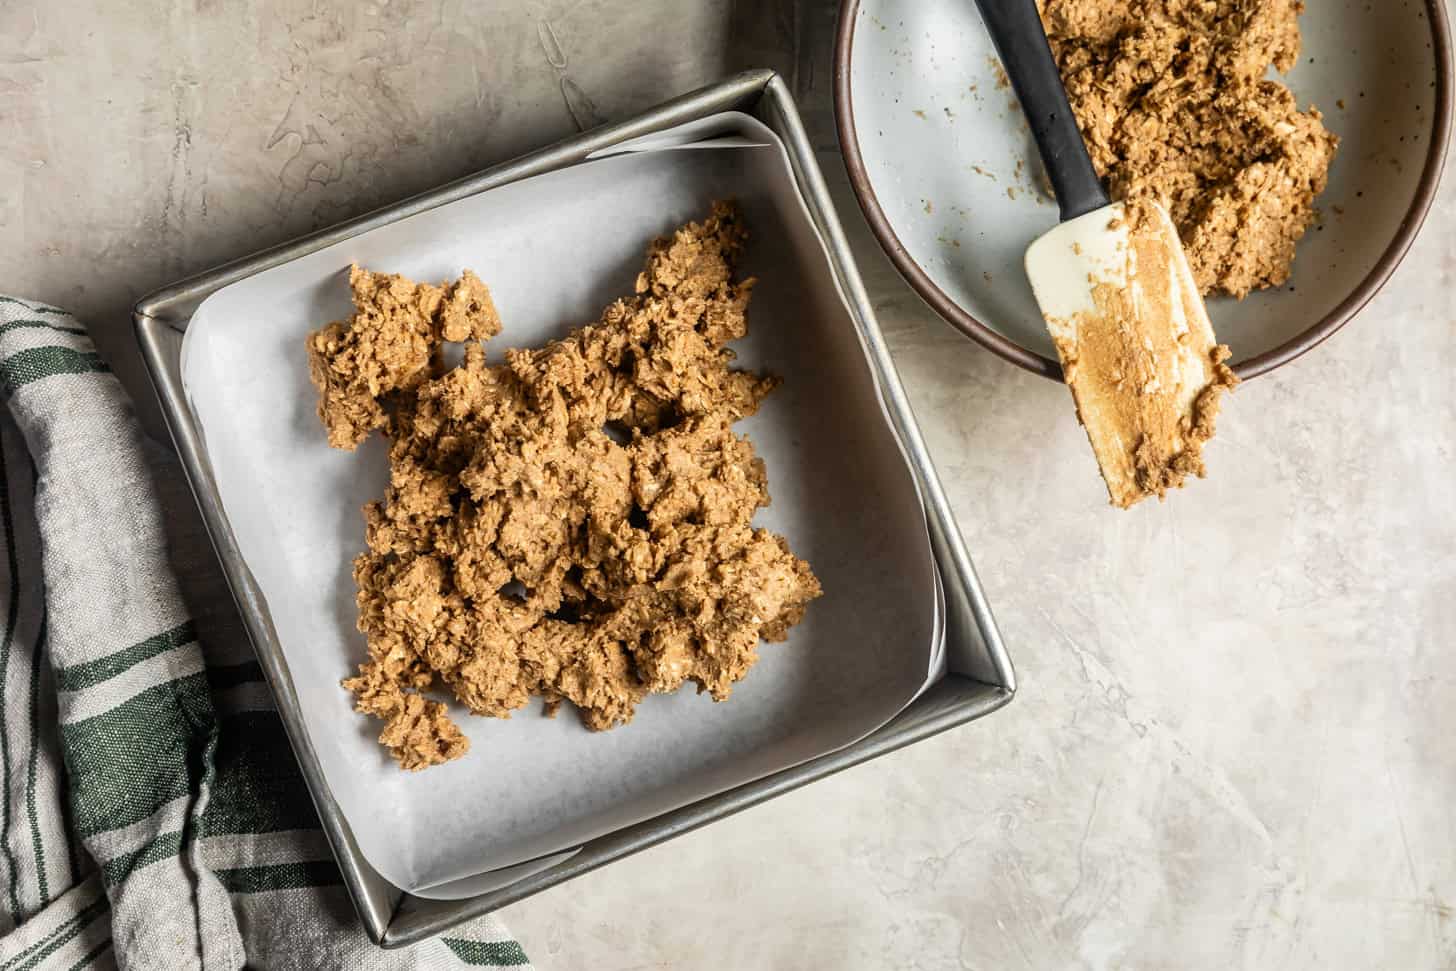
Spread and press approximately ⅔ of the dough into the bottom of a parchment-lined 8x8 inch baking pan.
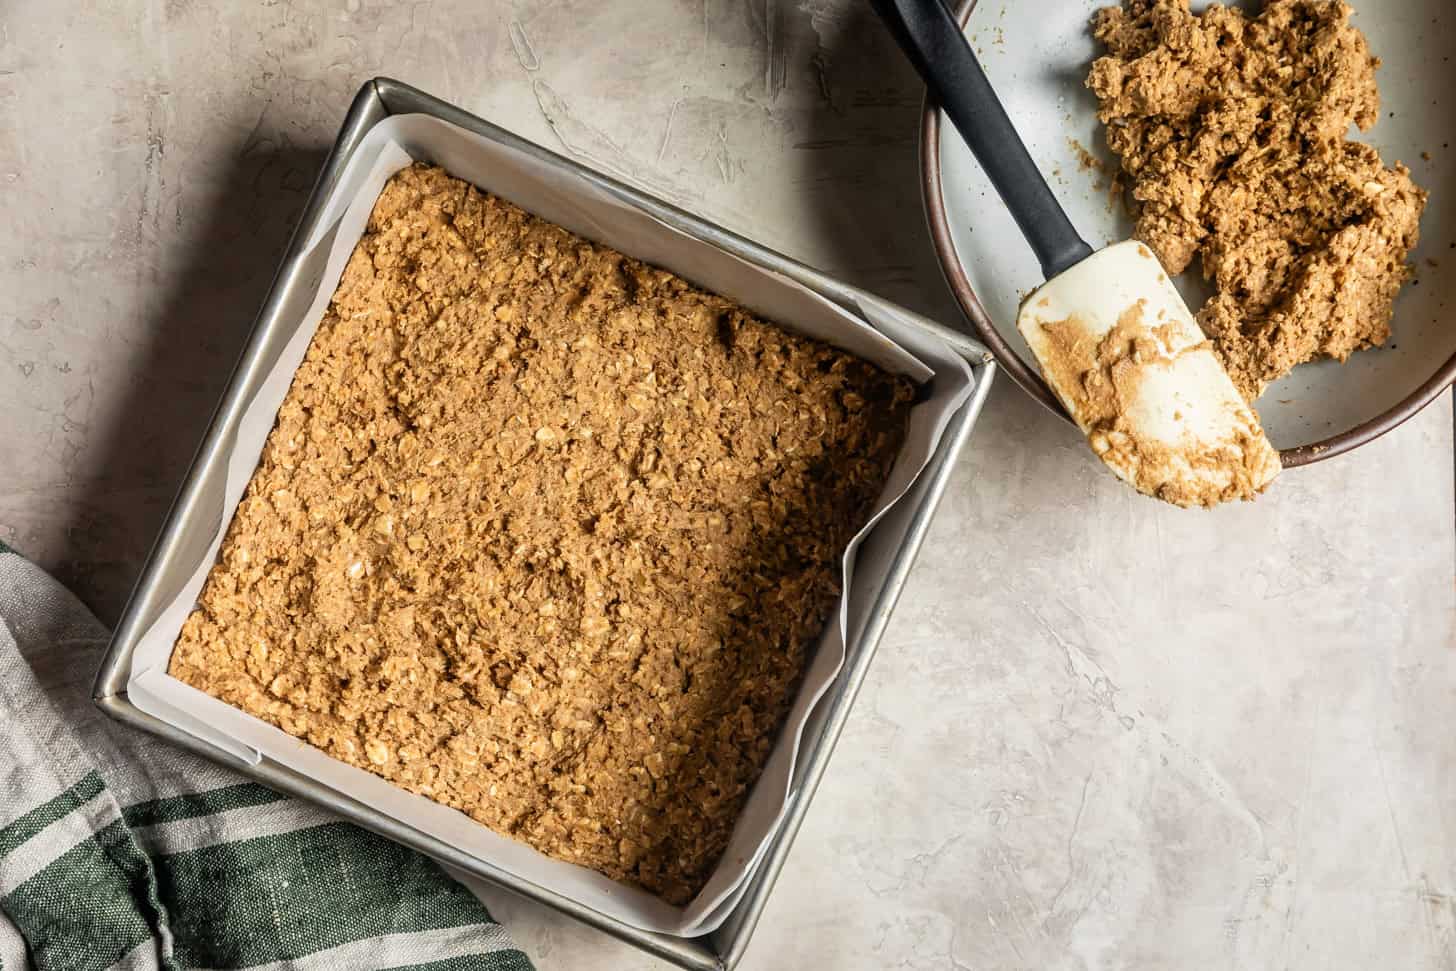
Freeze the baking pan and reserved dough until solid, about 15-20 minutes.
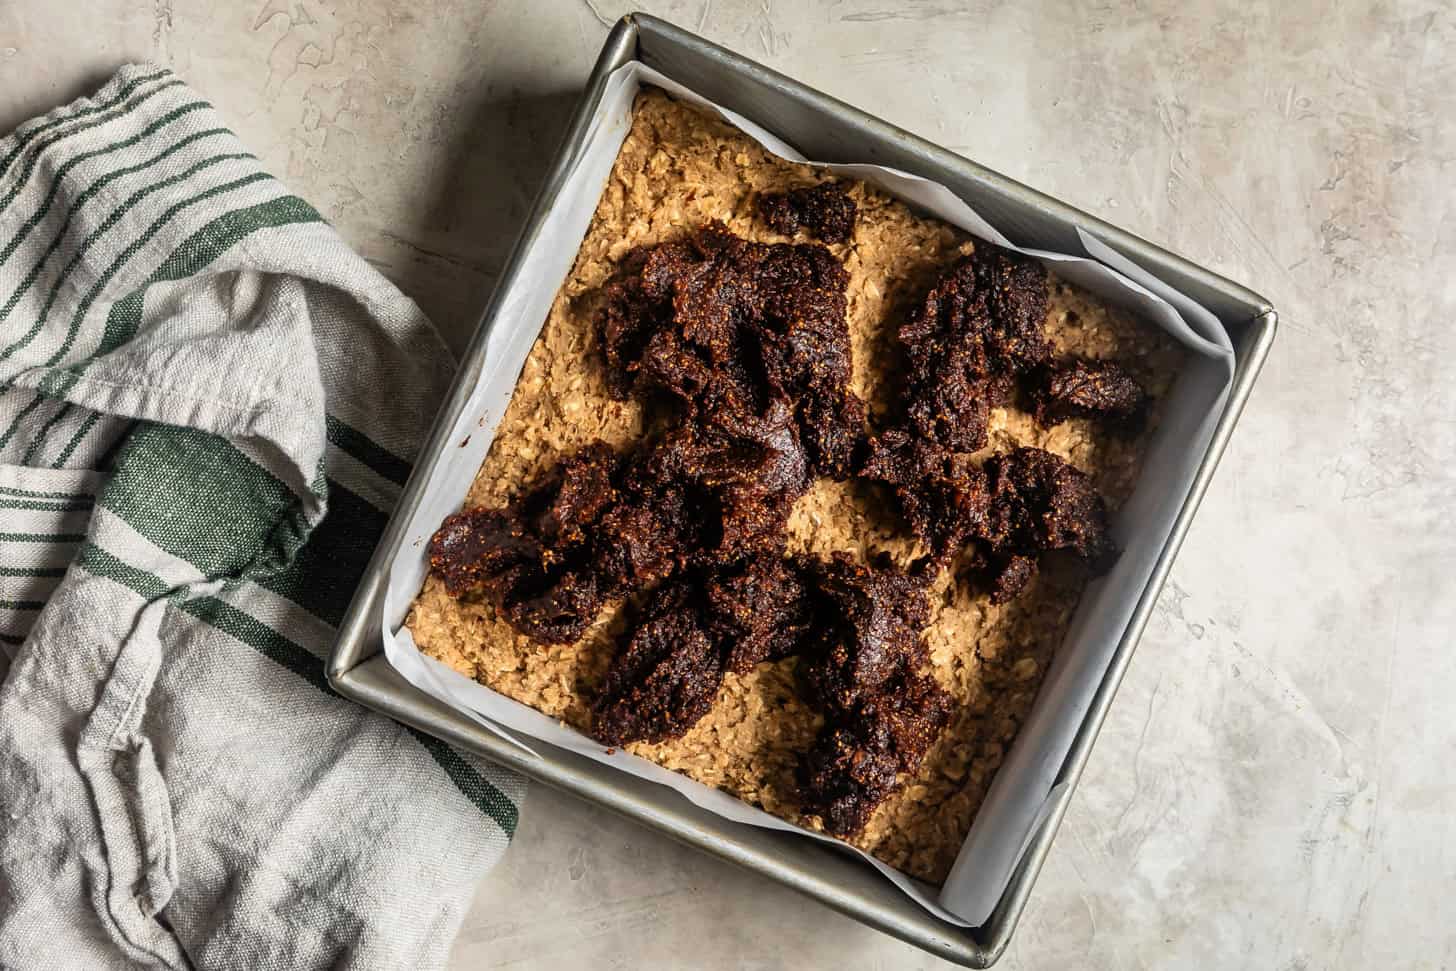
Dollop the fig jam over the frozen crust...

...and spread it into an even layer.
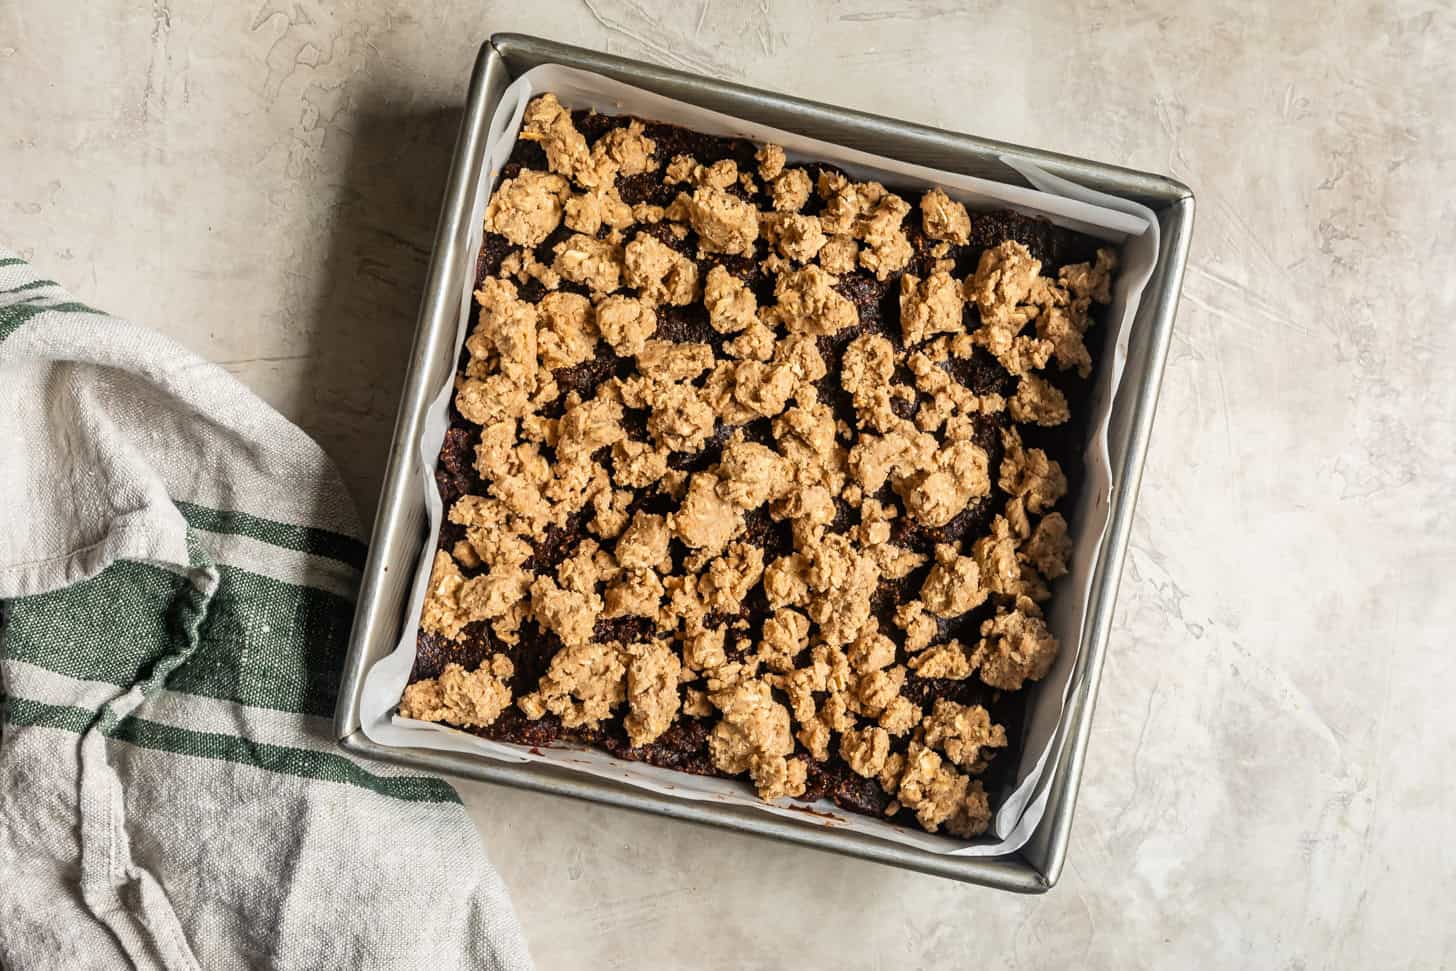
Clump the reserved dough over the top evenly and chill while you preheat the oven to 350°F. Bake for 24-26 minutes, until crumbs just begin to look golden brown, but parts of the edges of the crumbs still look gooey and underbaked.
Remove from oven and let cool completely on a wire rack before using the parchment paper to lift the bars from the pan. Cut into bars and serve!
Hint: Freezing helps ensure the layers are firm so the moisture from the filling doesn't soak into the crust before it bakes. Use that time to clean up your kitchen.
Recipe Variations
These bars are wonderfully versatile, so you can easily customize them to suit your taste or the ingredients you have on hand.
- Swap the filling: Use dried apricots or dates instead of figs for a new flavor!
- Use jam or preserves: Replace the filling with 8 ounces of fig jam/preserves/butter, or your other favorite fruit preserves! Just be sure to use a jam that is thick and not watery or the excess moisture can make the crumb soggy. If your jam is watery, cook it down on the stove a bit and cool before adding it to the bars.
- Add-ins: Mix in ½ cup toasted chopped walnuts, pecans, or shredded unsweetened coconut into the topping for extra crunch.
- Dairy-free: Substitute refined coconut oil or plant butter for butter to make these bars dairy-free.
See this berry jam bar version on my website!
Did you make this recipe? Please leave a review and rating to let me and others know how you liked it!

MCK -
I love packing these in my kids' lunches!