
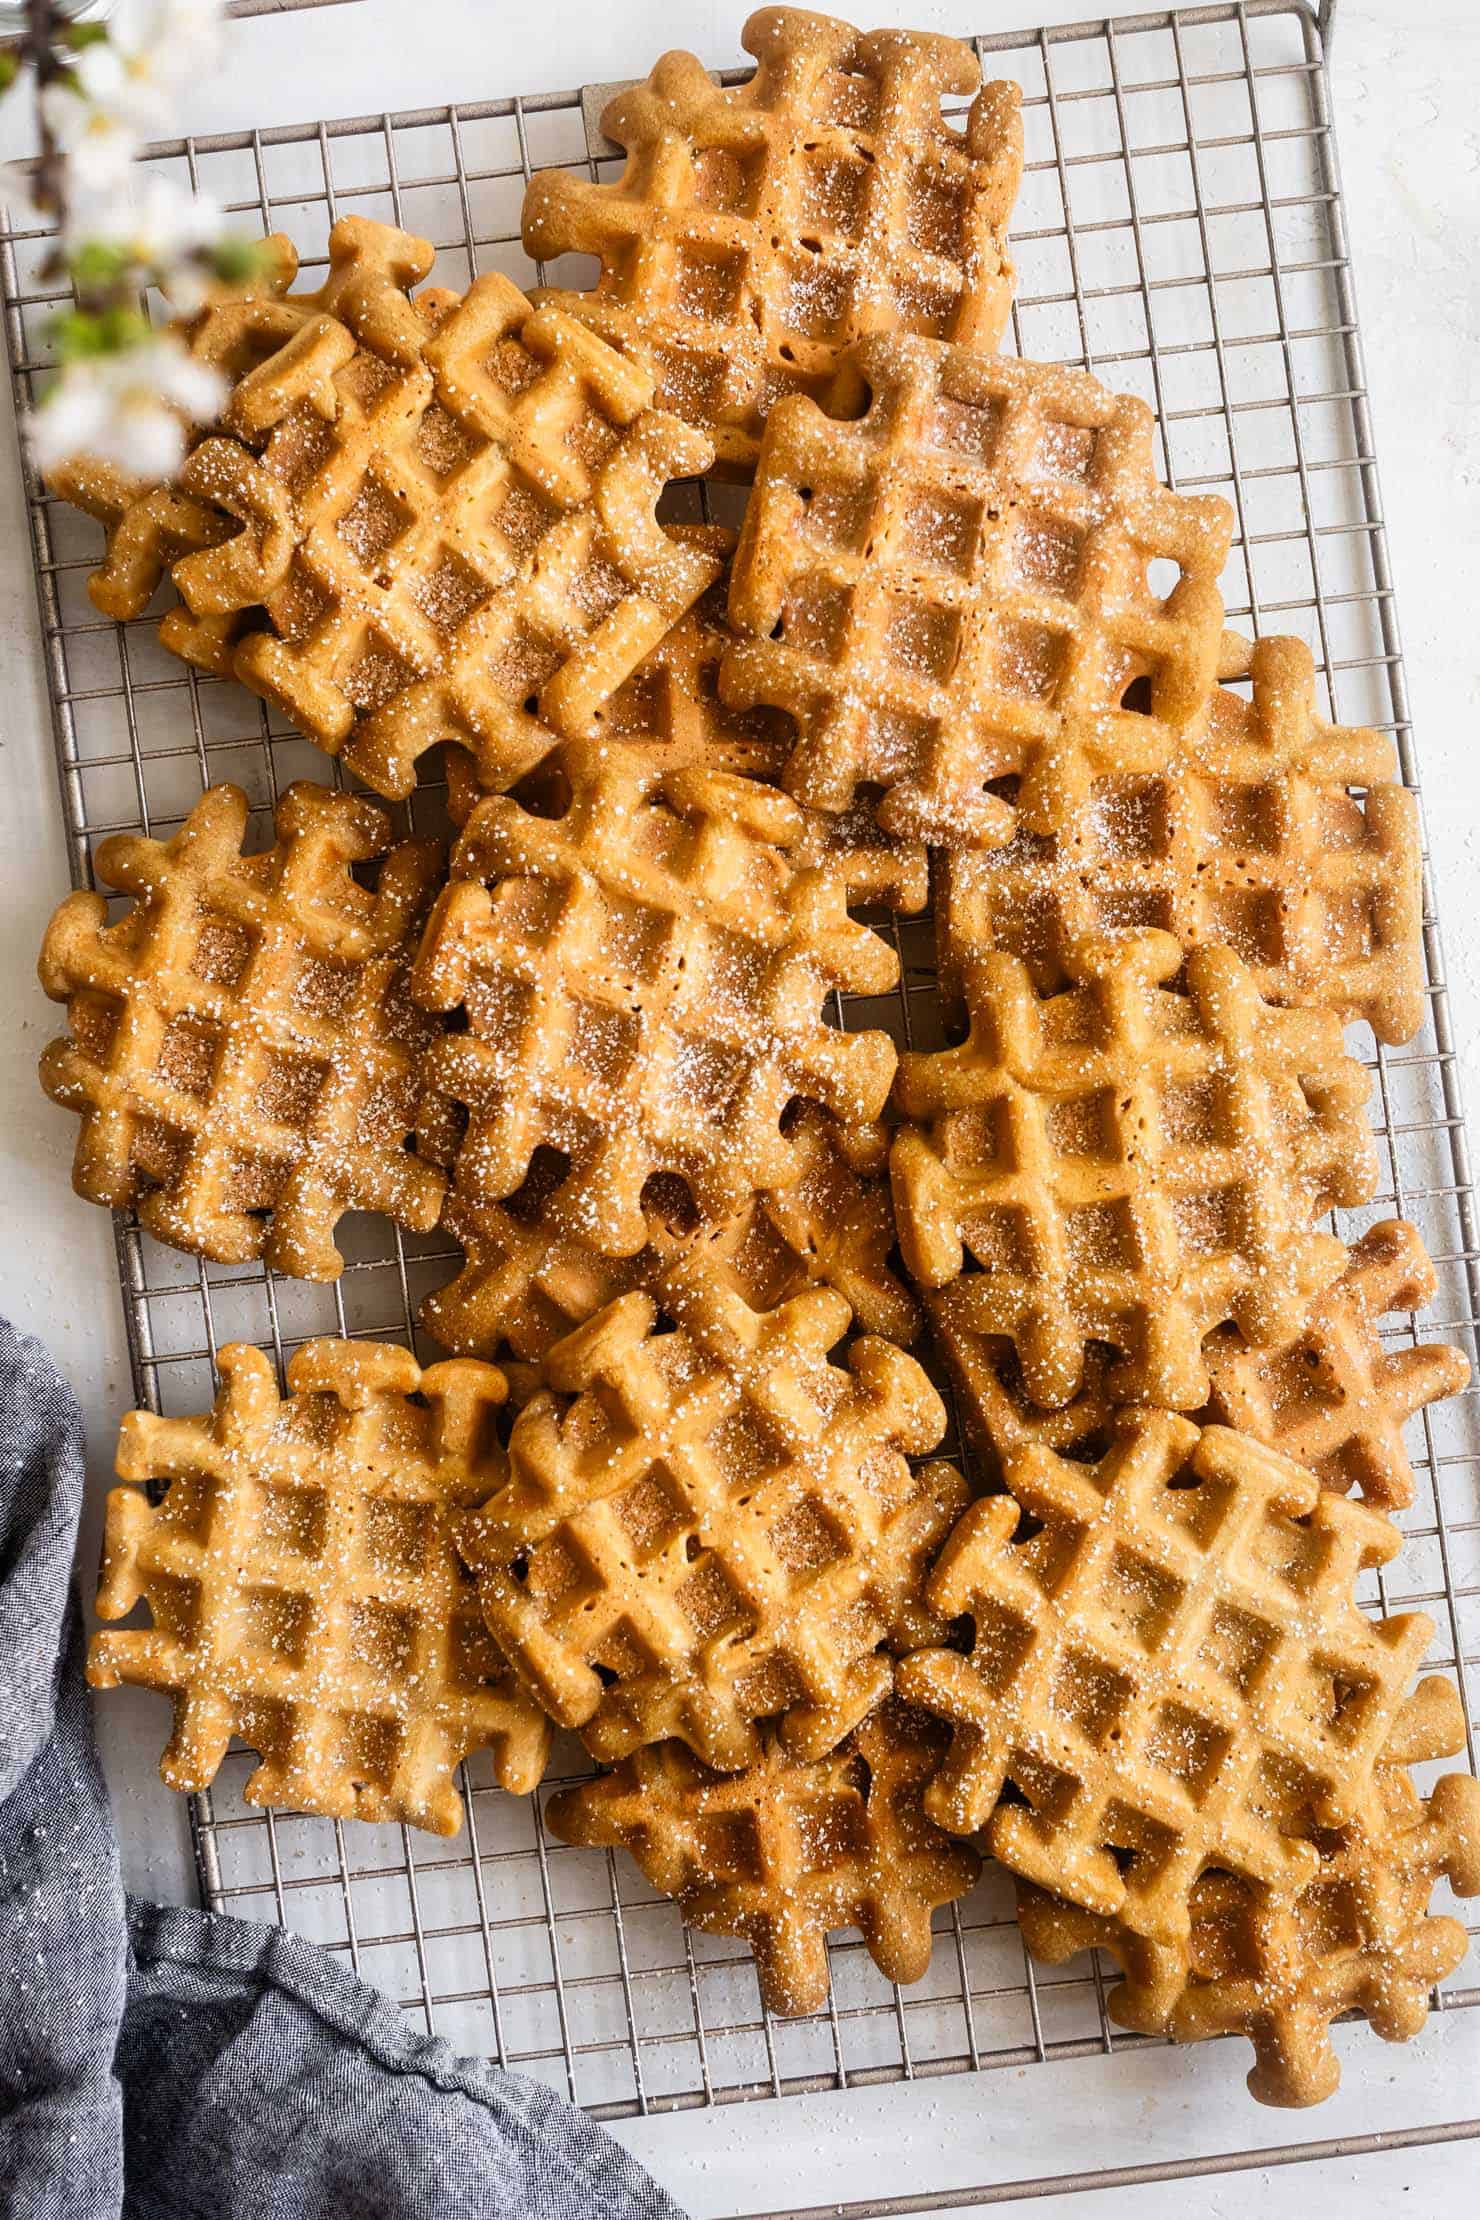
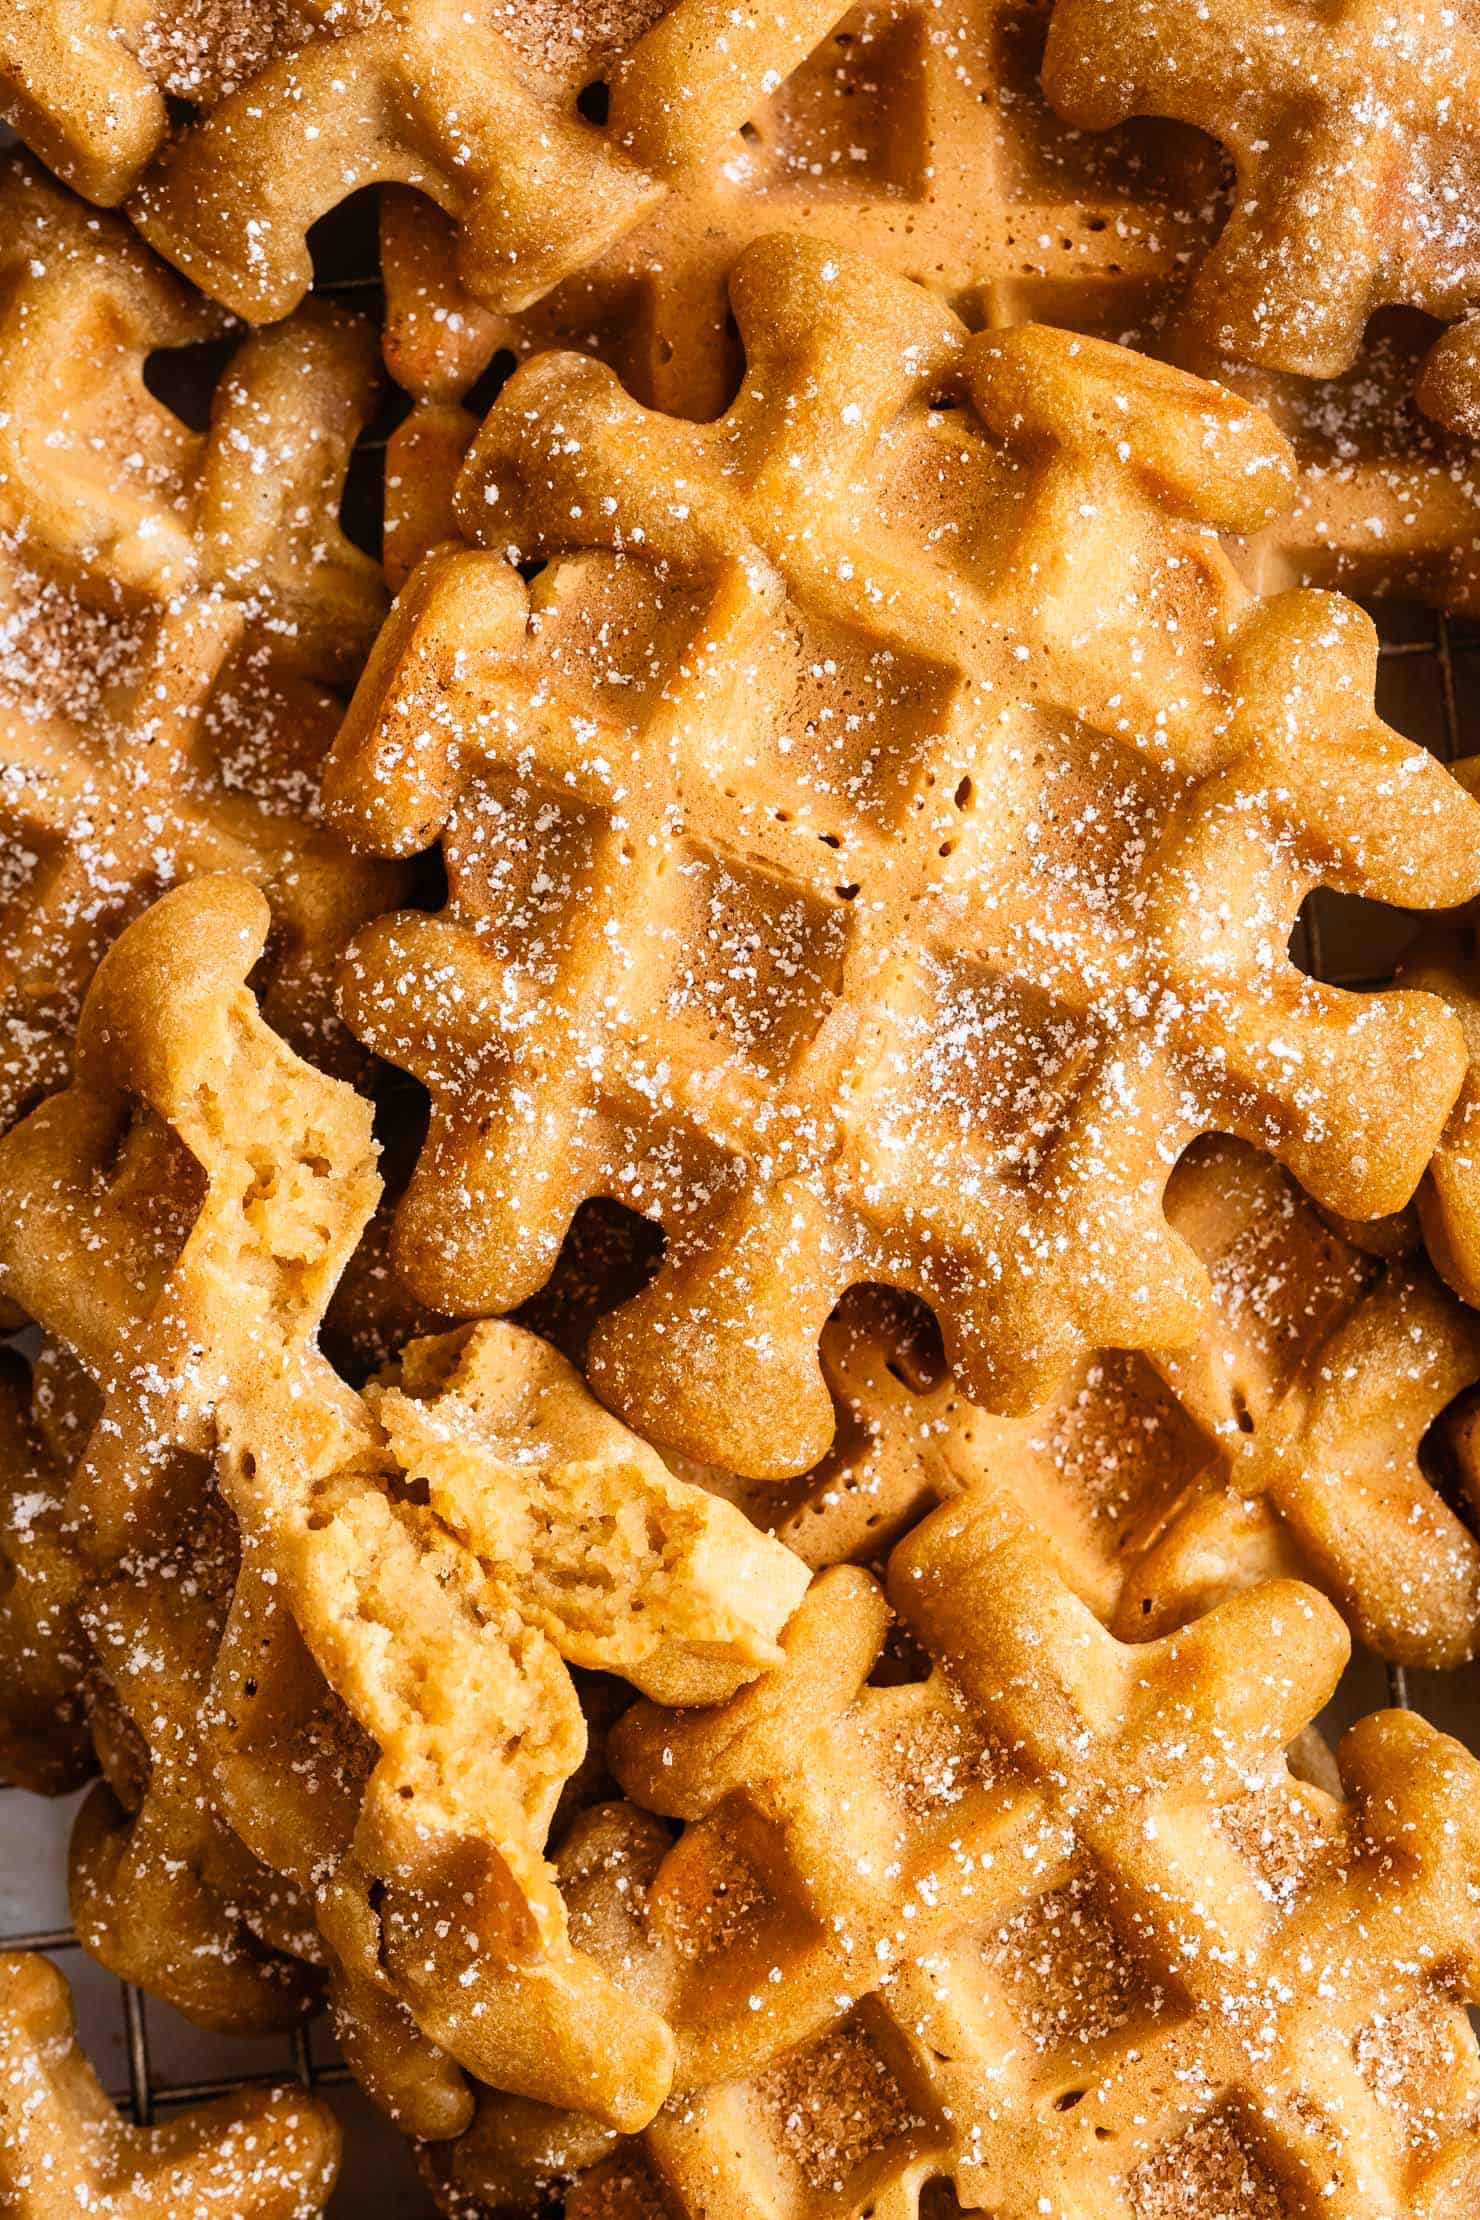
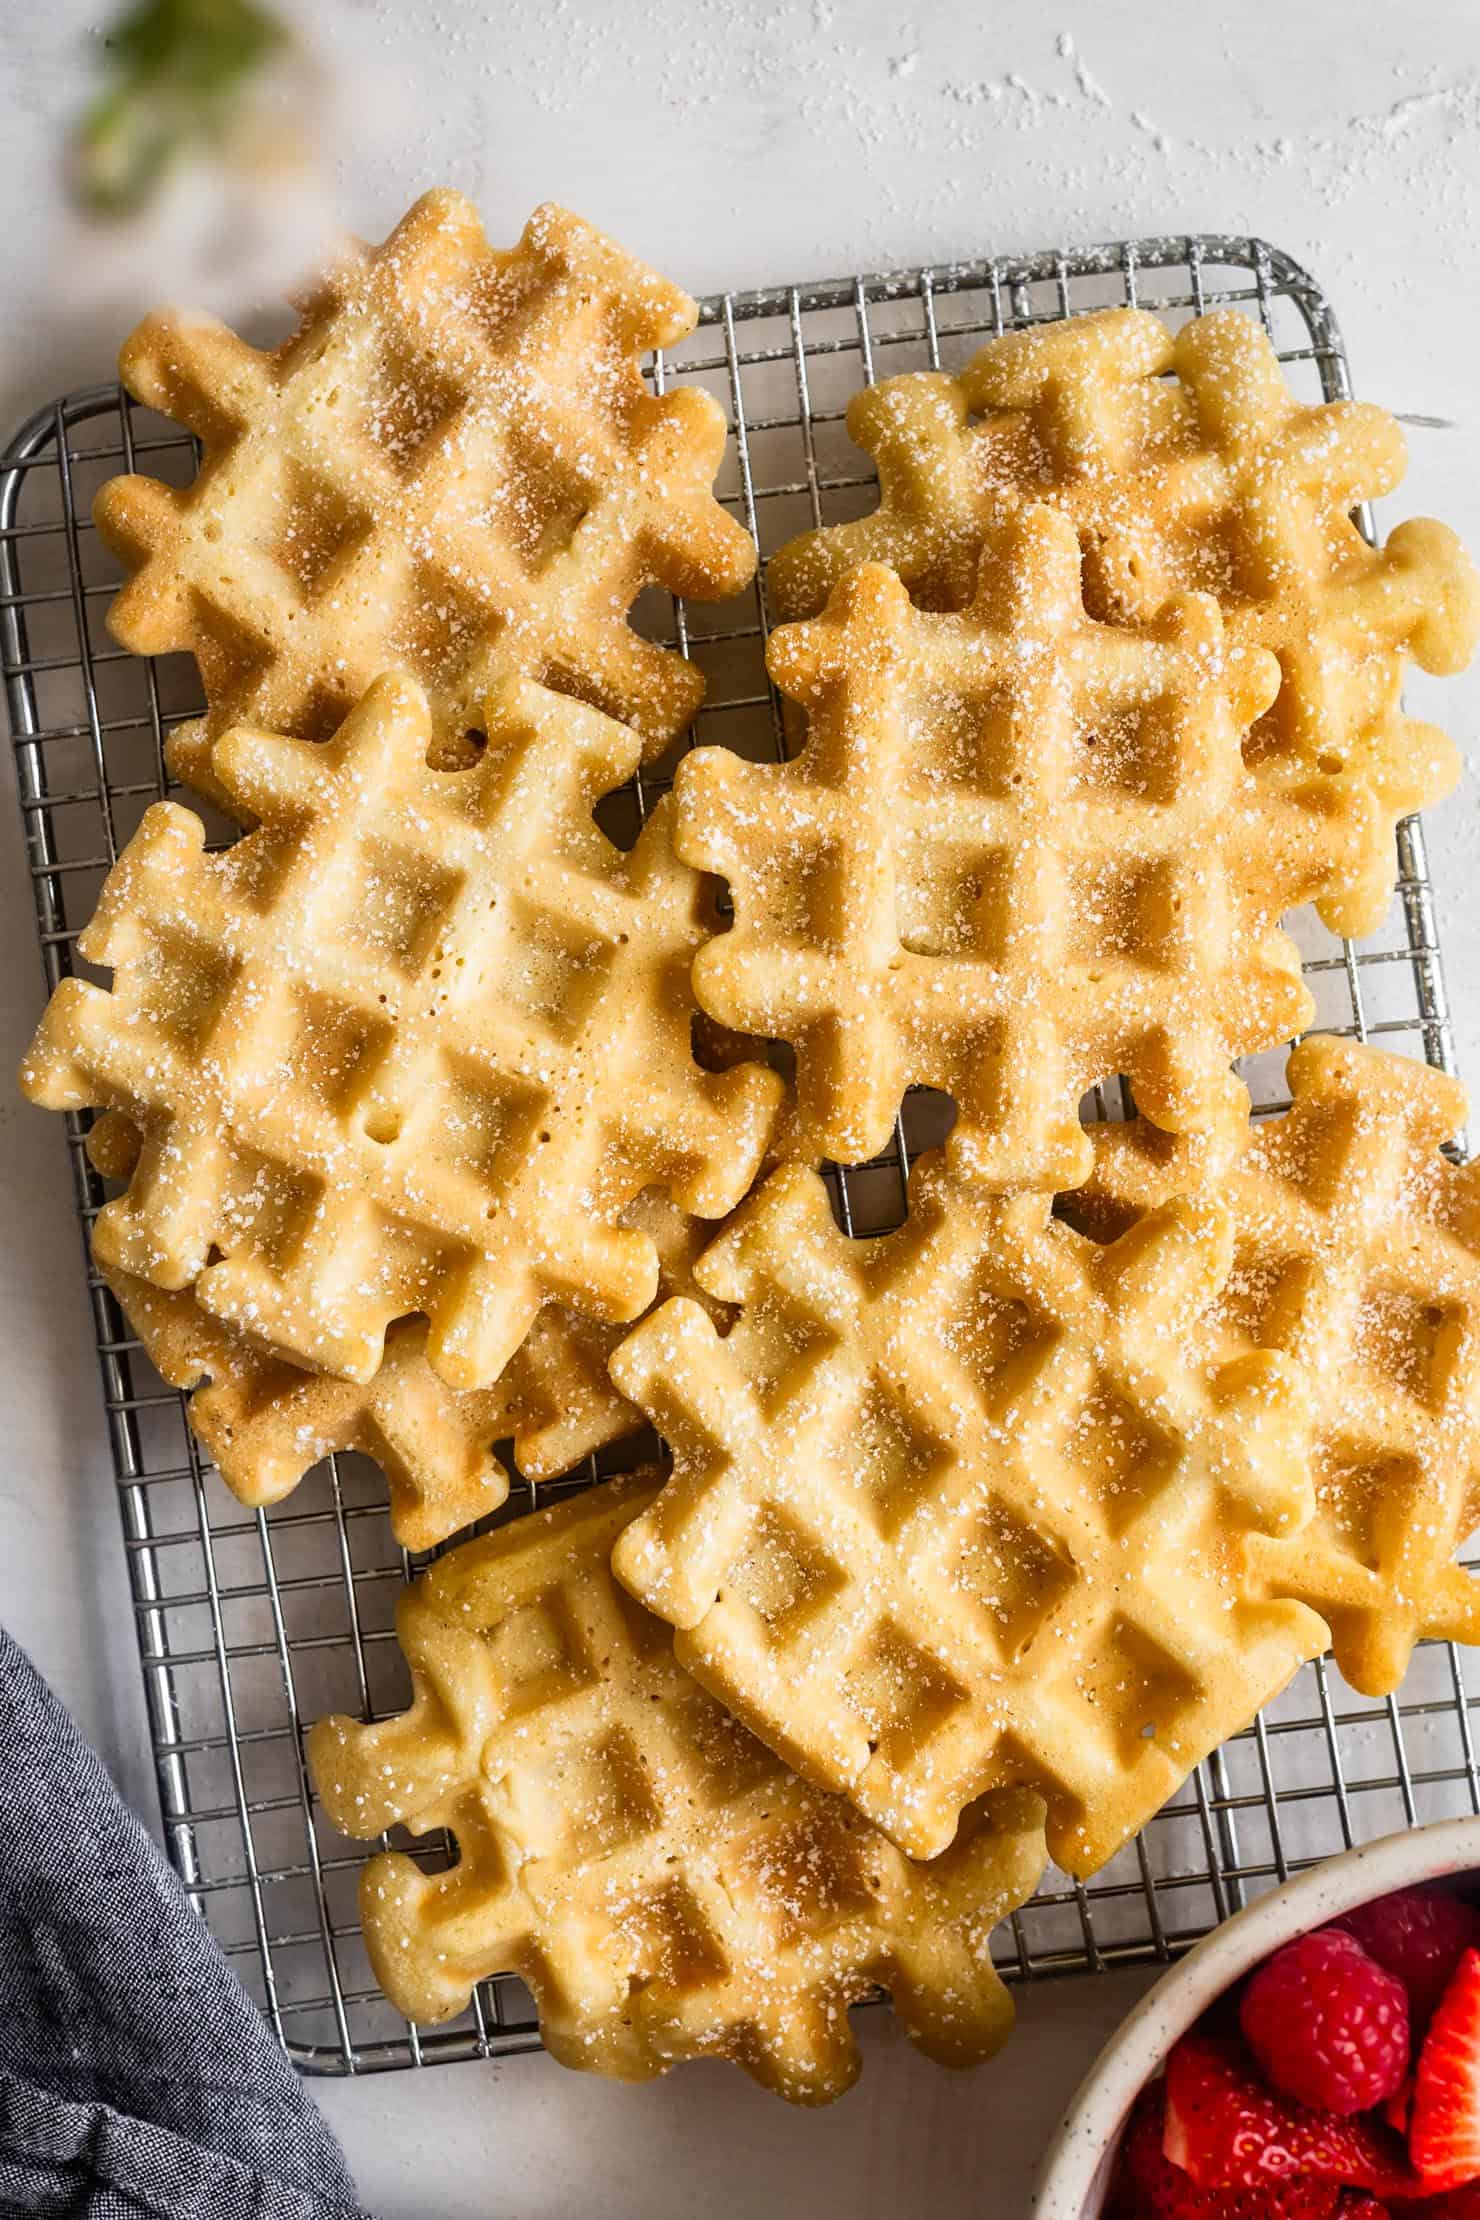
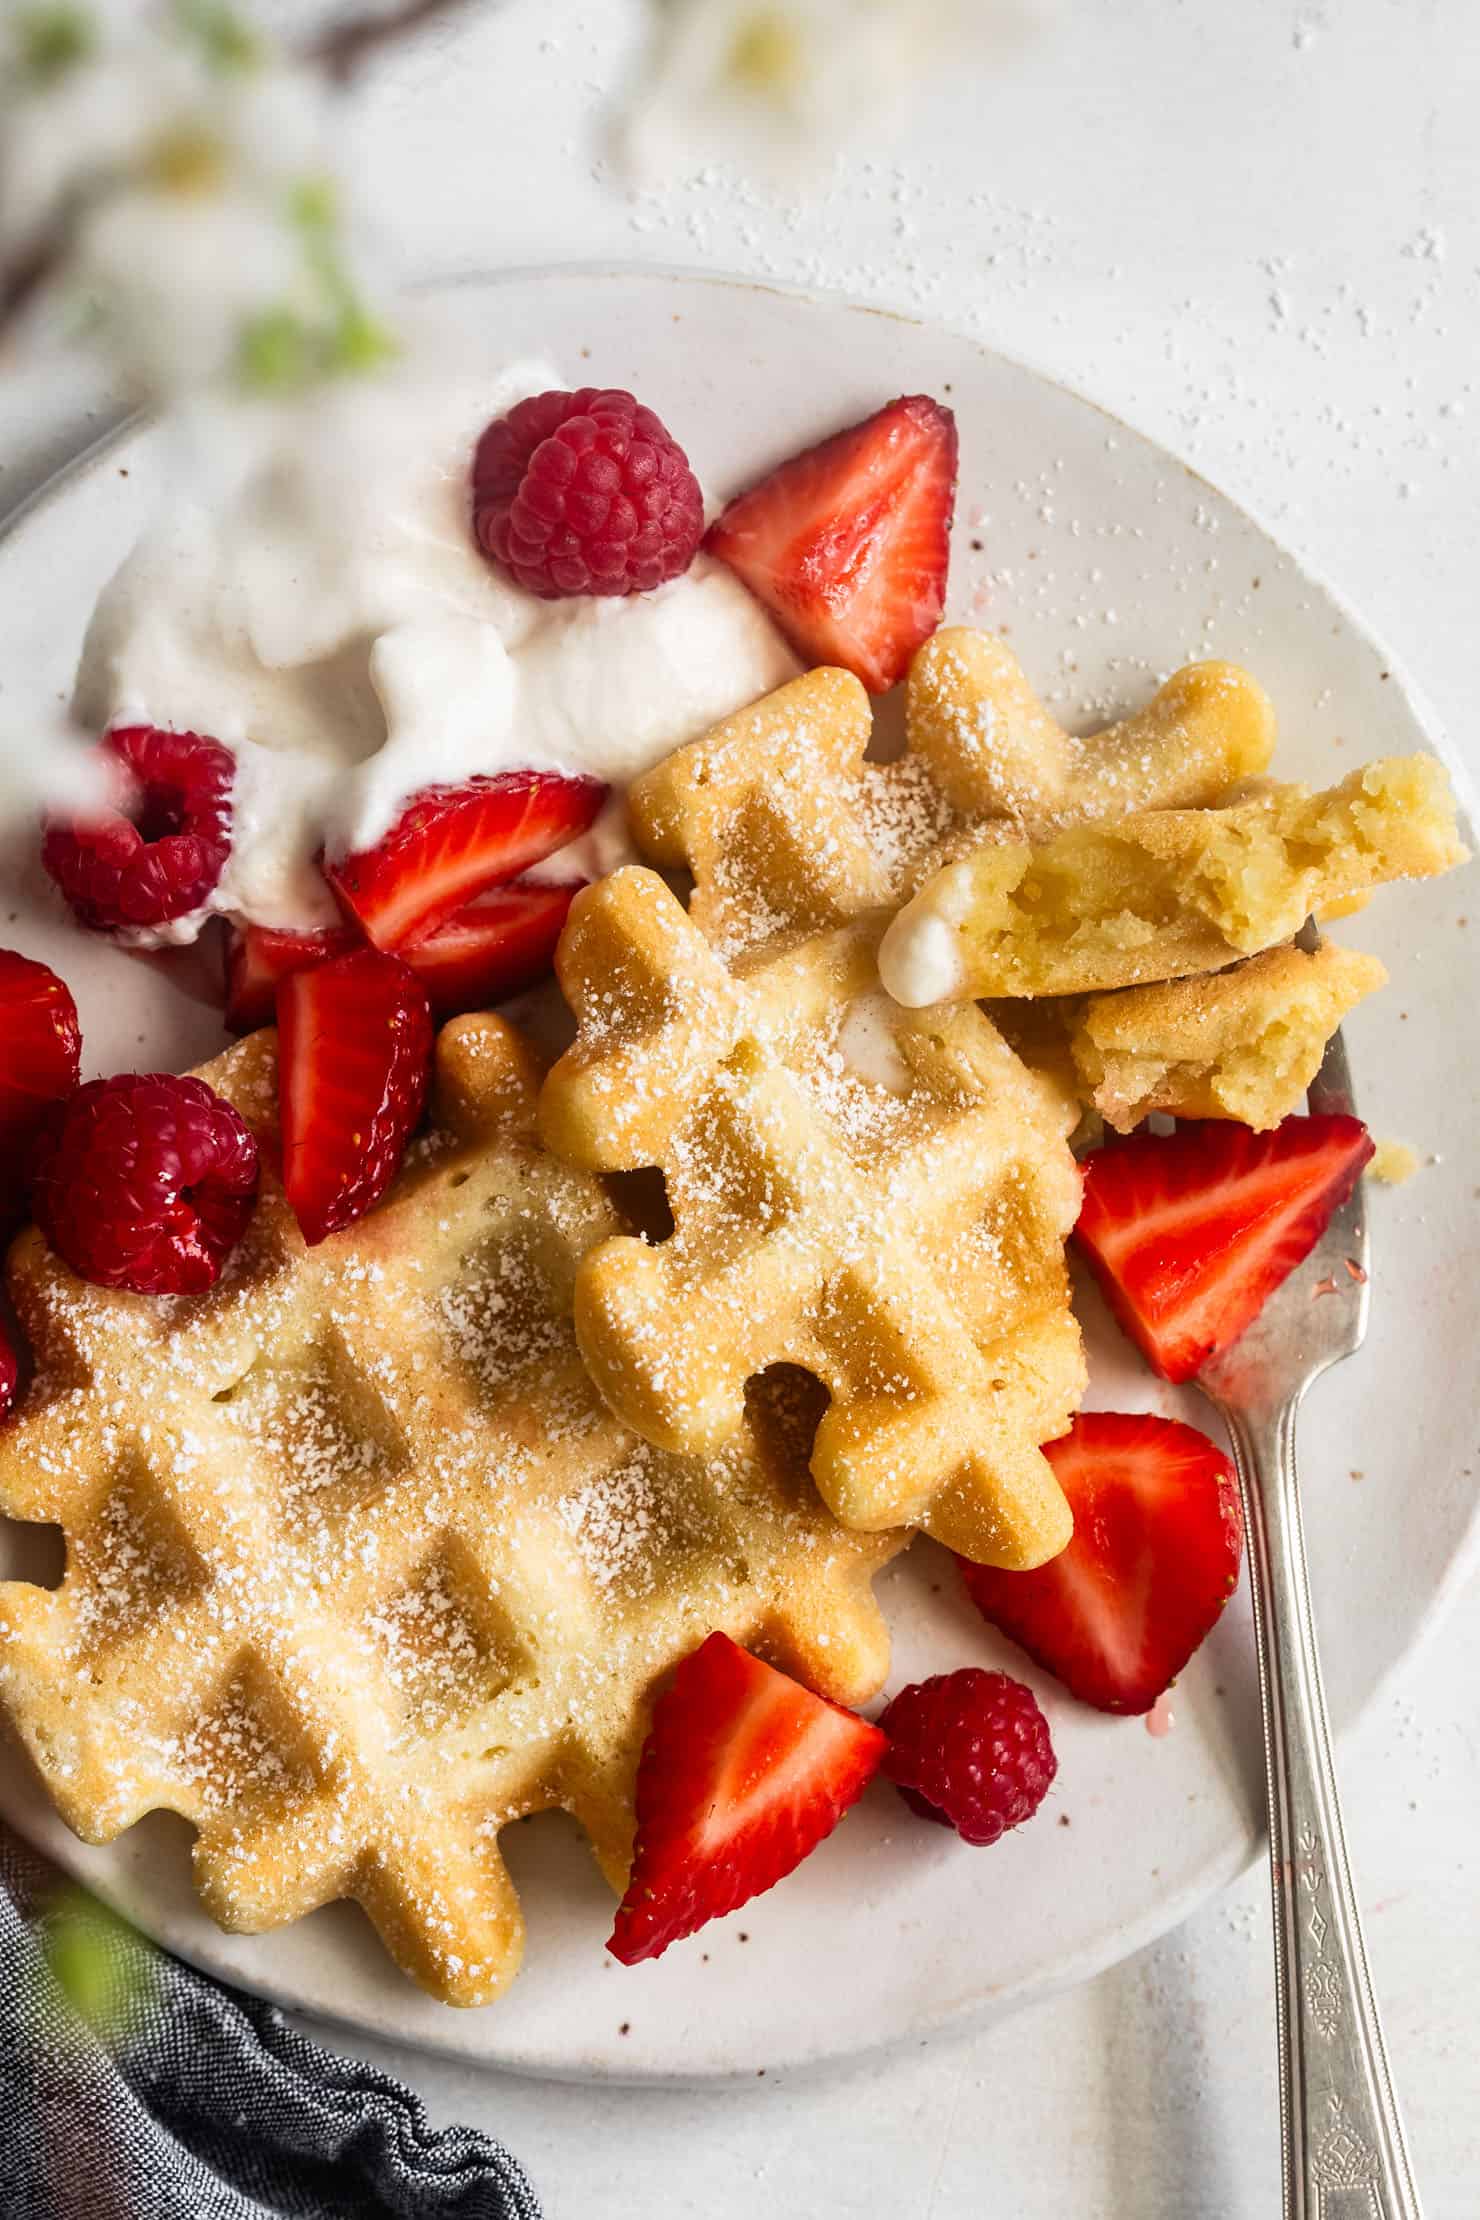
These sweet mochi waffles are crisp on the outside, with a flavorful, ultra-chewy center that gives regular waffles a glow-up. Swap in mochiko (aka sweet rice flour) as the flour, and these naturally gluten-free waffles come together in under 10 minutes. Make with dark brown sugar and coconut milk for a deep, caramel-y flavor, or keep it classic with granulated sugar and whole milk.
Mochi waffles are the default waffle in our house. Once you try them, it's hard to imagine ever making a plain waffle again. Depending on the mood, we alternate between savory cheesy mochi waffles and these sweet mochi waffles. Heck, we choose mochi pancakes over regular pancakes and mochi donuts over regular donuts, too! Mochi > all else.
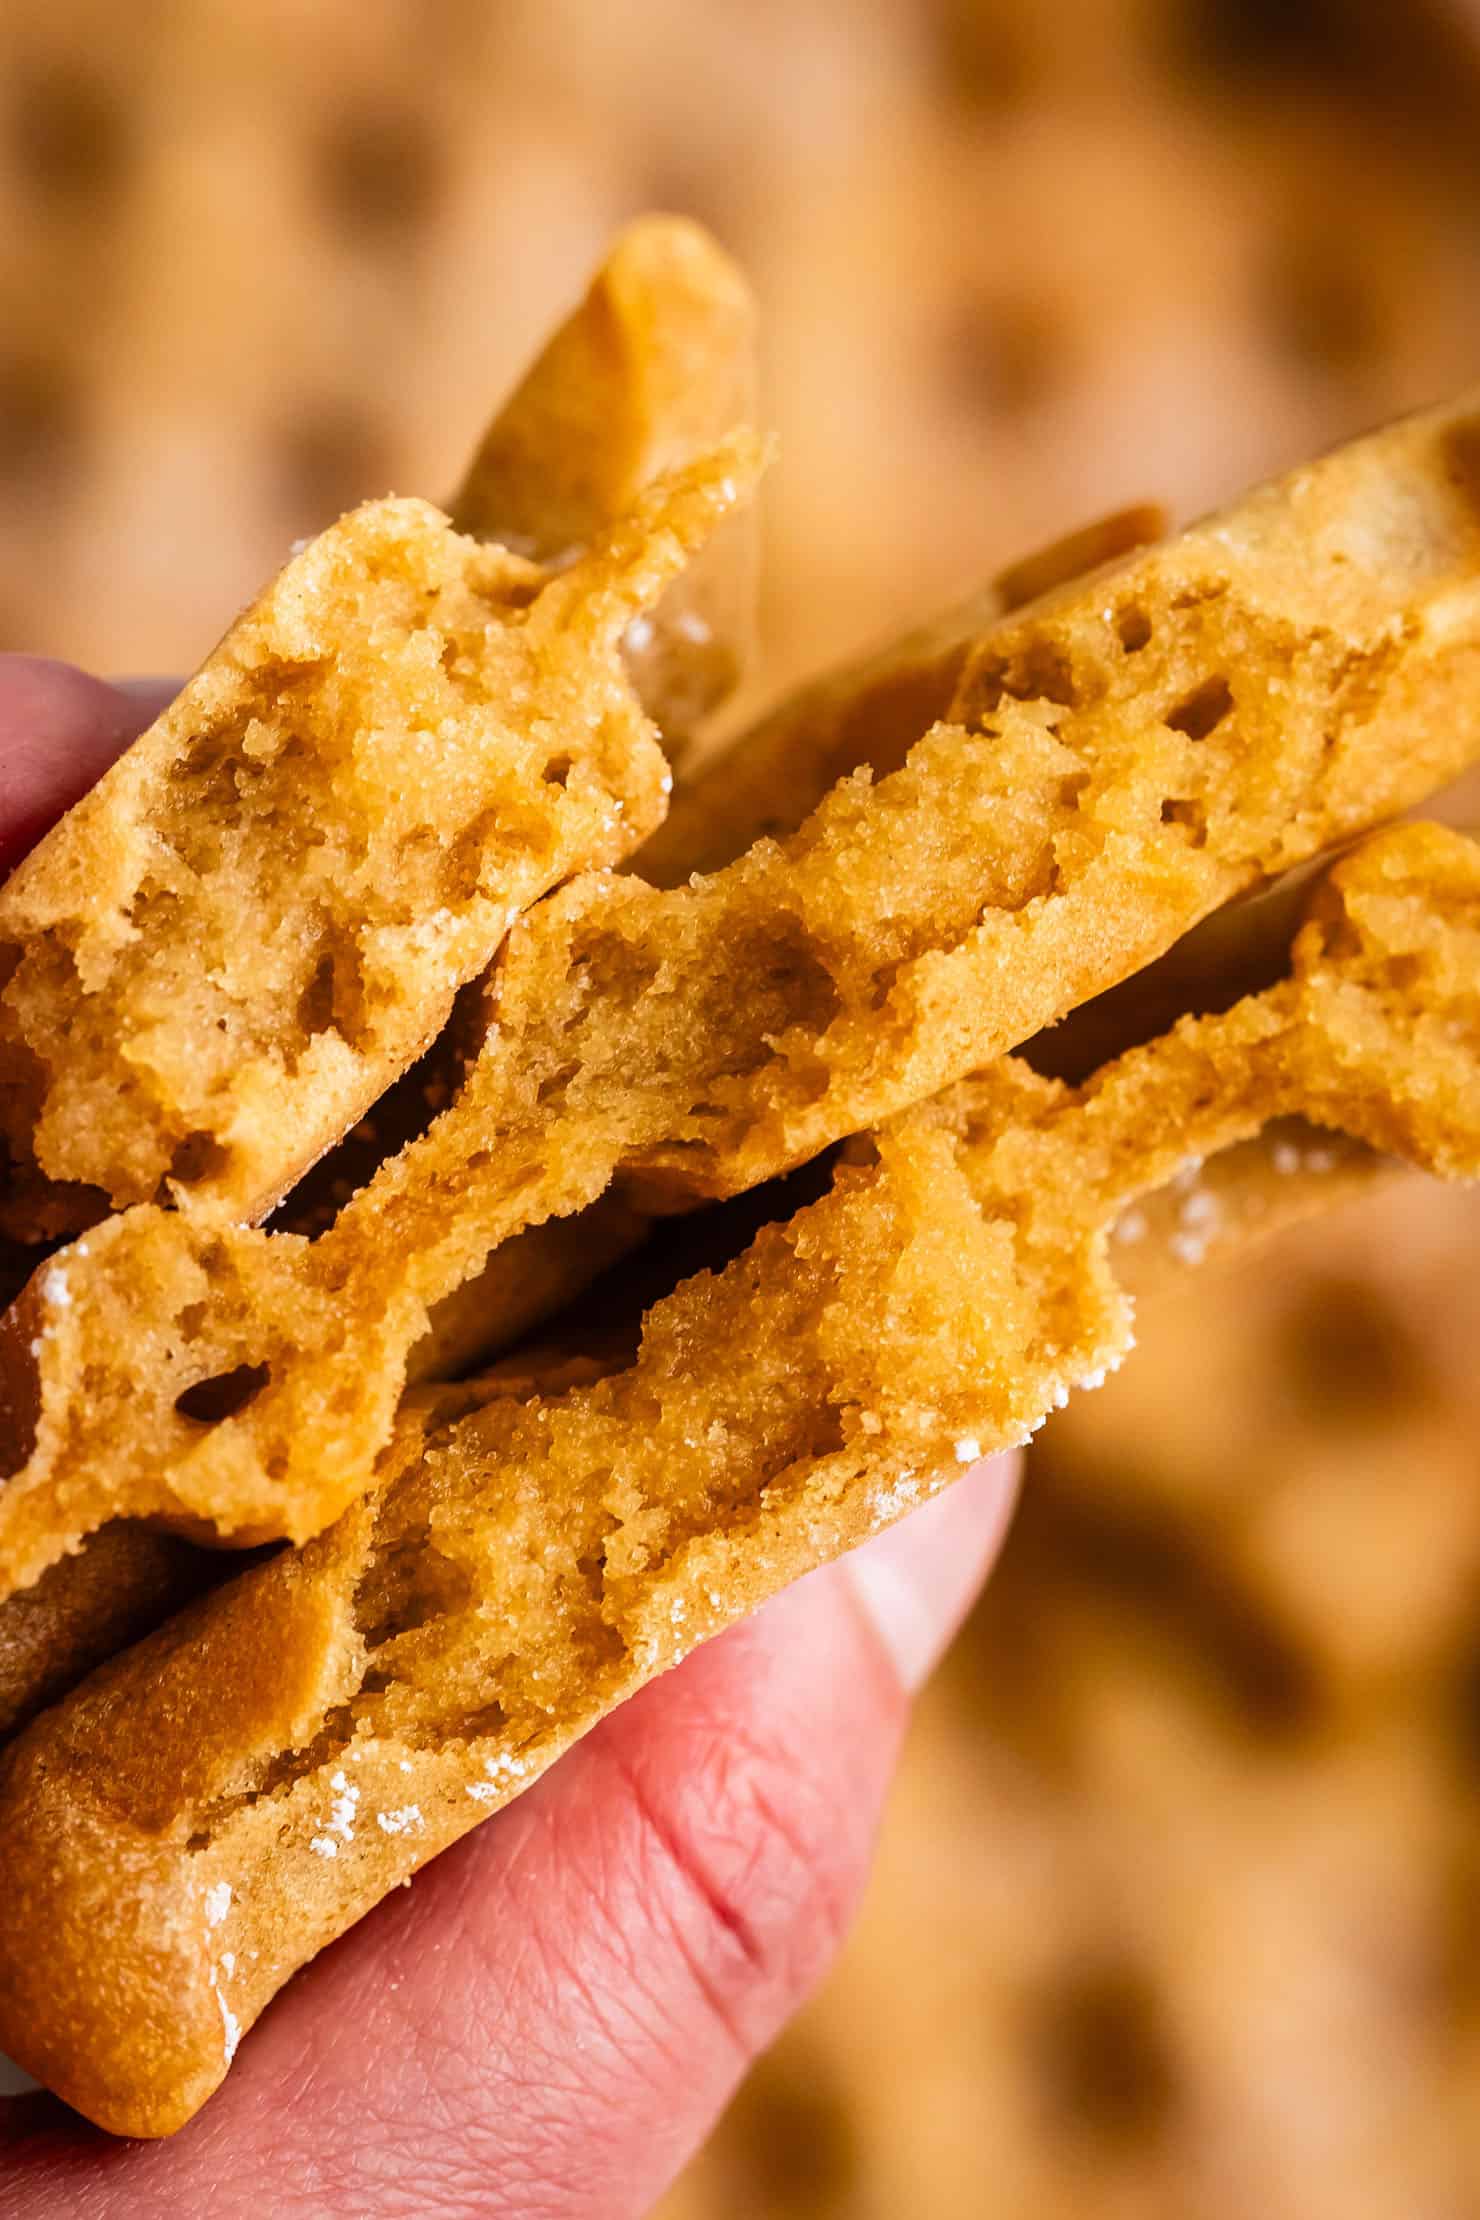
We're big into texture over here, and these easy mochi waffles check all the textural boxes. What makes them so special is the sweet rice flour (also known as Mochiko), giving them crisp outer edges and an ultra-chewy center that's almost stretchy. They're the most delicious cross between dense Hawaiian butter mochi and a light, crisp classic Belgian waffle!
I tested 10 variations on this recipe, adjusting the sweetness and flavor to give you flexibility. You can make them more dessert-forward with a rich molasses caramel flavor, or more classically waffle-y, ready for a range of toppings. Either way, these naturally gluten-free waffles come together in under 10 minutes.
You can make these just the way you want them
I tested this recipe ad nauseam with all-of-the-variations; here's how each of these options affects the flavor:
Sugar - For a flavorful waffle that stands on its own without any toppings, make the recipe as is, but if you're planning to serve them with lots of sweet toppings, you can cut the sugar down to just 75g.
- Granulated Sugar: Gives a more classic waffle flavor that is the perfect canvas for toppings.
- Dark Brown Sugar: Creates a waffle that's like eating a mochi cake muffin in waffle form, with hints of molasses and caramel. This is my favorite go-to way to make these waffles. Works with toppings, but flavorful enough to eat on its own!
Milk - You can use whole milk, a neutral non-dairy milk, or coconut milk!
- Whole Milk: Using whole milk - or even a neutral non-dairy milk like oat milk - creates a more classic waffle flavor. Think the flavor of a traditional waffle with the extra chewy texture of mochi.
- Coconut Milk: Coconut milk adds so much depth and dimension to these waffles that creates a waffle flavor more like traditional butter mochi! Think butter mochi in waffle form. This is my favorite choice for milk!
Recipe

Easy Chewy Mochi Waffles
Equipment
- 1 Waffle Iron
Ingredients
- 400 g (2½ cups) Mochiko sweet rice flour, also called "glutinous rice flour", mochiko is distinctly different from brown rice flour or white rice flour
- 360 g (1½ cups) canned coconut milk, or whole milk
- 56 g (4 tablespoons) unsalted butter, melted (see below for dairy-free version)
- ½ teaspoon kosher salt
- 125 g (10 tablespoons) dark brown sugar , or granulated sugar (see note)
- 2 large eggs, room temp
- 1 tablespoon baking powder
- 2 teaspoons pure vanilla extract
INSTRUCTIONS
- In a medium bowl, whisk together dry ingredients: mochiko, sugar (dark brown or granulated), baking powder, and salt.
- In a measuring cup, whisk the eggs into the milk (coconut milk or regular), then pour into the dry ingredients, followed by the melted butter. Whisk until smooth. Let rest while you preheat your waffle iron.
- Preheat oven to 200°F and place a wire rack set over a baking sheet inside. You'll use this to keep waffles warm while you cook the rest.
- Preheat your waffle iron over medium-high heat. If using a stovetop waffle iron, heat both sides over medium heat for at least 3 minutes. Use an ice cream scoop or a measuring cup to scoop scant ¼ cup batter into each quarter of your waffle iron, or ¾ cup for one single larger waffle.
- Cook the waffles over medium-high heat until the steam stops, and both sides are lightly golden brown and crisp (see note about getting the crisp outside). You should be able to open the waffle iron easily without the waffles sticking. If using a stovetop waffle iron, cook on the first side for 60 seconds. Flip the waffle iron and cook for another 60-90 seconds. Gently open the waffle iron to check the waffle and, if needed, continue cooking until both sides are crispy and golden brown. (Every stove and waffle iron is slightly different, but mine is ready after 90 seconds on both sides). Transfer to the wire rack in the oven and repeat with the remaining batter. If needed, use a wooden chopstick to help you release the waffles from the waffle iron onto a wire rack.
- Serve warm with your favorite toppings or sides.
Video
Notes
Crispy Waffles:
The key to the textural contrast is to crisp up the outside without overcooking the inside. To get the crispiest mochi waffles, use a hot waffle iron and cook until the steam subsides.. inside will cook up more cakelike. (Still delicious, just less textural contrast!). If your waffle iron isn't hot enough, the outside will steam before getting crispy. If you cook longer, it'll eventually get crispy, but the inside will cook up more cakelike. (Still delicious, just less textural contrast!). Don't fear: if your waffle doesn't come out as crispy as you want - either because it sat out for a while, was kept as leftovers, or you didn't cook it hot enough - you can always pop it in the toaster for a minute!Dairy-Free
For dairy-free mochi waffles, use coconut milk or another non-dairy milk, such as oat milk and plant butter.Sugar
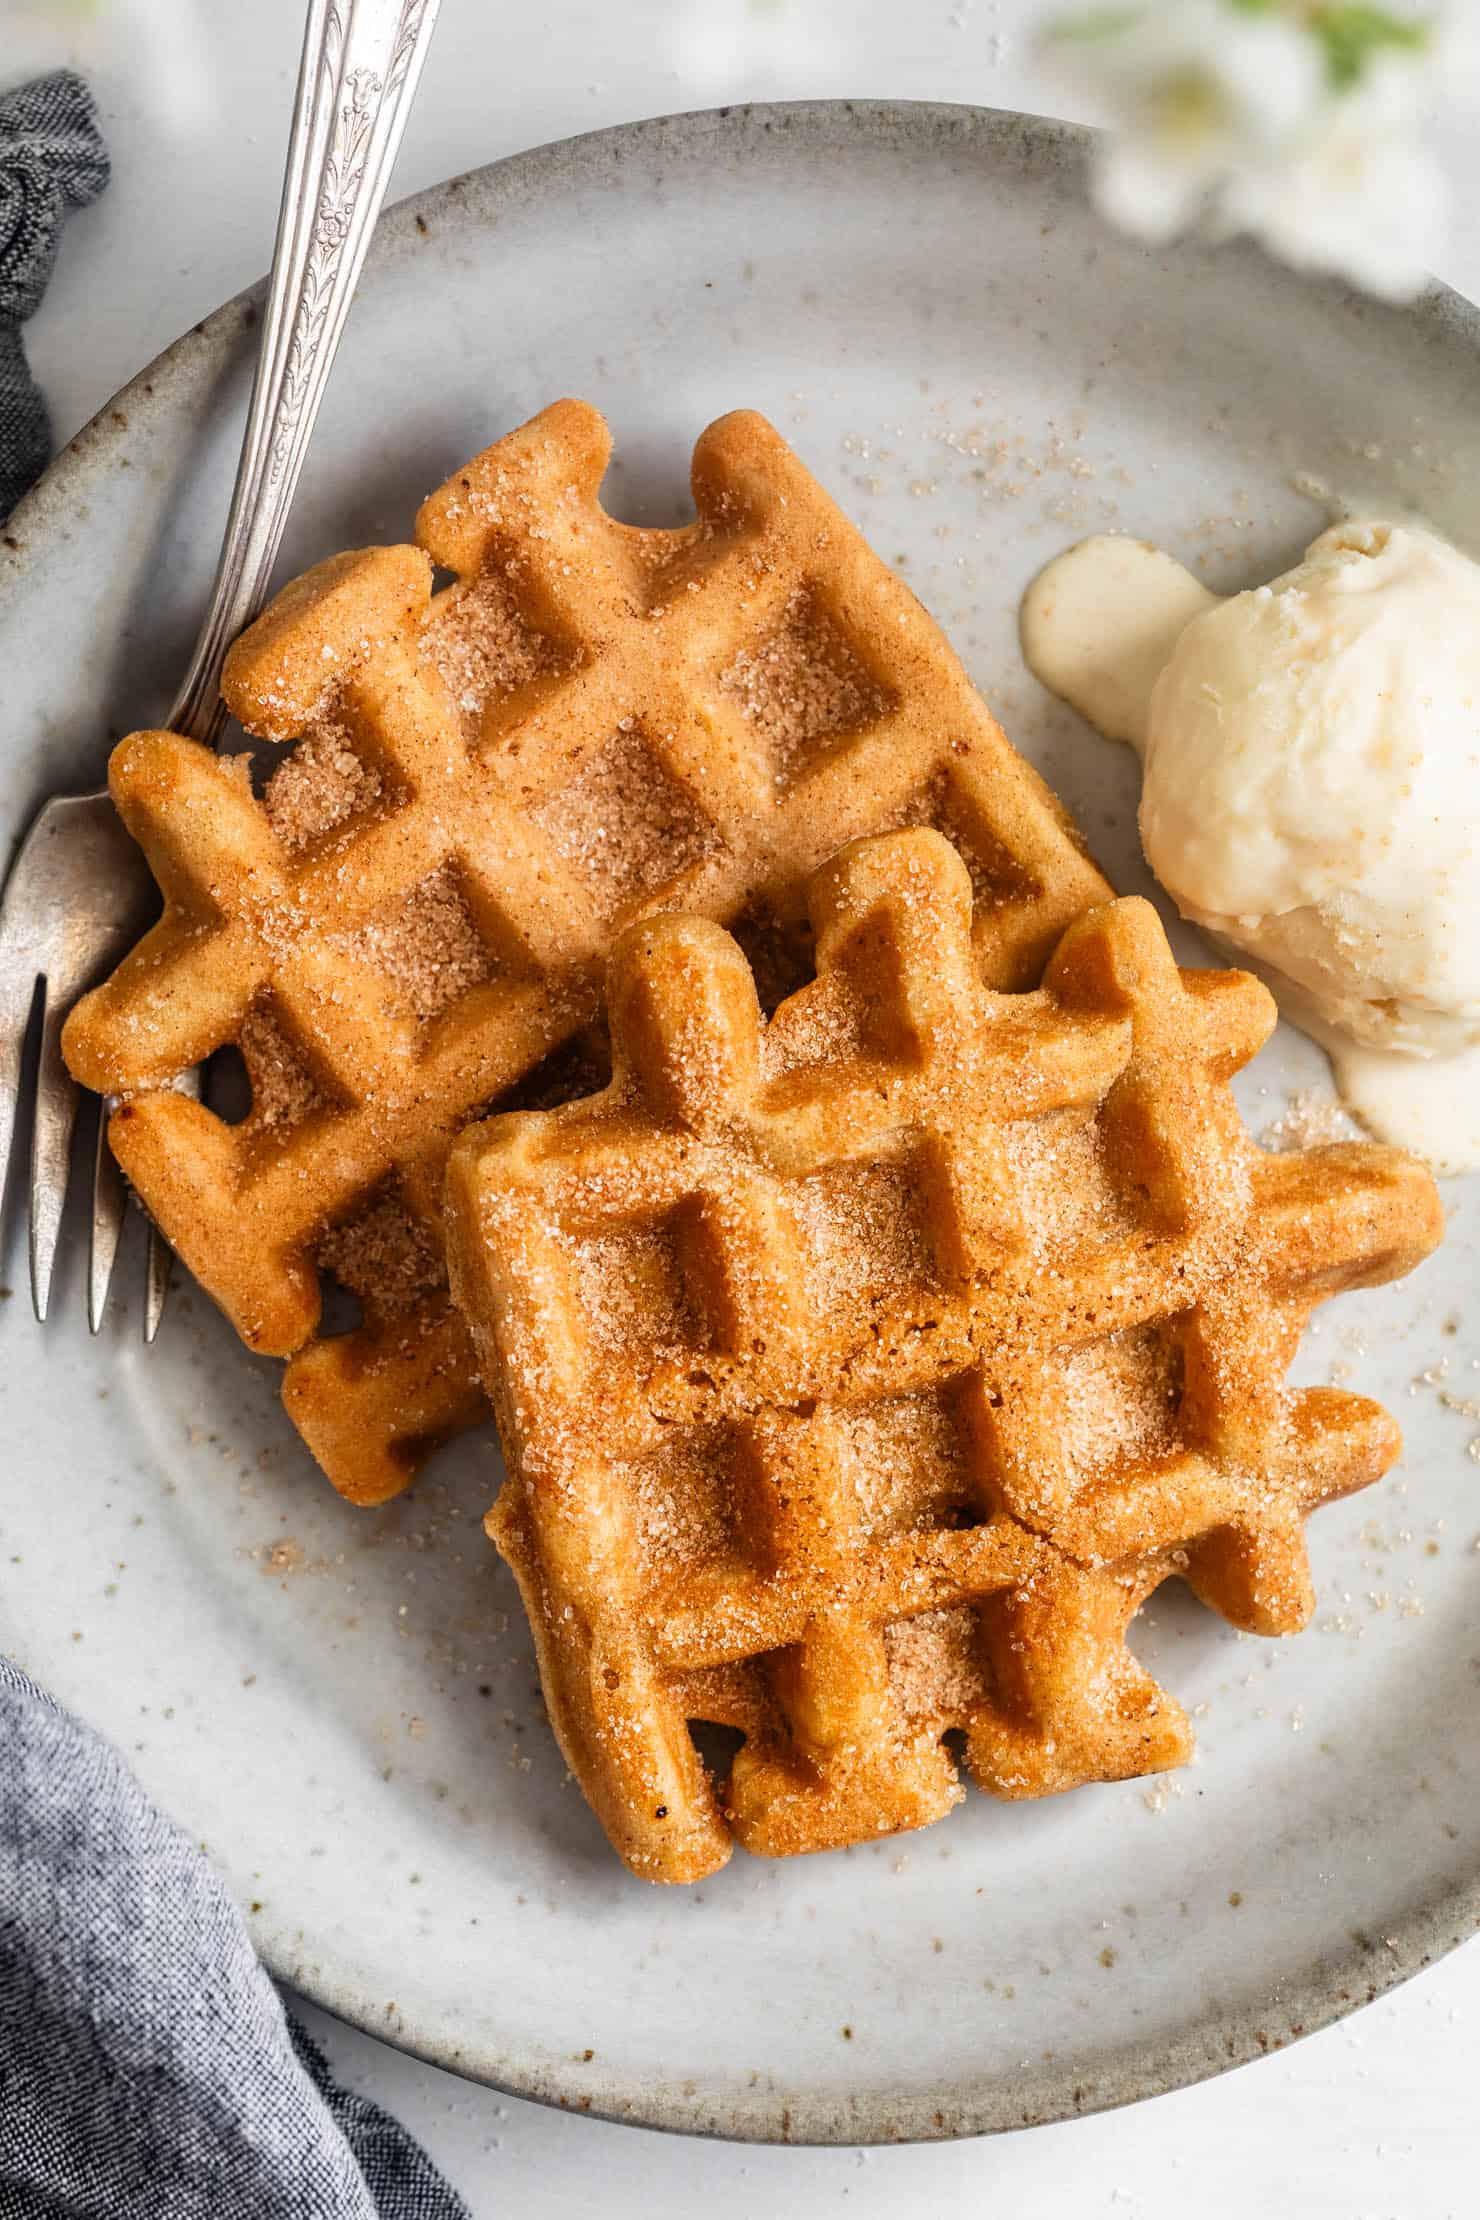
As written, the recipe produces a flavorful waffle that's perfect on its own without toppings, or as a dessert with ice cream. If serving for breakfast and you want less sweet waffles, you can use as little as 75g (6 tablespoons). See above for the difference between dark brown sugar and granulated sugar.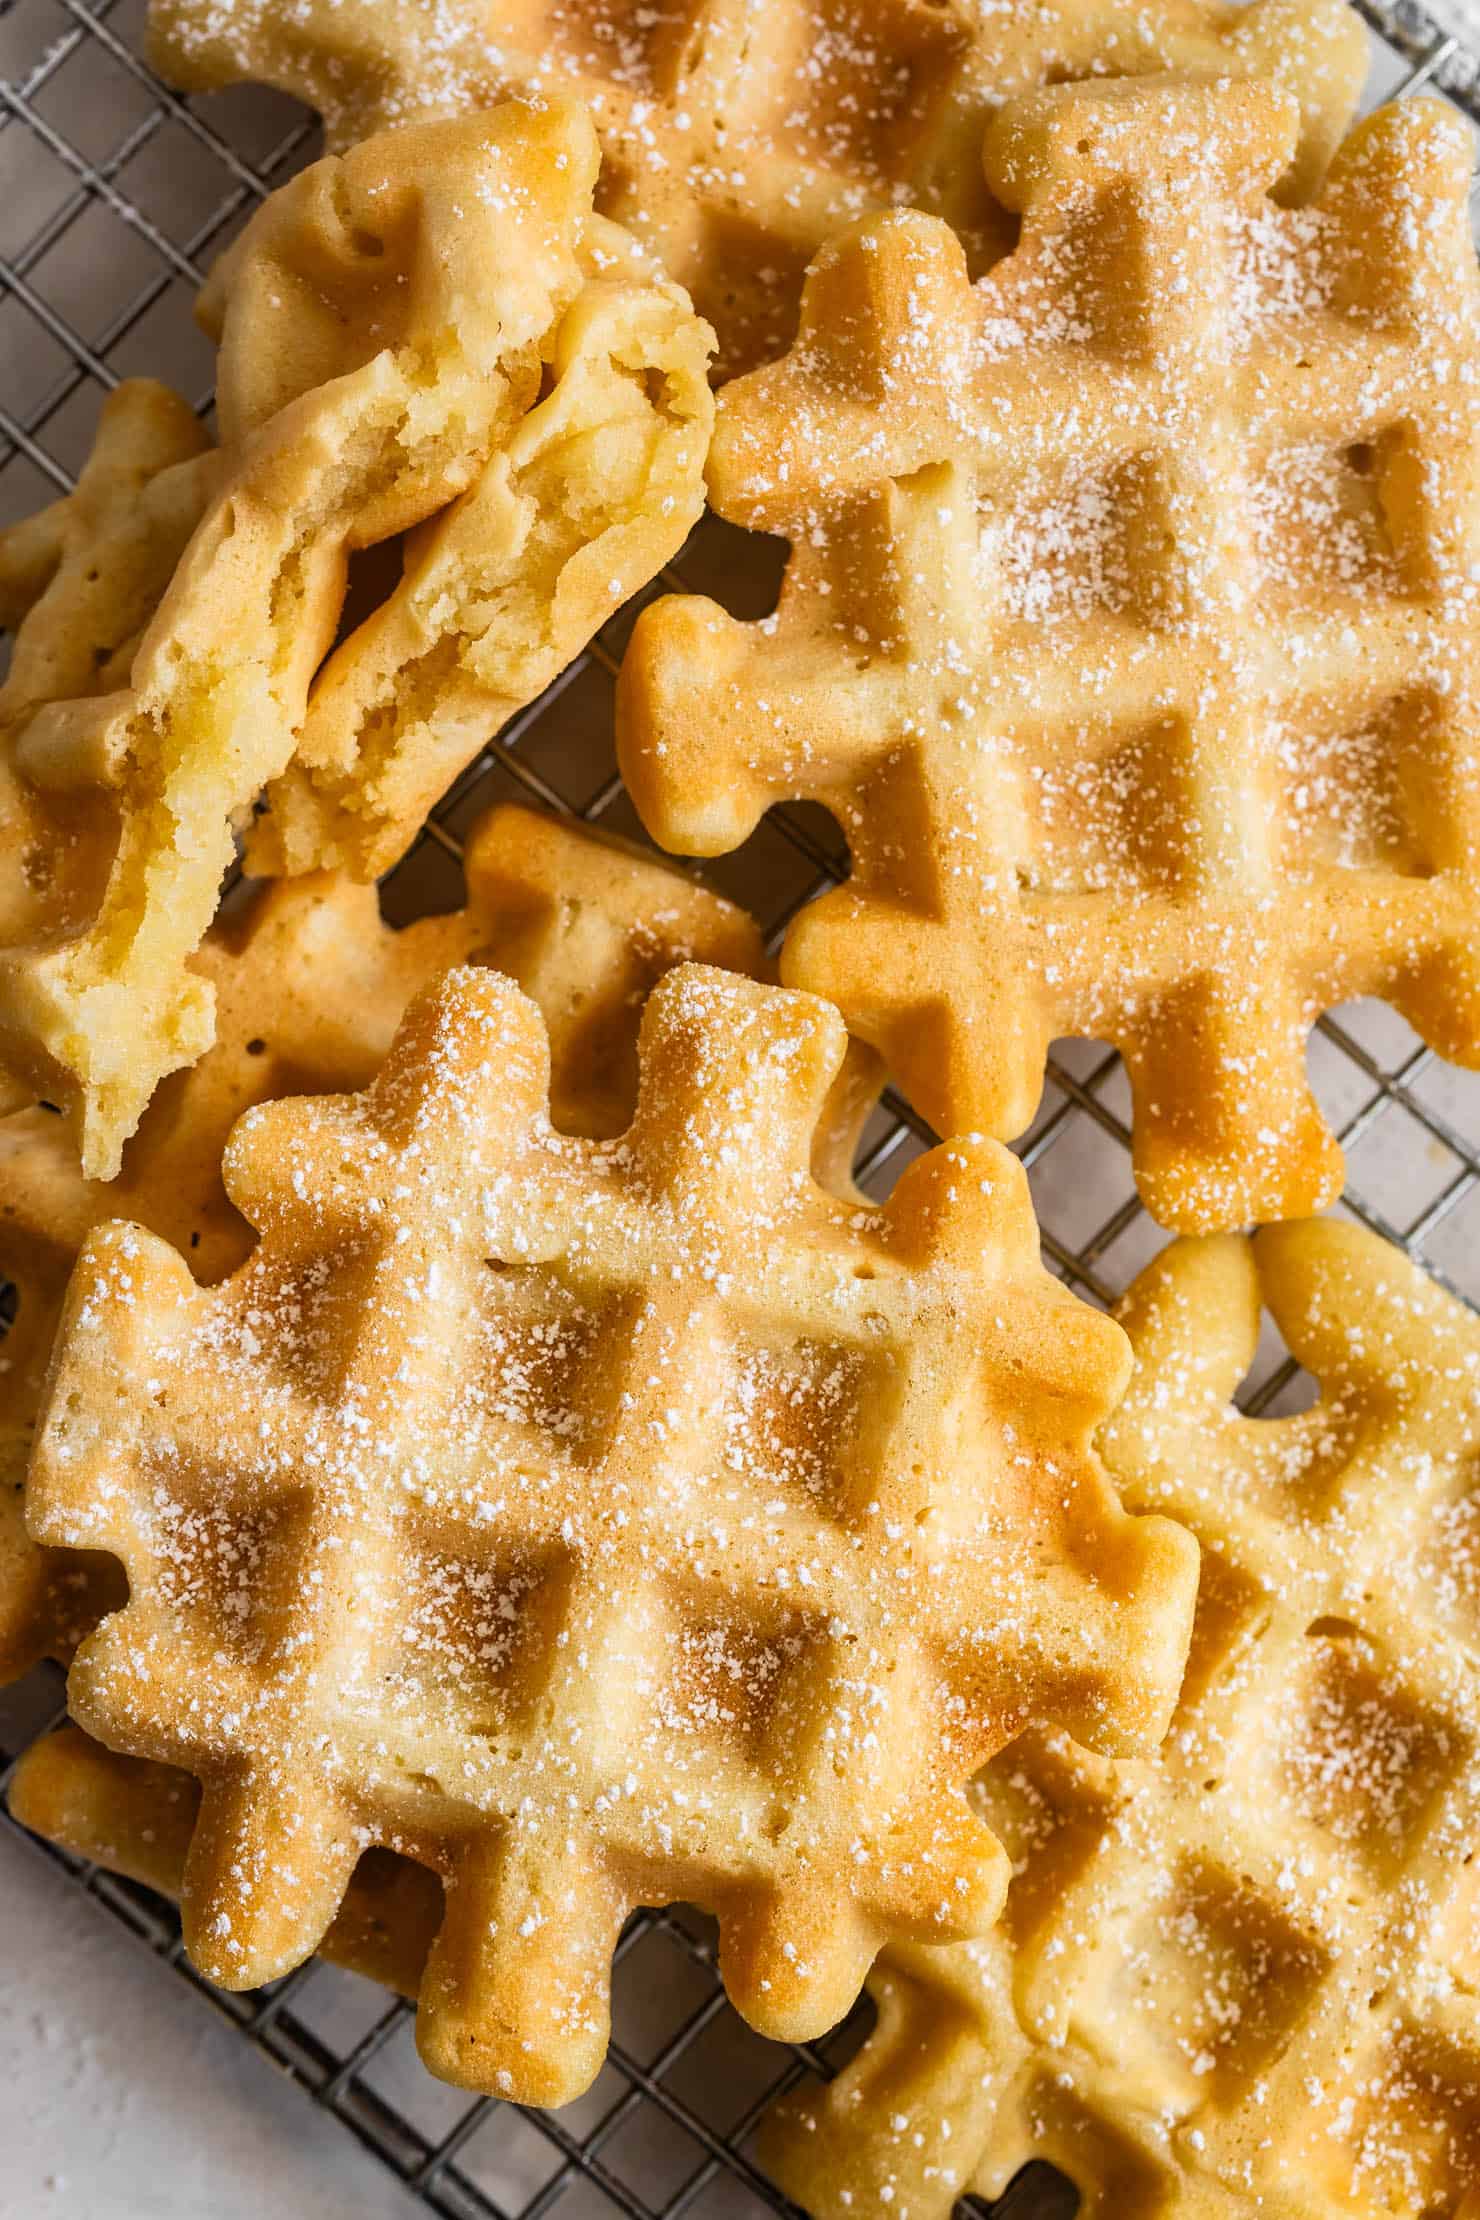
How to Make The Chewiest Mochi Waffles
Mixed up in just a measuring cup and a bowl, these sweet mochi waffles are a textural dream and take about ten minutes!

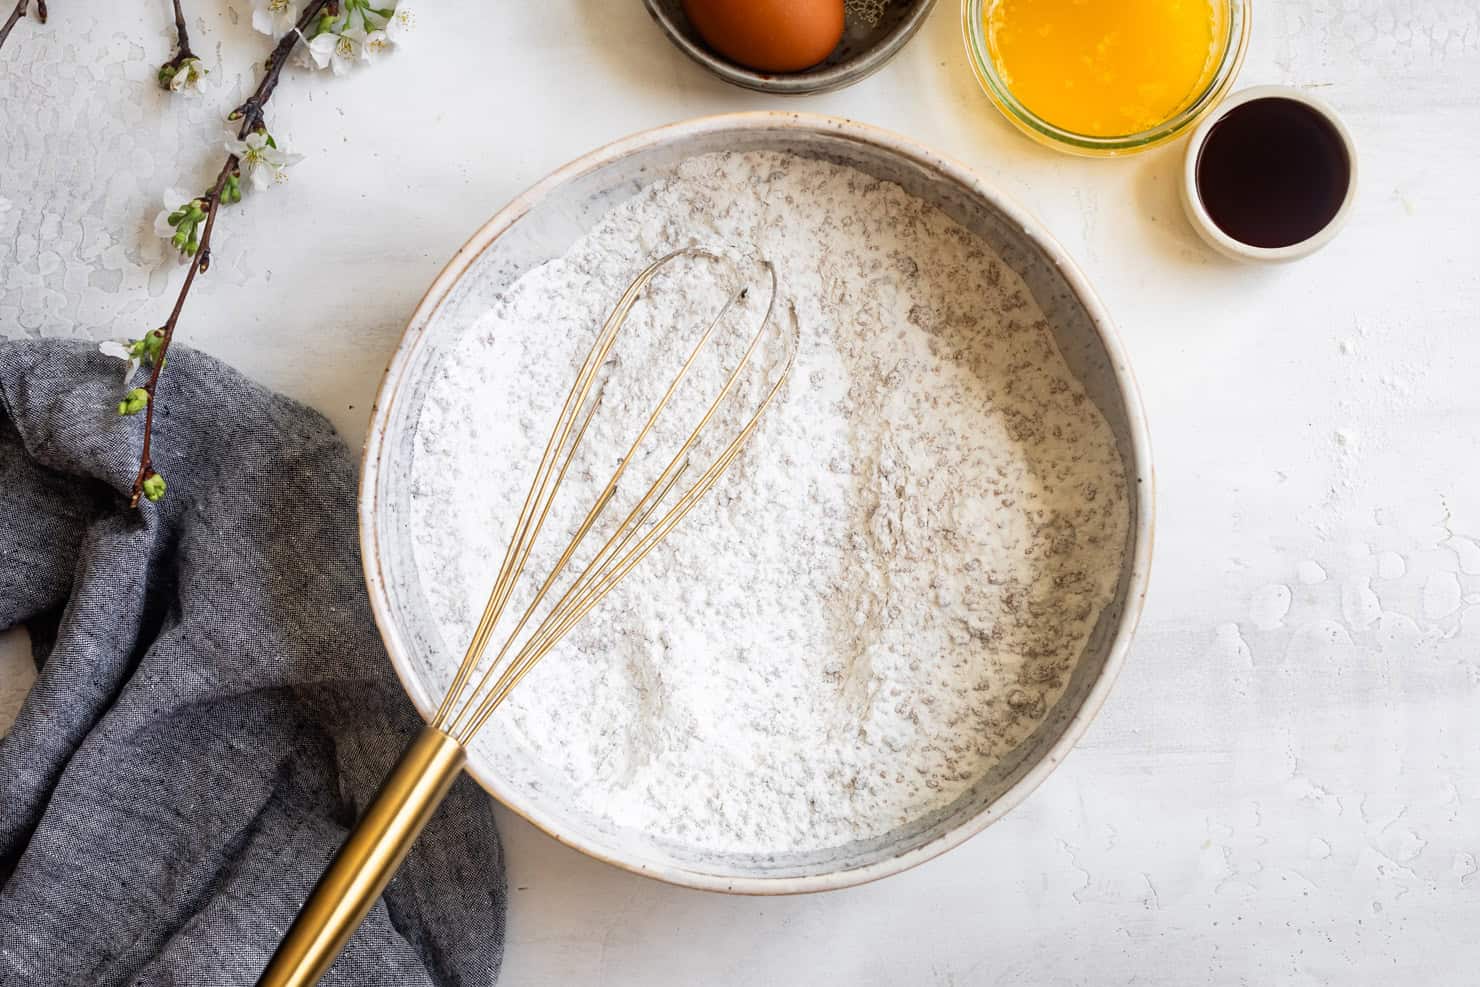
Whisk the dry ingredients together.
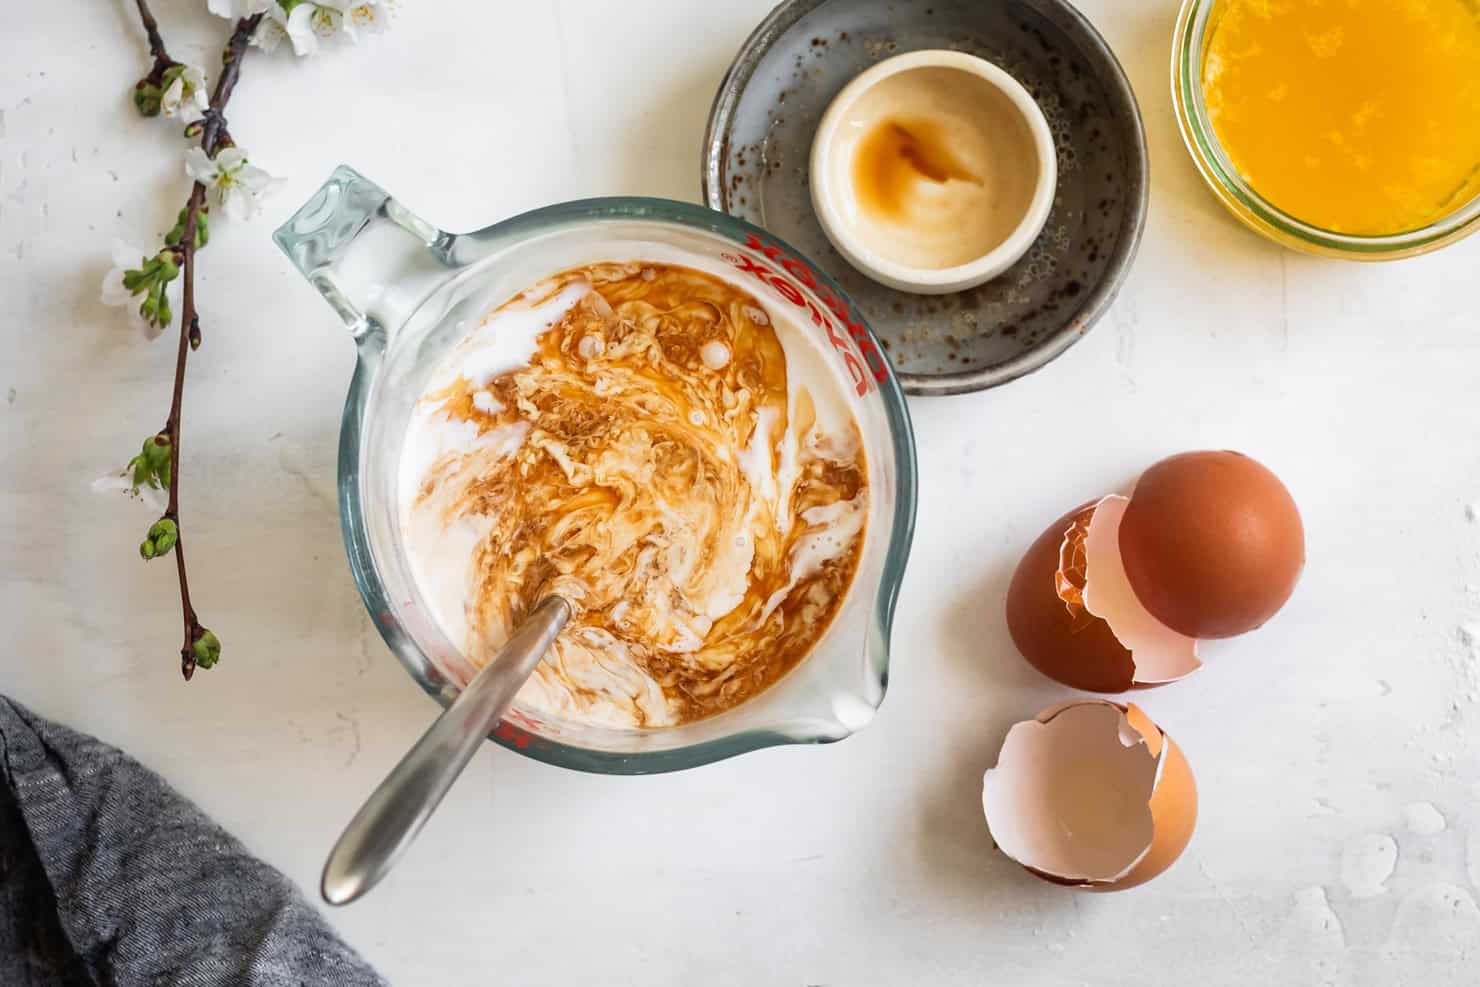
Whisk together the milk, egg, and vanilla until smooth.
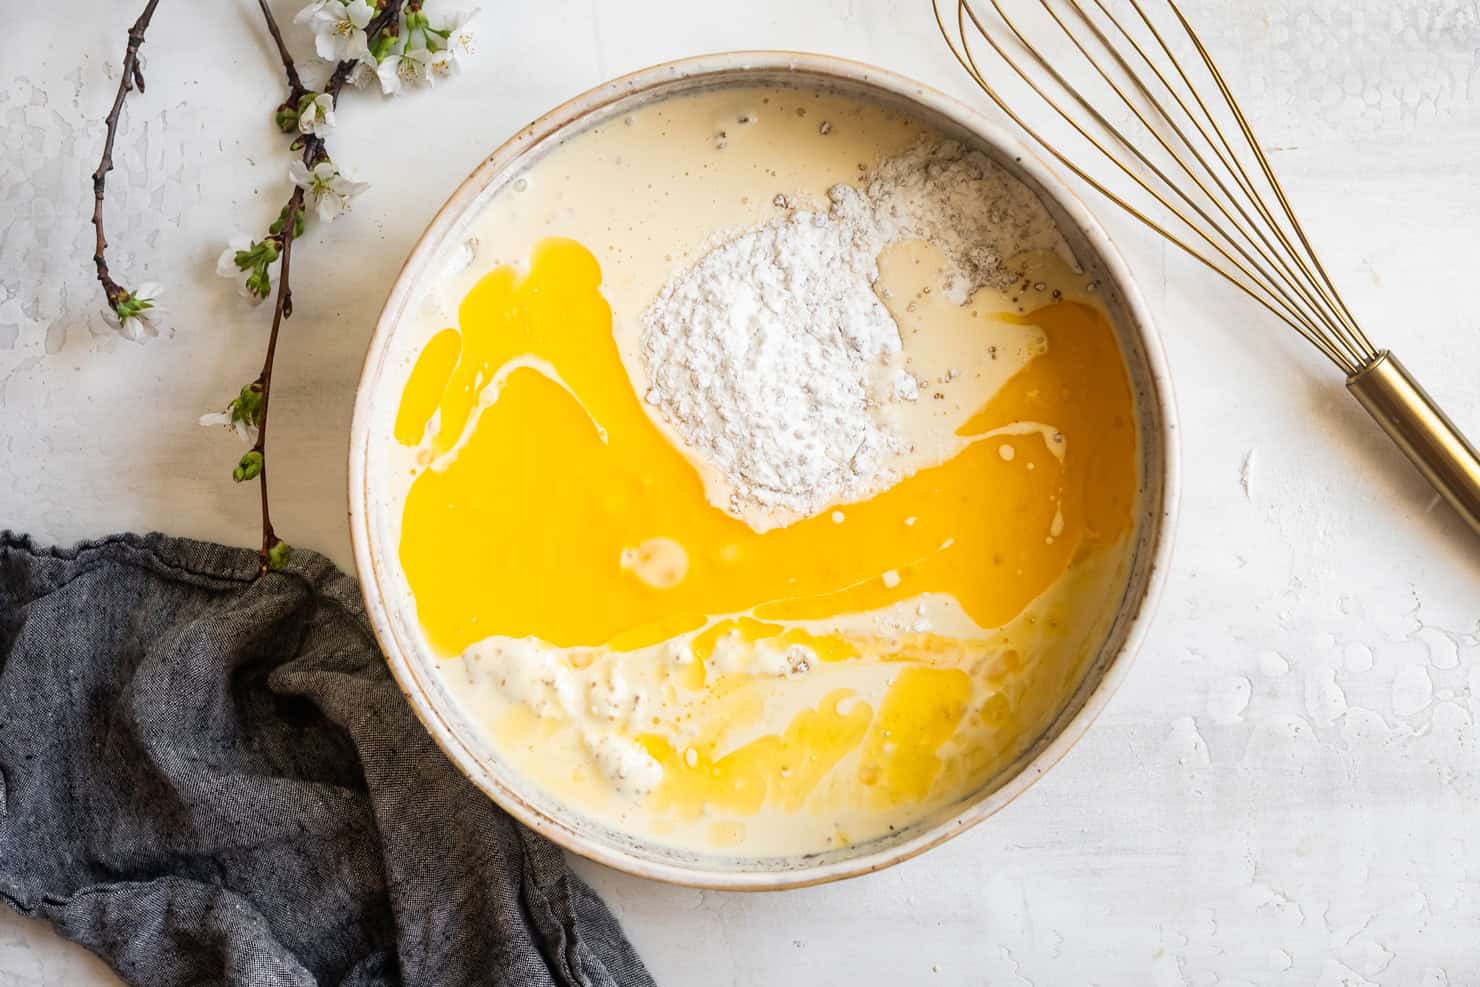
Pour wet ingredients, including melted butter, into the dry ingredients.
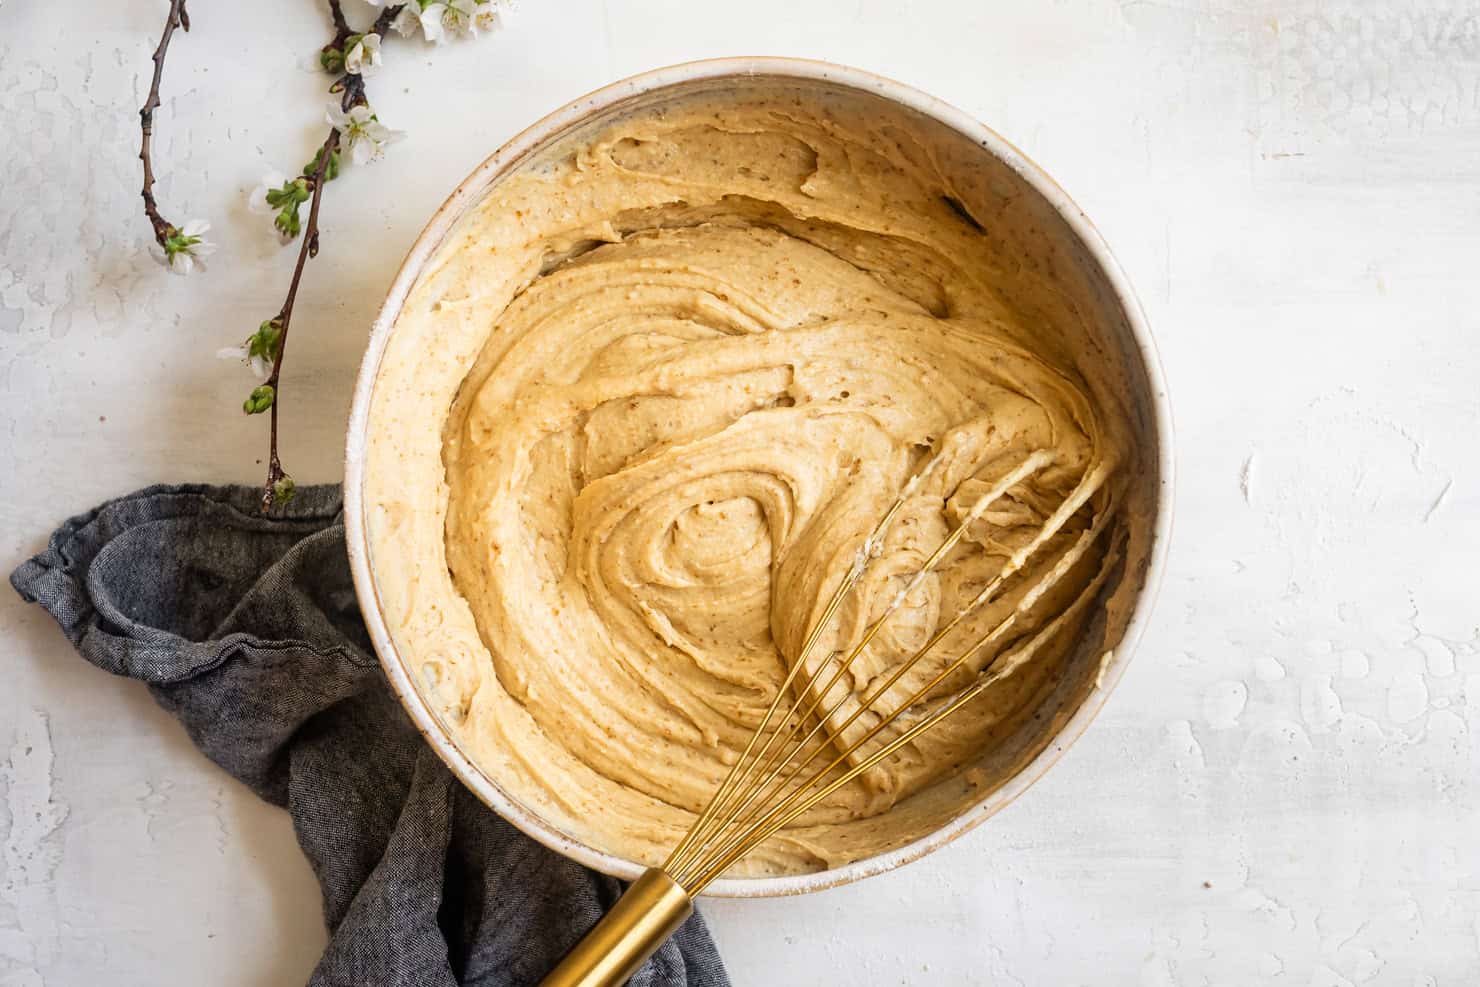
Whisk batter until smooth.
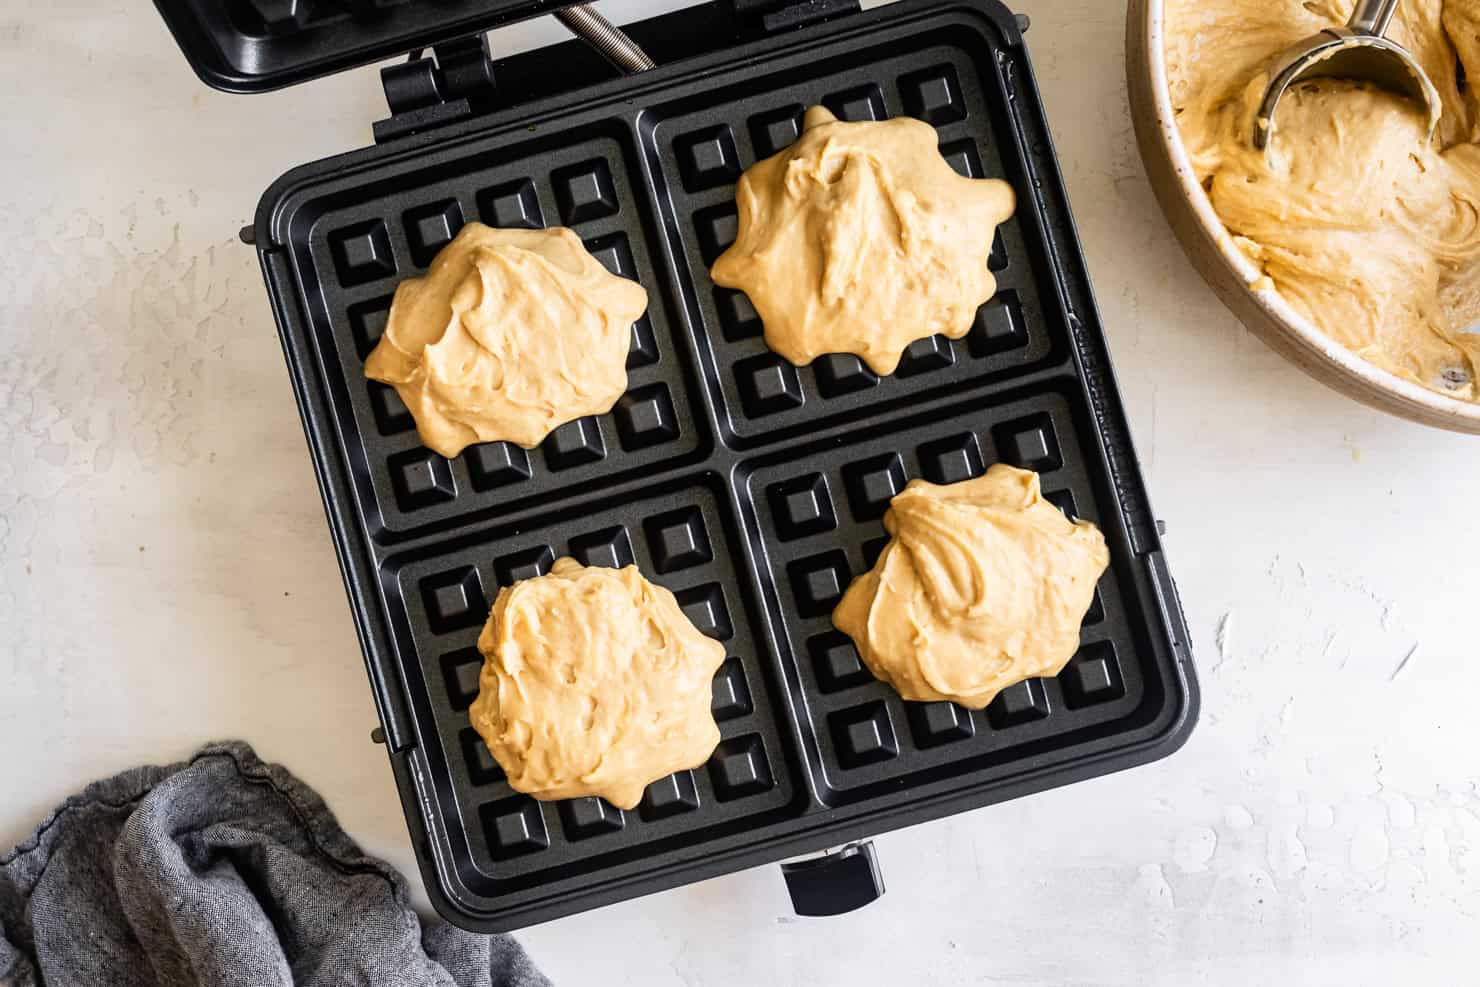
Pour scant ¼ cup batter into a hot waffle iron...

...and cook until the steam subsides and waffles are golden brown and crisp.

Mochi Waffle Serving Variations
Starting with this mochi waffle base, you can customize the waffles to your liking. Here are a few ways we gussy them up.
Classic Waffle Toppings - You can serve mochi waffles just as you would traditional waffles. Serve with whipped cream and berries or maple syrup and butter!
Cinnamon-Sugar Mochi Waffles - As soon as they come out of the waffle iron, lightly brush them with butter and nestle them in a bowlful of ½ cup granulated sugar mixed with ¾ teaspoon ground cinnamon to coat.
Funfetti Mochi Waffles - Add ¼ - ½ cup sprinkles to the batter because sprinkles make everything happier.
Chocolate Chip Mochi Waffles - Add ¼ - ½ cup chocolate chips and cook as normal.


hoyt -
These are incredibly delicious!...Like the best waffle you ever had for what I find guests cannot quite define. I used coconut milk & brown sugar. Would cut the brown sugar by more than 1/2 next time because people still like to add syrup. Also, used a bit more coconut milk as the dough was a bit stiff (maybe because sweet rice flour is dense and hard to measure with a "light hand." This is our go-to waffle now...so fast to make, and so incredibly crispy on the outside and a bit chewy on the inside:)