
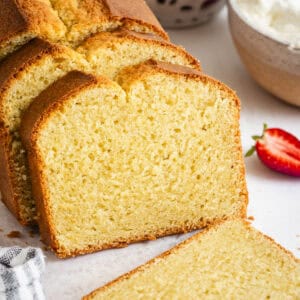
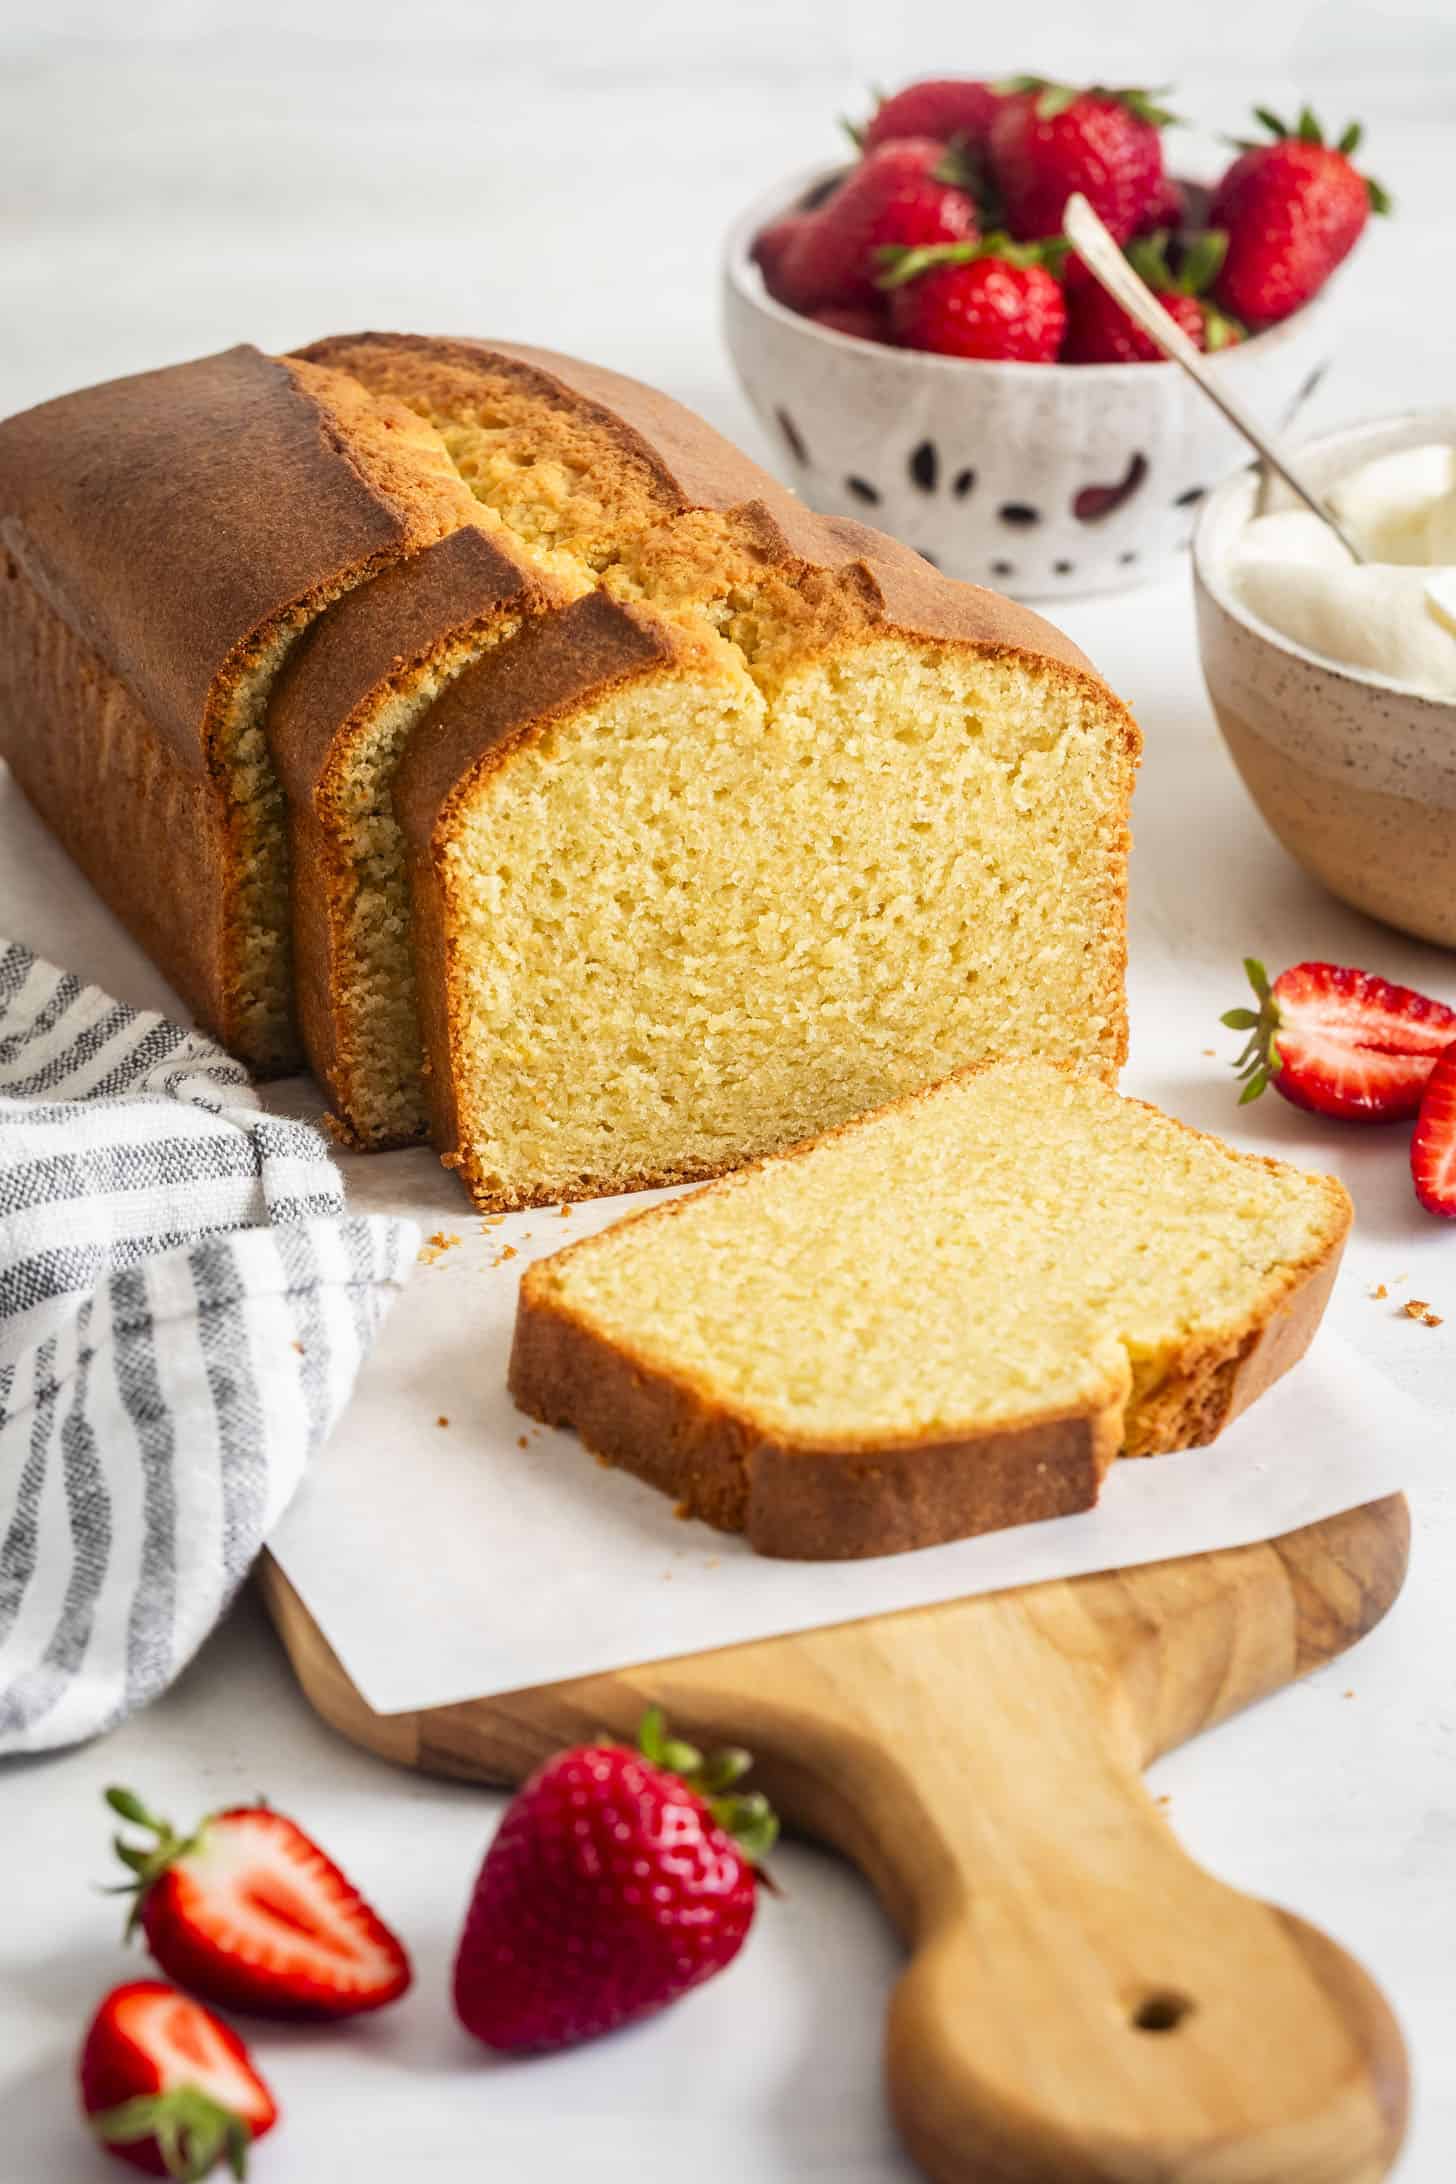
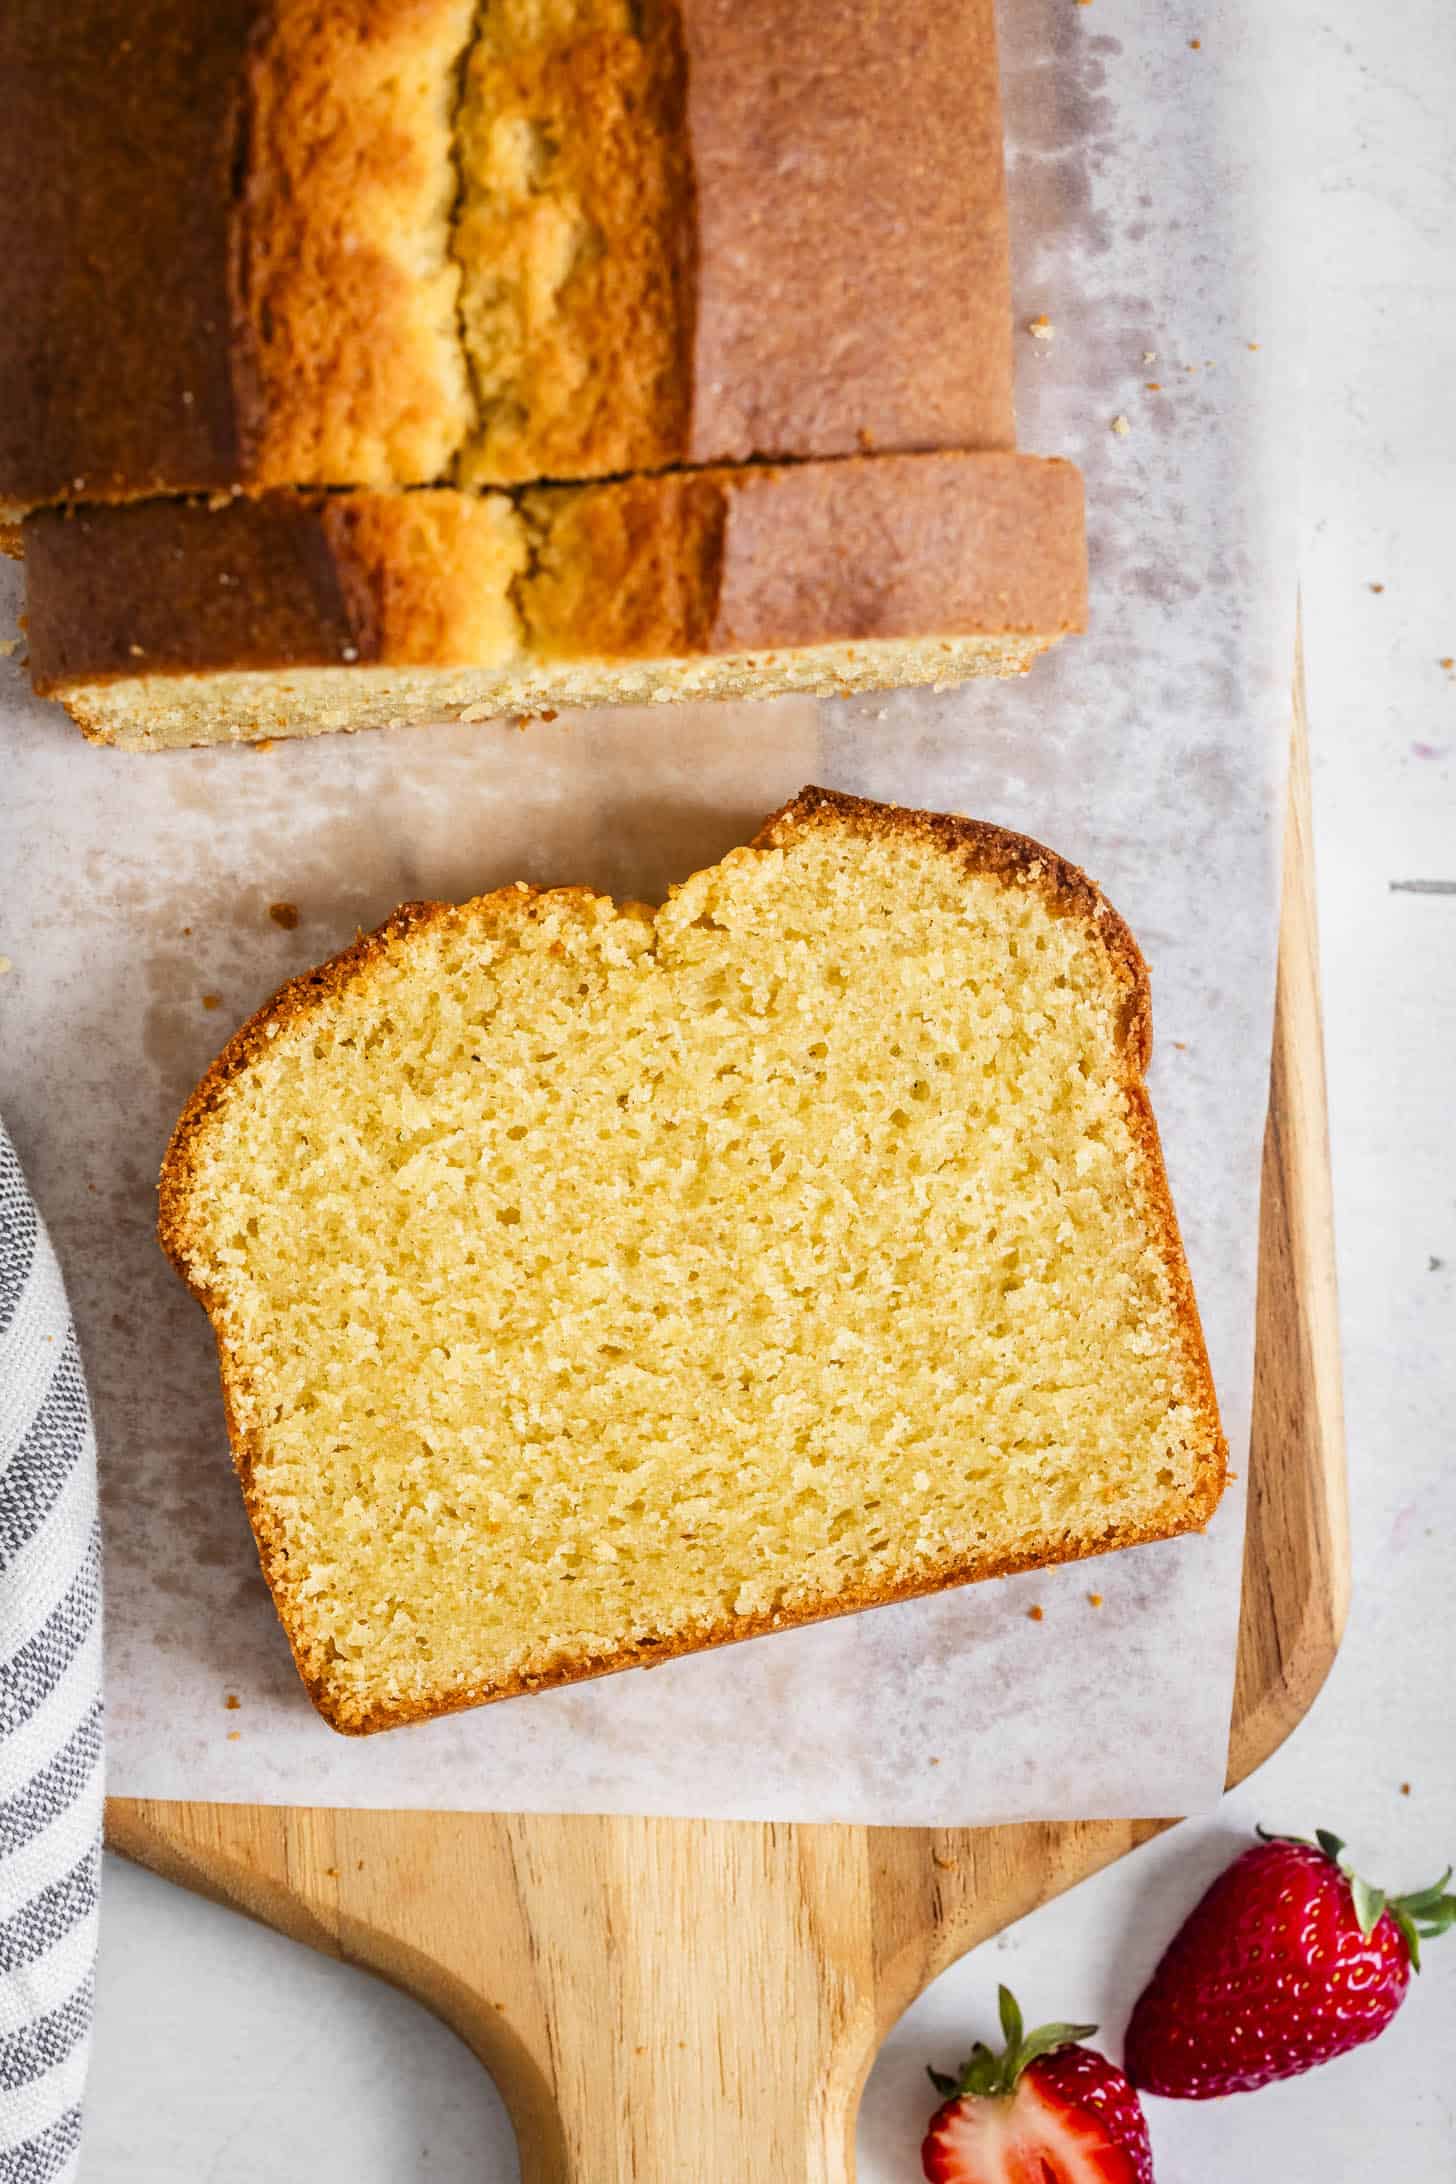
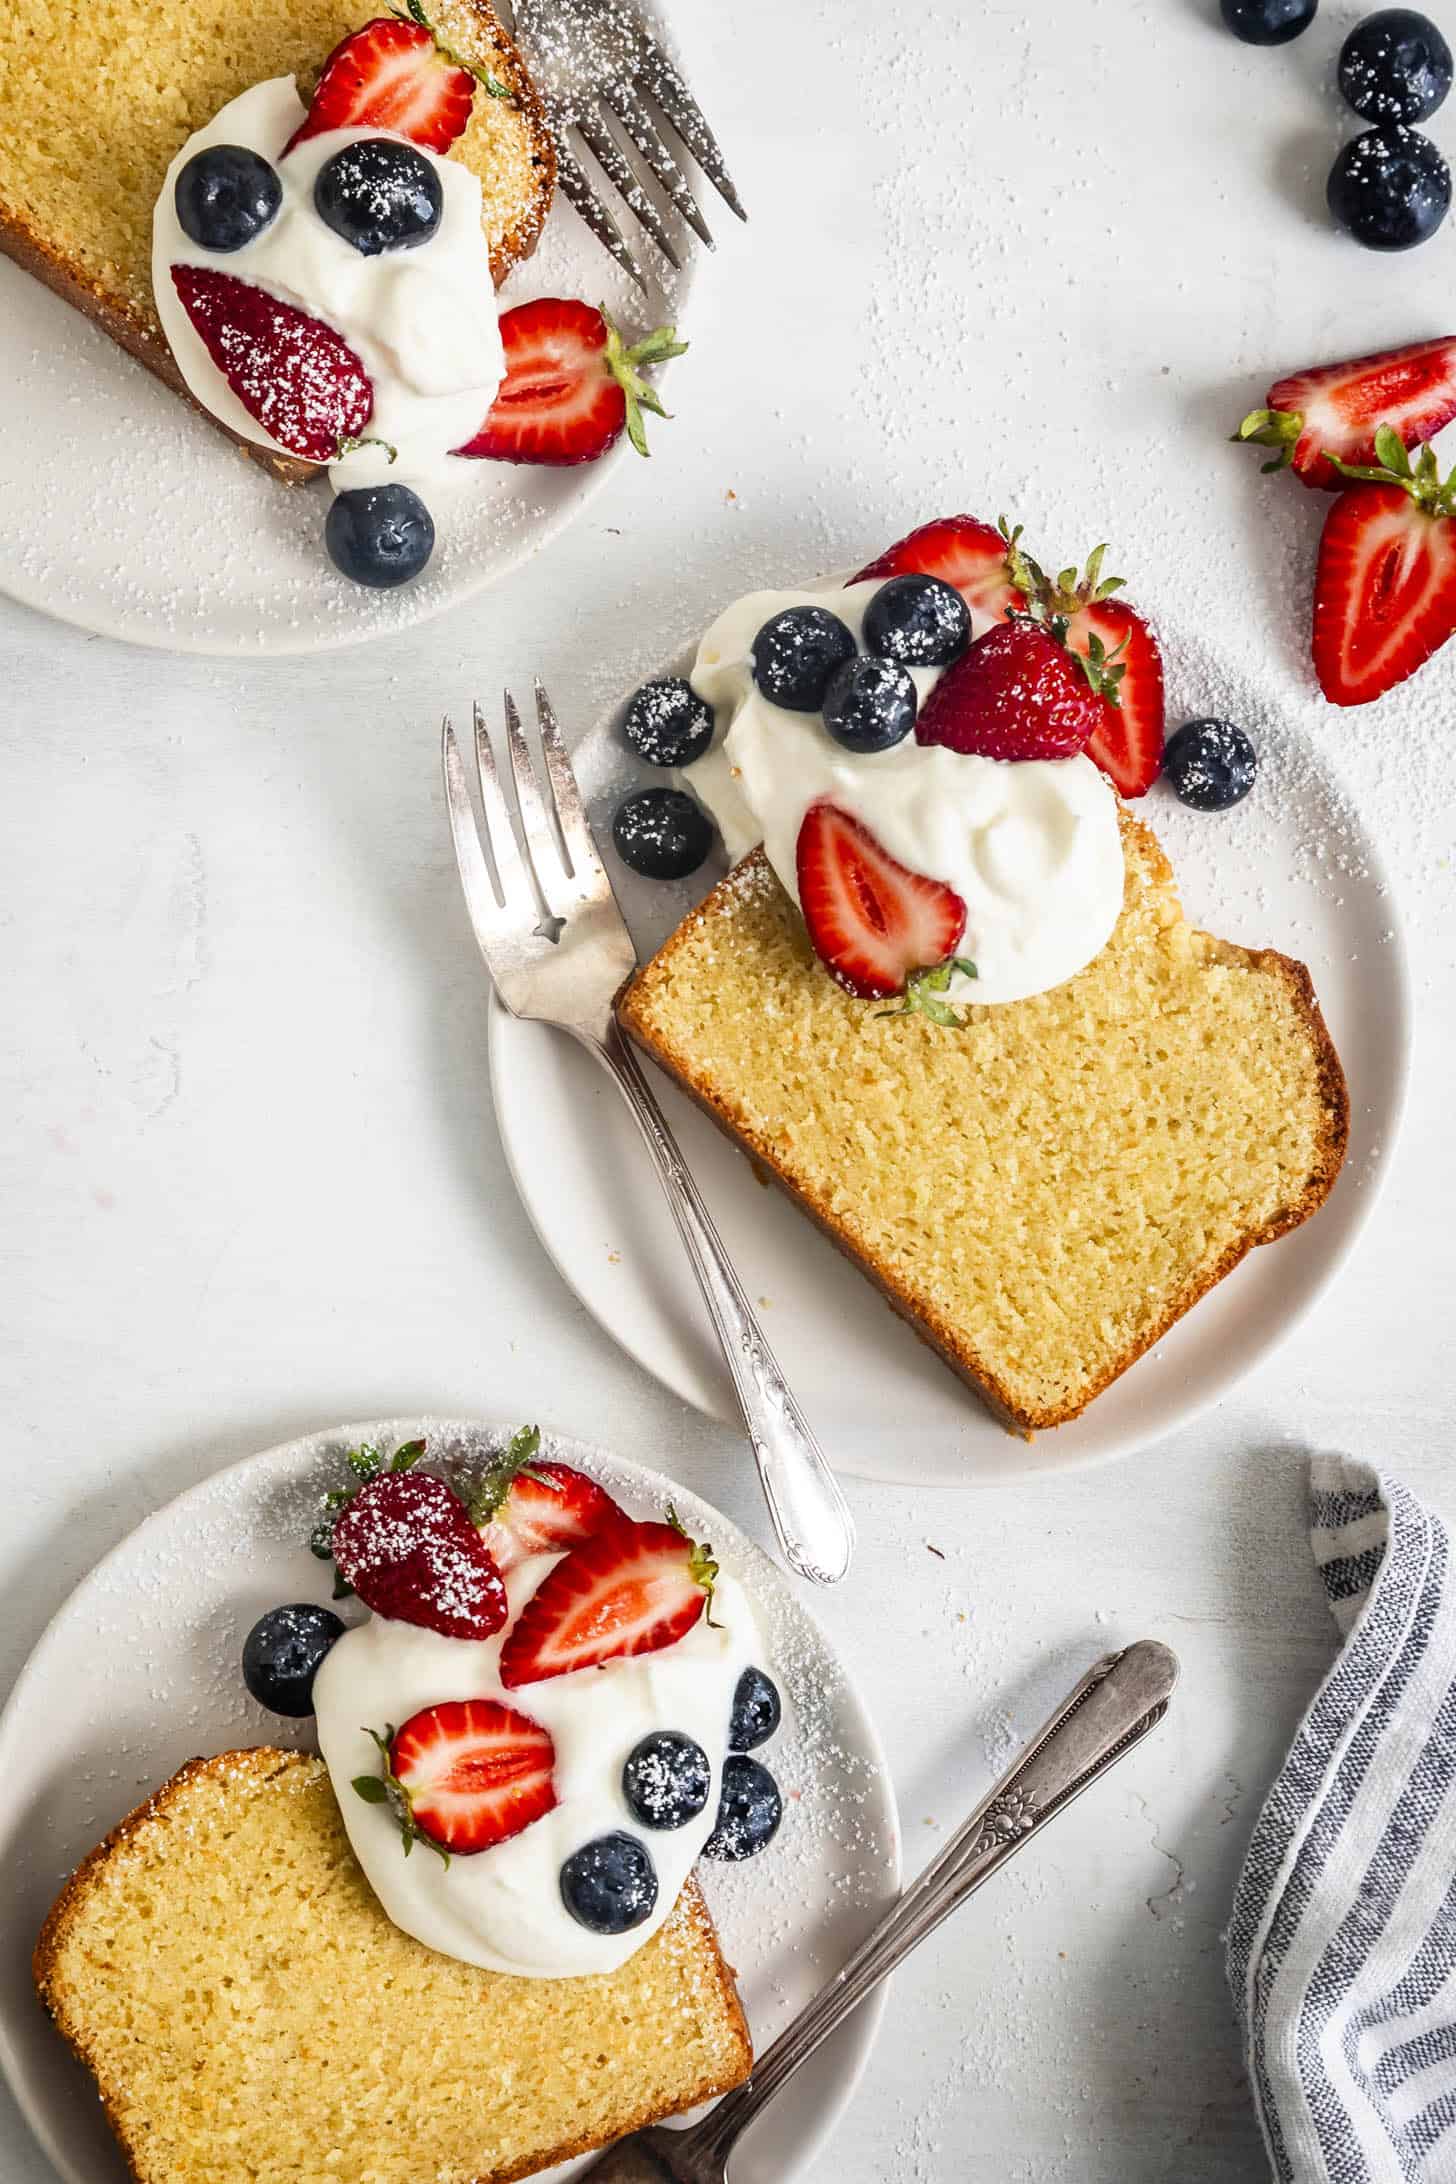
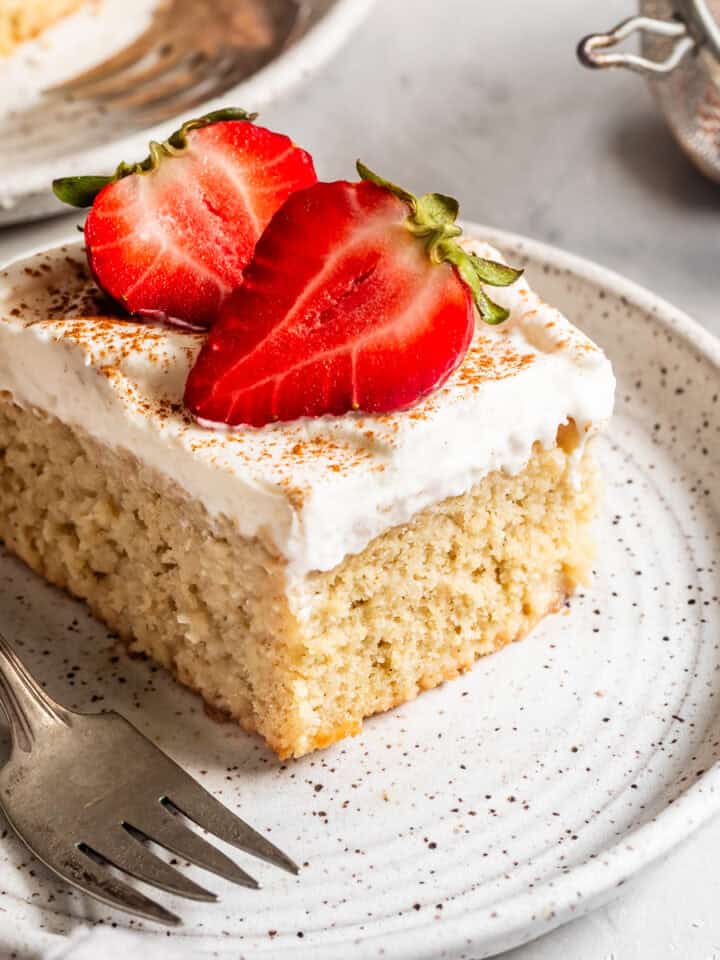
This easy gluten-free pound cake is made with almond flour and sour cream to give it a moist, velvety, and unapologetically buttery crumb! Each bite is tender and soft, making it the perfect anything cake. This classic vanilla pound cake is delicious as is or topped with whipped cream and fresh berries.
This cake nearly broke me. Turns out, almond flour is a diva. But with this recipe, I cracked the code.
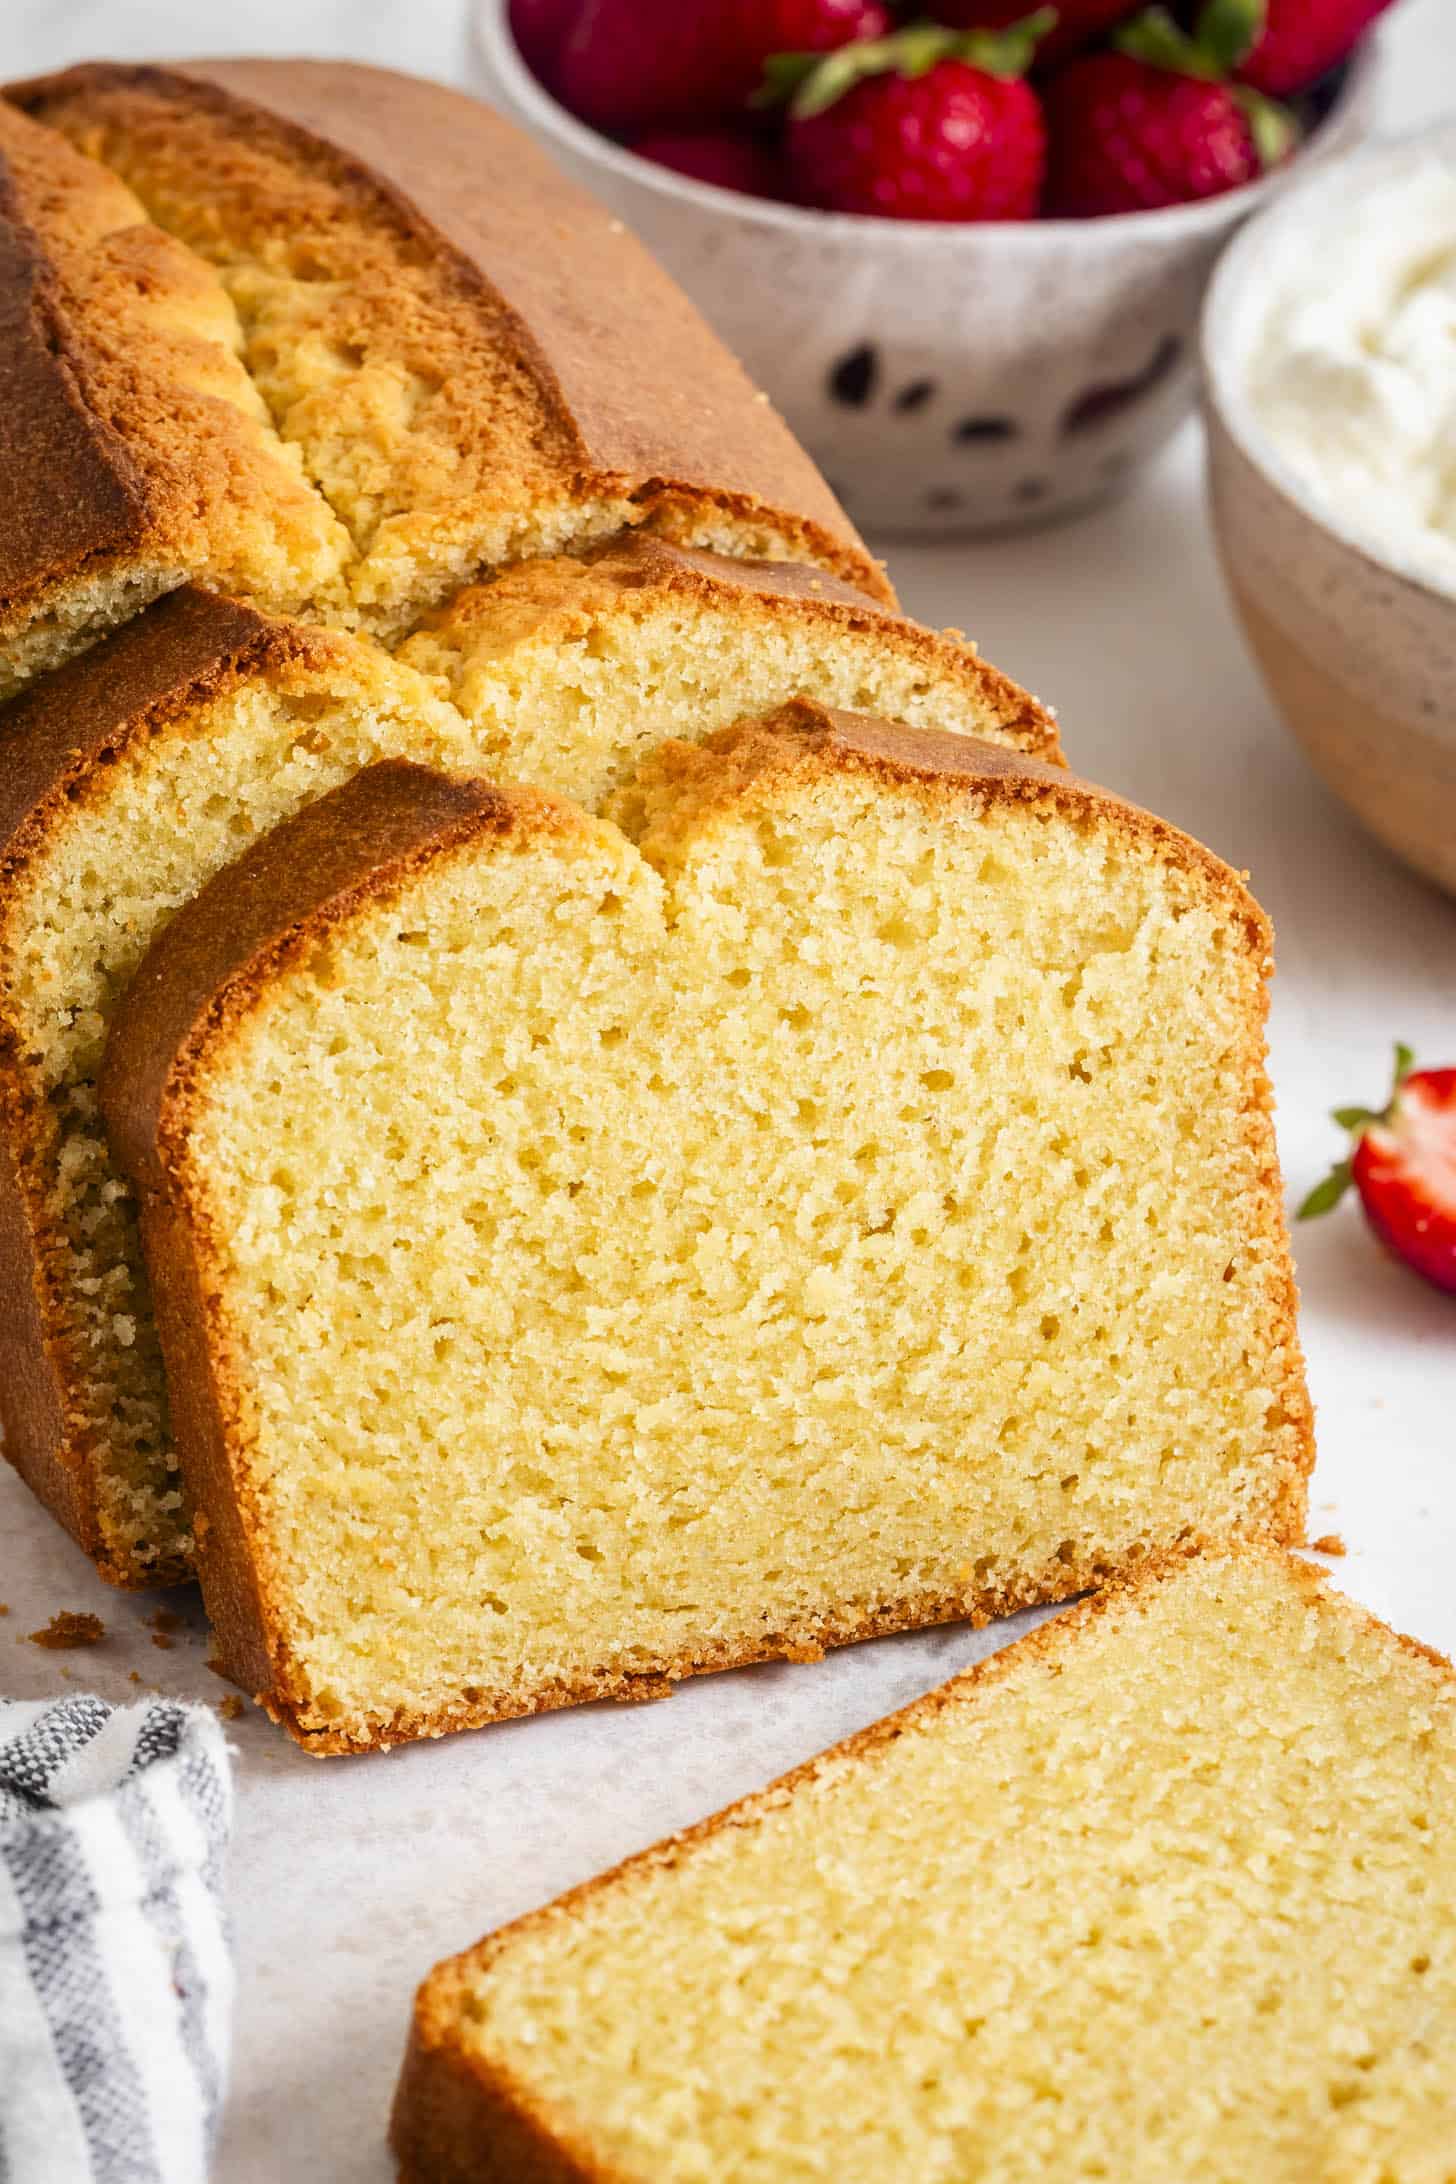
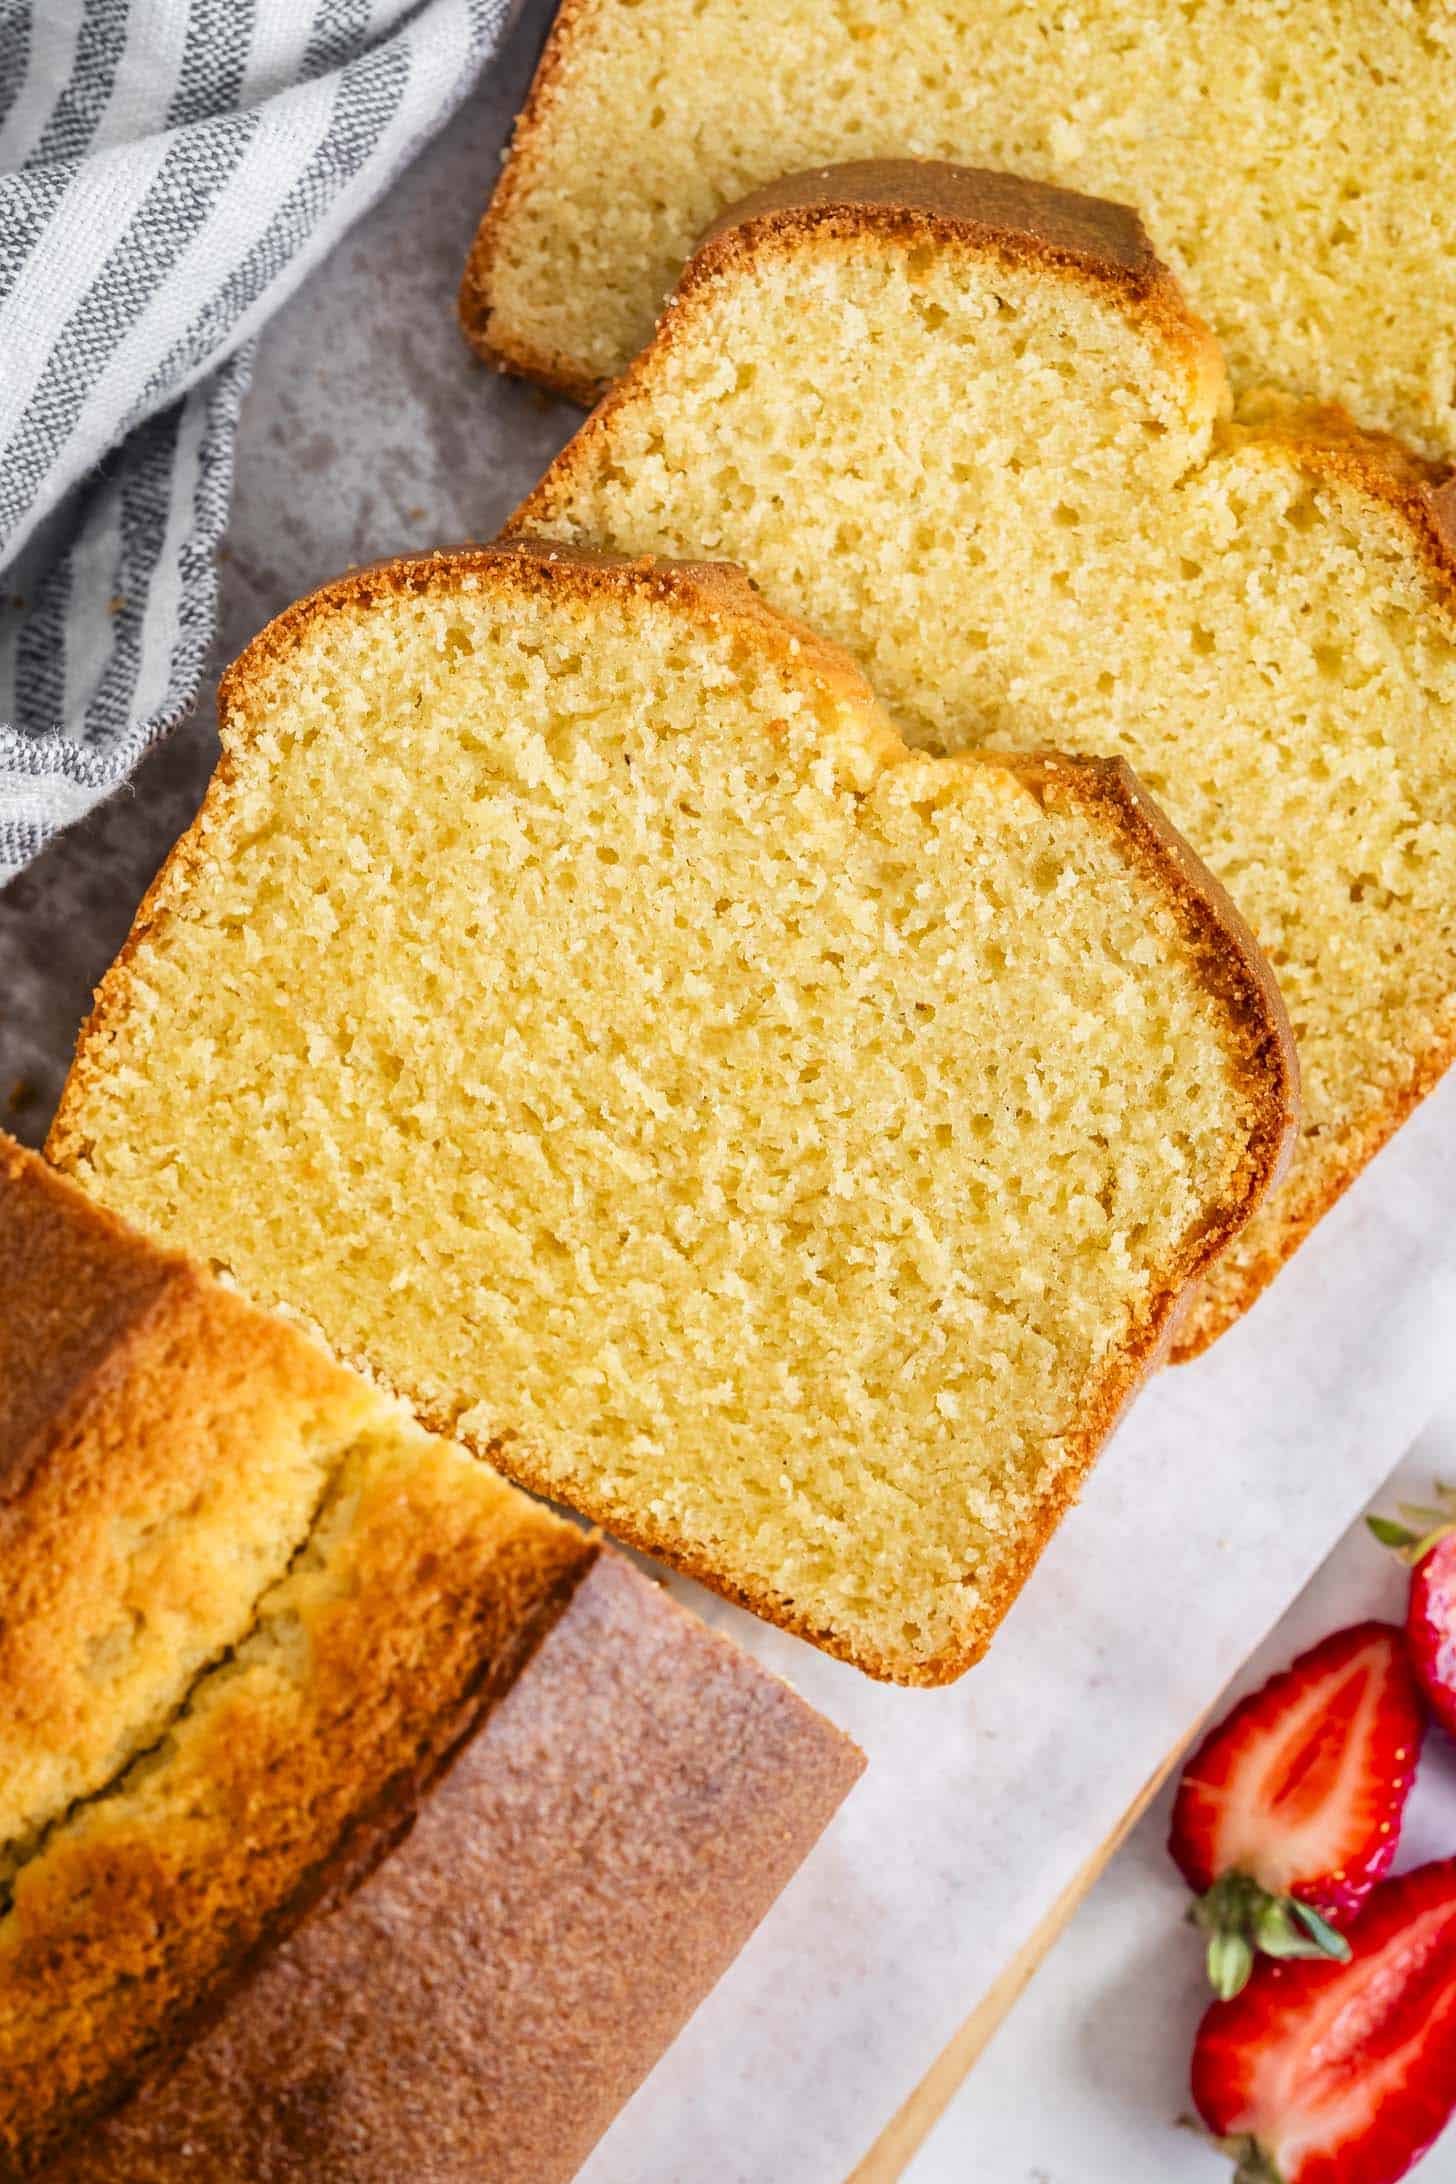
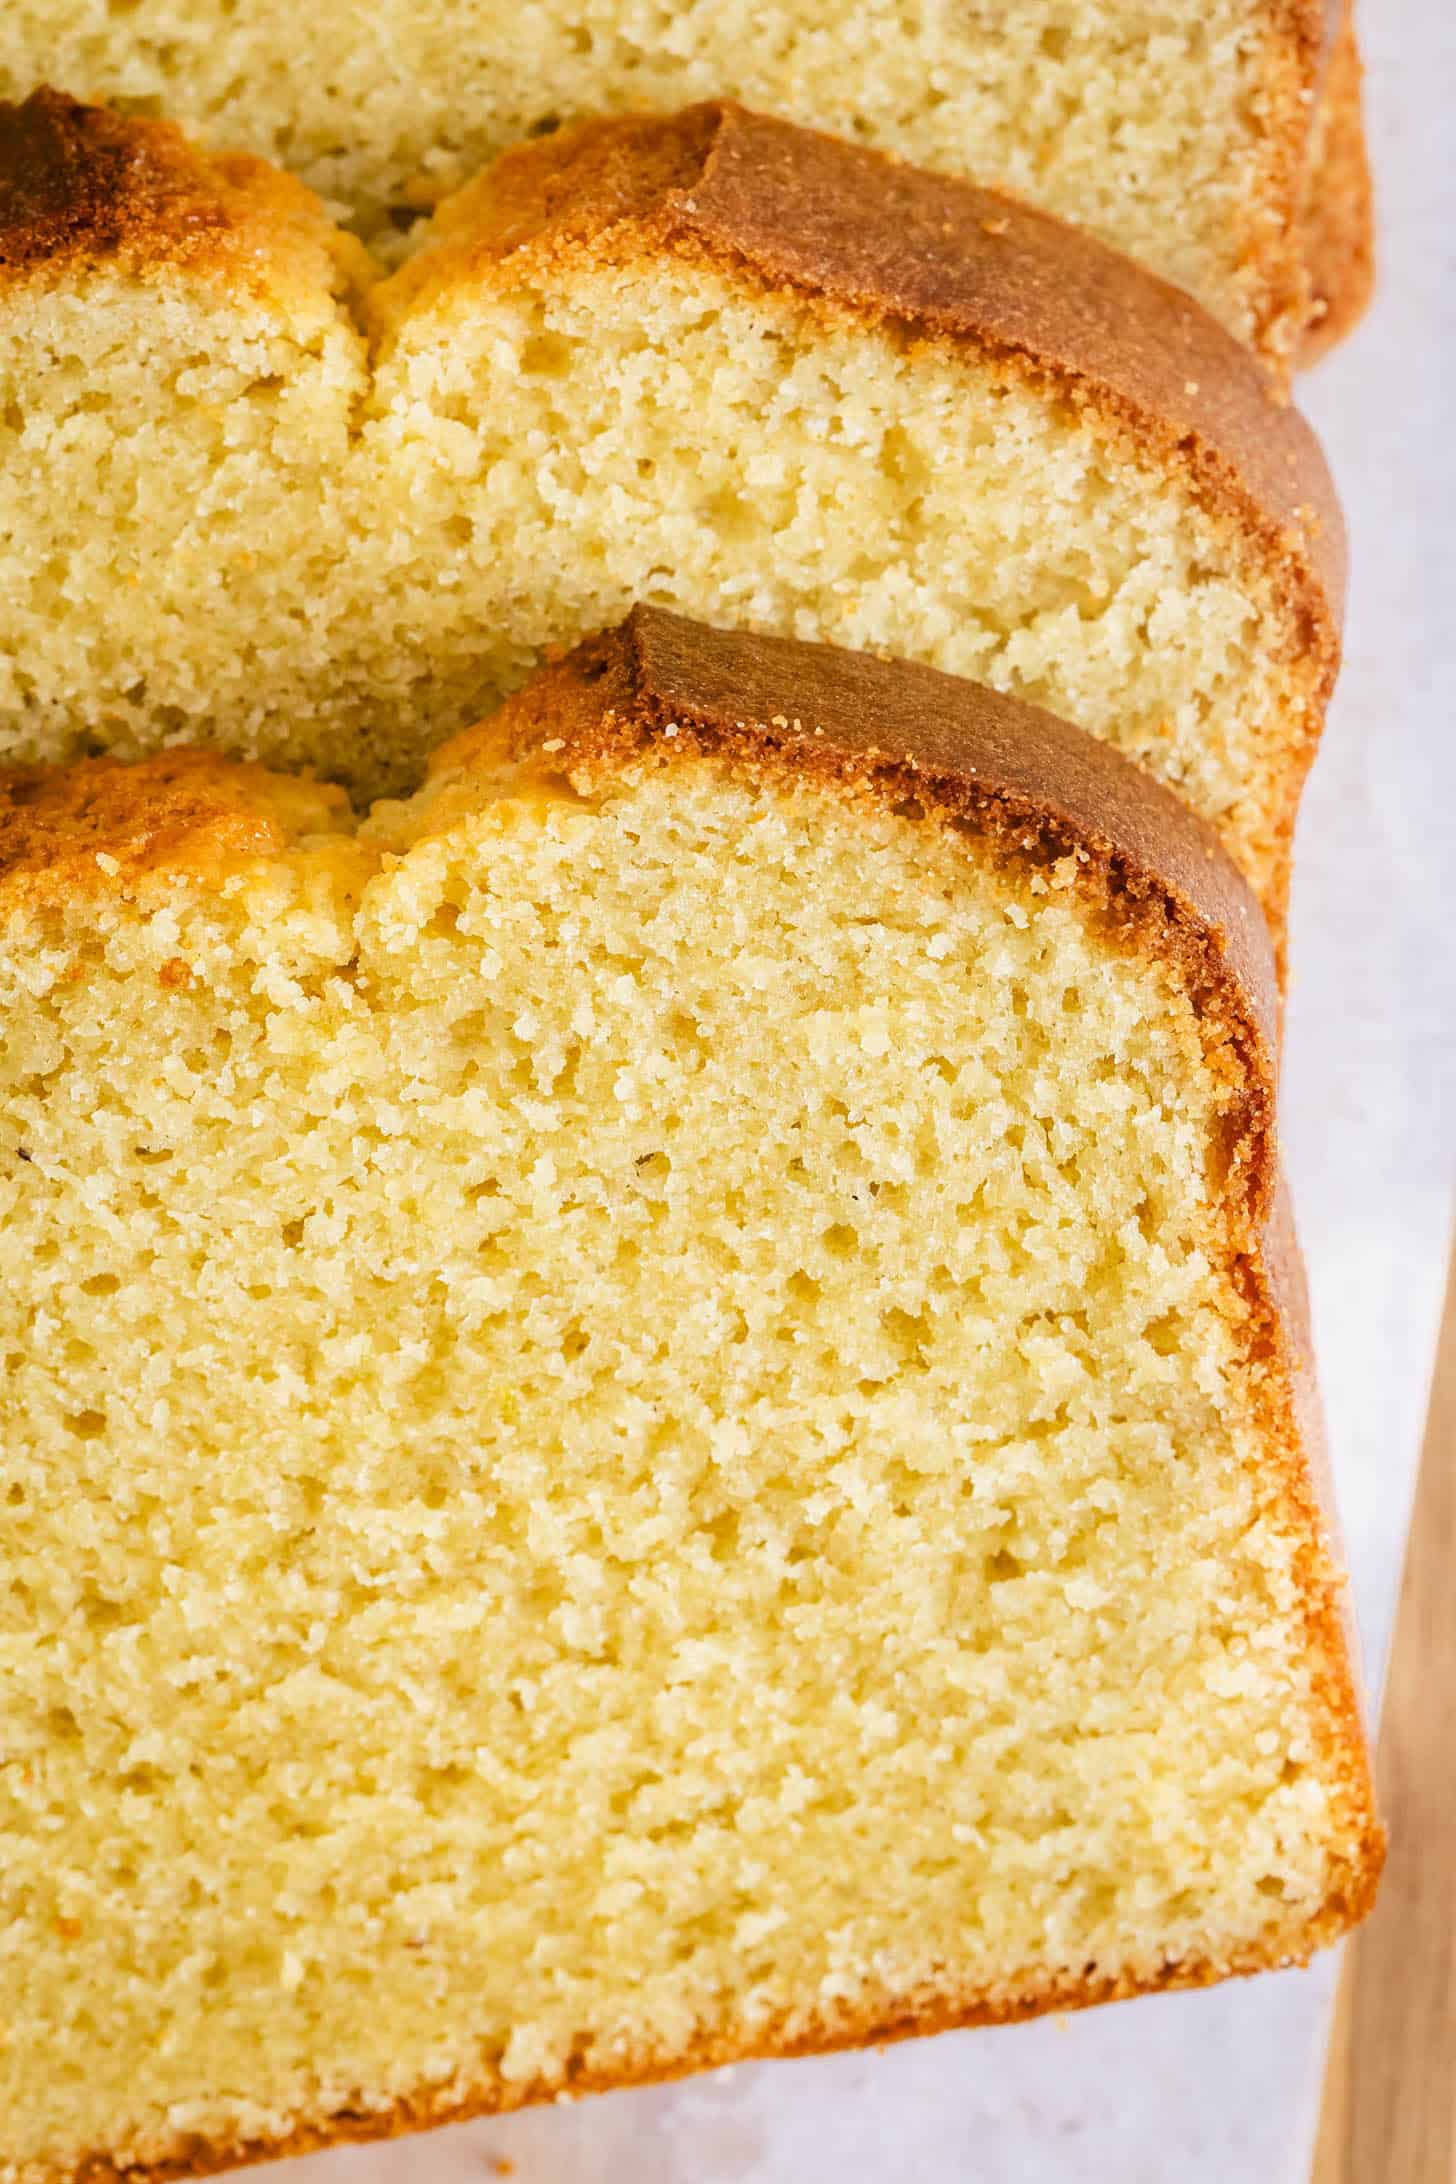
I tested it 11 times, chasing the perfect gluten-free pound cake that lives up to its name and can hold its own next to any classic pound cake. One that boasts a golden crust and a buttery, ultra-moist crumb that's fine and dense, yet still melt-in-your-mouth tender. It tastes like something your grandma might have baked; vanilla-kissed comfort cake.
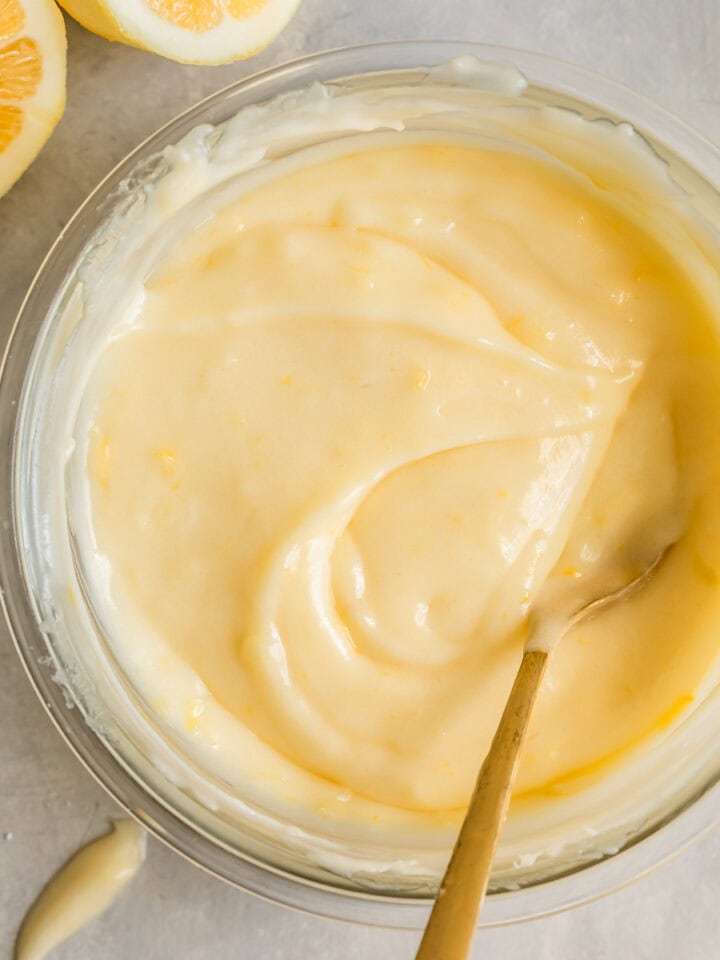
This gluten-free pound cake uses all the same ingredients as my moist gluten-free lemon drizzle cake, with a few ratio tweaks to tighten the crumb. I reduced the flour and increased the fat from butter and sour cream, adding an egg for more structure and to balance the extra moisture.
What makes this the little black dress of cakes
- That sweet, golden crust: The crisp caramelized crust adds the perfect contrast to the soft, melt-in-your-mouth crumb. My daughter usually avoids crusts of any kind, but this one? Her absolute favorite part.
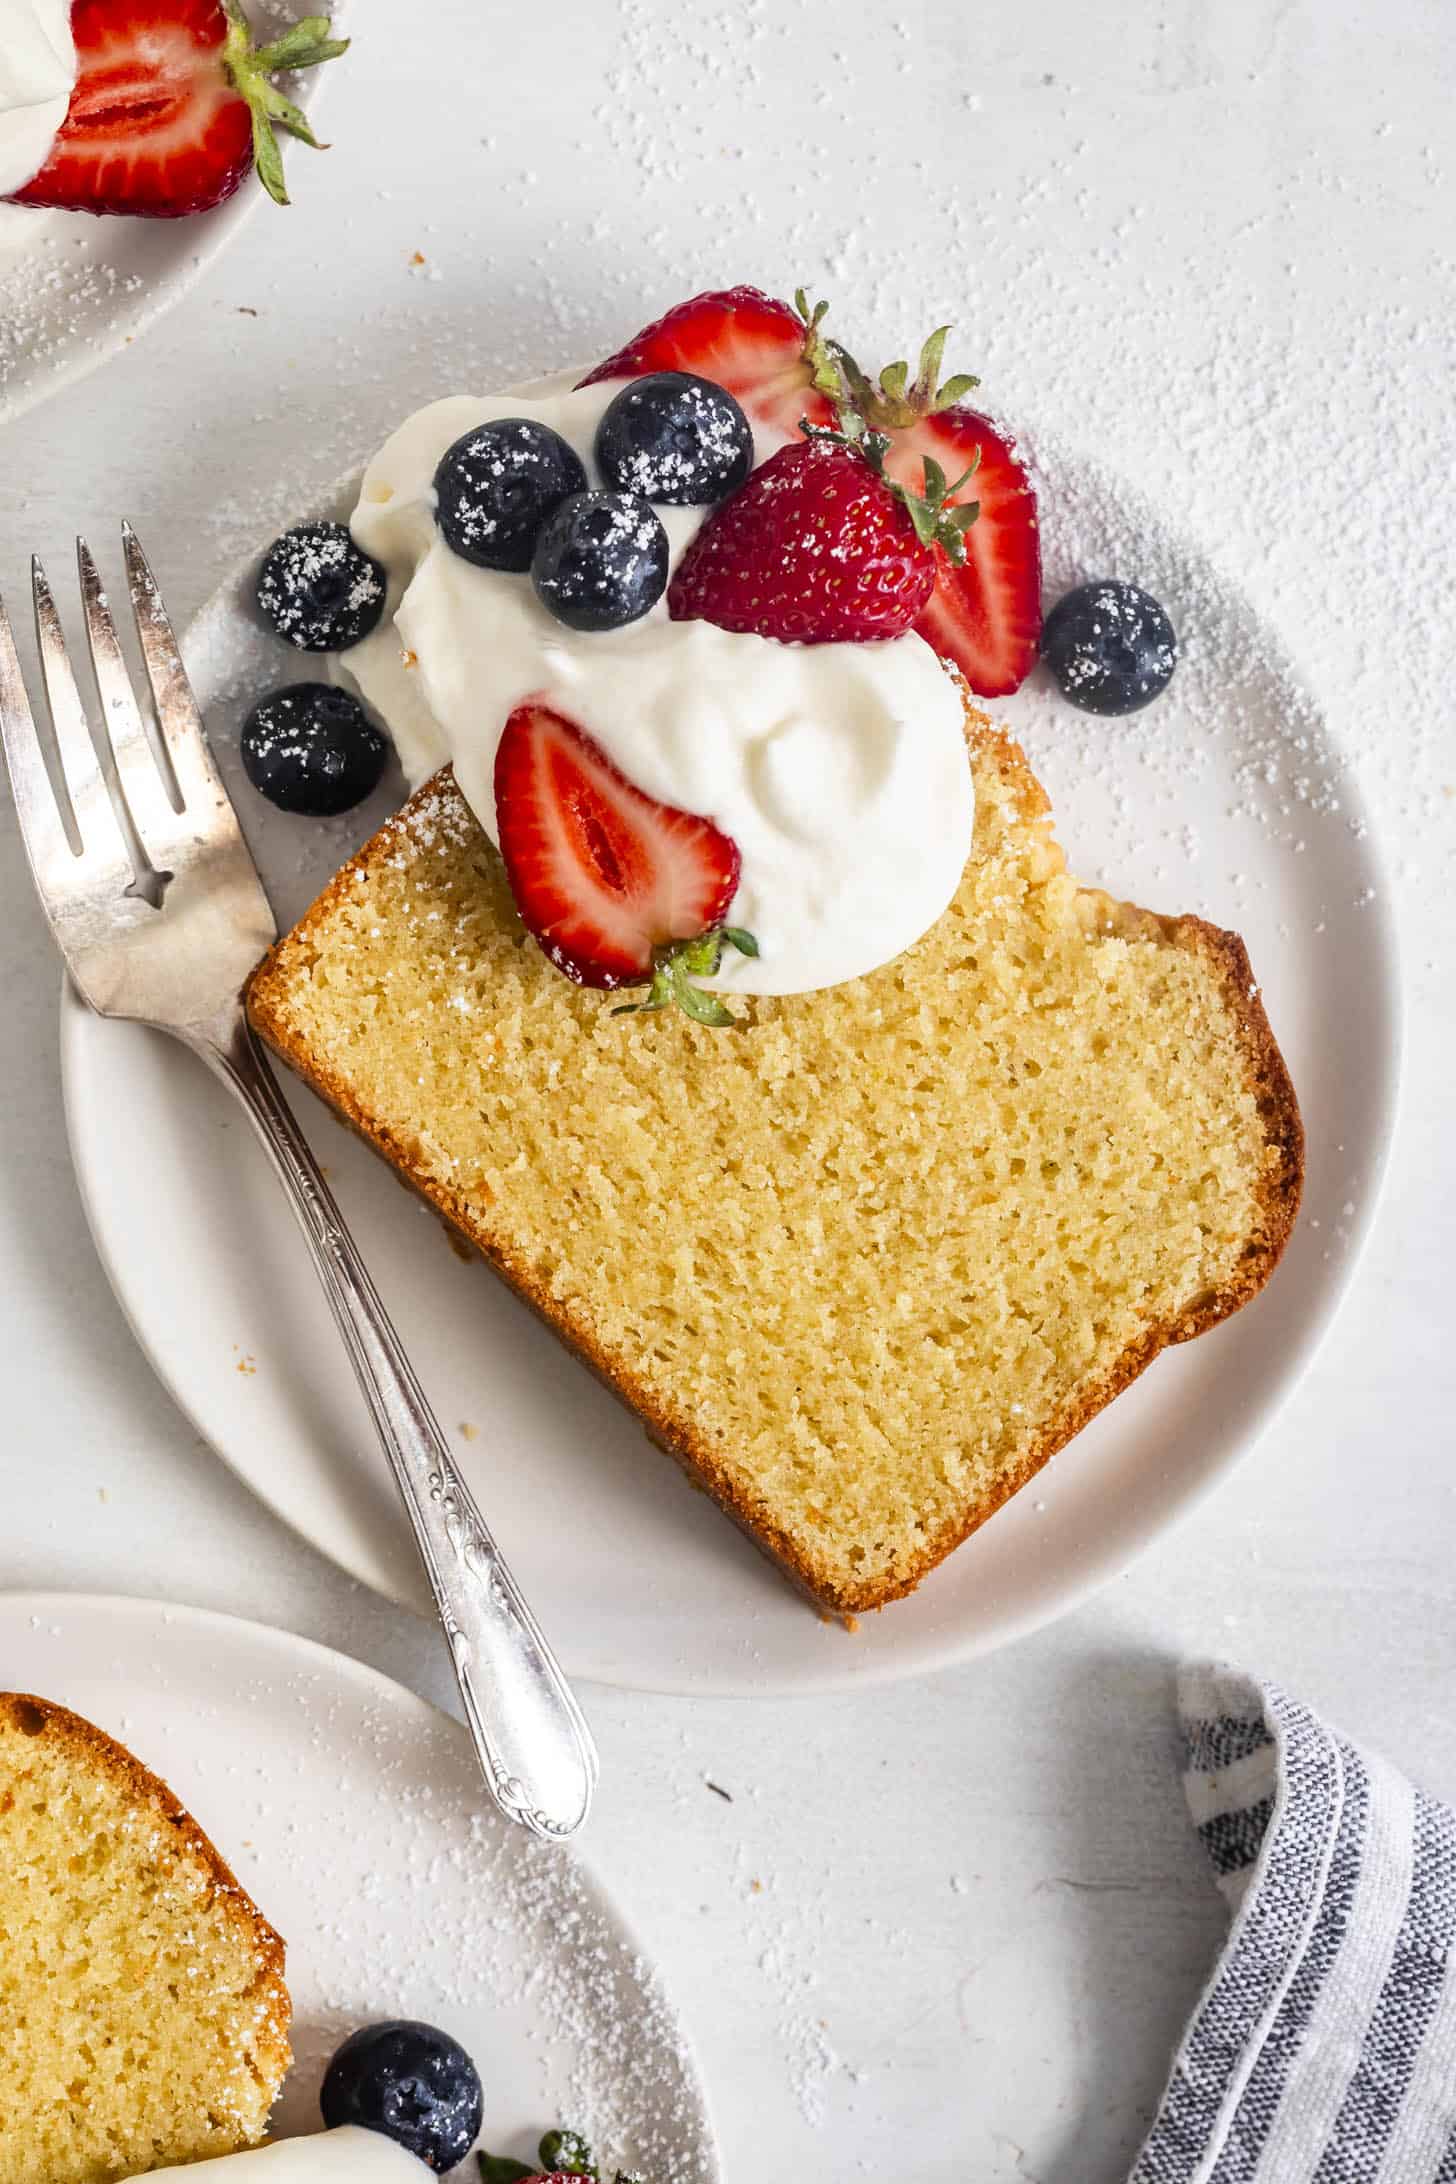
- Classic buttery vanilla flavor that goes with anything: Top with whipped cream and fresh berries, drizzle on some tart lemon icing, or even toss a slice on the grill.
- Keeps fresh for days and freezes like a dream: Enjoy it the same day or wrap it tight and store it for up to 4 days. It also freezes beautifully!
Baking with Gluten-Free Flours
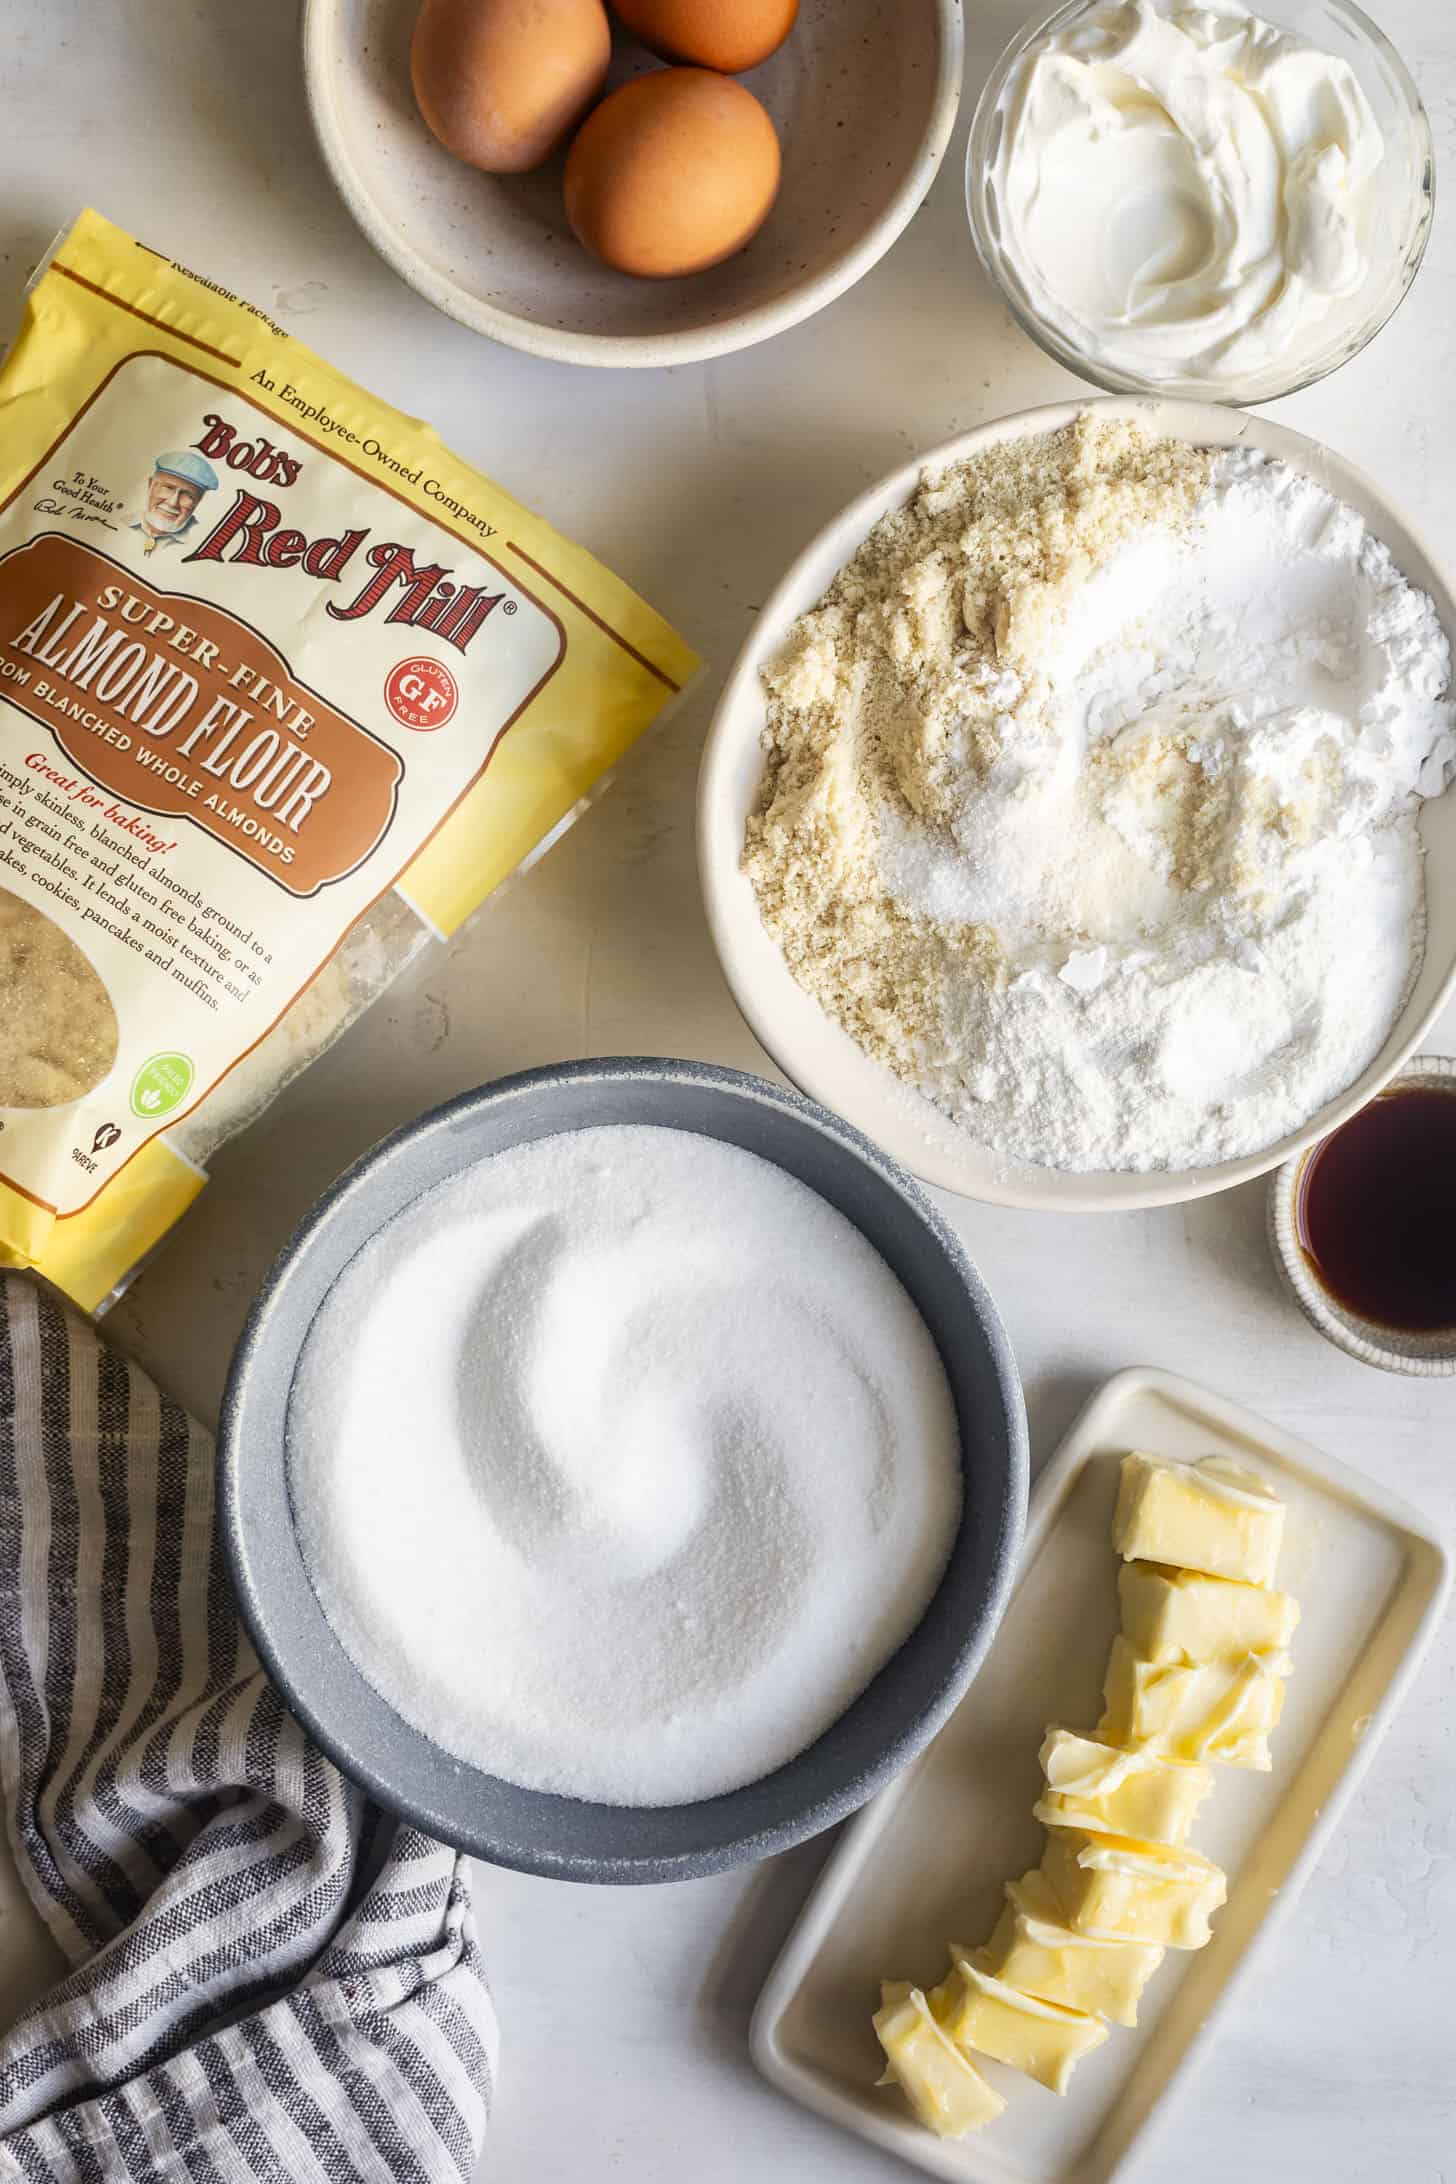
All the ingredients in this cake are my pantry (or fridge) staples, with four well-loved gluten-free flours.
- Super-fine blanched almond flour: Almond flour contributes to the soft, tender crumb and rich flavor of the cake, adding a subtle sweet nuttiness and plenty of moisture.
- Gluten-free oat flour: Oat flour helps create the light, tender crumb while also adding structure.
- Sweet rice flour: The same flour used to make mochi, sweet rice flour is different from regular white rice flour. It's gluten-free baking's secret weapon, adding chewiness and helping hold everything together.
- Tapioca flour: Tapioca flour adds just a little more softness and loft to the crumb to prevent it from becoming gummy and dense (in the bad way). When tested without tapioca flour, the pound cake wasn't quite as tall and beautiful.
Once your pantry is stocked, here are ten more recipes you can make with just those four flours!
A few other ingredient findings from my testing
- Xanthan Gum: I use xanthan gum to help with the structure and texture of the cake, so it all holds together. A crumbly, dry gluten-free cake is the worst.... And without this ingredient, your cake will be noticeably more dense (in the bad way).
- Baking Powder: I began my testing with an old fashioned pound cake as a base, with eggs and creaming the butter and sugar for leavening. But the gluten-free version came out too stodgy. Instead, I found that using baking powder gave this gluten-free pound cake the soft, tender mouthfeel we've come to love about modern pound cakes. Also, be sure your baking powder is fresh!
- Sour Cream: In my many tests, I found that swapping milk for sour cream took the cake from "meh" to memorable. It adds rich moisture and a tender crumb that makes every bite flavorful.
Creaming 101: Getting It Just Right
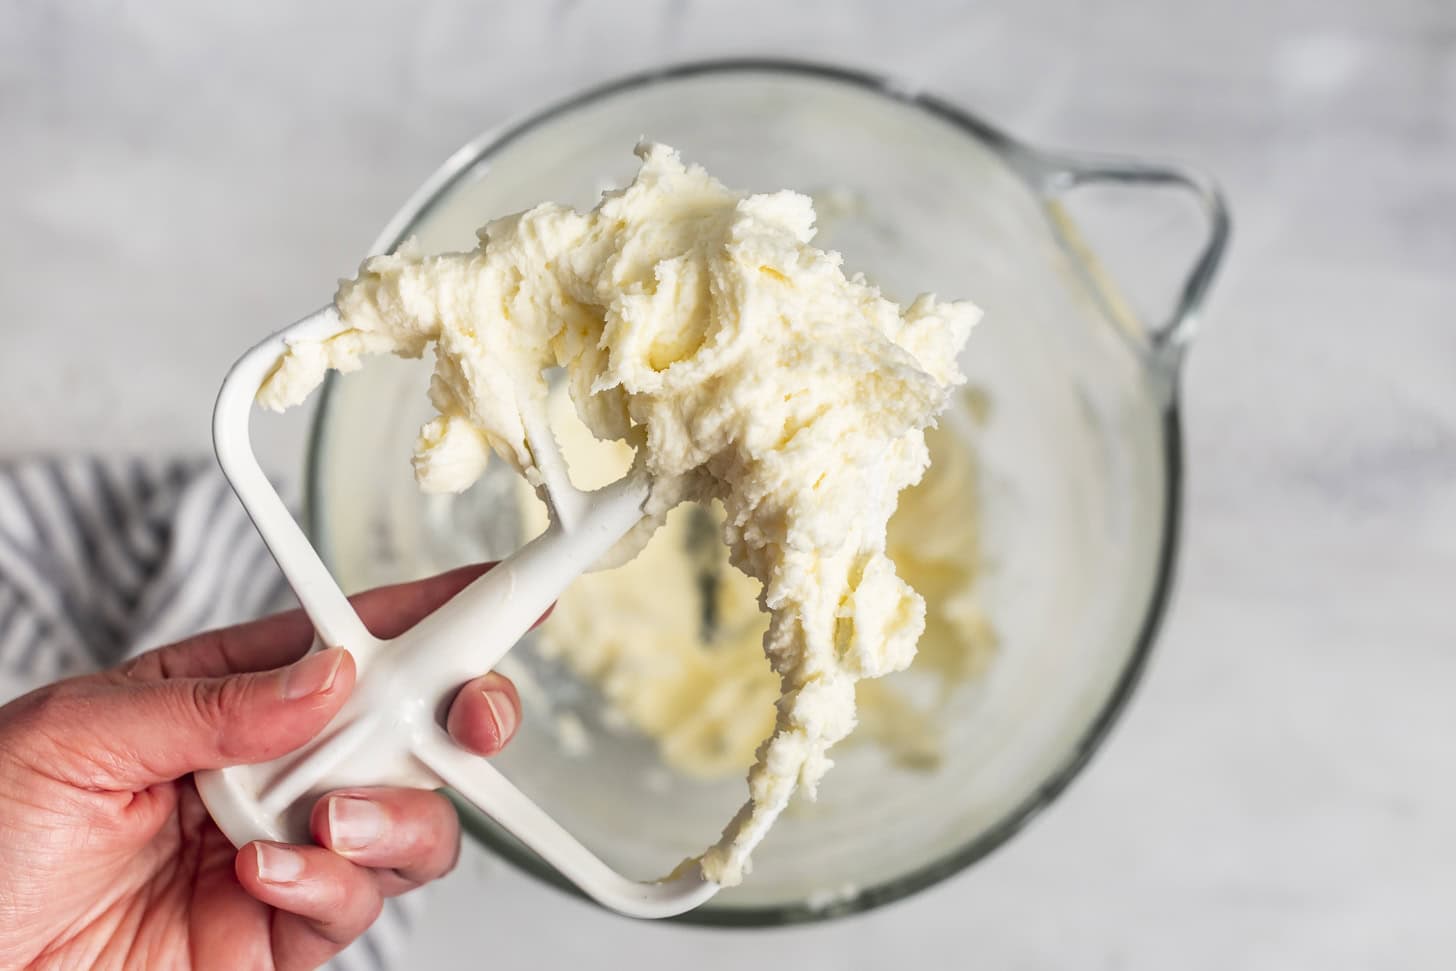
There's a divide in the baking world about how long to cream your butter and sugar for a dense, yet tender pound cake. Some say whip the daylights out of it, others insist overcreaming will ruin everything.
I tested both and I'm firmly on team restraint. Too much air gets trapped with overcreaming, which then expands in the oven. But with a rich, heavy batter (looking at you, butter and sour cream), the structure can't hold and collapses. Plus, the friction from overmixing can warm the butter, which risks breaking the emulsion and losing those air pockets entirely. Go beast mode on the butter & sugar, and you'll risk getting a dense, rubbery, or greasy cake. Maybe even a sunken center.
Instead, aim for light and slightly fluffy, but not airy and whipped. See the photo above.
Recipe
Tender Almond Flour Gluten-Free Pound Cake
Ingredients
- 101 g (¾ cup + 3 tablespoons) gluten-free oat flour
- 84 g (¾ cup) super-fine blanched almond flour
- 80 g (½ cup) sweet rice flour, also called mochiko; do not substitute white or brown rice flour
- 35 g (¼ cup + 1 tablespoon) Bob's Red Mill tapioca flour
- ½ teaspoon xanthan gum
- ½ teaspoon kosher salt
- 2 teaspoon baking powder
- 155 g (½ cup + 3 tablespoons) unsalted butter, room temperature
- 225 g (1 cup + 2 tablespoons) granulated sugar
- 4 large eggs, (about 213-216g) room temperature
- 1 tablespoon pure vanilla extract
- 150 g (½ cup + 2 tablespoons ) sour cream, room temperature
INSTRUCTIONS
- Preheat the oven to 350°F. Line a 8.5x4.5 loaf pan with sling of parchment paper. A 9x5 pan or 9.25x5.25 pan will also work but produce a shorter loaf. For a larger pan, adjust your baking time, checking for doneness at 50 minutes.
- In a medium bowl, sift together oat flour, almond flour, sweet rice flour, tapioca flour, xanthan gum, baking powder, and salt. Set aside.
- In the bowl of a stand mixer fitted with the paddle attachment or a large mixing bowl with a hand mixer, cream the butter and sugar on medium speed until light and fluffy, 2-3 minutes, scraping down the sides as needed. The butter should turn pale in color, but still have structure. Take care not to over-cream to the point where the butter begins to get warm and soften. Mix in the vanilla extract.
- Add the eggs, one at a time, mixing until just combined and scraping down the sides after each addition. The mixture may look somewhat curdled at this point, but that's okay!
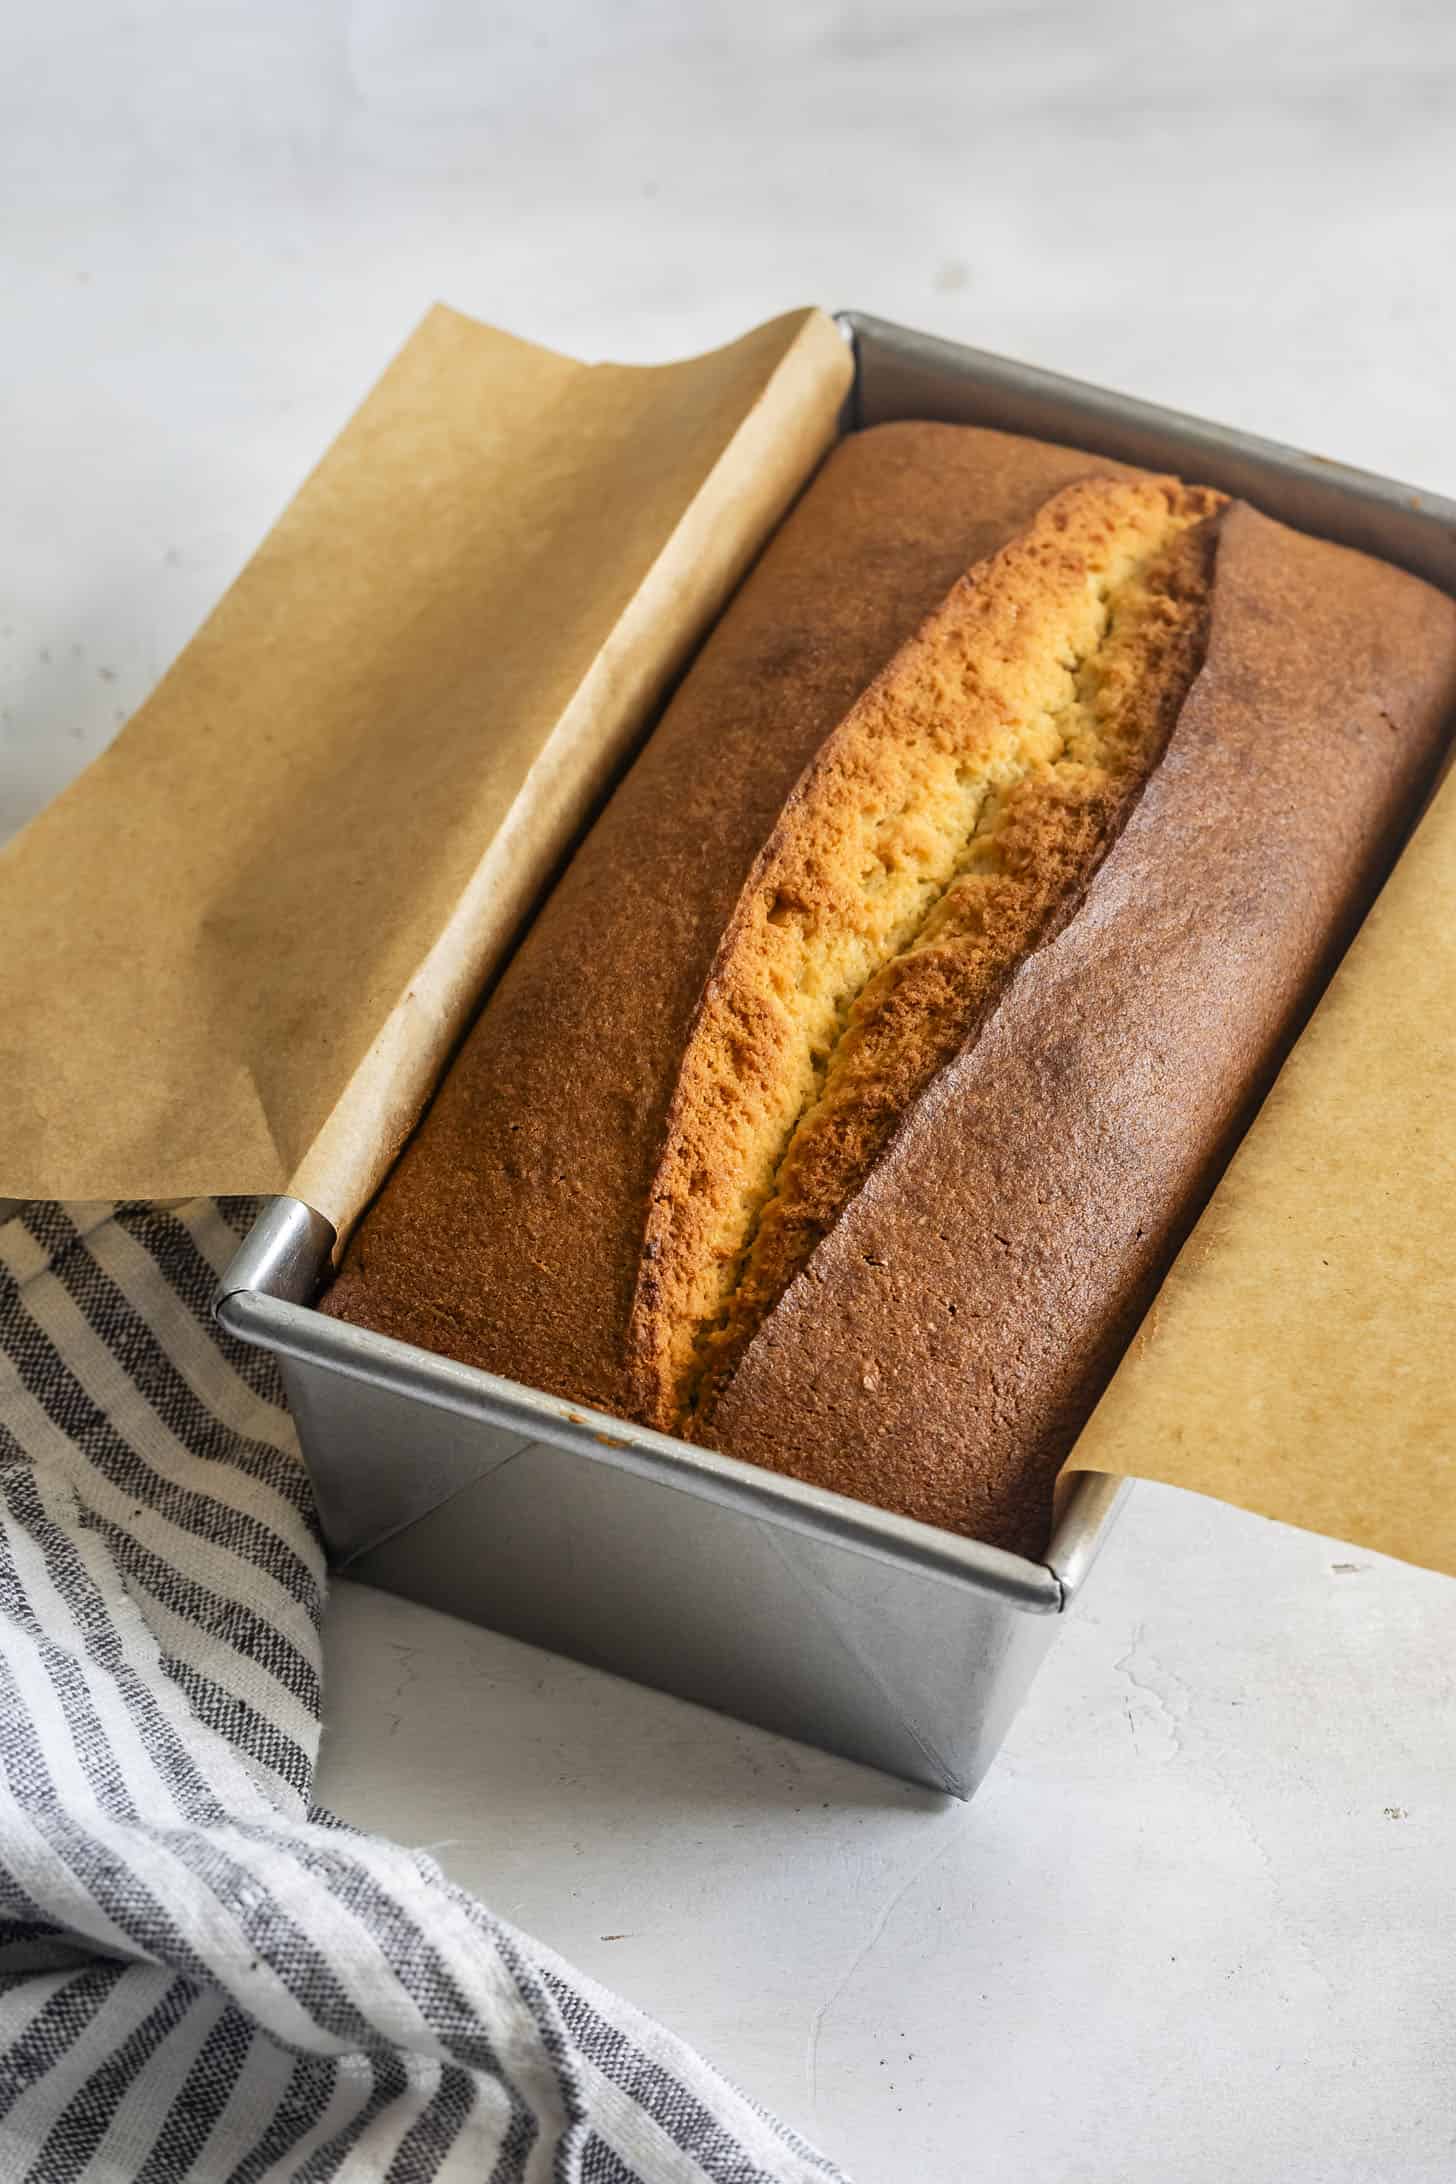
- Add the dry ingredients in two additions, alternating with the sour cream, scraping down the sides after each addition and mixing until just combined. Pour the batter into the prepared baking pan and smooth out the top with an offset spatula. Optional: for the perfect split down the center, use a knife or pastry cutter to make a ⅛ to ¼-inch deep slice down the middle. Pipe a thin line of butter down the slice.
- Bake on the middle rack for 65-70 minutes, until a toothpick or skewer inserted into the center comes out clean or with just a few crumbs. The cake should be deep golden brown on the outside. The center of the dome should spring back when gently touched. If you notice the top beginning to get too dark, tent it loosely with foil for the last 5-10 minutes.
- Remove from oven and let cool in the pan for 10 minutes before using a knife to loosen the short edges and transferring the loaf to a wire rack to cool completely before cutting, about 1.5-2 hours. Listen, I, too, have no patience, so feel free to cut it sooner, but just know that the crumb will not fully set until it cools, so it may seem more dense (yet still delicious!)
- Serve slices with whipped cream and berries!
Video
Notes
Storage
The amazing part about pound cake is that it seems to just get better with age. Store the full loaf or slices in plastic wrap or an airtight container at room temperature for up to 4 days or in the freezer for up to 6 months. In fact, if you wait until the second day to slice it, wrapping the cooled loaf in plastic wrap overnight, the crumb becomes even tighter and more velvety.Did you make this recipe? Please leave a review and rating to let me and others know how you liked it!
Pulling Off That Perfect Pound Cake Crumb
Here's how to make buttery gluten-free pound cake magic. First start by sifting all the dry ingredients together in a bowl and setting aside.
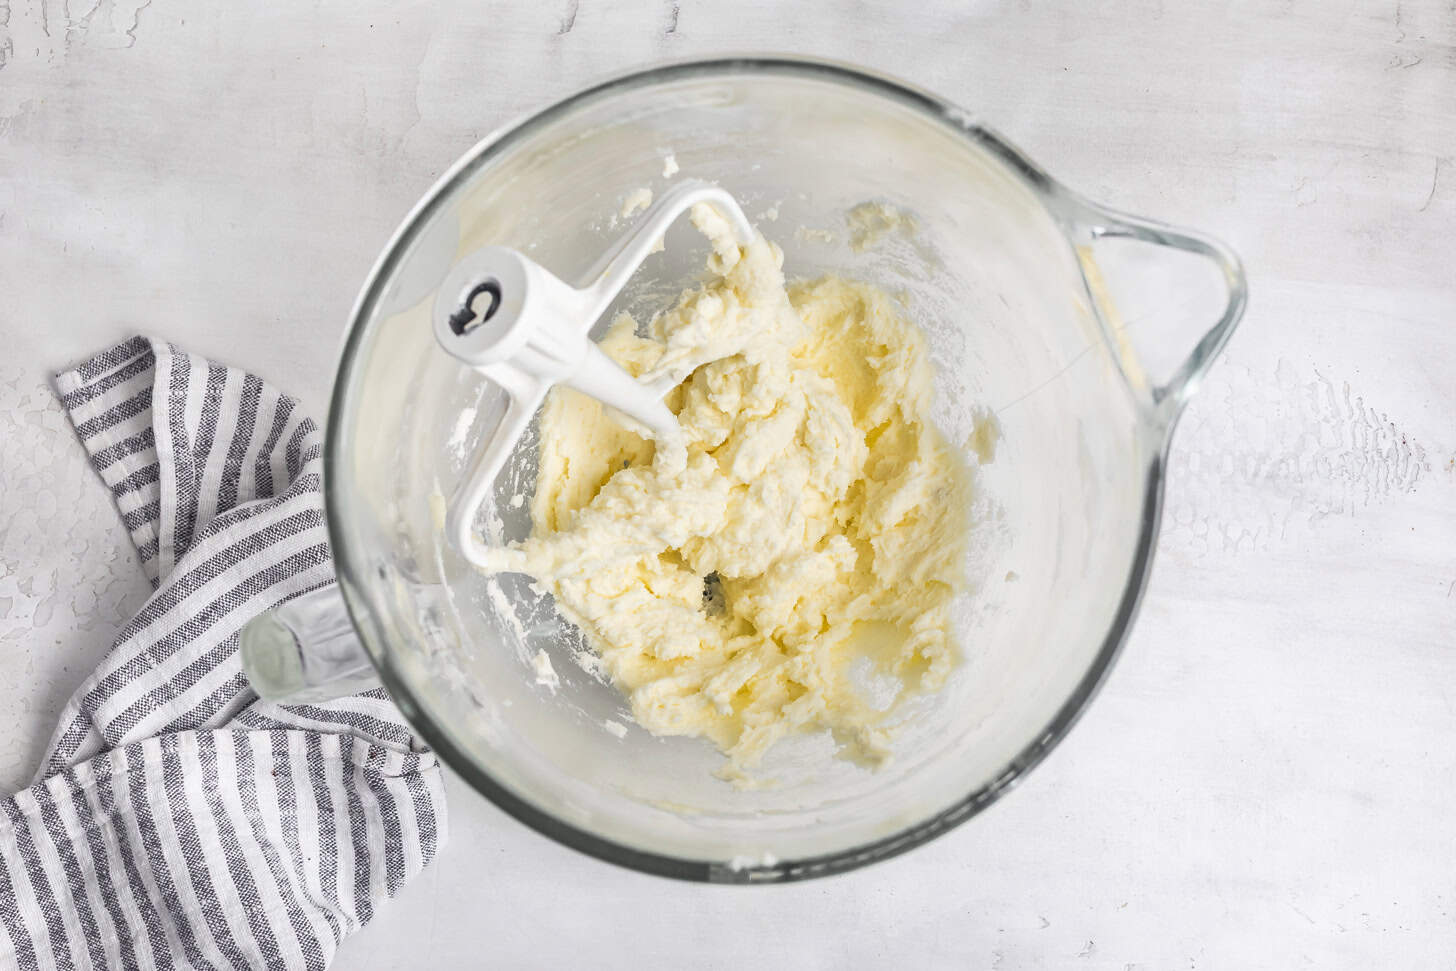
Cream the butter and sugar until light and fluffy. See below on creaming notes 101.
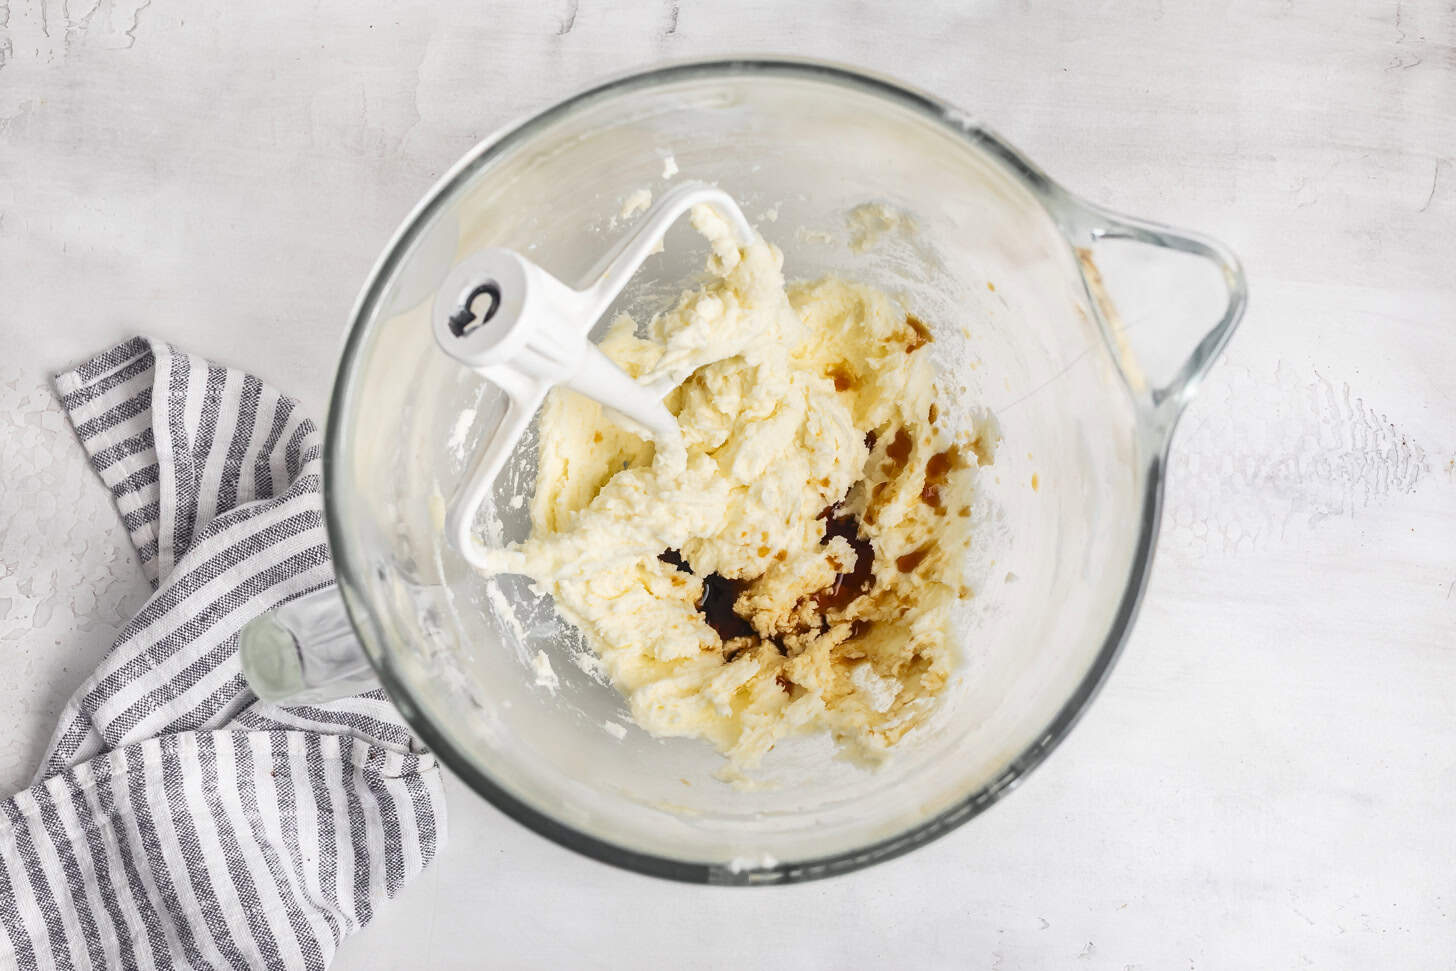
Mix in the vanilla.
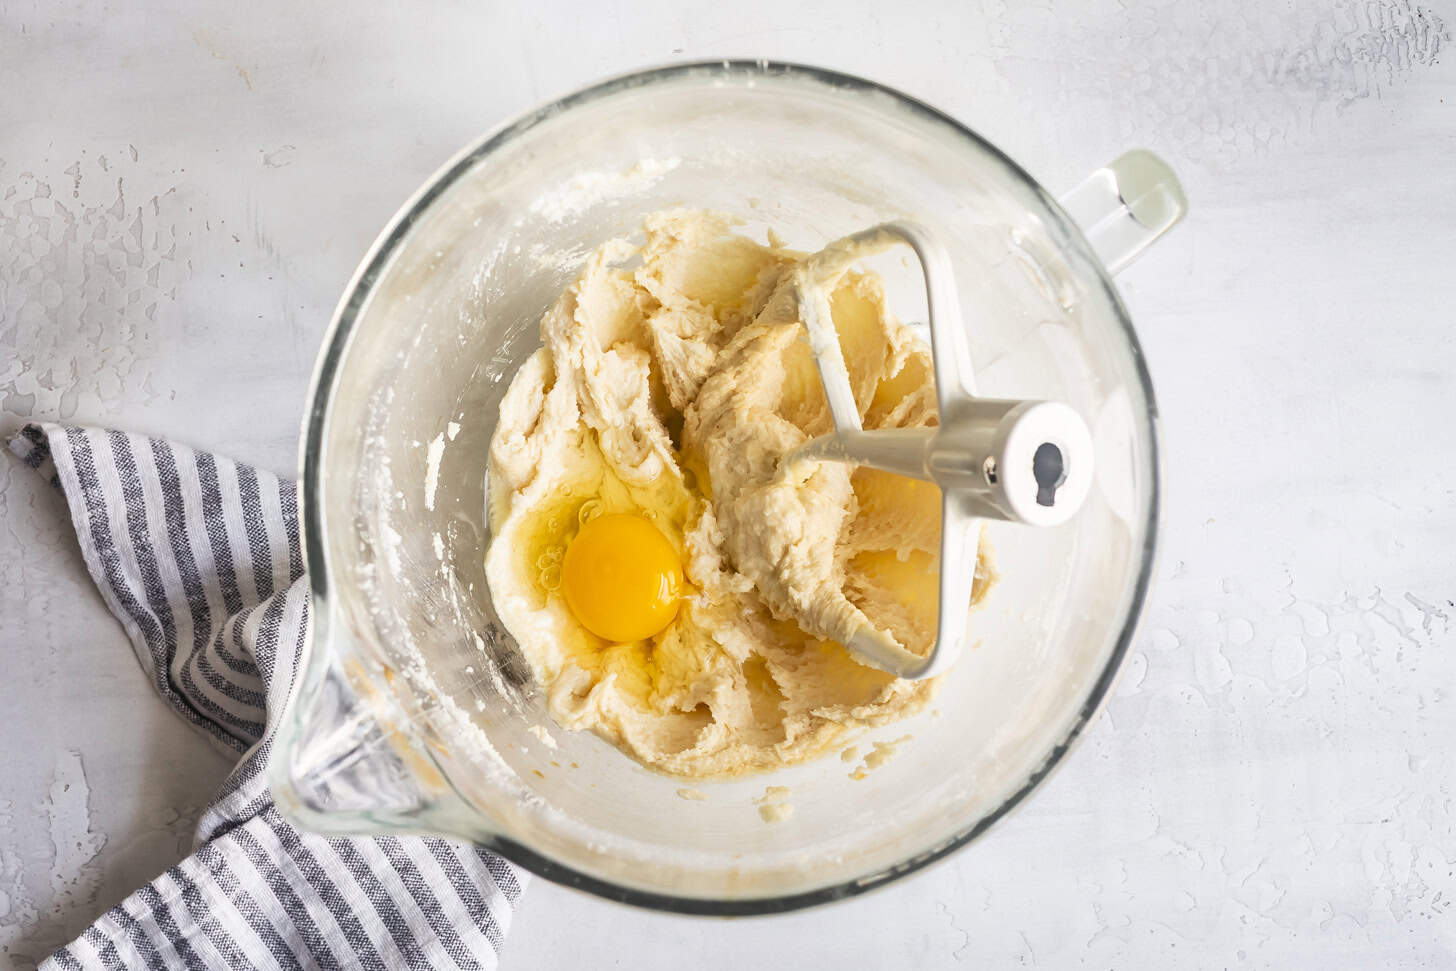
Mix in the eggs, one at a time, scraping down the bowl after each addition. Take care not to overmix.
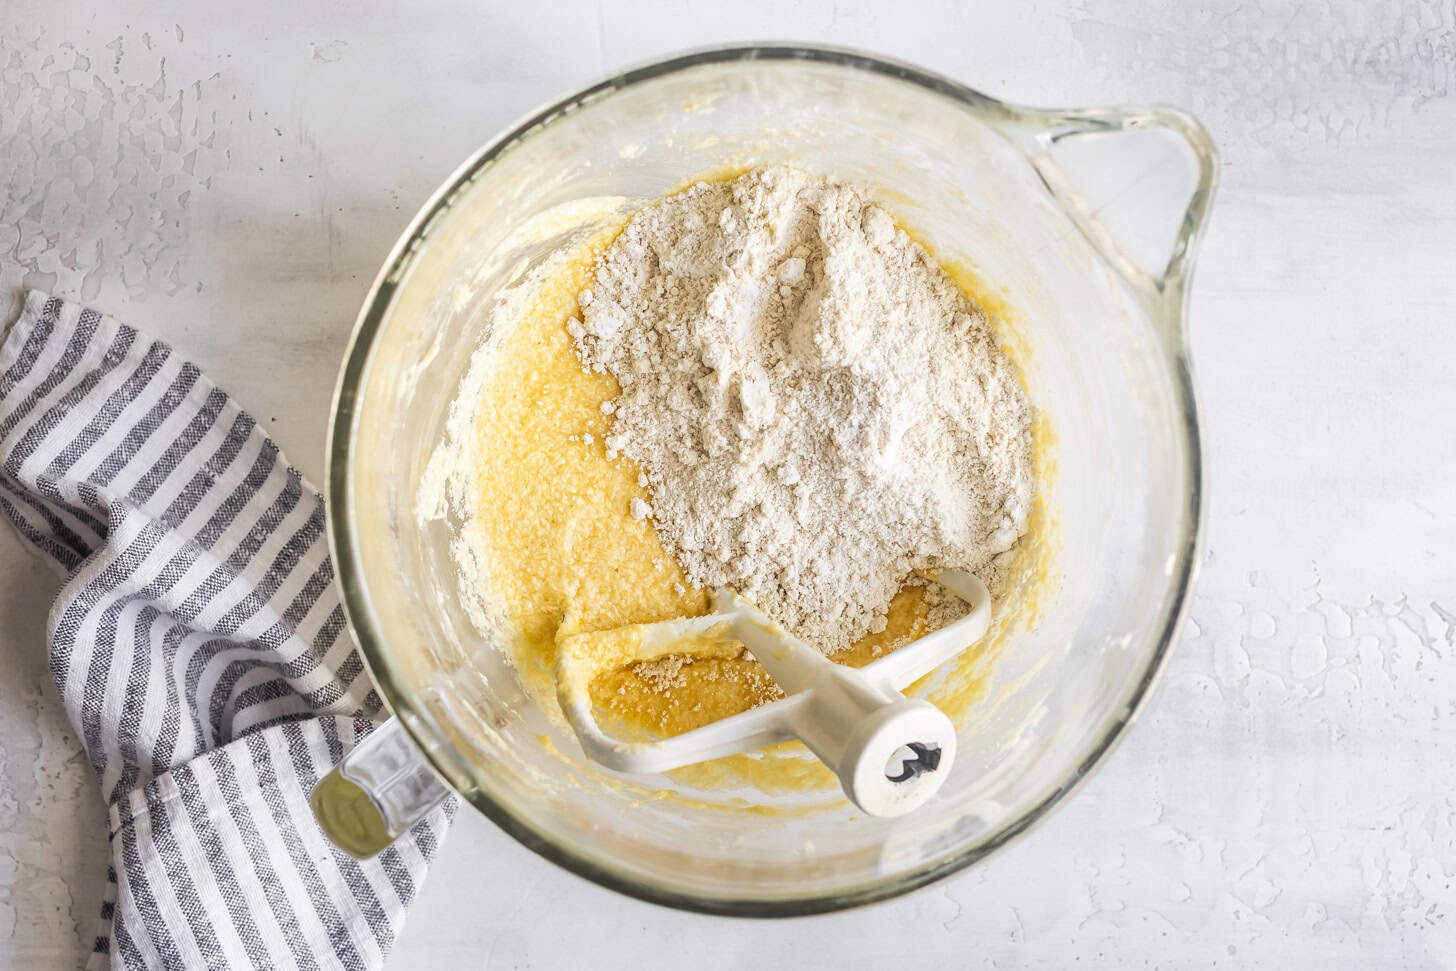
Mix in half of the dry ingredients until JUST combined. You'll notice the batter may seem to look almost curdled before adding the flour. That's okay!
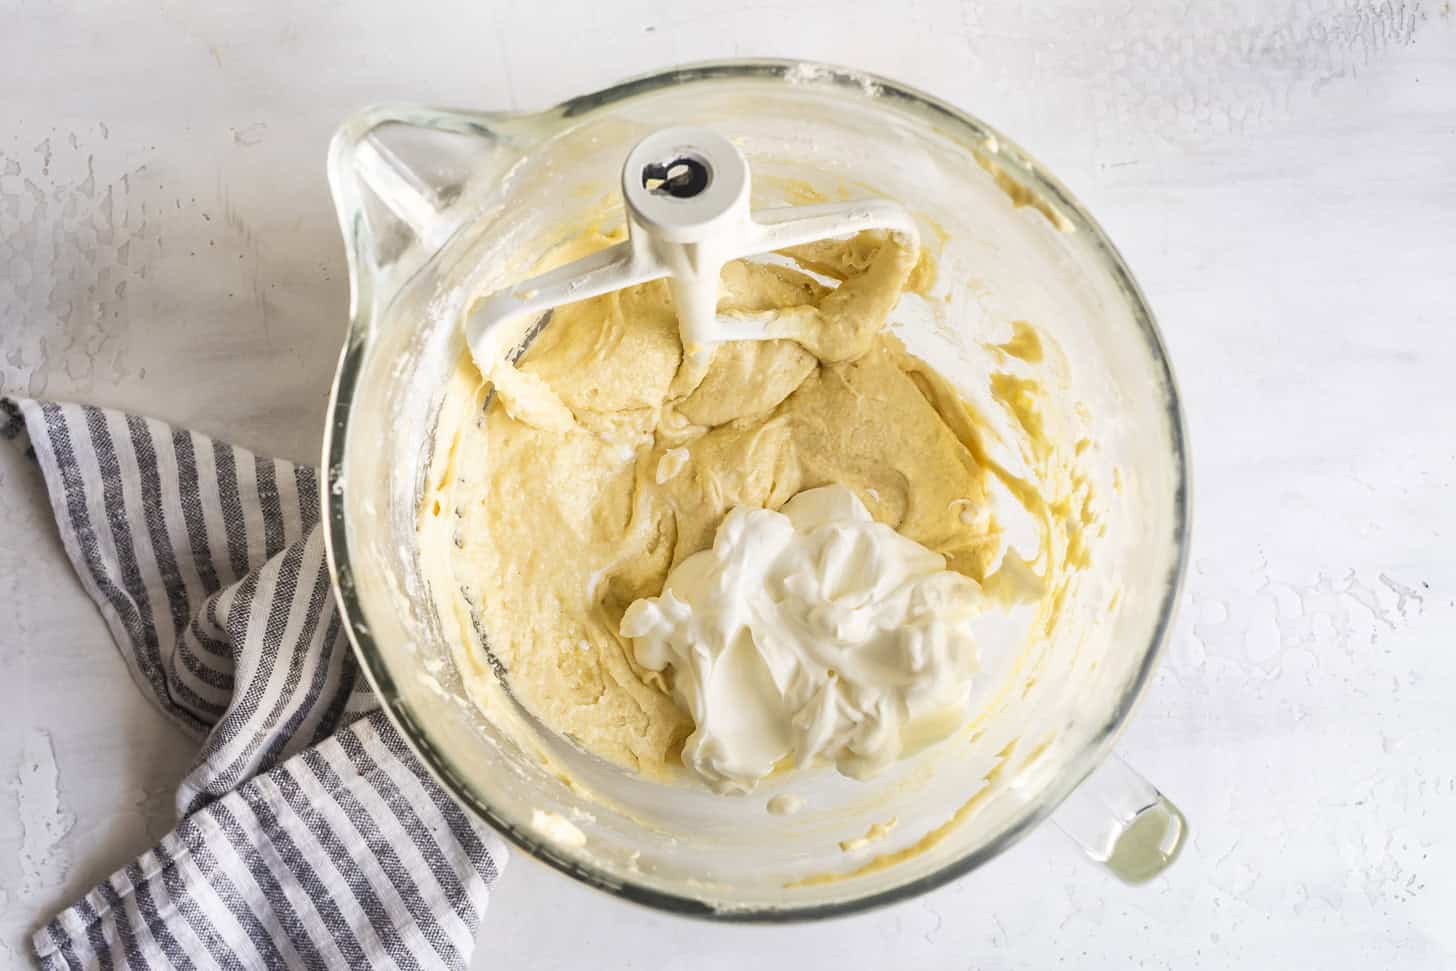
Mix in the sour cream.
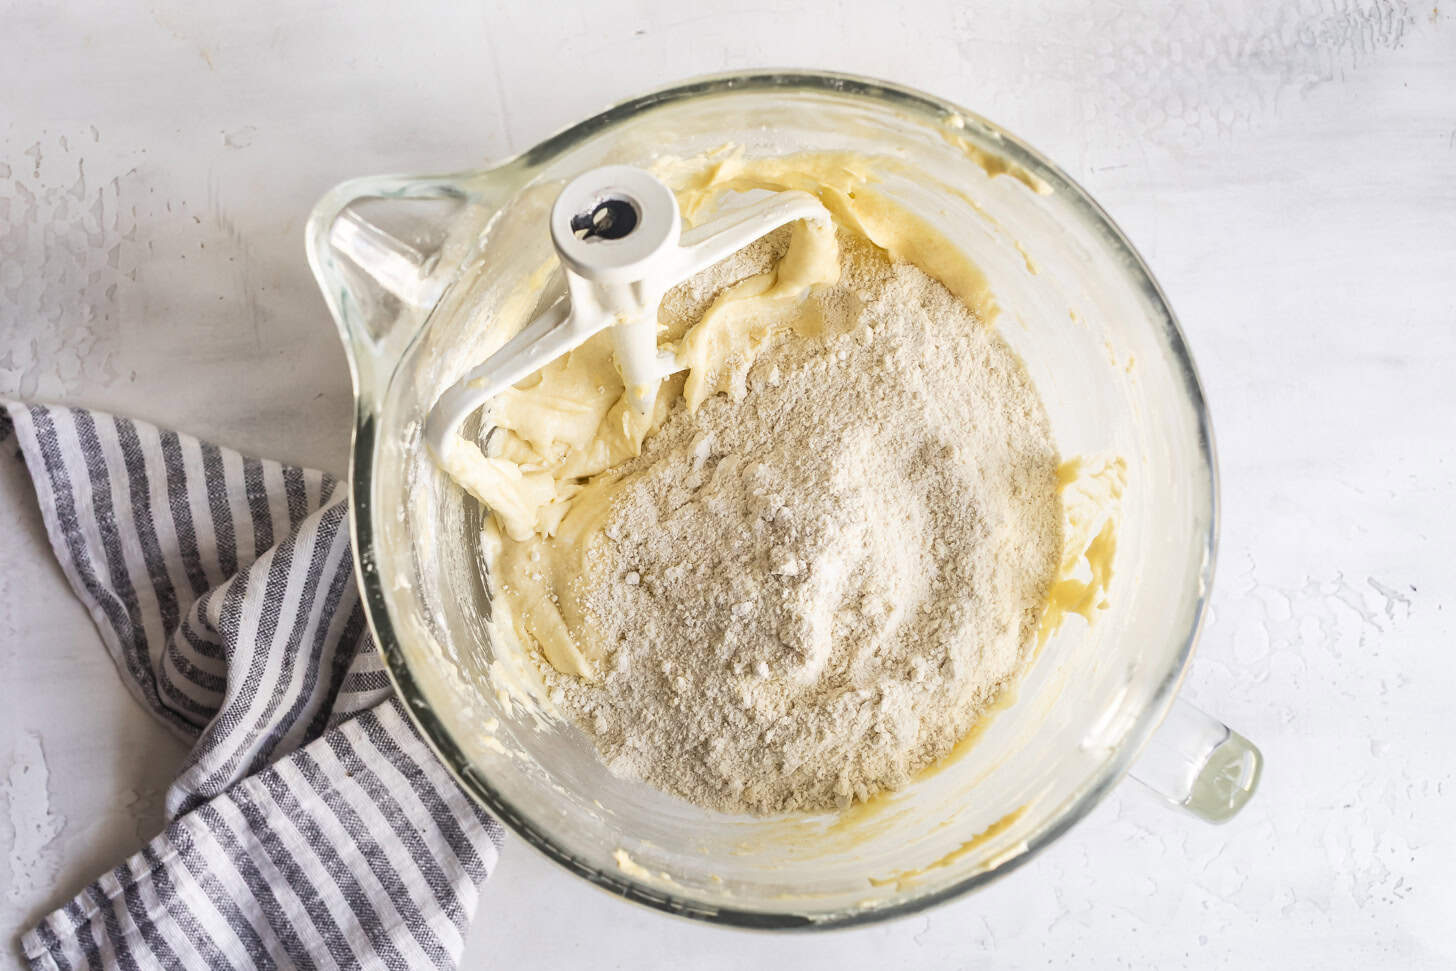
Mix in the remaining dry ingredients.
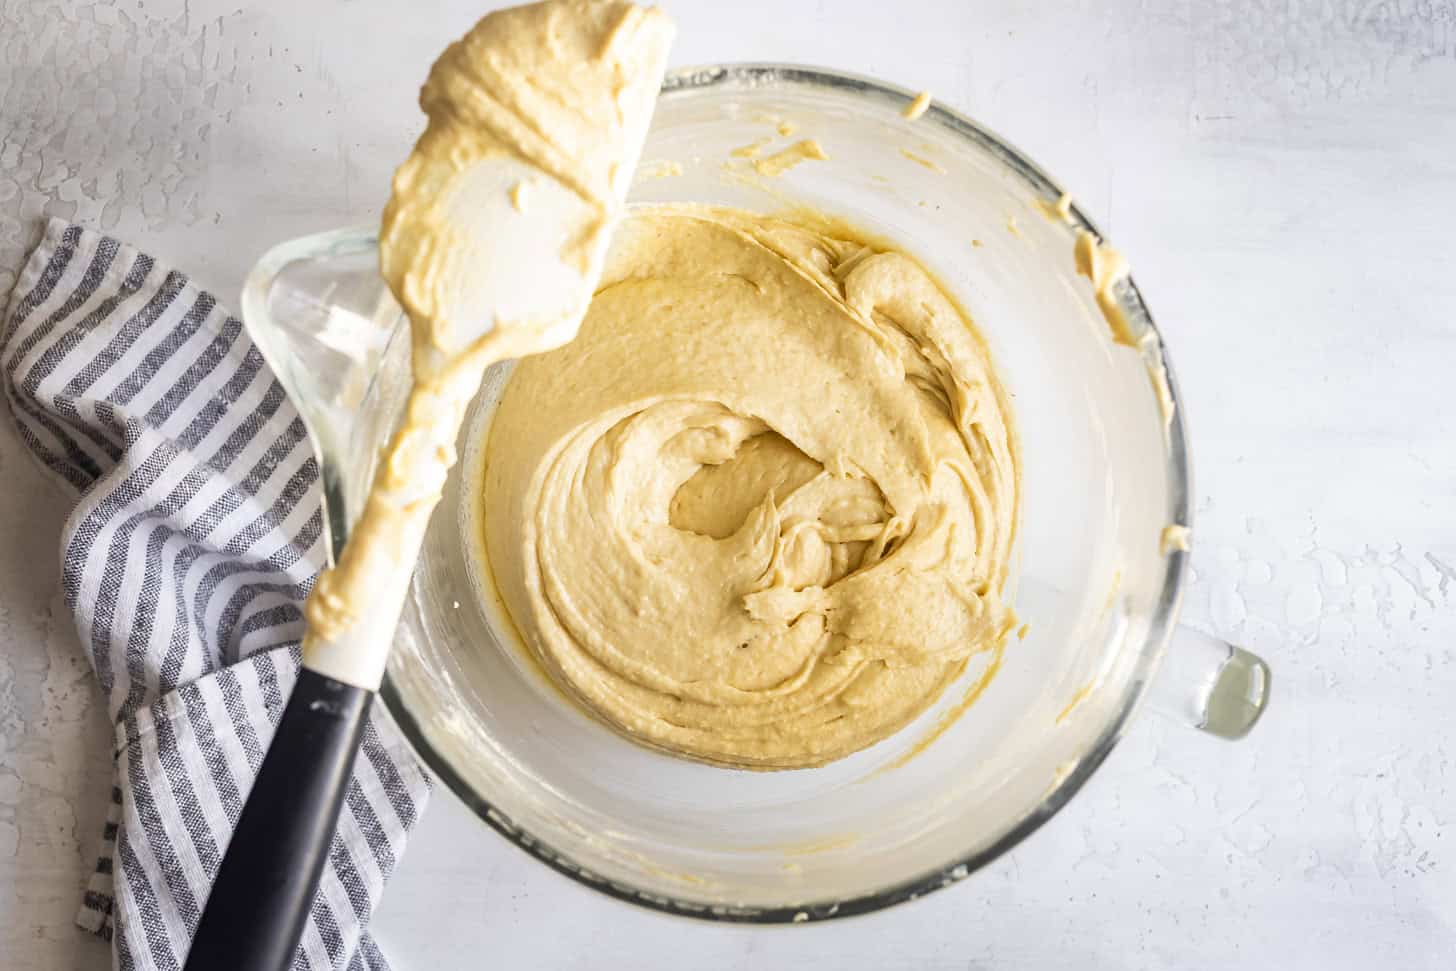
Mix until just combined, scraping down the sides and bottom to ensure it's entirely incorporated.

Optional for Aesthetics Only: For a perfect crack right down the middle, use a pastry cutter or a knife to cut a thin line about ¼ to ⅛-inch deep down the center of the cake. Pipe a very thin line of room temperature butter in the crack. Bake!

Maria -
Could you sub 5% Greek yogurt for the sour cream?
Sarah Menanix -
While I haven't tried it, I think that should work!
Francine -
I can not do oat flour or sweet rice flour, do you have any suggestions for alternative flour?
Sarah Menanix -
While I haven't tried it, if I were testing it without oat and sweet rice, I would sub in 118g sorghum flour for oat flour and an additional 80g tapioca flour for sweet rice flour. Please let me know how it turns out if you try it!
alex -
this looks beautiful! is it amenable to doubling and baking in a standard Bundt? (w/ time adjustments of course).
Sarah Menanix -
That’s a great question! I have not tried it yet but it is on my to-do list. I think you would need to double the recipe or at least scale it up by 1.5x. Then you would need to brush the crevices of the Bundt pan very well with soft butter and dust it with almond flour before pouring in the batter. If you do try it, please let me know! Or if I try it first, I will be sure to update.