
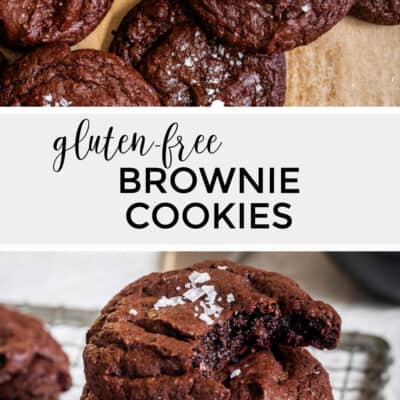
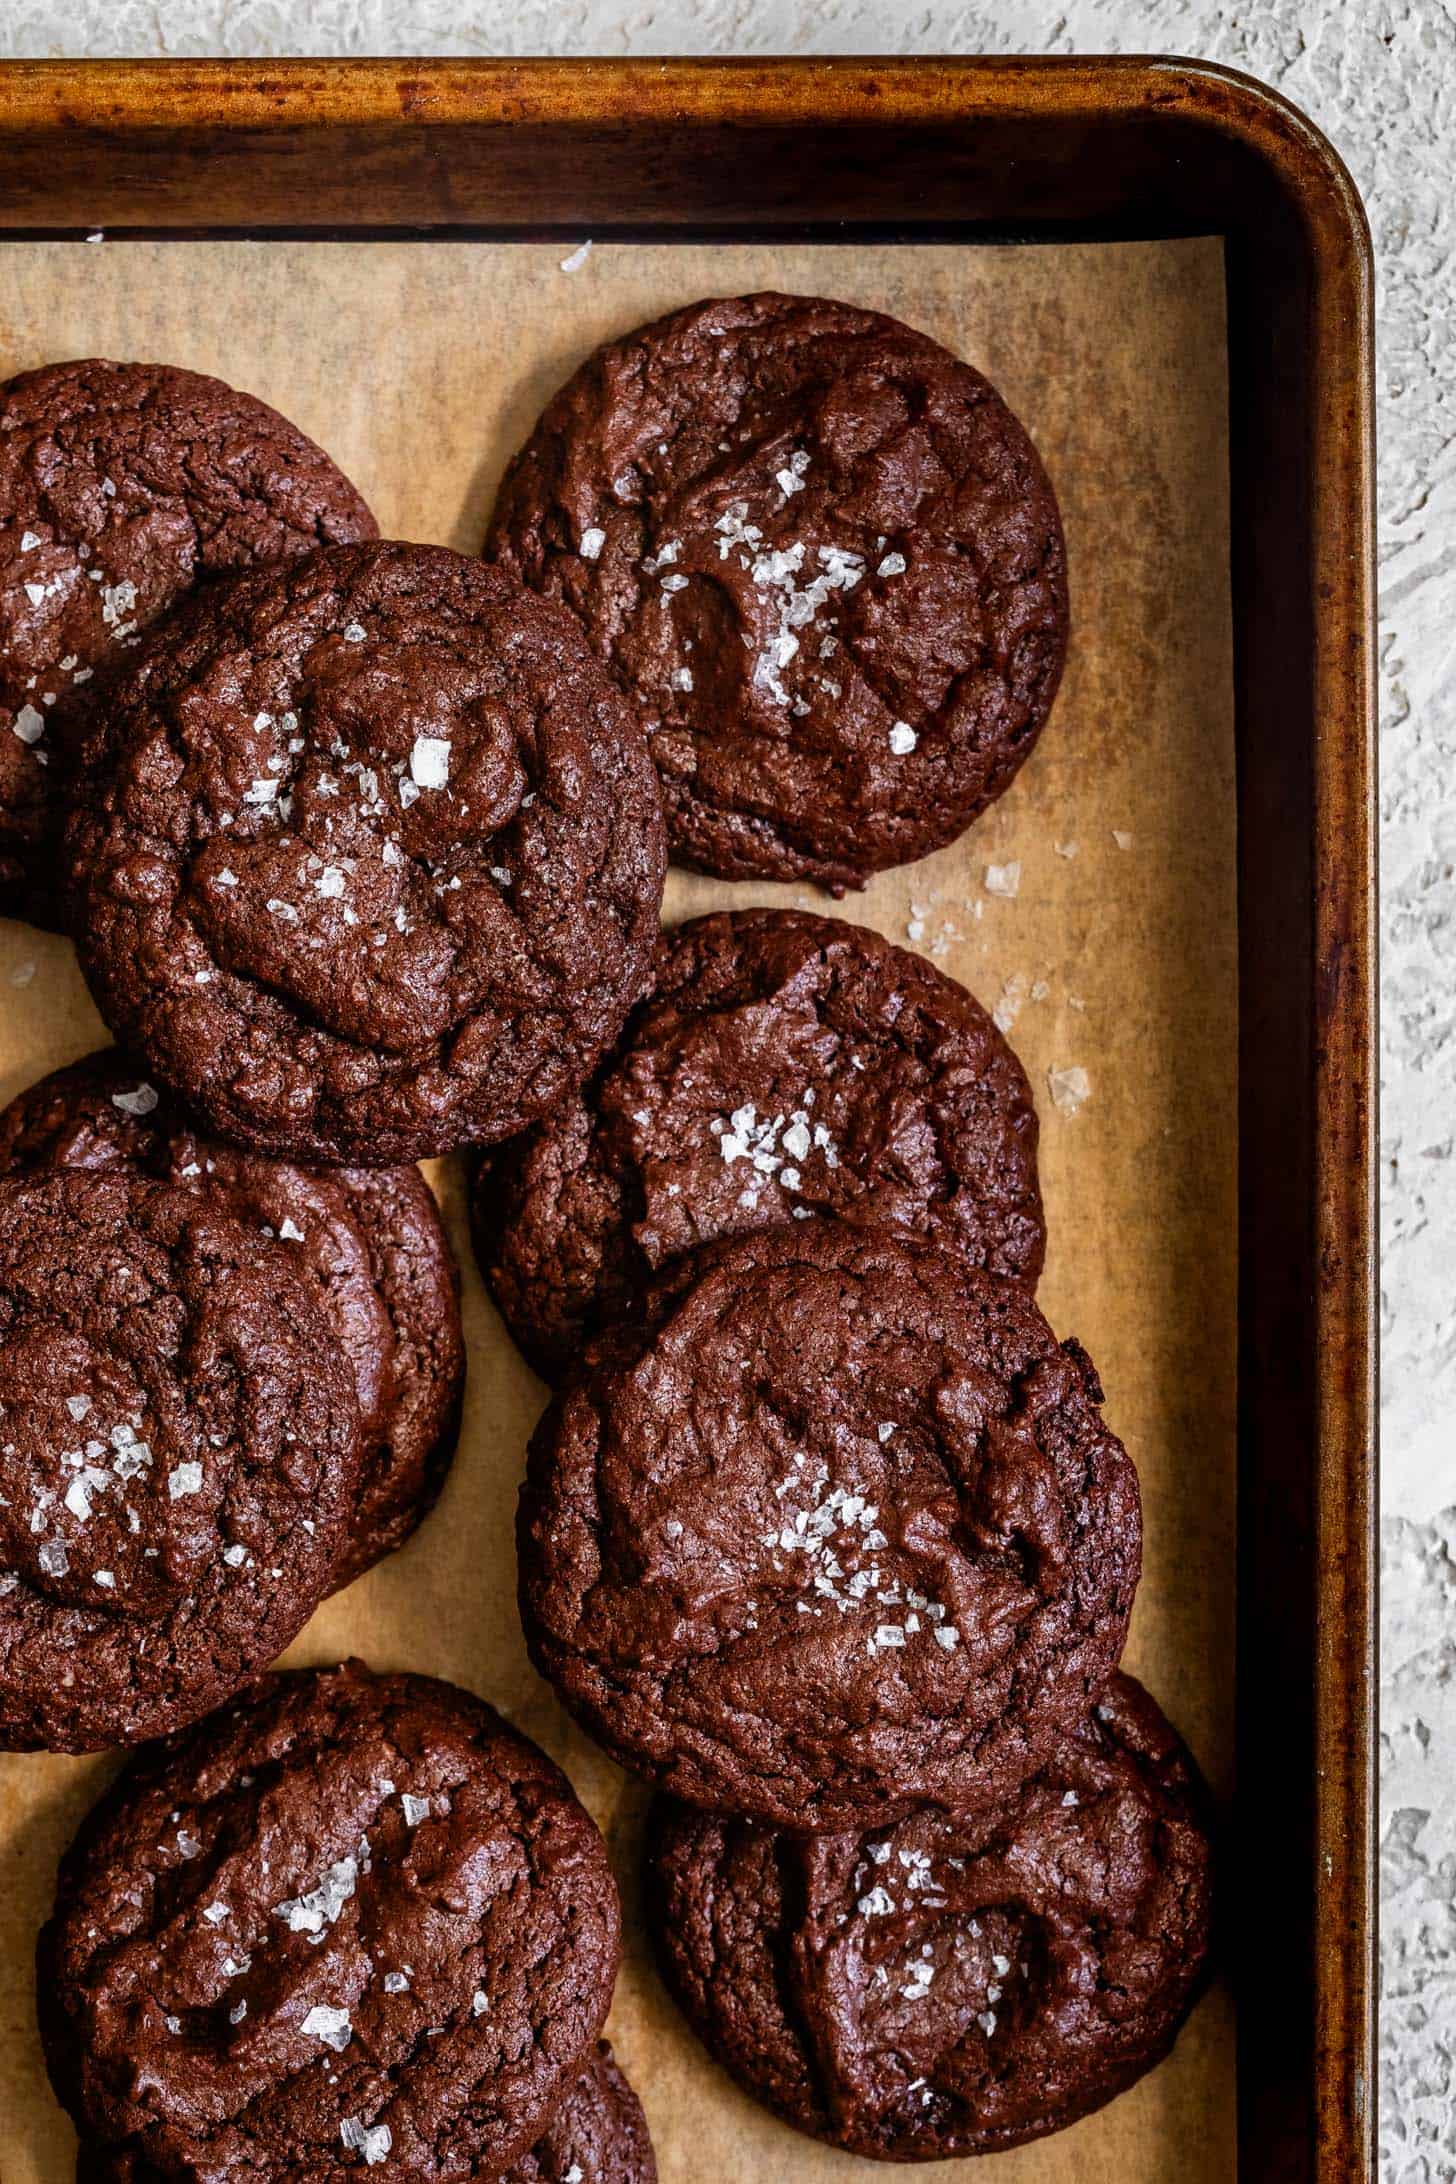
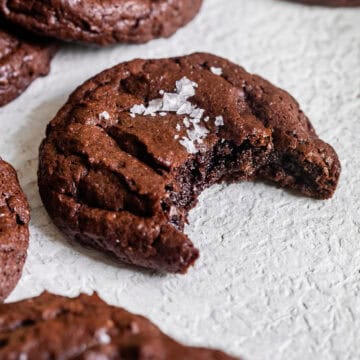
These irresistible gluten-free brownie cookies are everything you love about your favorite brownies, but in an easy-to-make cookie - no chilling of the dough! They have chewy fudgy centers, crinkly tops, and rich deep chocolate flavor. You'd never know they were gluten-free. A must for chocolate lovers!
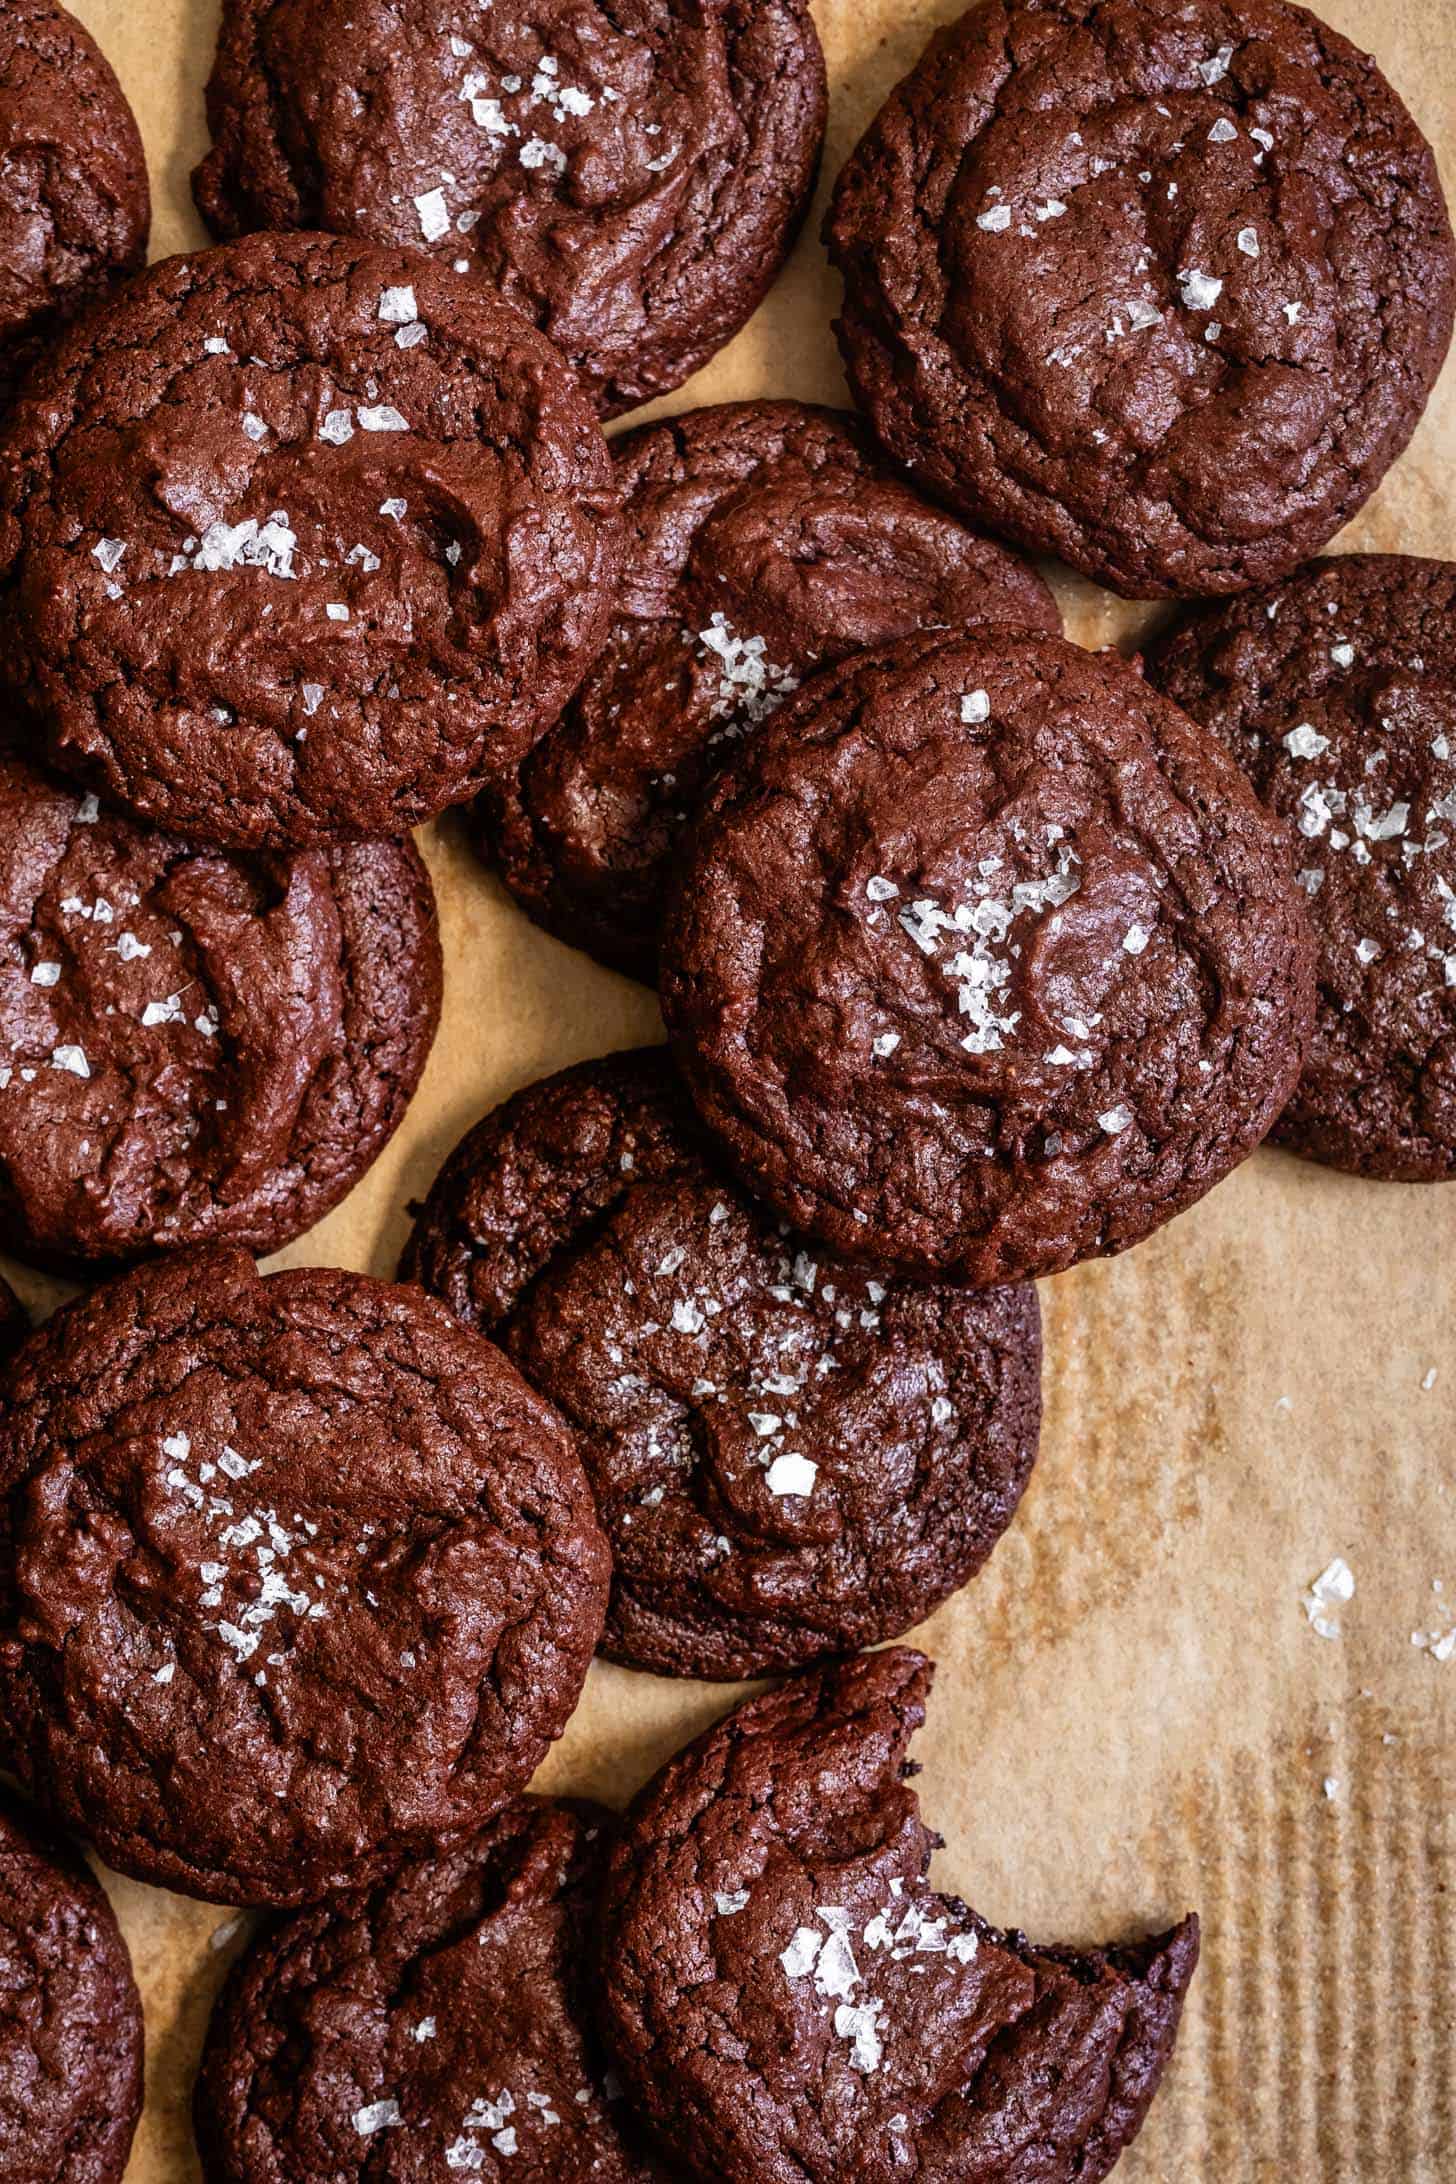
Attention brownie edge lovers-have I got a cookie for you! These incredible brownie cookies capture everything you love about my favorite gluten-free brownies without having to patiently wait for a whole pan of brownies to bake and cool. These cookies are rich, fudgy, and chewy all at once - with a deep, bittersweet chocolate flavor.
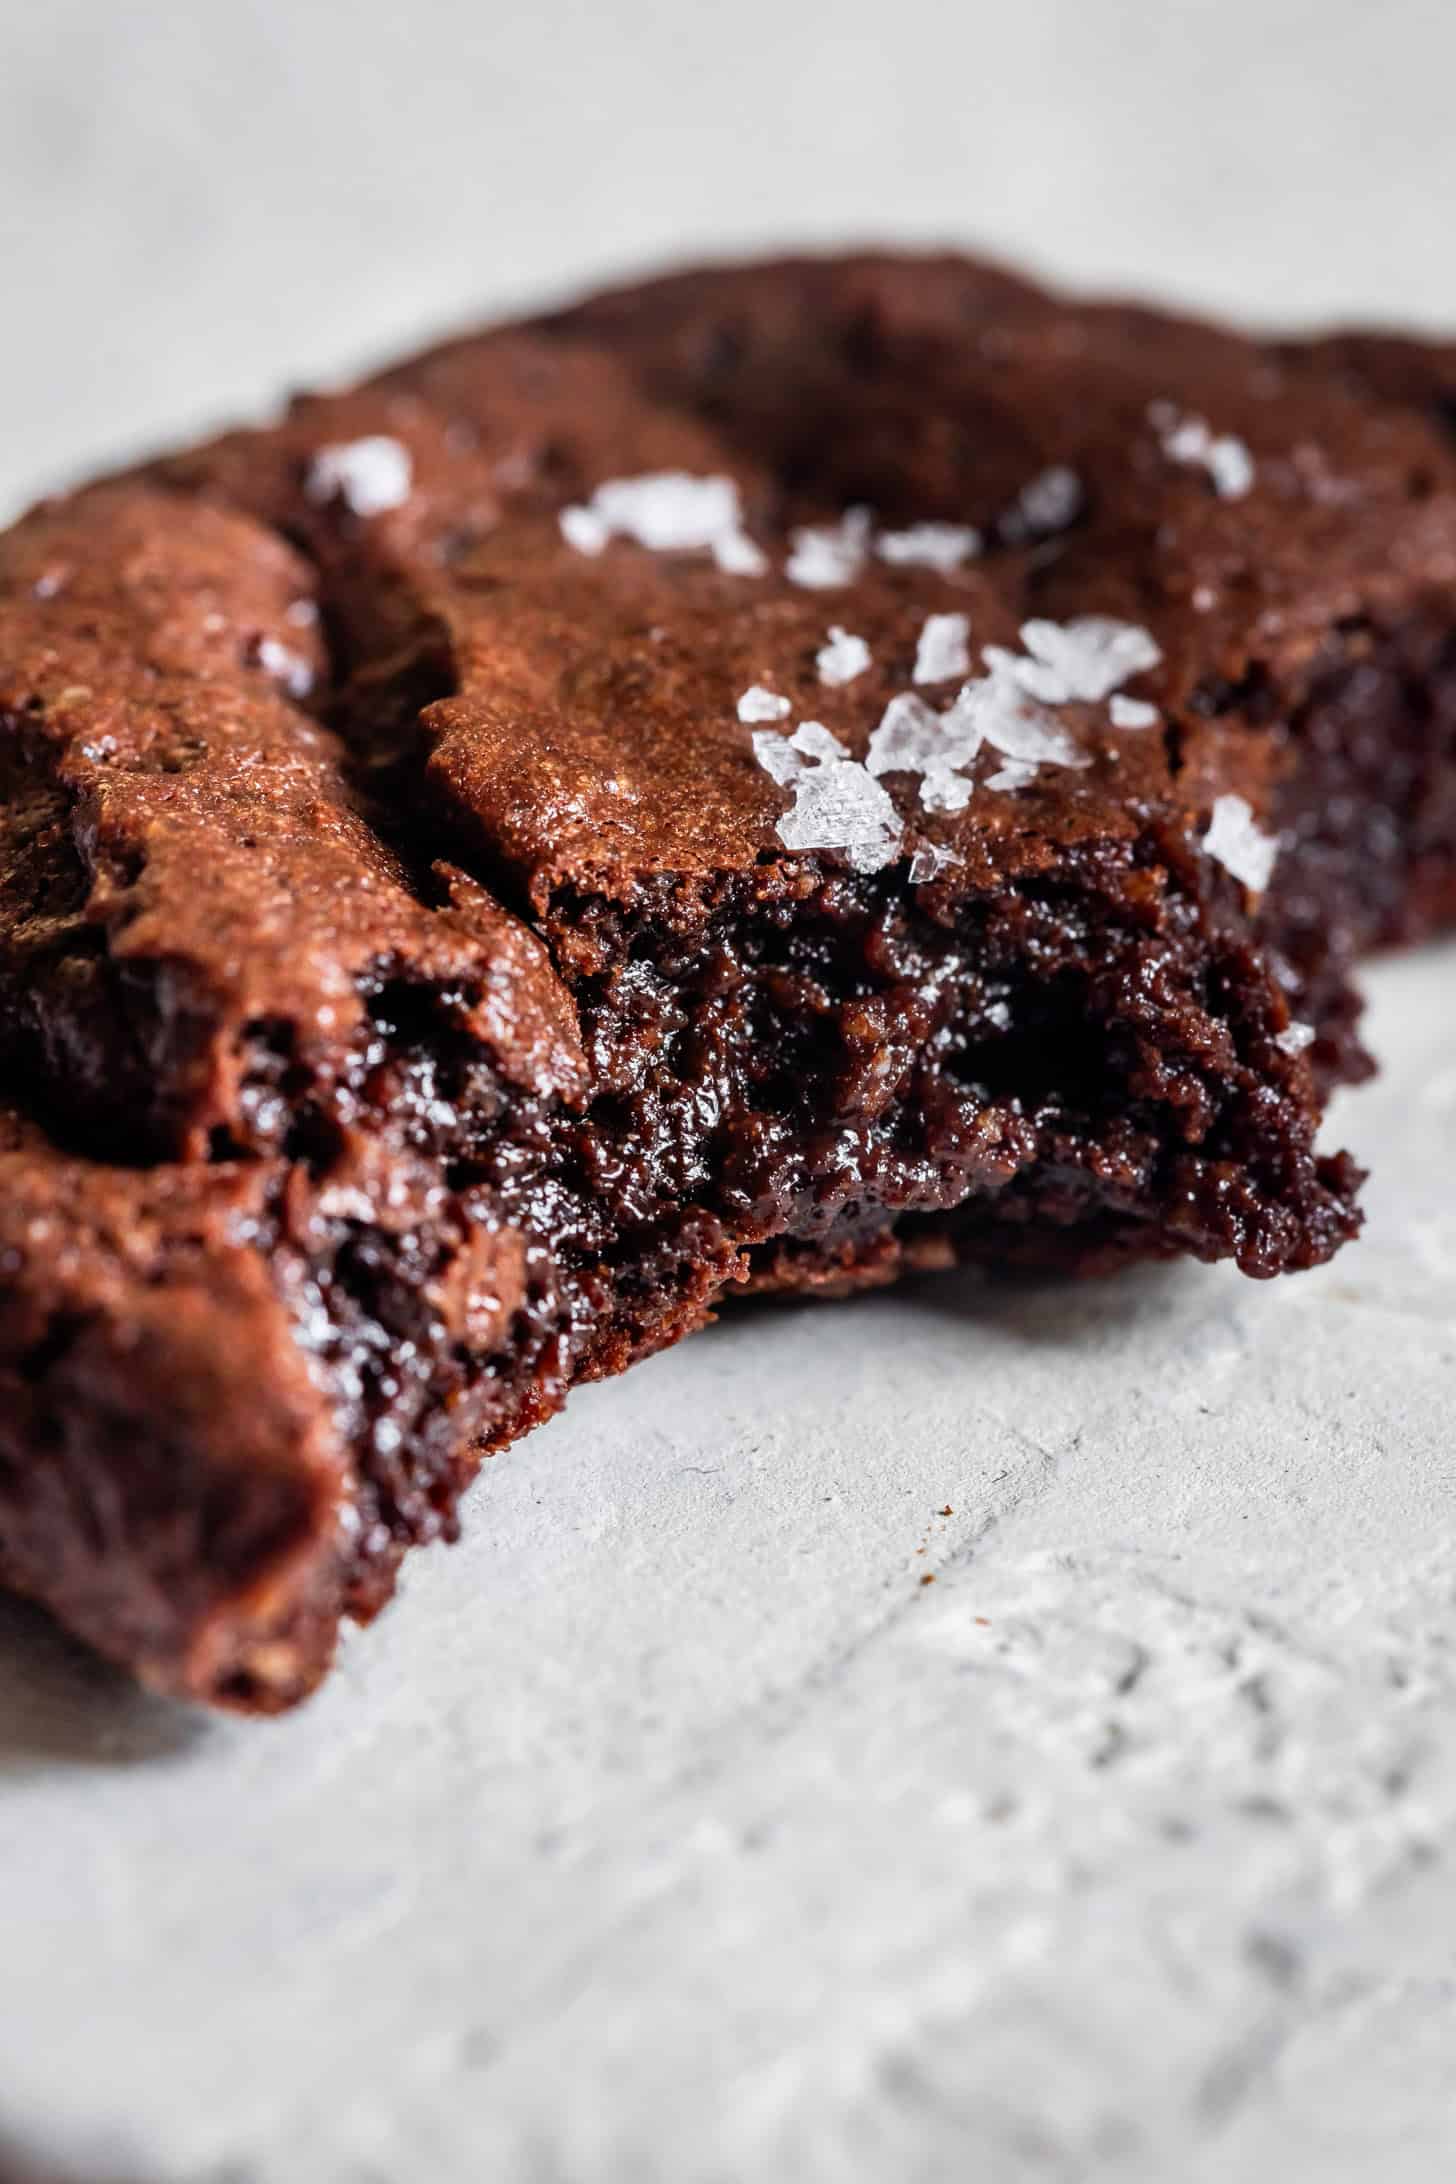
The balance between fudgy and chewy is the key to these gluten-free brownie cookies. They're soft enough to melt in your mouth, but sturdy enough to hold up as a cookie. Best of all, they come together in no time!
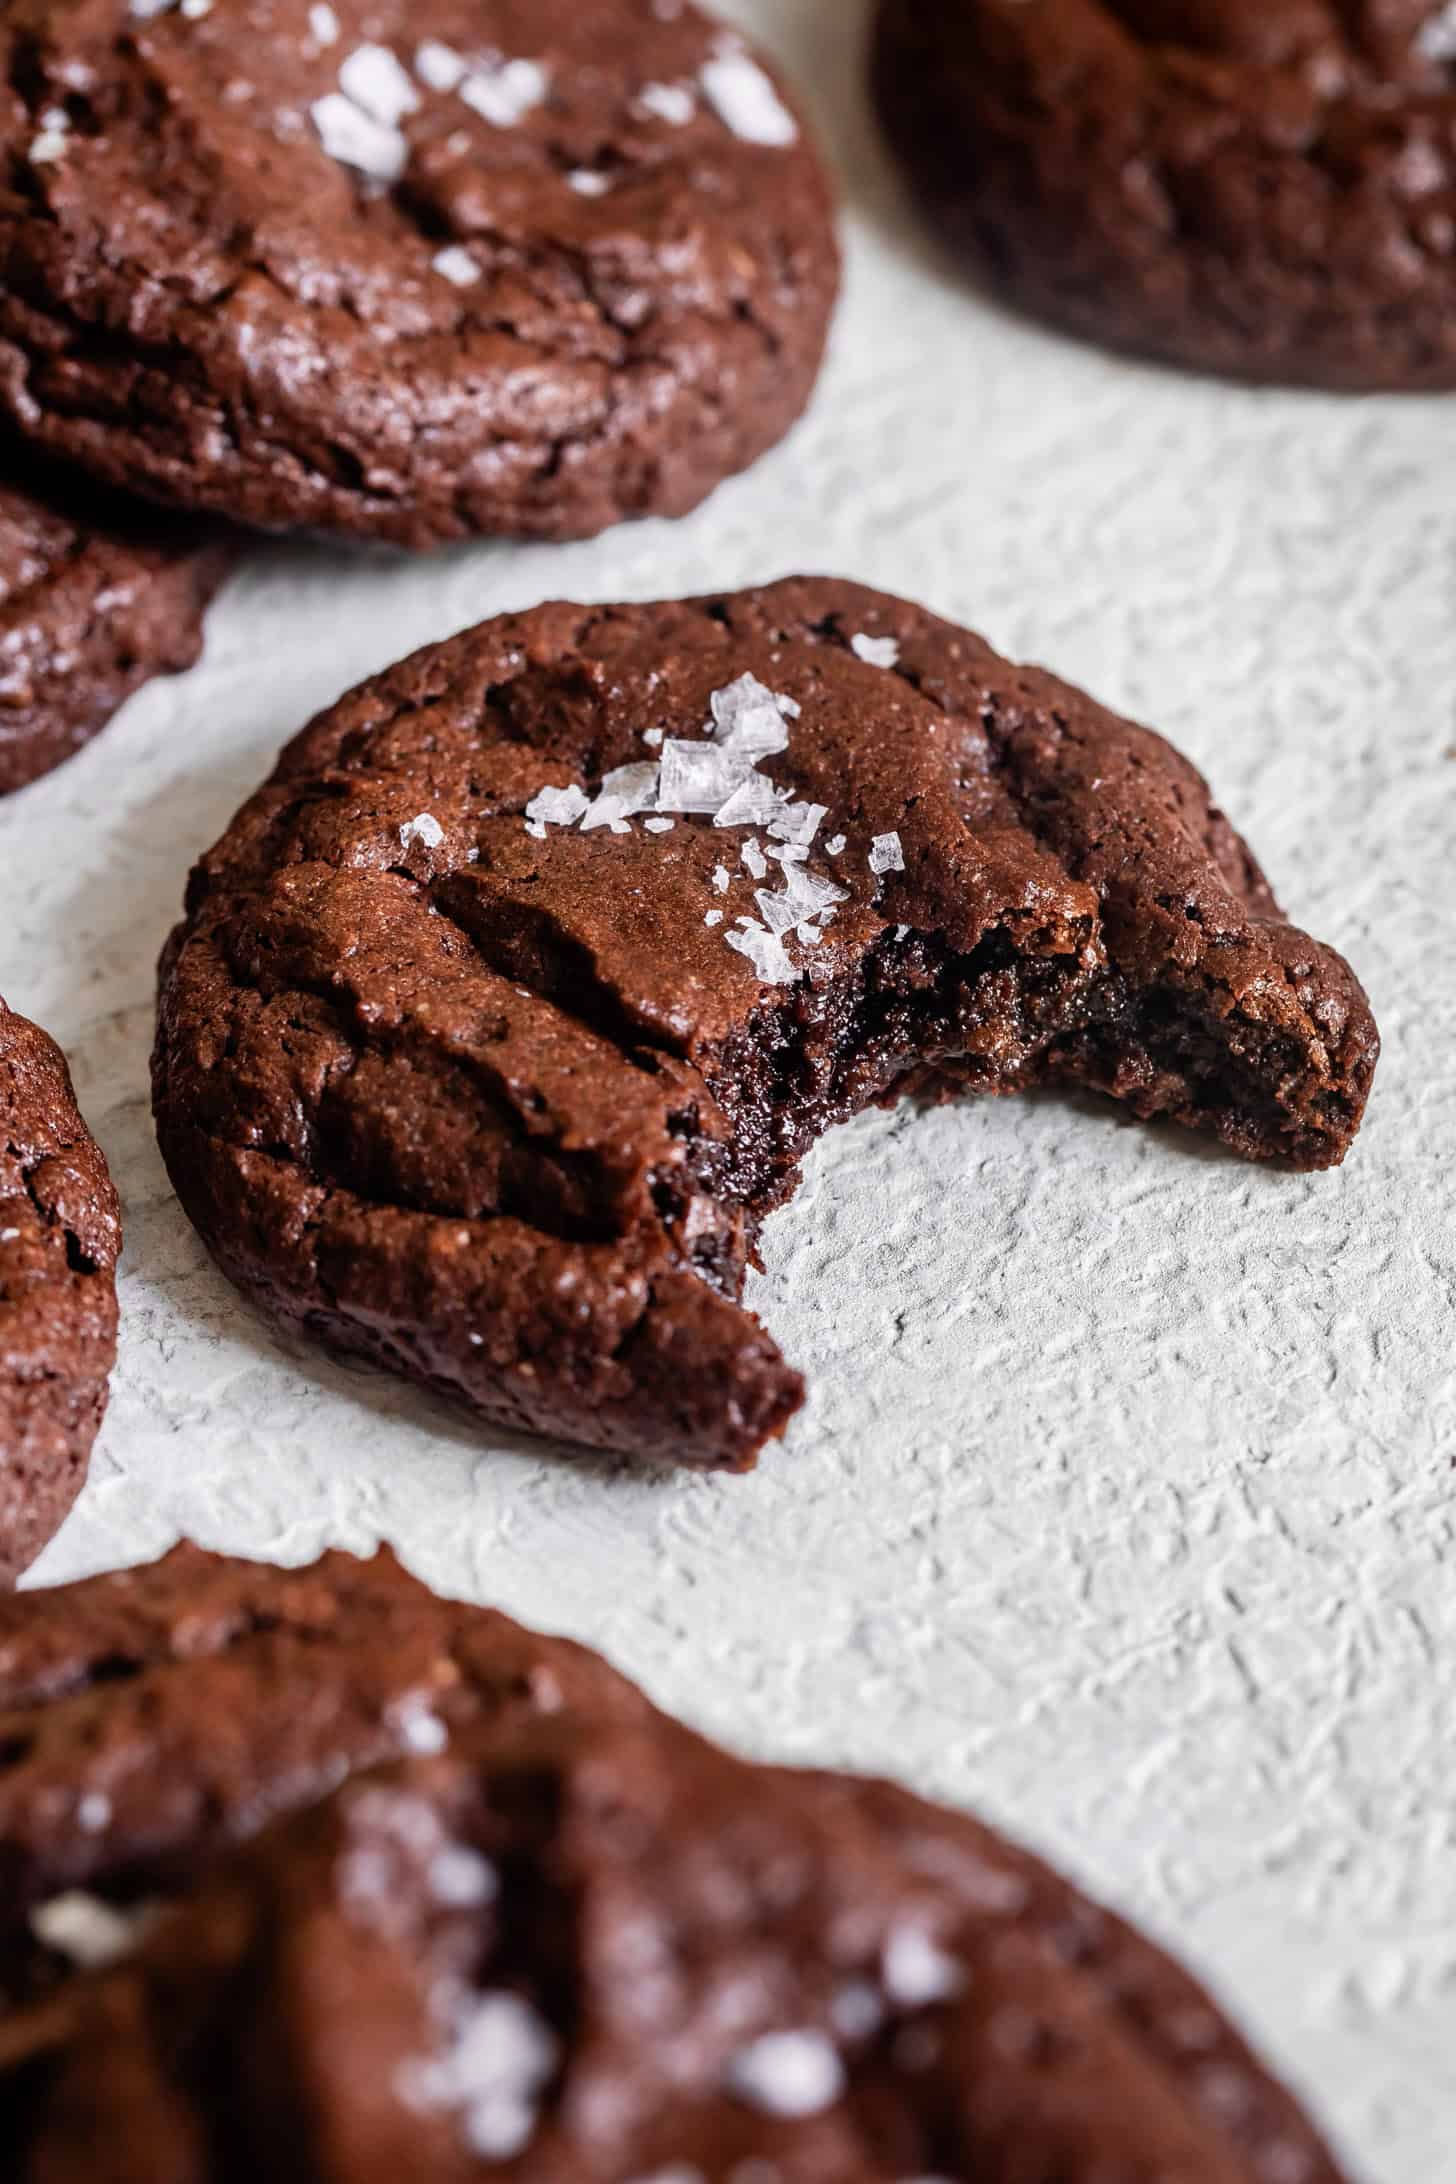
Tip for Chewy Fudgy Cookies
Aim to underbake the cookies slightly. I do the same with my gluten-free chocolate chip cookies, too. You want to achieve that perfect balance where the edges are set and chewy, but the centers stay soft and fudgy-just like a brownie!
To do this, bake them until the tops look set but still have a little shine. When removed from the oven, the heat of the pan will continue baking the cookies, and as they cool, they'll continue to firm up, leaving you with the ultimate chewy, gooey texture. If you overbake the cookies, they may turn out too cakey!
Why you'll love these brownie cookies
- Fudgy texture: The perfect chewy, fudgy bite you'd expect from a brownie, but in cookie form.
- Ultra chocolatey: With cocoa powder and bittersweet chocolate in the dough, every bite is packed with rich chocolatey flavor.
- Quick and easy: No need to chill the dough, so you can whip up a batch in no time.
- Secretly gluten-free: You won't miss the gluten in these cookies, thanks to the perfect blend of almond flour and sweet rice flour that gives them structure and chew without any grainy texture.
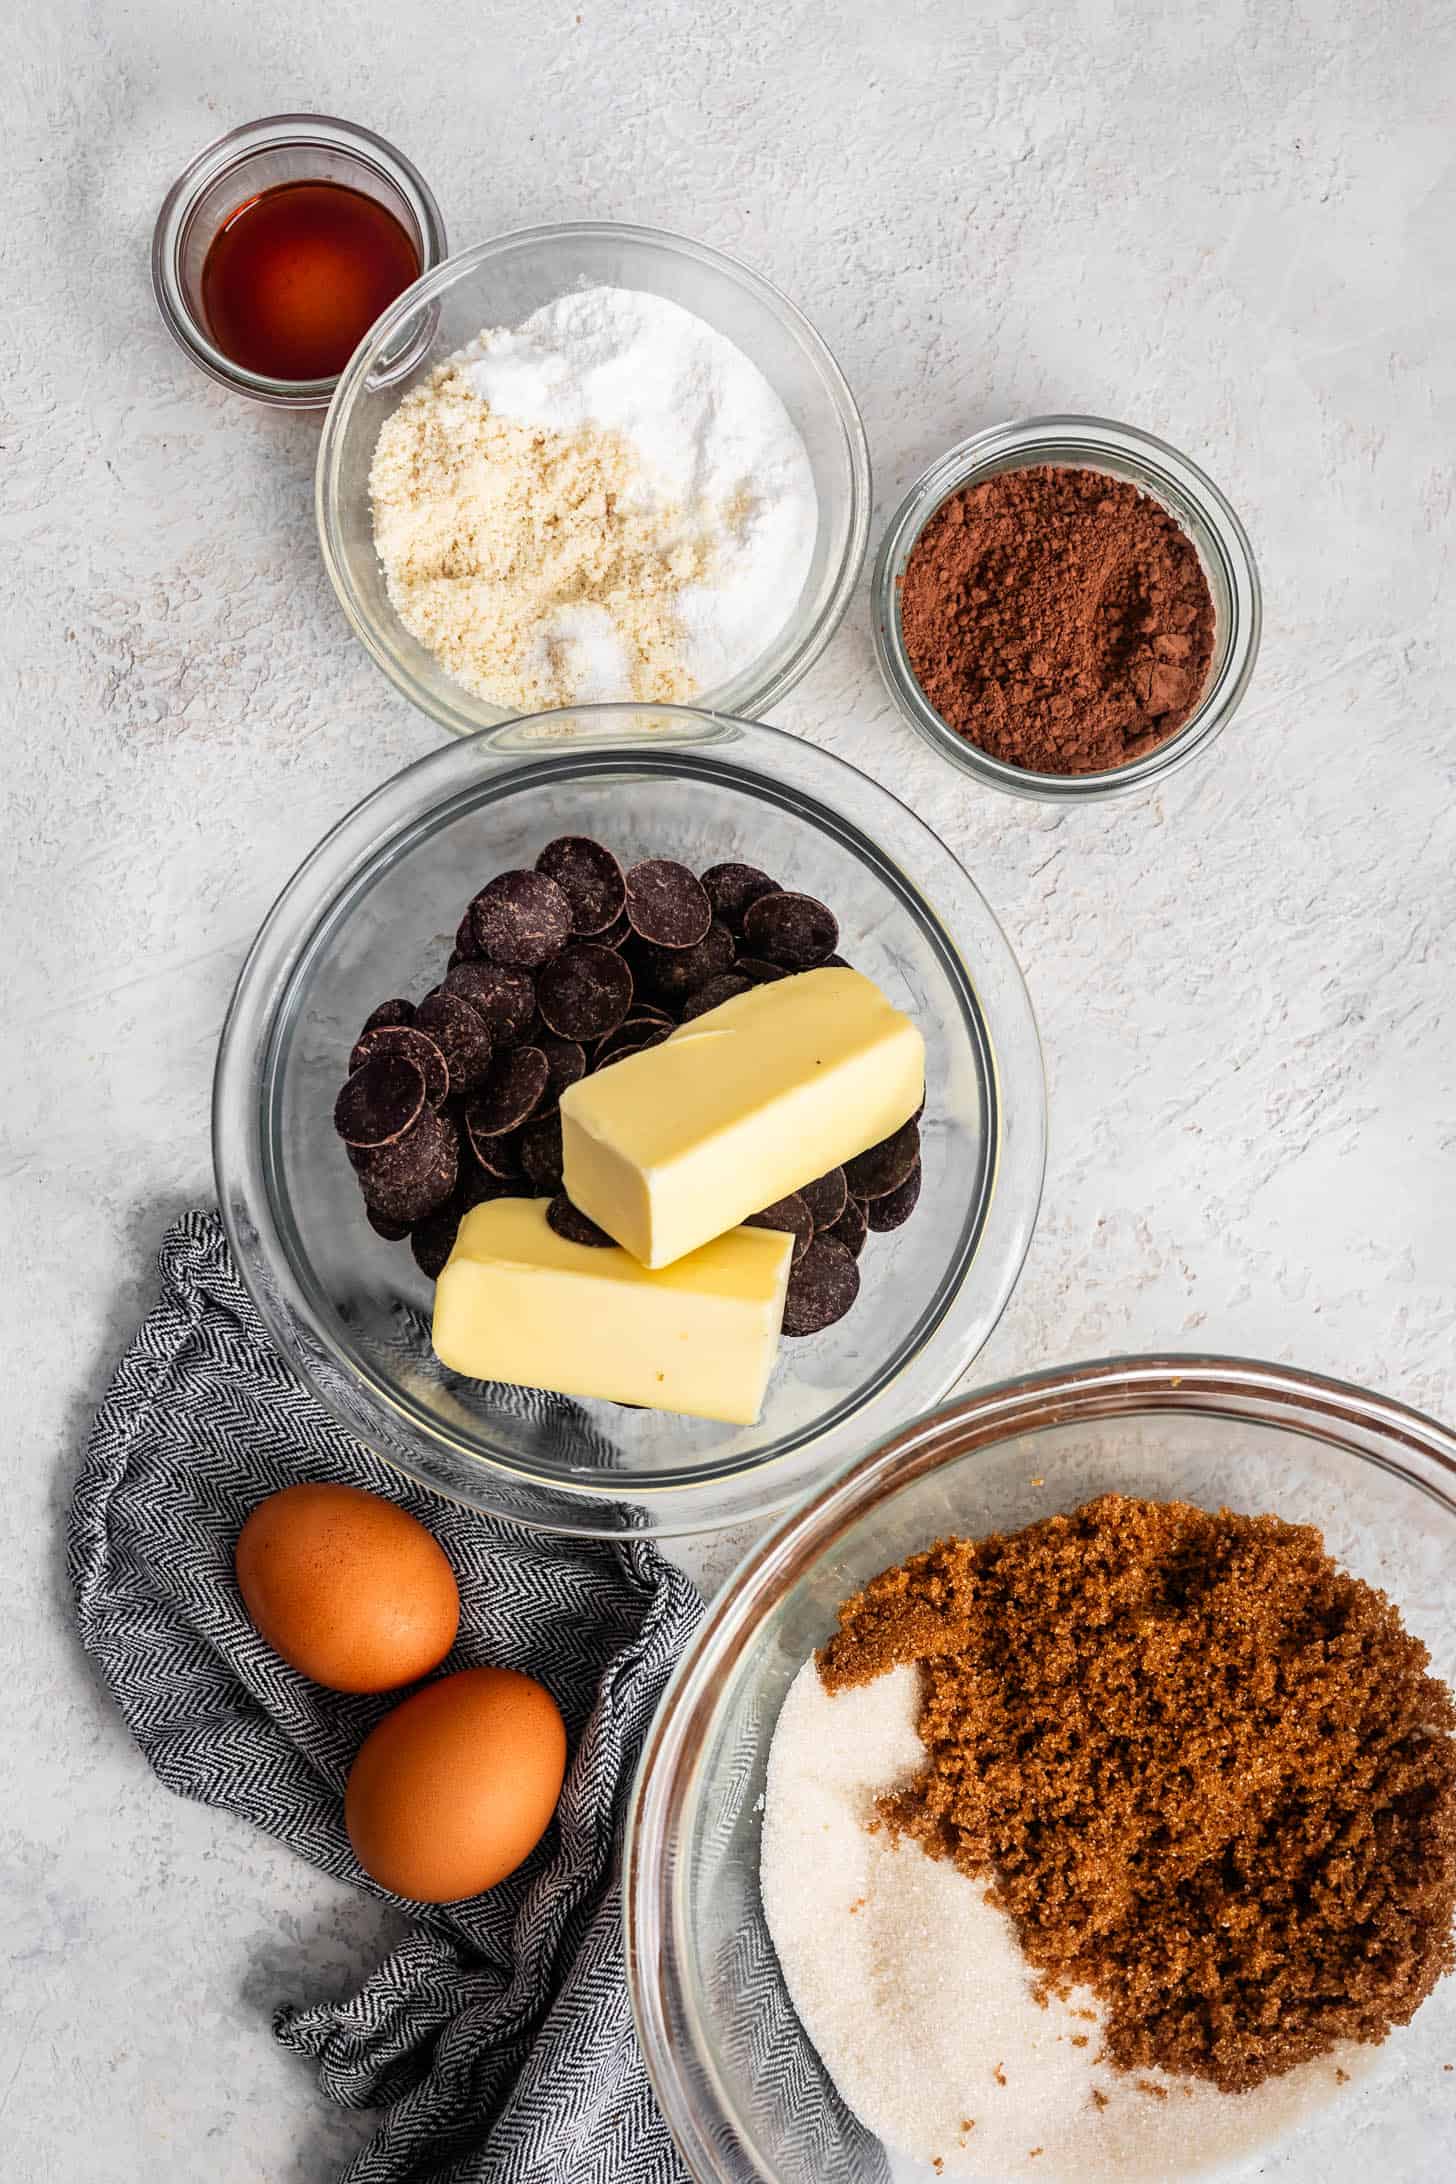
Main Ingredients for the Best Gluten-Free Brownie Cookies
- Unsalted butter: Room temperature. Make them dairy-free by swapping the butter for a plant-based butter. Be sure to use dairy-free chocolate chips as well.
- Bittersweet chocolate chips or chopped chocolate: Use high quality chocolate that is 60-70%
- Cocoa powder: I prefer Dutch-processed because it creates a fudgier cookie that bakes up deep dark brown and extra rich without being bitter. If you don't have Dutch-processed, natural cocoa powder will work too. If you opt for the natural cocoa powder, your brownies won't be quite as dark, but they'll still be delicious!
- Superfine blanched almond flour OR buckwheat flour: Superfine blanched almond flour adds flour bulk without drying out the cookie. It imparts the cookie moisture and a subtle nutty sweetness. If you can't have nuts, you can replace the almond flour with 34g of buckwheat flour.
- Sweet rice flour: Also called mochiko or glutinous rice flour, sweet rice flour is distinctively different than white rice or brown rice flour. Sweet rice flour is the same flour used to make mochi, and as such, it contributes to the chewiness of the cookie center.
- Granulated sugar and dark brown sugar: I recommend organic dark brown sugar as it has a higher molasses content and creates a chewier cookie. Use some granulated sugar to create crisp edges and crackly tops!
How to Make Brownie Cookies
The process of making these cookies differs from traditional drop cookies that involve creaming the butter and sugars. Instead, you'll melt the butter and chocolate together, and whip the eggs and sugars. Read all the steps below!
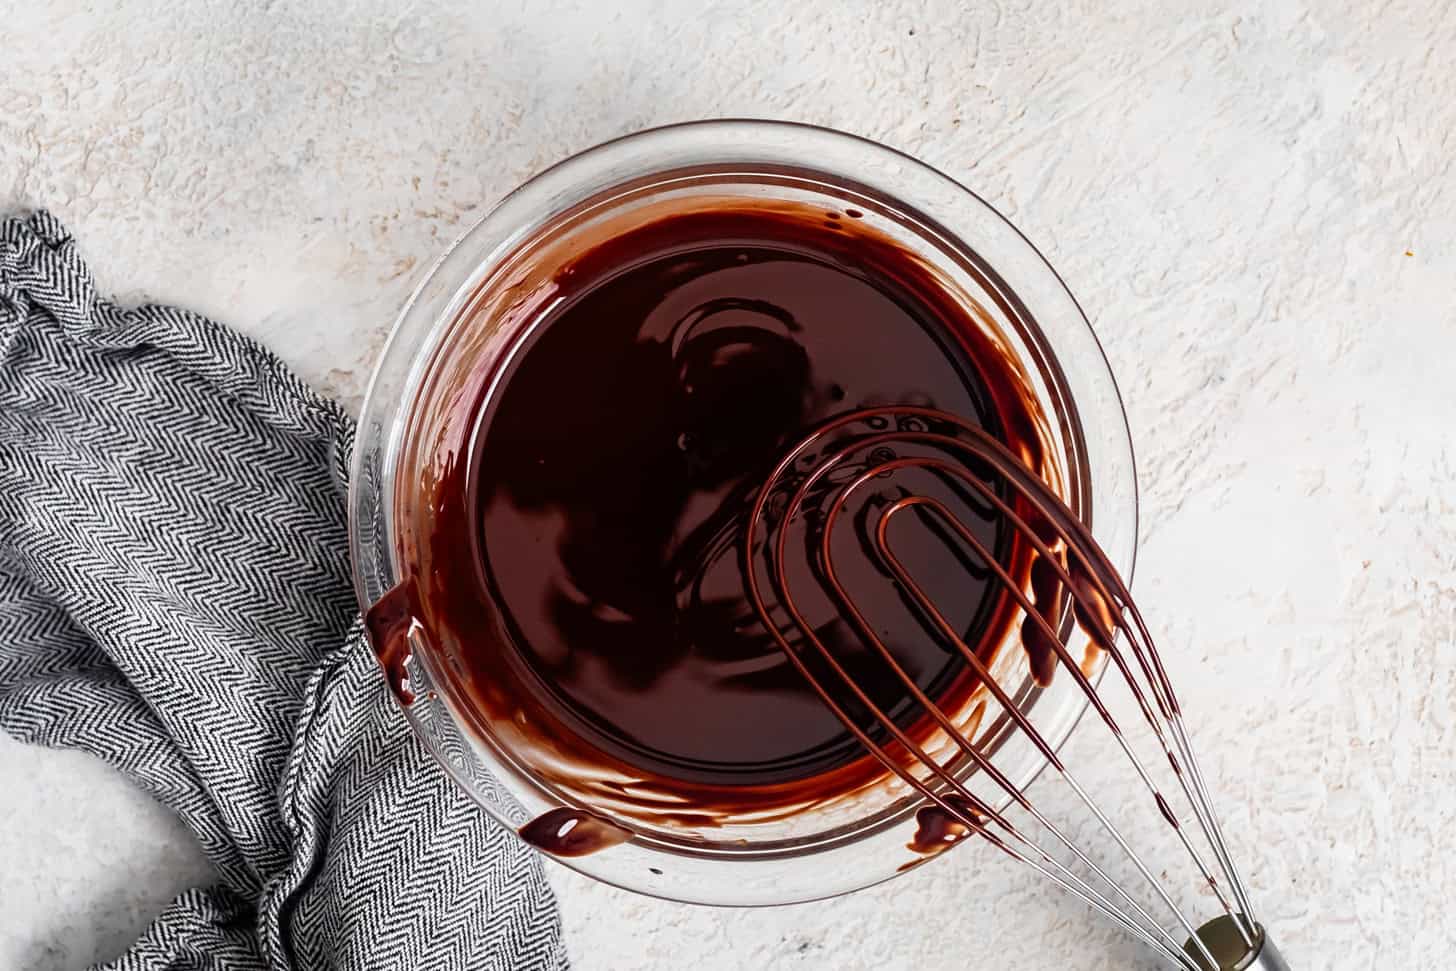
Melt the butter and chocolate together in the microwave or a small saucepan.
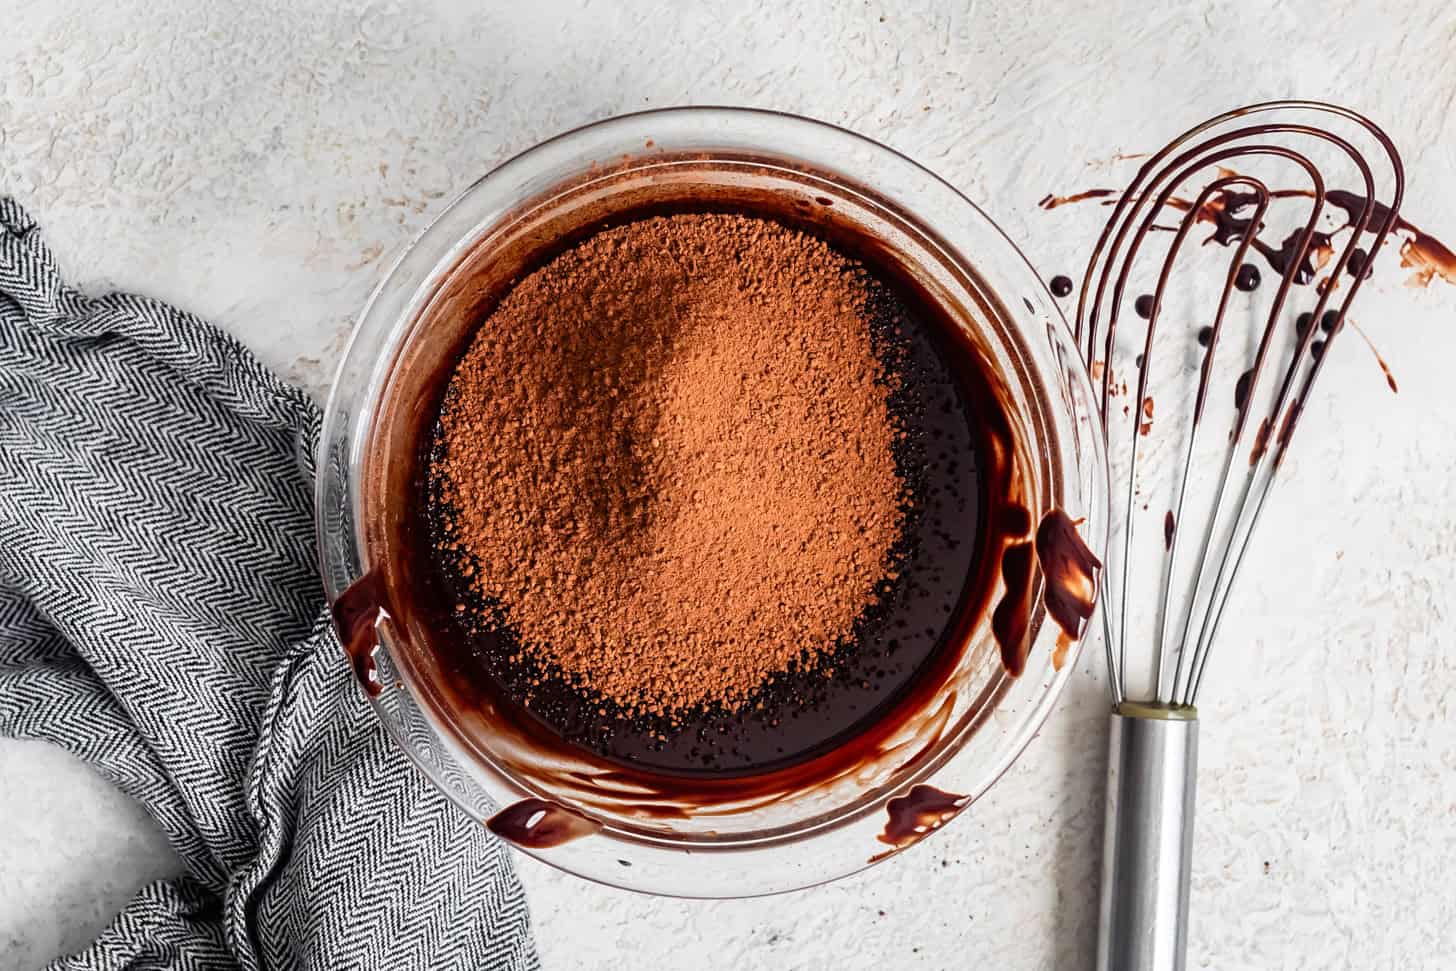
Sift in the cocoa powder...

...and mix until smooth
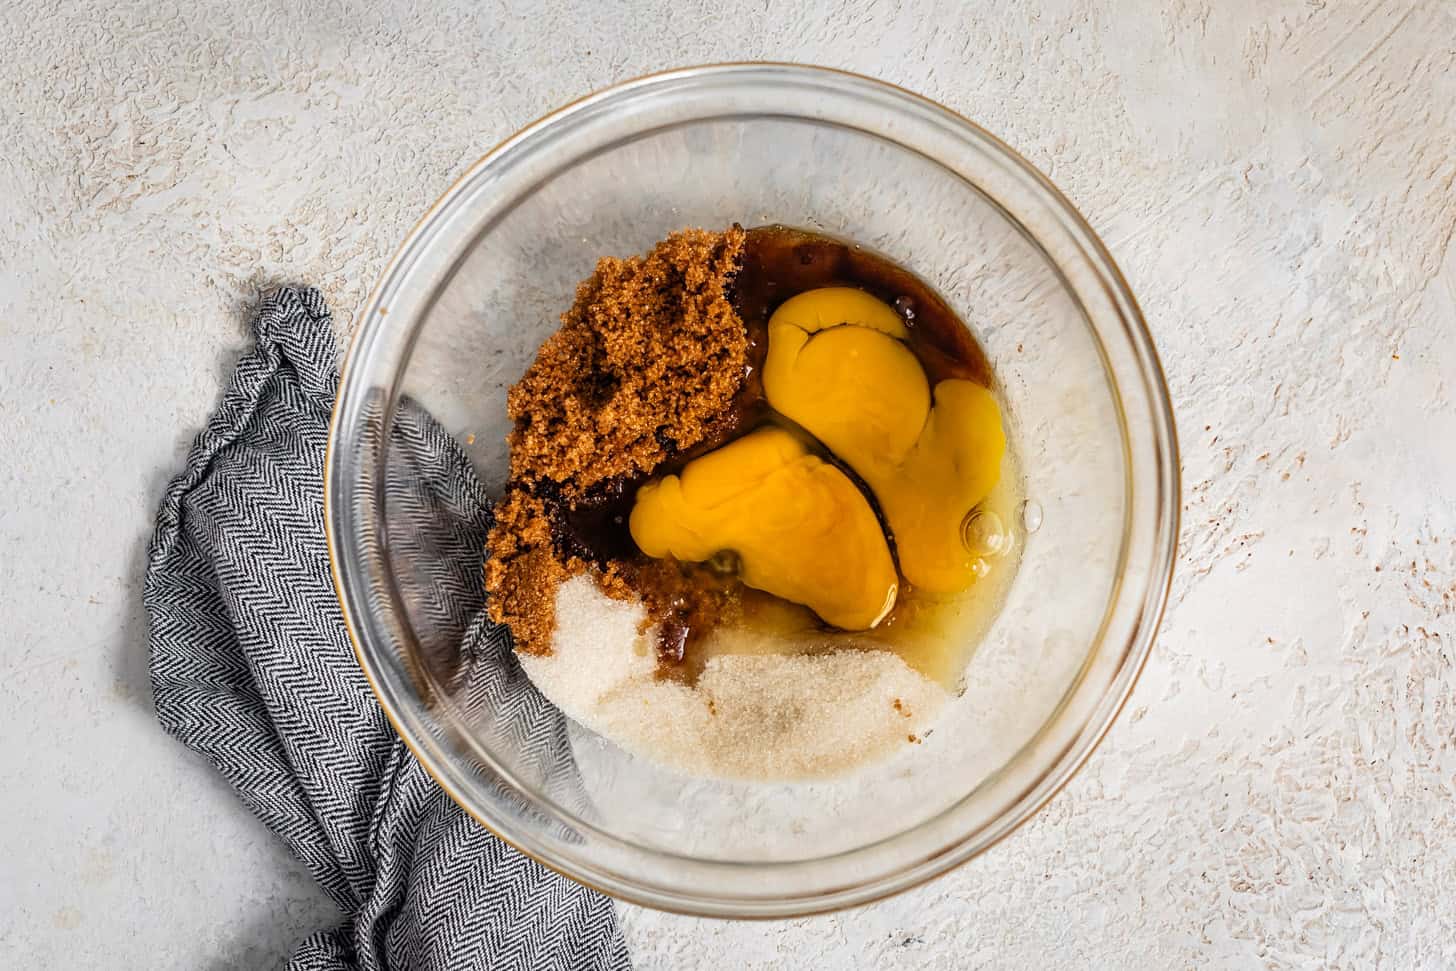
In a separate bowl, beat the eggs and sugars together...
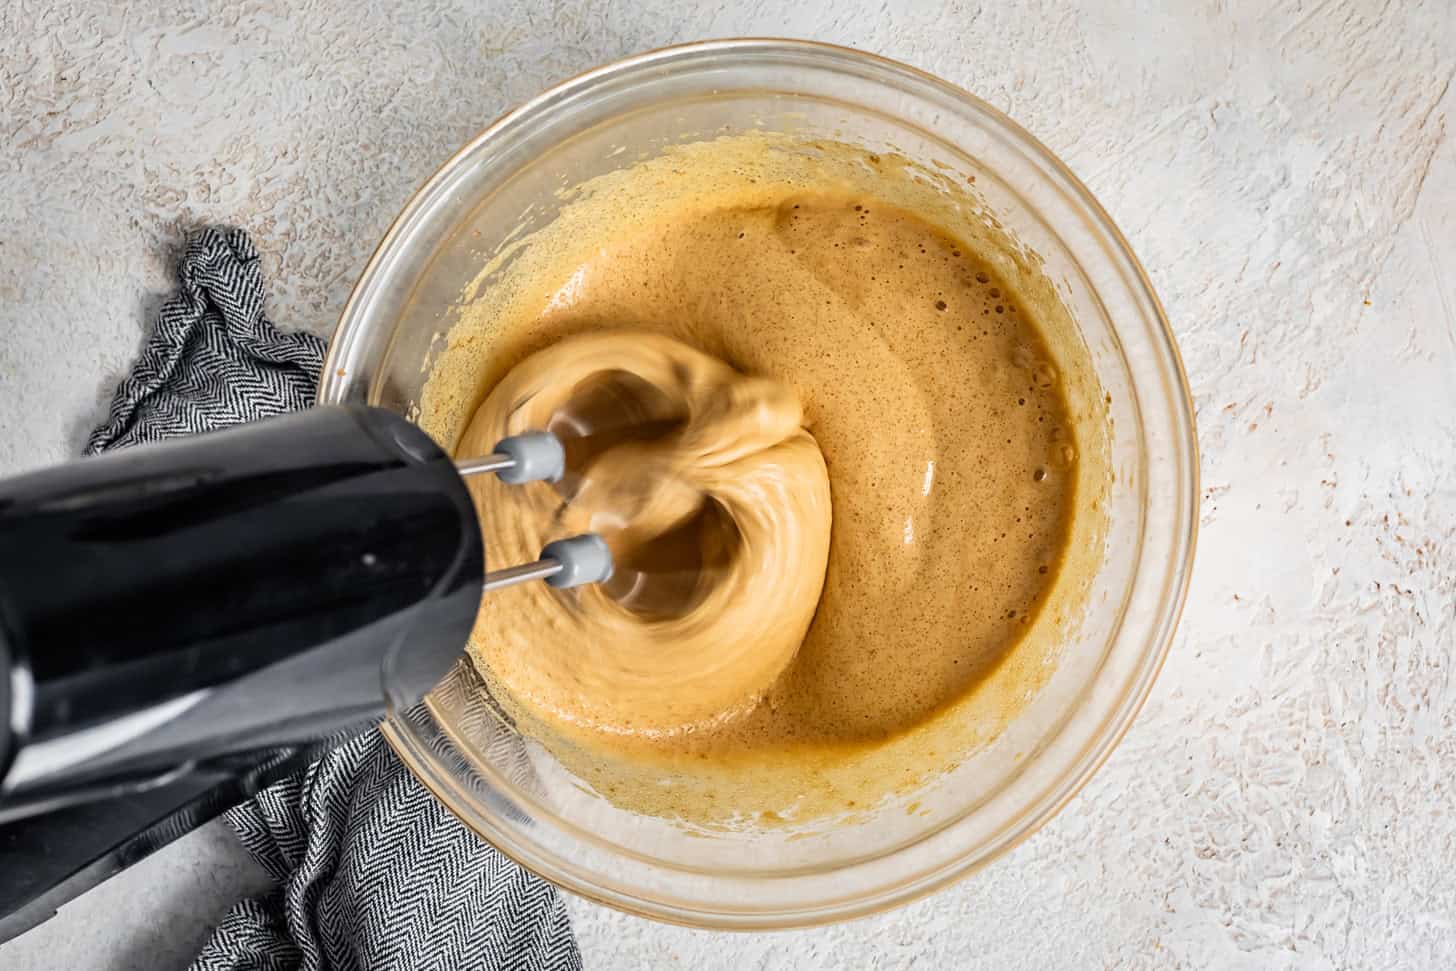
...for 4-5 minutes, until very pale and fluffy.
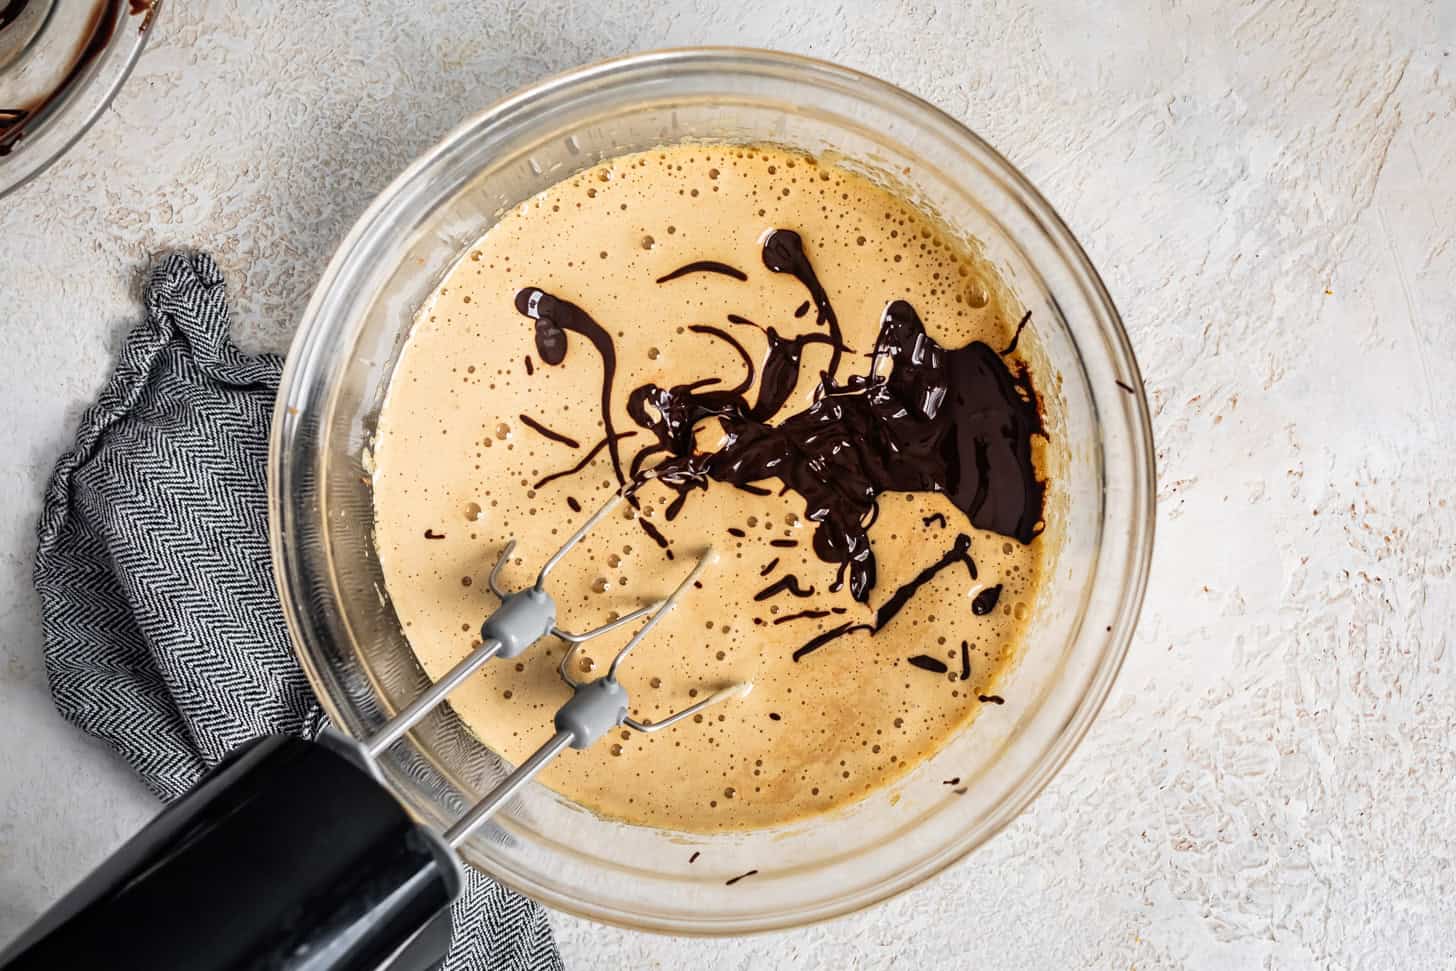
Stir in the melted chocolate mixture and vanilla to the whipped eggs.
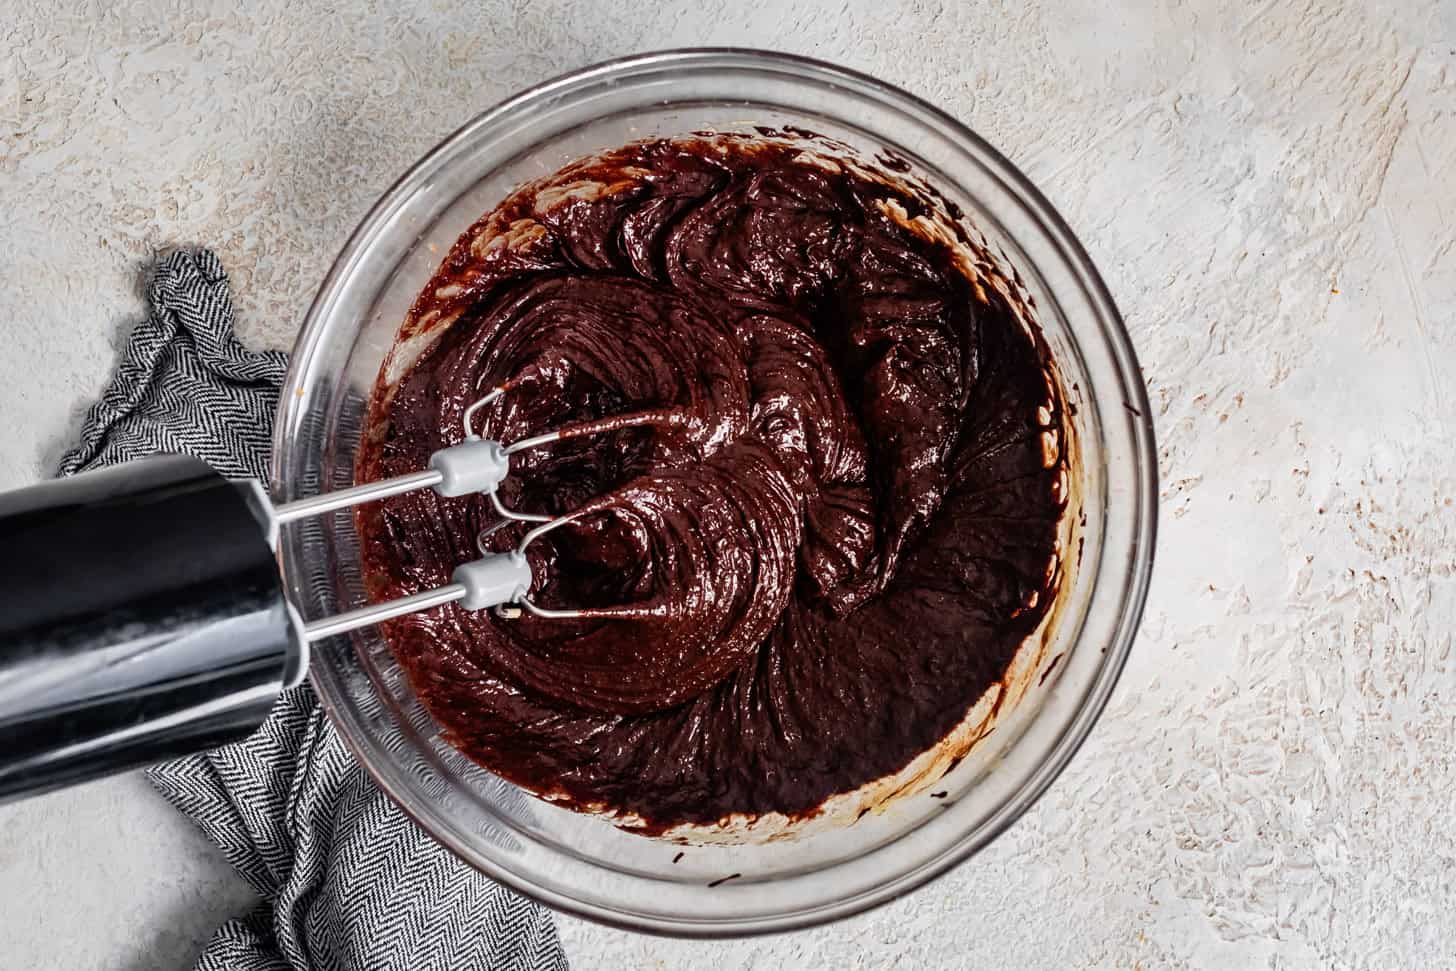
Mix until completely combined.
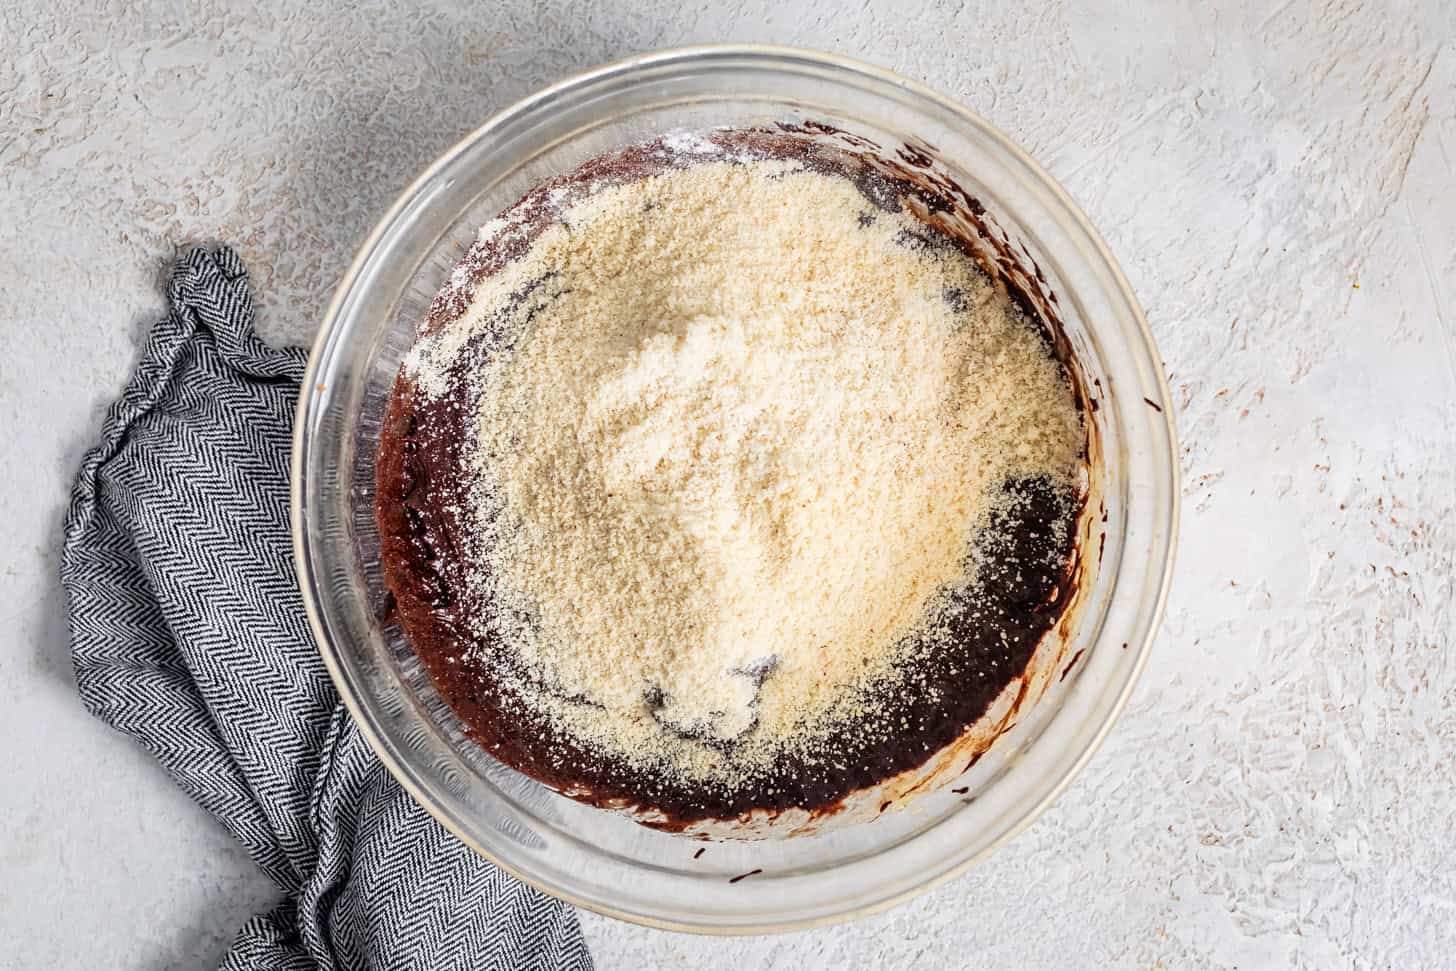
Sift the dry ingredients into the batter...
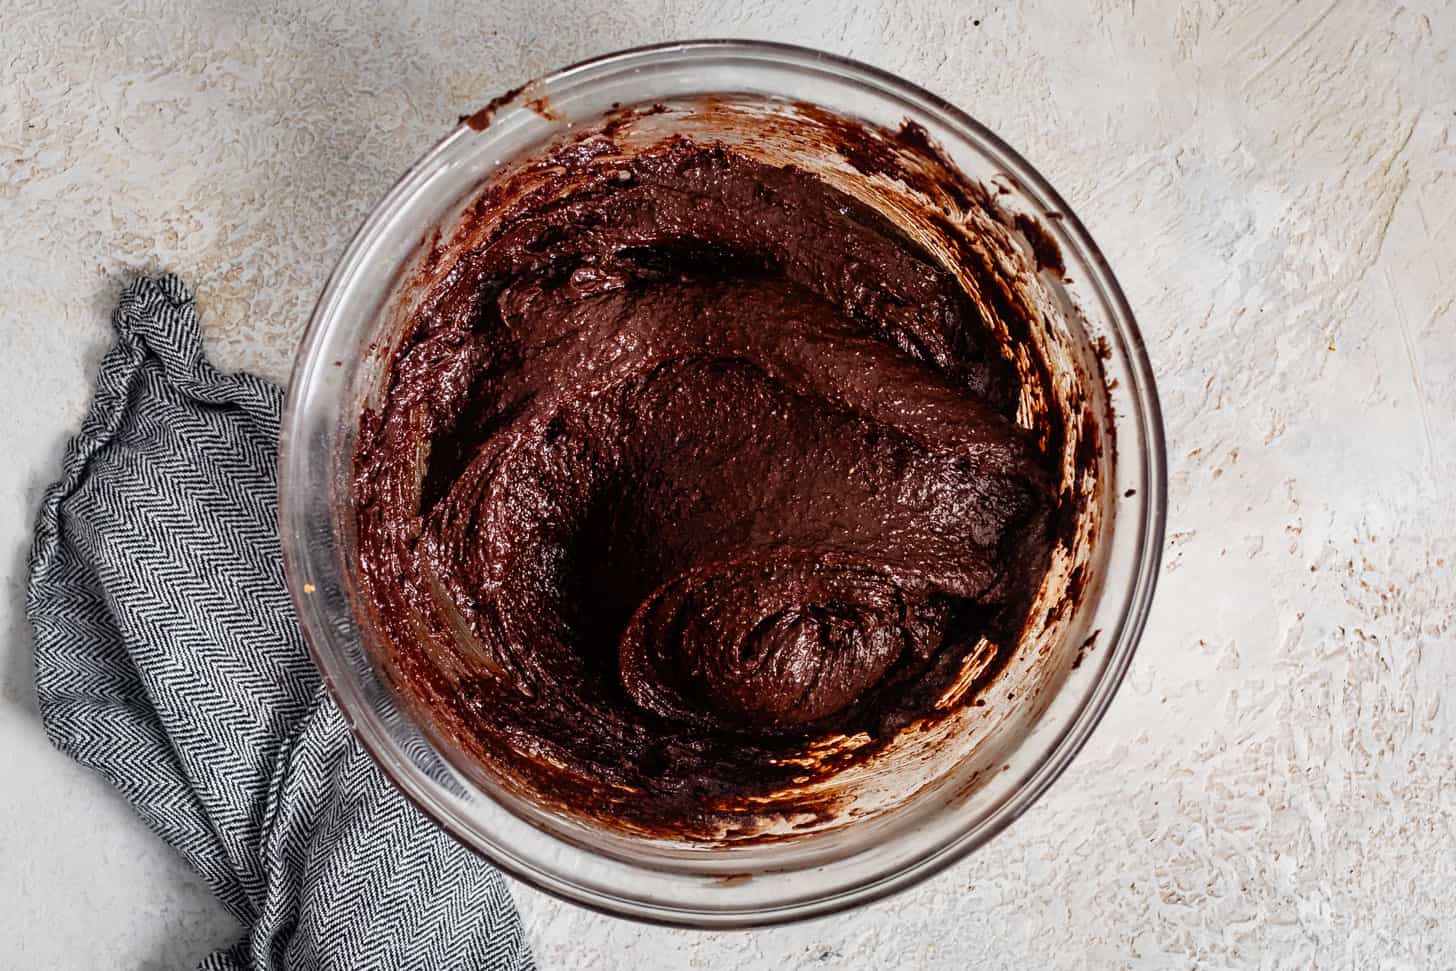
...and fold it until completely mixed.
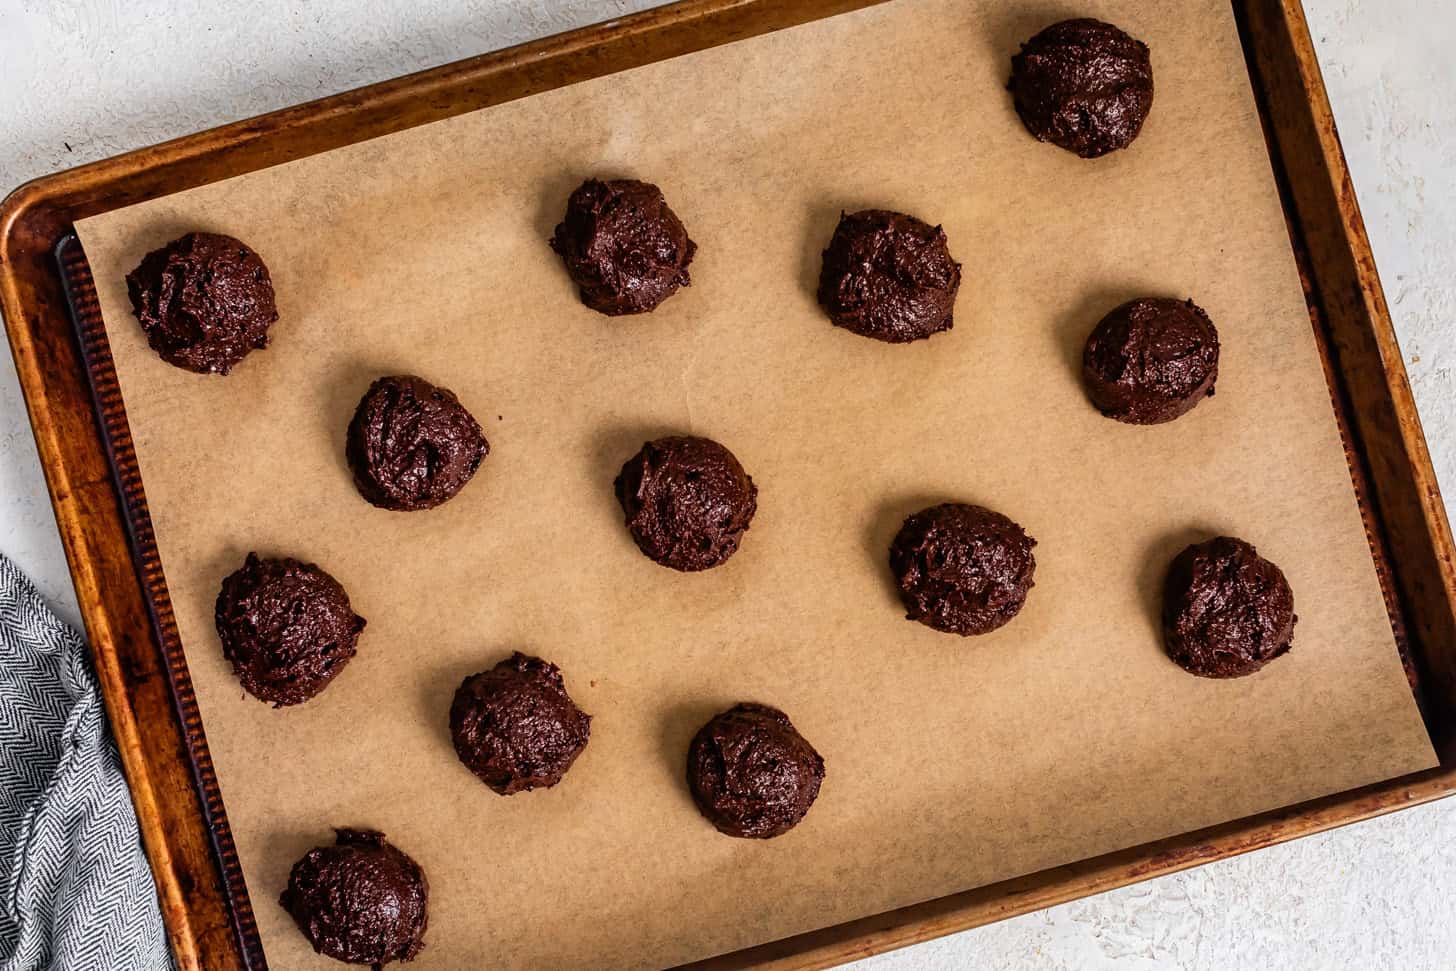
Use a medium cookie scoop to scoop a ball of about 2 tablespoons of dough onto a parchment-lined baking sheet and bake!
Hint: If melting the chocolate in the microwave, take care not to overheat your chocolate or it will split with the fat, leading to thinner, greasier cookies (which, are incredibly delicious in their own right, but a different thing altogether). Start with just 30-45 seconds, stirring, then heating for 15-20 seconds more at a time, until the chocolate is melted.
Tips for Perfect Gluten-Free Cookies
- Use High-Quality Chocolate: The type of chocolate you use will make a difference in flavor. I recommend using a bittersweet chocolate with 60-70% cacao for the richest taste.
- Don't Overbake: These cookies should have soft, gooey centers. If you overbake them, they'll lose that chewy texture. The key is to take them out of the oven when the edges are just set but the centers still look slightly underdone.
- Measure Your Ingredients by Weight: Gluten-free baking can be tricky, so I always recommend weighing your ingredients for accuracy, especially when working with flours like almond flour and sweet rice flour. It ensures the right texture and consistency.
- No Chill Required: Unlike many cookie recipes, you don't need to chill the dough. These brownie cookies come together quickly, so you can make them on the fly when that chocolate craving strikes.
Recipe
Chewy, Fudgy Gluten-Free Brownie Cookies
Ingredients
- 10 tablespoons (140 g) unsalted butter, melted
- 7 oz bittersweet chocolate, chips or chopped chocolate (60-70%)
- 2 large eggs, room temperature
- 125 g (½ cup + 2 tablespoons) granulated sugar
- 125 g (½ cup + 2 tablespoons) dark brown sugar, preferably organic
- 1.5 teaspoon pure vanilla extract
- 40 g (¼ cup + 2 tablespoons) dutch-processed cocoa powder, or natural unsweetened cocoa powder, see note
- 50 g (¼ cup + 3 tablespoons) super-fine blanched almond flour, or sub 34g buckwheat flour
- 50 g (¼ cup + 1 tablespoon) sweet rice flour, also called mochiko; do not substitute white or brown rice flour
- ¼ teaspoon baking soda
- ¼ teaspoon kosher salt
INSTRUCTIONS
- Preheat the oven to 350°F.
- Melt the butter and chocolate together either in the microwave or in a saucepan. If melting in the microwave, place the chopped chocolate in a microwave-safe bowl. Put the butter over the chocolate, then microwave for 45-60 seconds, depending on the power of your microwave. Stir, then heat in 15 second increments, until the butter is completely melted. Stir to melt the chocolte until completely smooth. If using a saucepan, place the chopped chocolate in a medium heat-proof bowl. Melt the butter in a small saucepan over medium heat. Pour the melted butter over the chocolate chips into the mixing bowl. Let sit for 2-3 minutes then stir to melt the chocolate until completely smooth.
- Sift the cocoa powder over the melted chocolate and add the vanilla extract, whisking until smooth.
- In a separate large mixing bowl with a hand mixer or a stand mixer with the whisk attachment, whip the eggs and sugars together over medium-high speed for 4-5 minutes, until very pale and fluffy.
- Pour the melted chocolate mixture into the whipped eggs, mixing until combined.
- Sift the dry ingredients into the batter and fold the batter until completely mixed. It will seem very soft for cookie dough.
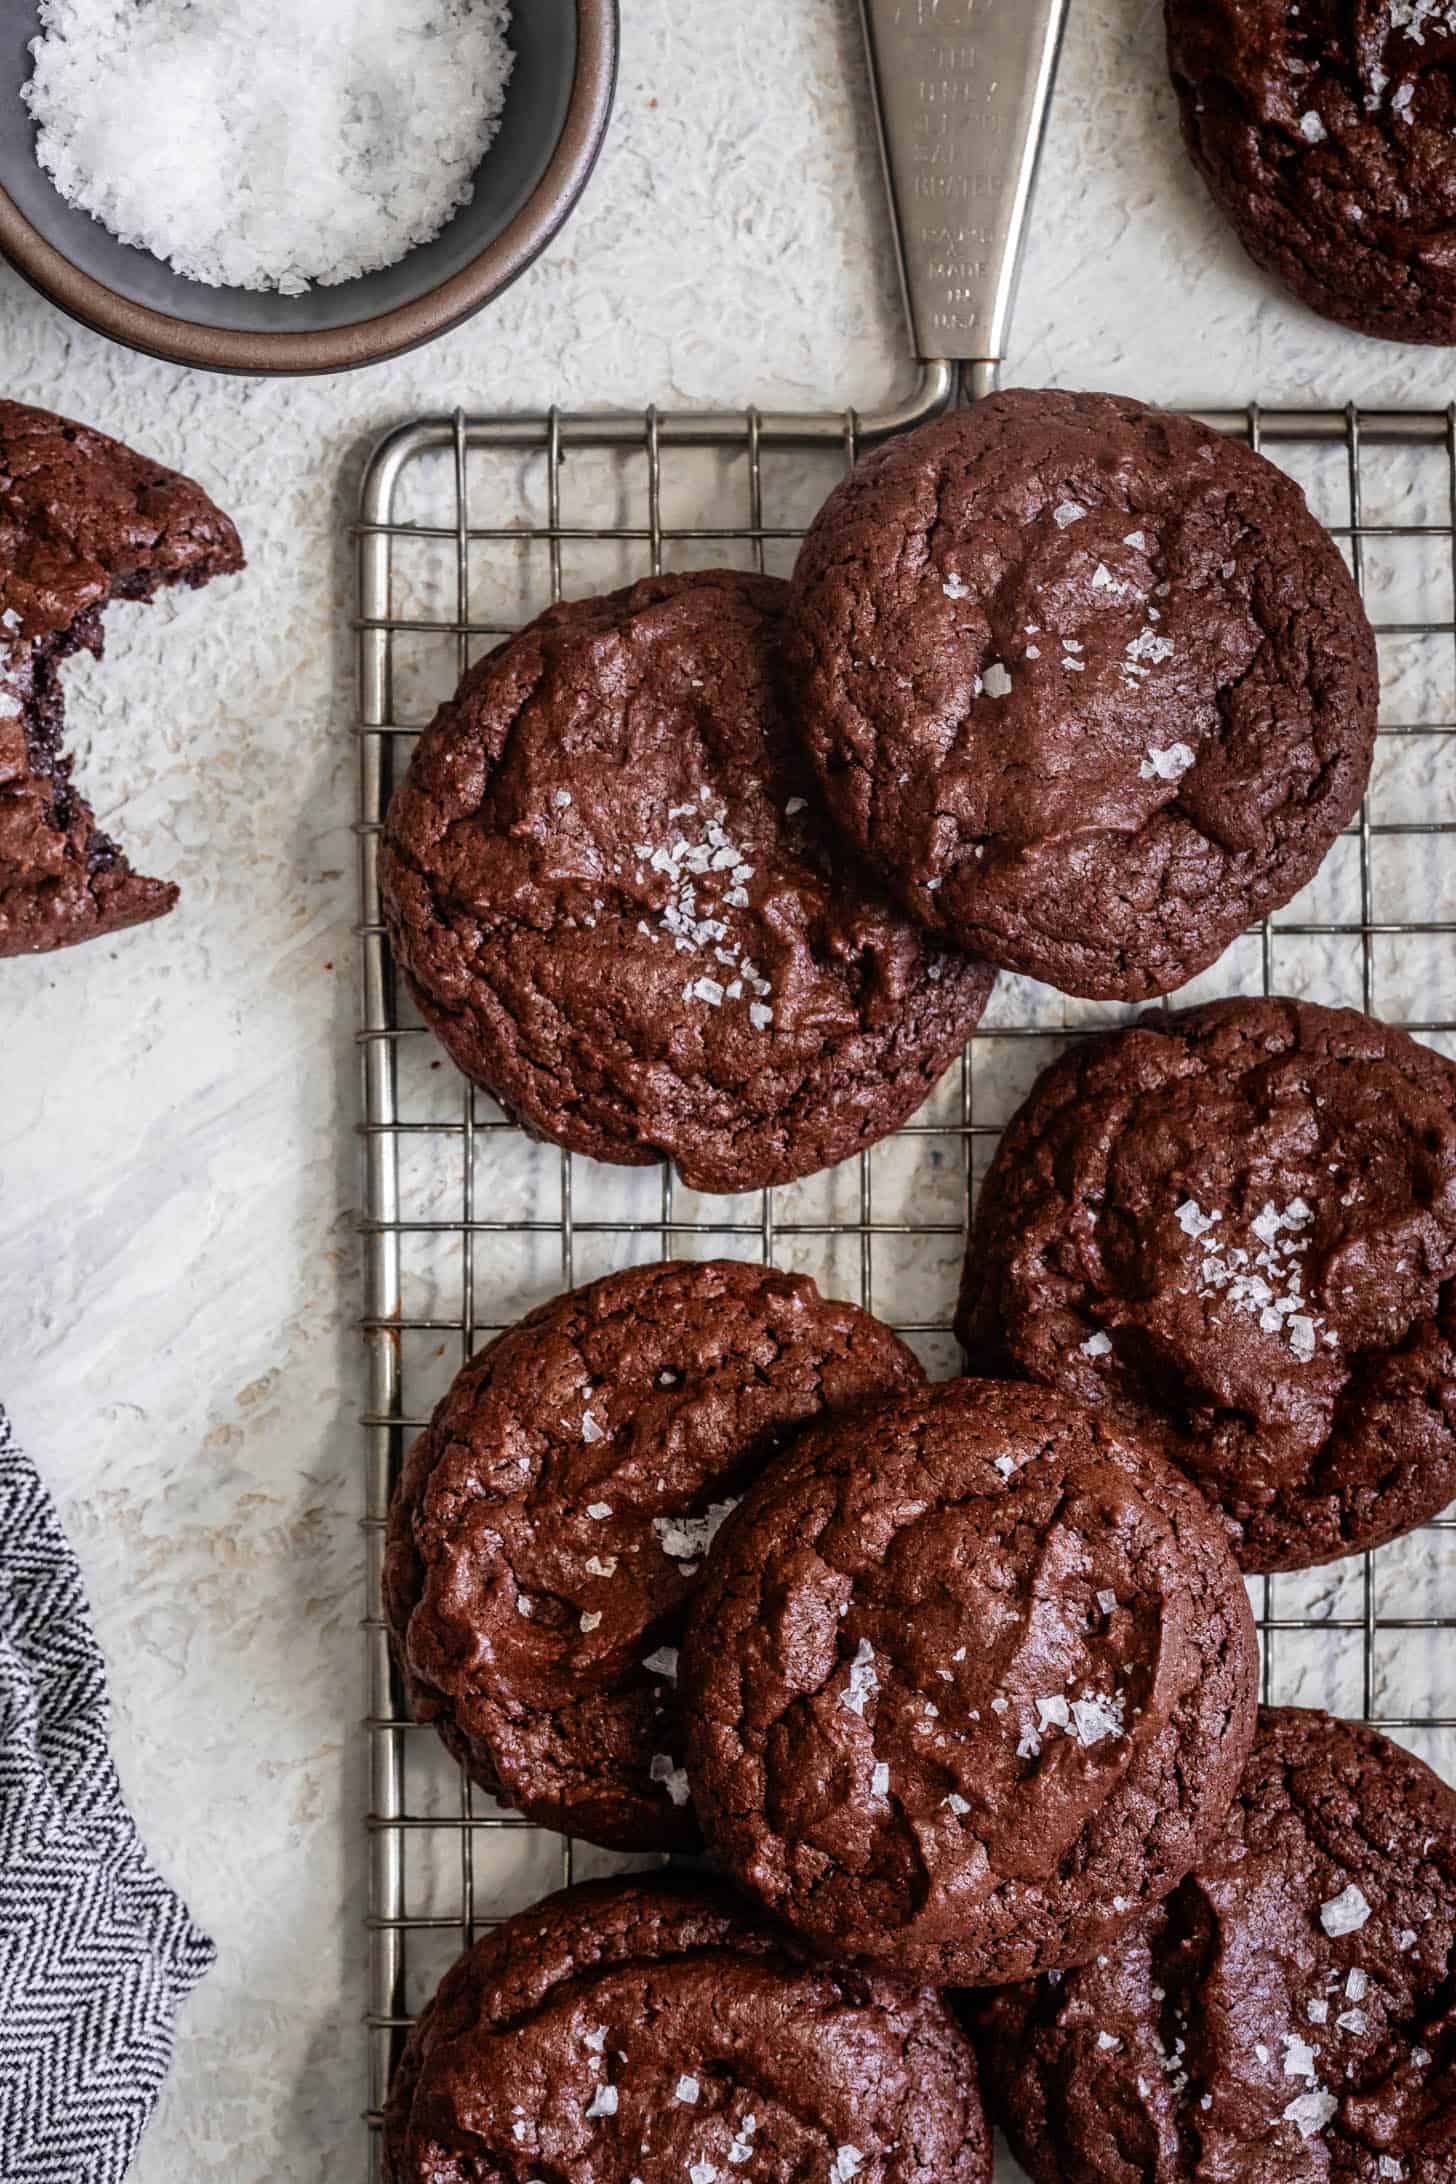
- Use a medium cookie scoop to scoop a ball of about 2 tablespoons of dough onto a parchment-lined baking sheet, spacing them 2-inches apart. Bake for 9-11 minutes, until the cookies are puffy, the edges are just crisp when gently touched, and the center still look gooey and underbaked. Remove from oven and let cool on the baking sheet for 5 minutes, then use a thin metal spatula to transfer to the cookies to a wire rack to cool.
- Enjoy warm or let cool completely. Store baked cookies in an airtight container for up to 3 days. If you need to store them longer, freezing is the way to go. Cooled, baked cookies can be stored for up to 6 months in airtight bag or container. Unthaw on counter when you'd like to eat them. For the best results, I recommend baking only what you need and freezing the remaining dough (see below for instructions on freezing the dough).
Video
Notes
- Aim to underbake the cookies slightly. You want to achieve that perfect balance where the edges are set and chewy, but the centers stay soft and fudgy-just like a brownie! To do this, bake them until the tops look set but still have a little shine. When removed from the oven, the heat of the pan will continue baking the cookies, and as they cool, they'll continue to firm up, leaving you with the ultimate chewy, gooey texture.
- Store cookie dough balls in an airtight container or bag in the fridge for up to a week or in the freezer for up to 6 months. First, chill the cookie dough balls in a single layer on a baking sheet until firm-about 15 minutes in the freezer or an hour in the fridge. Once set, transfer to a freezer bag or airtight container to store for longer.
- These gluten-free brownie cookies are showstopping as is, but they're also great for customizing depending on your whims and/or the current season! Here are a few ideas:
-
- Nuts: Add toasted chopped walnuts, almonds, or hazelnuts. Add up to ½ cup.
-
- Peppermint: Add up to ½ teaspoon peppermint extract.
-
- Mint chocolate: Add ½ teaspoon mint extract. Stir in chopped mint chocolate chunks or Andes mints for extra mint chocolate goodness.
-
- Spicy Mexican chocolate: Add ½ teaspoon ground cinnamon and a pinch of cayenne and/or chili powder.
-
- Cherry almond: Add ⅓ cup of dried cherries and ¼ cup of sliced almonds to the cookie dough before baking.
Did you make this recipe? Please leave a review and rating to let me and others know how you liked it!


Dina -
Do you have nutritional information on your recipes? Besides gluten, I try to watch sugar content. Any suggestions for substitutions for sugar ?
Sarah Menanix -
I recommend putting your specific ingredients into a nutrition calculator if you're looking for more specific nutritional information. You could try making the cookies with coconut sugar, which I think would be delicious!
Vita Thorpe -
These are absolutely delicious. Perfect texture and very simple. I added 1/2 teaspoon of cardamom for a holiday themed cookie. Yum!
Rebekah -
These are delicious!!!! I was out of butter (a horrible thing to be) so I used coconut oil. Easy to make and the description was spot on. They are chewy. They are gooey. They taste just like brownies. With the gluten free flour, they have the texture that makes you go into a euphoric state. I may have eaten too many of them. This is the recipe I've been searching for. The cookies I have dreams about. Thank you!!!!
zc biegeleisen -
amazingly good thanks so much!
zc biegeleisen -
thank you so much for thinking of other people and the recipe is so good